1. Wprowadzenie
This manual provides essential information for the safe and effective use of your VEVOR Squat and Rowing Machine. Please read and understand all instructions before assembly and operation. Keep this manual for future reference.
2. Informacje dotyczące bezpieczeństwa
- Przed rozpoczęciem jakiegokolwiek programu ćwiczeń skonsultuj się z lekarzem.
- Przed każdym użyciem należy upewnić się, że wszystkie części są solidnie zmontowane i dokręcone.
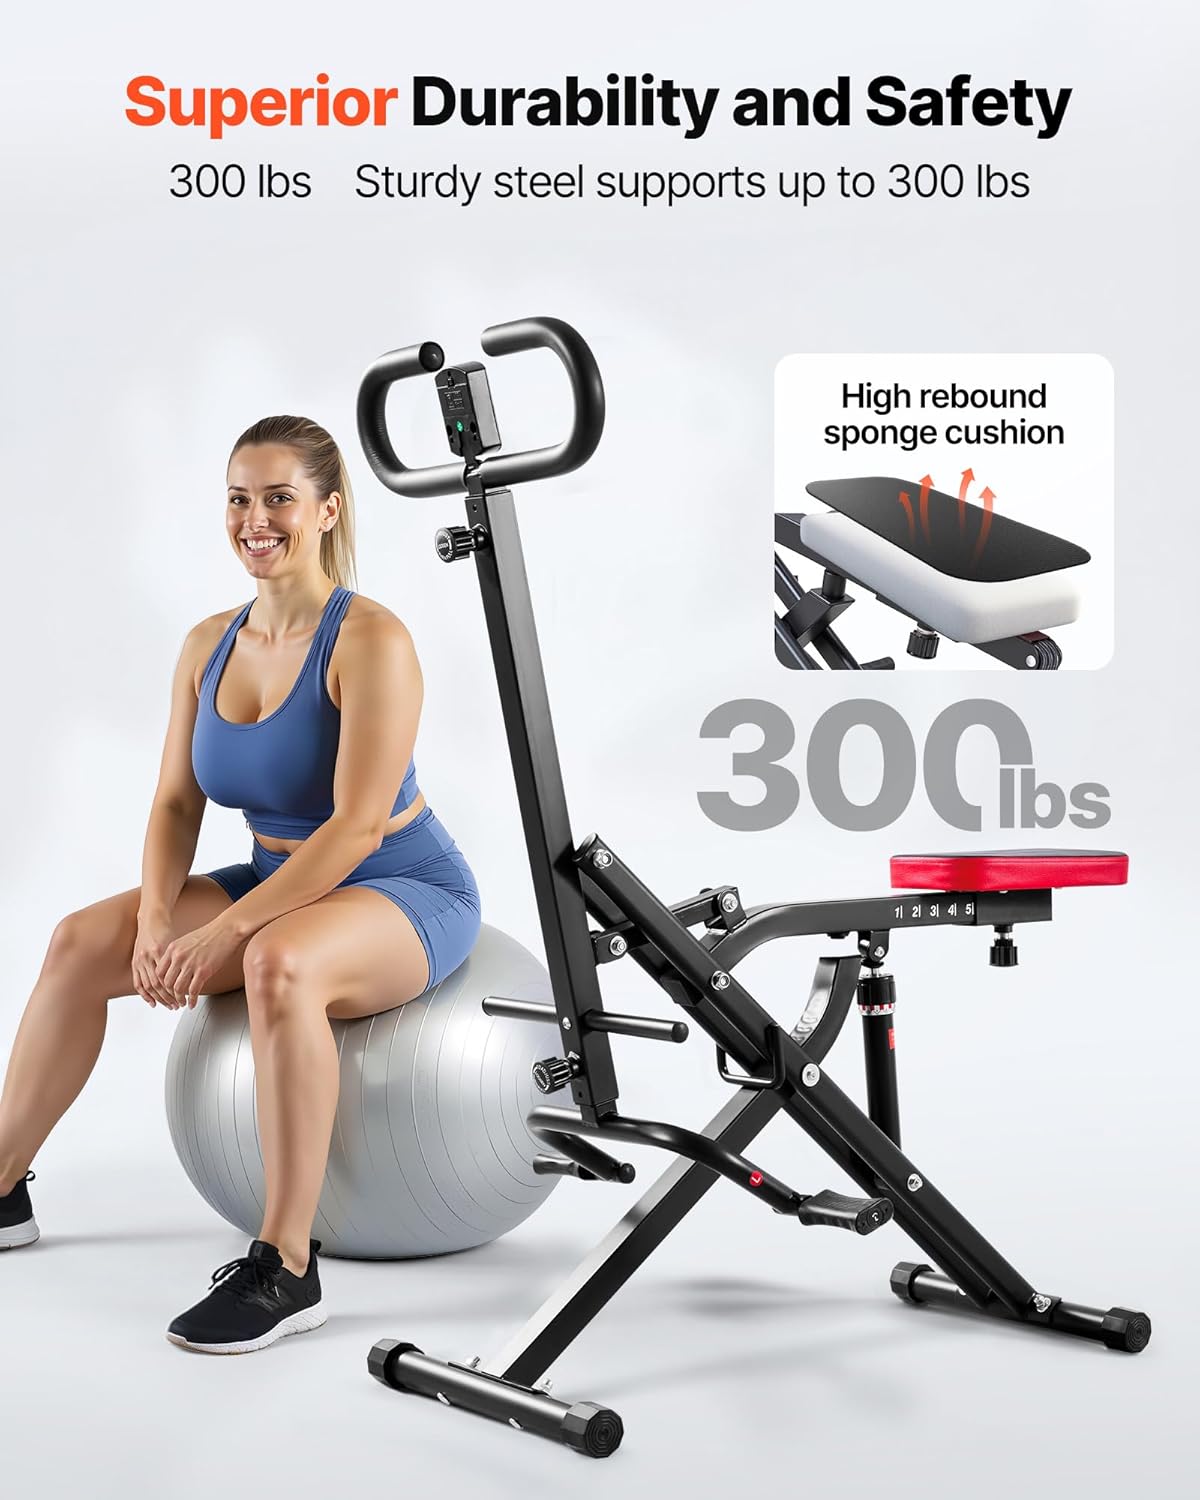
- Nie przekraczać maksymalnego udźwigu wynoszącego 136 kg (300 funtów).
- Trzymaj dzieci i zwierzęta z dala od maszyny podczas pracy.
- Używaj urządzenia na płaskiej i stabilnej powierzchni.
- Noś odpowiednie obuwie i odzież sportową.
- Natychmiast przerwij ćwiczenia, jeśli poczujesz ból, zawroty głowy lub dyskomfort.
- Inspect the machine for any damage or wear before each use. Do not use if damaged.
3. Co znajduje się w pudełku
Ostrożnie rozpakuj wszystkie elementy i upewnij się, że otrzymałeś następujące przedmioty:
- 1 x Squat Machine (main frame components)
- 1 x Counter (without battery, without wire)
- 1 x Instrukcja obsługi (ten dokument)
- 2 x Open-End Wrenches
- 3 x Pull Pins
- 1 x Buffer Pad
Rysunek 1: Wszystkie komponenty zawarte w pakiecie.
4. Instrukcja montażu
Follow these steps to assemble your VEVOR Squat and Rowing Machine. For a visual guide, please refer to the installation video below.
Video 1: Step-by-step installation guide for the VEVOR Squat Machine.
- Zamontuj ramę główną: Connect the two main frame sections using the provided bolts and wrenches. Ensure they are securely fastened.
- Install the Hydraulic Cylinder: Secure the hydraulic resistance cylinder to the designated points on the main frame.
- Assemble the Seat Mechanism: Attach the seat support arm to the main frame, ensuring the adjustment mechanism is correctly aligned.
- Montaż siedziska: Place the padded seat onto the seat support arm and secure it with the appropriate fasteners.
- Zamontuj kierownicę: Insert the handlebar assembly into the top of the main frame and secure it with the provided pin and knob.
- Montaż podnóżków: Attach the footrests to the lower part of the frame.
- Connect the Counter: Mount the LCD counter onto the handlebar assembly.

Figure 2: Assembling the main frame components.
5. Instrukcja obsługi
5.1 Adjusting the Seat Length
The seat length can be adjusted across 5 levels to accommodate users of various heights and to target different muscle groups. To adjust, locate the spring turnbuckle beneath the seat, pull it out, slide the seat to your desired position (1-5), and release the turnbuckle to lock it in place.

Figure 3: Seat length adjustment mechanism.
5.2 Regulacja oporu
The machine is equipped with a 12-level adjustable hydraulic cylinder to customize your workout intensity. Rotate the knob on the hydraulic cylinder to increase or decrease resistance. Higher numbers indicate greater resistance.

Figure 4: Hydraulic resistance adjustment.
5.3 Using the LCD Counter
The built-in LCD counter tracks your workout progress in real-time. It displays metrics such as time, count (reps), and estimated calories burned. Use the button on the counter to cycle through display modes or reset values.

Figure 5: LCD counter display.
5.4 Wykonywanie ćwiczeń
The VEVOR Squat and Rowing Machine is designed to facilitate deep squats and rowing movements, engaging glutes, legs, core, and upper body muscles. Maintain proper form throughout your workout. Keep your back straight, engage your core, and control the movement both on the way down and up.
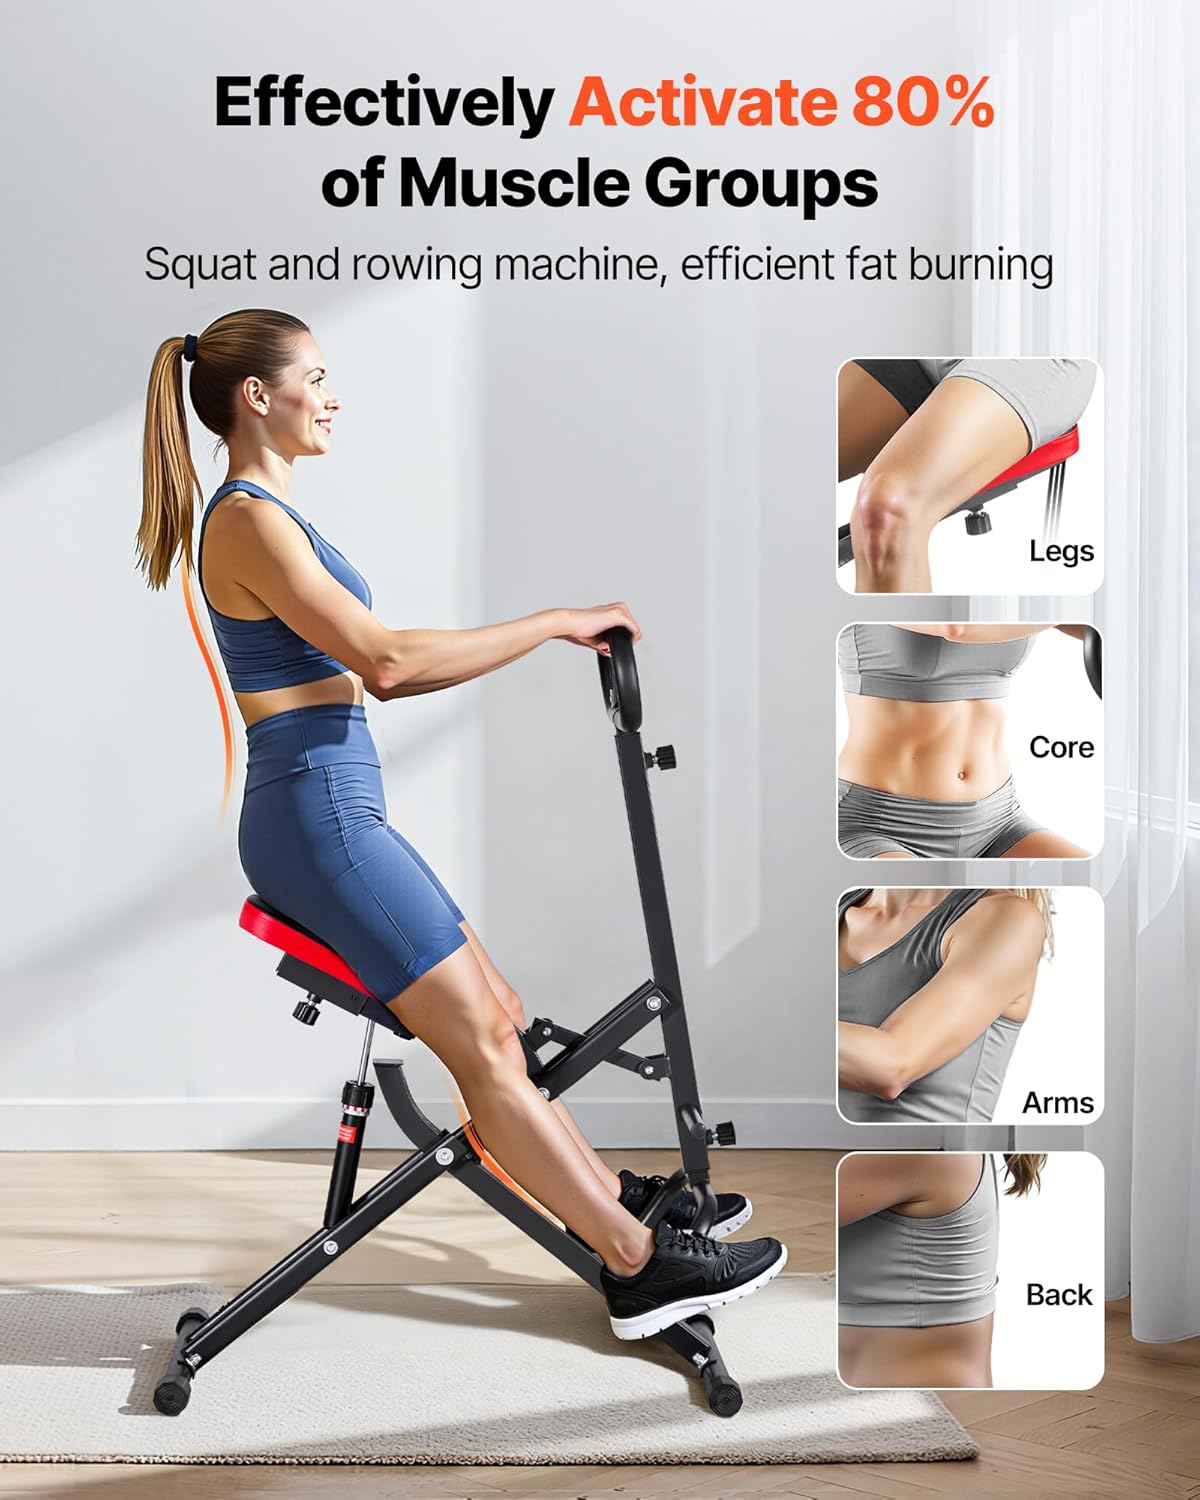
Figure 6: Proper exercise form on the machine.
6. Konserwacja
- Czyszczenie: Wytrzyj maszynę adamp Po każdym użyciu przetrzyj ściereczką pot i kurz. Unikaj środków czyszczących o działaniu ściernym.
- Kontrola: Regularnie sprawdzaj wszystkie śruby, nakrętki i części ruchome pod kątem dokręcenia i zużycia. Dokręć wszystkie luźne elementy mocujące.
- Smarowanie: The hydraulic cylinder is maintenance-free. No additional lubrication is required for the main moving parts.
7. Przechowywanie
The VEVOR Squat and Rowing Machine features a foldable design for convenient storage. To fold, lift the handle grip up and rotate the machine to collapse the frame. This compact footprint allows for easy storage in closets, corners, or under beds, making it ideal for small spaces.

Figure 7: Foldable design for space-saving storage.
8. Rozwiązywanie Problemów
- Maszyna wydaje się niestabilna: Ensure the machine is on a flat surface. Check all bolts and nuts for tightness.
- Opór nie zmienia się: Verify that the hydraulic cylinder adjustment knob is correctly engaged and rotated to the desired level.
- LCD Counter not working: Check if the counter requires batteries (though typically battery-free for this model, verify connections). Ensure it is properly mounted.
9. Specyfikacje
| Funkcja | Specyfikacja |
|---|---|
| Nazwa modelu | Maszyna do przysiadów |
| Marka | WIĘZIĆ |
| Kolor | Czarny |
| Tworzywo | Stal stopowa |
| Mechanizm oporu | Hydrauliczny |
| Maksymalna zalecana waga | 300 funtów |
| Waga przedmiotu | 25.8 funtów |
| Liczba poziomów oporu | 12 |
| Wymiary opakowania przedmiotu Dł. x Szer. x Wys. | 36.61 x 11.02 x 8.27 cala |
| Item Dimensions LxWxH (Unfolded) | 22.83 x 35.43 x 44.09 cala |

Rysunek 8: Wymiary i specyfikacje produktu.
10. Gwarancja i wsparcie
Aby uzyskać informacje dotyczące gwarancji lub pomocy technicznej, zapoznaj się z danymi kontaktowymi podanymi przy zakupie lub odwiedź oficjalną stronę internetową VEVOR webZachowaj paragon jako dowód zakupu.


