1. Wprowadzenie
This manual provides essential instructions for the safe and efficient operation of your ciciglow A4 Photo Portable 900 DPI Document Scanner. Please read this manual thoroughly before using the device and retain it for future reference.
The ciciglow A4 Photo Portable Scanner is a compact and lightweight device designed for on-the-go document and photo scanning. It offers three resolution modes (300dpi, 600dpi, 900dpi) and supports both JPEG and PDF file formats. Its portability and ease of use make it suitable for various applications, including business, home, and outdoor use.

Image 1.1: The ciciglow A4 Photo Portable 900 DPI Document Scanner in green.
2. Zawartość opakowania
Przed przystąpieniem do instalacji sprawdź, czy w przesyłce znajdują się wszystkie elementy wymienione poniżej:
- Handheld Image Scanner
- Torba do przechowywania
- Data Cable (USB 2.0)
- Ściereczka do czyszczenia
- Instrukcja obsługi (ten dokument)

Image 2.1: All items included in the ciciglow A4 Photo Portable Scanner package.
3. Konfiguracja
3.1. Instalacja baterii
- Znajdź komorę baterii w skanerze.
- Otwórz pokrywę komory.
- Włóż dwie (2) baterie AA (nie są dołączone do zestawu), zwracając uwagę na prawidłową biegunowość (+/-).
- Dokładnie zamknij pokrywę komory baterii.
3.2. Instalacja karty pamięci
A storage card (1GB-32GB, not included) is required to save scanned documents.
- Locate the memory card slot on the side of the scanner.
- Insert a compatible storage card into the slot until it clicks into place.
- Aby wyjąć kartę, delikatnie wciśnij ją do środka, aż wysunie się.

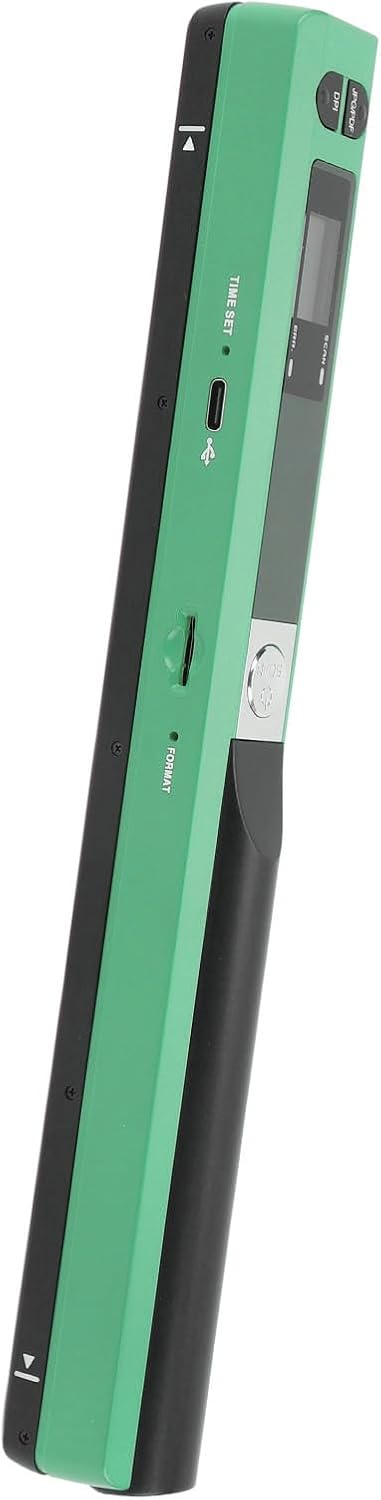
Obraz 3.1: Bok view of the scanner indicating the USB port and memory card slot.
4. Instrukcja obsługi
4.1. Urządzenie ponadview
Obraz 4.1: Góra view of the scanner with labeled controls.
- Przycisk zasilania/skanowania: Press to turn on/off, press to start/stop scanning.
- JPG/PDF Button: Press to switch between JPEG and PDF file formaty.
- Przycisk DPI: Press to cycle through 300dpi, 600dpi, and 900dpi resolution settings.
- Przycisk ustawiania czasu: Used for setting the device's internal clock (refer to advanced settings).
- Ekran wyświetlacza: Shows current settings (DPI, file format, battery status, scan count).
4.2. Podstawowa procedura skanowania
- Włączanie: Naciśnij i przytrzymaj Zasilanie/skanowanie button until the display screen illuminates.
- Wybierz format: Naciśnij JPG/PDF button to choose your desired output format (JPEG or PDF).
- Wybierz rozdzielczość: Naciśnij DPI button to select the scanning resolution (300dpi, 600dpi, or 900dpi). Higher DPI results in better quality but larger file rozmiary.
- Position Document: Place the scanner flat on the document you wish to scan, ensuring the document is aligned with the scanner's scanning area.
- Rozpocznij skanowanie: Naciśnij Zasilanie/skanowanie button once to begin scanning. Slowly and steadily glide the scanner across the document. Maintain even pressure and speed for optimal results.
- Zatrzymaj skanowanie: Naciśnij Zasilanie/skanowanie button again to stop scanning. The scanned image will be automatically saved to the inserted memory card.
- Wyłączone: Naciśnij i przytrzymaj Zasilanie/skanowanie button to turn off the device when not in use. The scanner also features a 3-minute auto power-off function to conserve battery.
4.3. Transferring Scanned Files
To transfer scanned photos or documents to your computer:
- Sprawdź, czy skaner jest wyłączony.
- Connect the scanner to your PC using the provided USB 2.0 data cable.
- The scanner will be recognized as a removable storage device.
- Open the scanner's folder on your computer to access and copy the scanned files.
- Przed odłączeniem kabla USB należy bezpiecznie odłączyć urządzenie od komputera.
5. Konserwacja
5.1. Czyszczenie skanera
Regular cleaning ensures optimal scanning performance and image quality.
- Use the provided cleaning cloth to gently wipe the scanning lens and exterior surfaces of the device.
- Do not use liquid cleaners, abrasive materials, or solvents, as these can damage the scanner.
- Przed czyszczeniem upewnij się, że skaner jest wyłączony.
5.2. Przechowywanie
When not in use, store the scanner in the provided storage bag to protect it from dust and scratches. Keep the device in a cool, dry place away from direct sunlight and extreme temperatures.
6. Rozwiązywanie Problemów
If you encounter issues with your scanner, please refer to the following common solutions:
- Skaner się nie włącza:
Ensure that two fresh AA batteries are correctly installed with the proper polarity. - Poor scan quality (streaks, blurry images):
Clean the scanning lens with the provided cleaning cloth. Ensure you are gliding the scanner smoothly and evenly across the document. Check the DPI setting; higher DPI generally yields better quality. - Zeskanowano filenie zapisuje:
Verify that a compatible memory card (1GB-32GB) is properly inserted into the scanner. Ensure the card is not full. - Nie można przenieść filedo komputera:
Ensure the scanner is powered off before connecting to the PC. Try a different USB port or cable. Ensure the memory card is properly inserted in the scanner. - Scanner freezes or becomes unresponsive:
Aby wykonać miękki reset, wyjmij i ponownie włóż baterie.
Jeśli po wypróbowaniu tych kroków problem nadal występuje, skontaktuj się z obsługą klienta.
7. Specyfikacje
| Funkcja | Specyfikacja |
|---|---|
| Tryb skanowania | Black and Color |
| Rozmiar skanu | Approx. A4 (213mm / 8.39in) |
| Bateria | 2 x bateria AA (brak w zestawie) |
| Format pamięci | JPEG, PDF |
| Optional Expandable Memory | Storage Card (1G-32GB) (Not Included) |
| Rozdzielczość skanowania | 300DPI, 600DPI, 900DPI |
| Obsługiwane systemy | For XP, For OS X 10.4 or above |
| Czujnik obrazu | A4 Color Image Sensor |
| Metoda transferu | USB 2.0 |
| Tryb działania | Offline Scanning |
| Automatyczne wyłączanie zasilania | 3 minut |
| Wymiary opakowania | 12.2 x 4.33 x 1.97 cala |
| Waga przedmiotu | 10.1 uncji |
| Producent | ciciglow |
8. Gwarancja i wsparcie
Aby uzyskać informacje o gwarancji lub pomocy technicznej, zapoznaj się z dokumentacją dołączoną do produktu lub skontaktuj się ze sprzedawcą. Zachowaj paragon jako dowód zakupu.


