1. Wprowadzenie
The Optus Radio Weather Station Model 15298 provides accurate monitoring of indoor and outdoor climate conditions. This device features a DCF radio-controlled clock for automatic time and date setting, a frost alarm, and graphical weather forecasts. It is designed for convenient daily use in both home and office environments, offering reliable data on temperature and humidity.
2. Zawartość opakowania
- 1x Stacja bazowa
- 1x Wireless Sensor
- 4 baterie AAA
- 1x Instrukcja obsługi
3. Funkcje produktu
- Indoor and outdoor temperature display (°C/°F)
- Wyświetlacz wilgotności wewnątrz i na zewnątrz
- Graphical weather forecasts with atmospheric pressure indicator
- Storage of maximum and minimum values for temperature and humidity
- Frost alarm function
- Integrated alarm clock with snooze function
- Automatic time and date setting (DCF radio control)
- Backlight for enhanced readability
- Wireless sensor with up to 80m range
- Splash-proof outdoor sensor (IP44)

Image 1: Optus Radio Weather Station (Base Station and Wireless Sensor)

Image 2: The weather station and its outdoor sensor, illustrating flexible placement options indoors and outdoors.
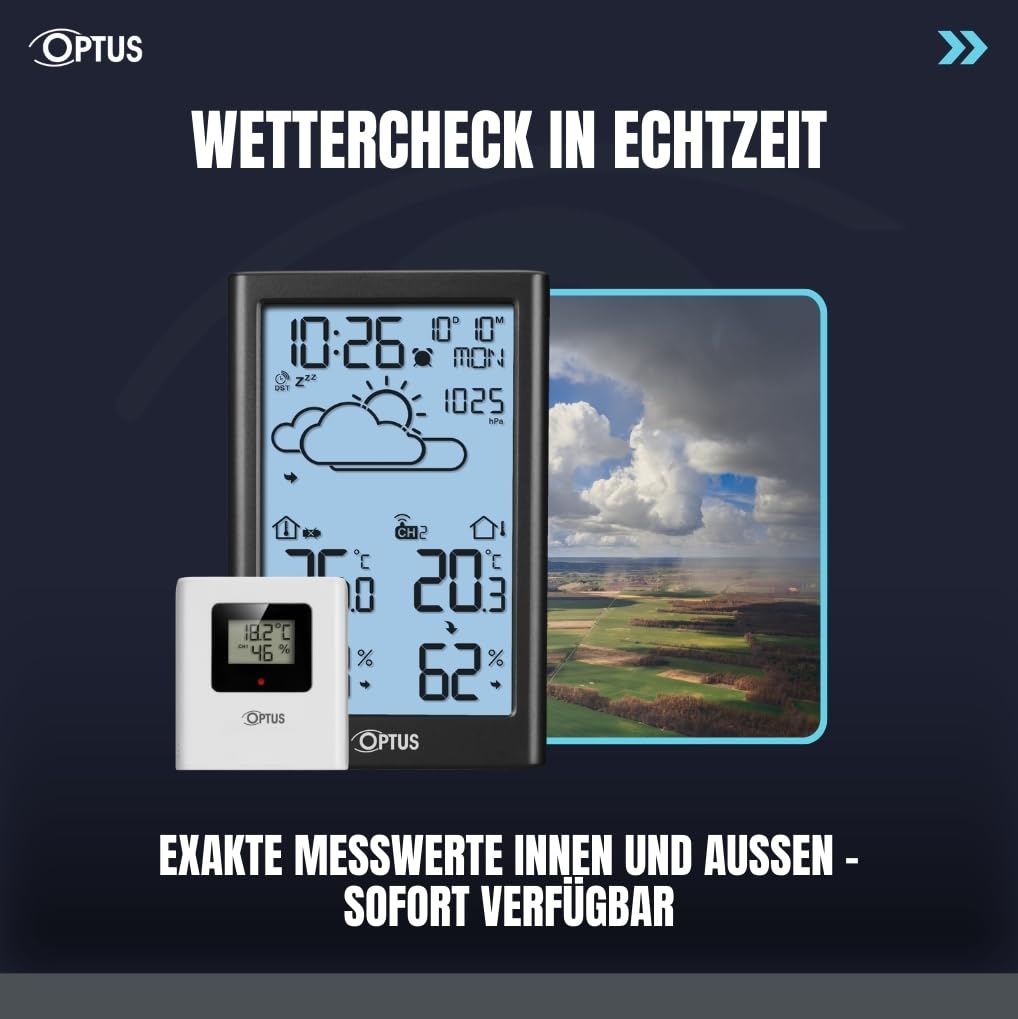
Image 3: The weather station displaying real-time indoor and outdoor temperature and humidity, with a graphical weather forecast.
4. Konfiguracja
4.1. Instalacja baterii
- Open the battery compartment on the back of the base station.
- Insert 3x AAA batteries (not included) into the base station, observing correct polarity (+/-).
- Zamknij komorę baterii.
- Otwórz komorę baterii z tyłu czujnika bezprzewodowego.
- Insert 2x AAA batteries (not included) into the wireless sensor, observing correct polarity (+/-).
- Zamknij komorę baterii.
4.2. Synchronizacja początkowa
After inserting batteries, the base station will automatically search for the wireless sensor and the DCF radio signal. This process may take a few minutes. Ensure the sensor is within range (up to 80m) of the base station.
4.3. Umieszczenie czujnika
Place the wireless sensor in a location that provides accurate outdoor readings, away from direct sunlight and precipitation. The sensor is splash-proof (IP44) but should be protected from extreme weather conditions for optimal performance and longevity.

Obraz 4: Tył view of the base station, highlighting the battery compartment and control buttons.
5. Instrukcja obsługi
5.1. Time and Date Setting (DCF)
The device automatically sets the time and date via the DCF radio signal. If manual adjustment is needed, refer to the detailed instructions in the included manual.
5.2. Wyświetlacz temperatury i wilgotności
The display shows current indoor and outdoor temperature and humidity. Use the designated buttons (refer to the full manual for specific button functions) to switch between Celsius (°C) and Fahrenheit (°F).
5.3. Rekordy maks./min.
The weather station stores maximum and minimum temperature and humidity values. Press the appropriate button to view these records. To reset the records, press and hold the button (refer to the full manual).
5.4. Frost Alarm
The frost alarm activates when outdoor temperatures approach freezing. An indicator will appear on the display to alert you to potential frost conditions.
5.5. Budzik i drzemka
Set the integrated alarm clock as needed. The snooze function allows for a temporary delay of the alarm. Refer to the full manual for detailed alarm setting instructions.
5.6. Podświetlenie
The display features a backlight for improved visibility in low-light conditions. Activate the backlight using the designated button (refer to the full manual).
6. Konserwacja
- Clean the device and sensor with a soft, dry cloth. Do not use abrasive cleaners or solvents.
- Avoid exposing the base station to direct sunlight or extreme temperatures.
- Replace batteries when the low battery indicator appears on the display to ensure continuous operation and accurate readings.
- Ensure the outdoor sensor's vents are clear of debris for accurate humidity readings.
7. Rozwiązywanie Problemów
7.1. No Outdoor Temperature/Humidity Display
- Check if the wireless sensor batteries are correctly installed and not depleted.
- Ensure the sensor is within the 80m transmission range of the base station.
- Zmień położenie czujnika lub stacji bazowej, aby zminimalizować zakłócenia ze strony innych urządzeń elektronicznych lub dużych obiektów metalowych.
- Manually re-synchronize the sensor with the base station (refer to the full manual for specific steps).
7.2. Nieprawidłowa godzina/data
- Ensure the base station is placed in an area where it can receive the DCF radio signal. Avoid placing it near electronic devices that may cause interference.
- Allow up to 24 hours for the device to receive and synchronize with the DCF signal.
- If the signal is consistently weak, manual time and date setting may be required (refer to the full manual).
8. Specyfikacje
- Marka: Optus
- Numer modelu: 15298
- Źródło zasilania (stacja bazowa): Power adapter (included) and 3x AAA backup batteries (not included)
- Źródło zasilania (czujnik): 2 baterie AAA (brak w zestawie)
- Technologia łączności: Częstotliwość radiowa (RF)
- Zasięg czujnika bezprzewodowego: Do 80 metrów
- Sensor Protection Class: IP44 (bryzgoszczelny)
- Wymiary czujnika: Wymiary: 71 x 65 x 23 mm
- Waga czujnika: 44 gramów
- Wymiary opakowania: Wymiary 26.3 x 16.3 x 4.3 cm
- Cechy szczególne: DCF Radio Clock, Date, Time, Graphical Weather Forecast, Backlight, Alarm Clock, Max/Min Value Storage, Weekday Display, Frost Alarm

Image 5: Detailed dimensions of the Optus Weather Station base unit and its wireless outdoor sensor.
9. Gwarancja i wsparcie
For warranty information and technical support, please refer to the contact details provided in the original product packaging or visit the official Optus webZachowaj paragon jako dowód zakupu.


