Wstęp
This manual provides detailed instructions for the installation, operation, and maintenance of your Reidsport Ceiling Fan Remote Control. Please read this manual thoroughly before use to ensure proper function and safety.
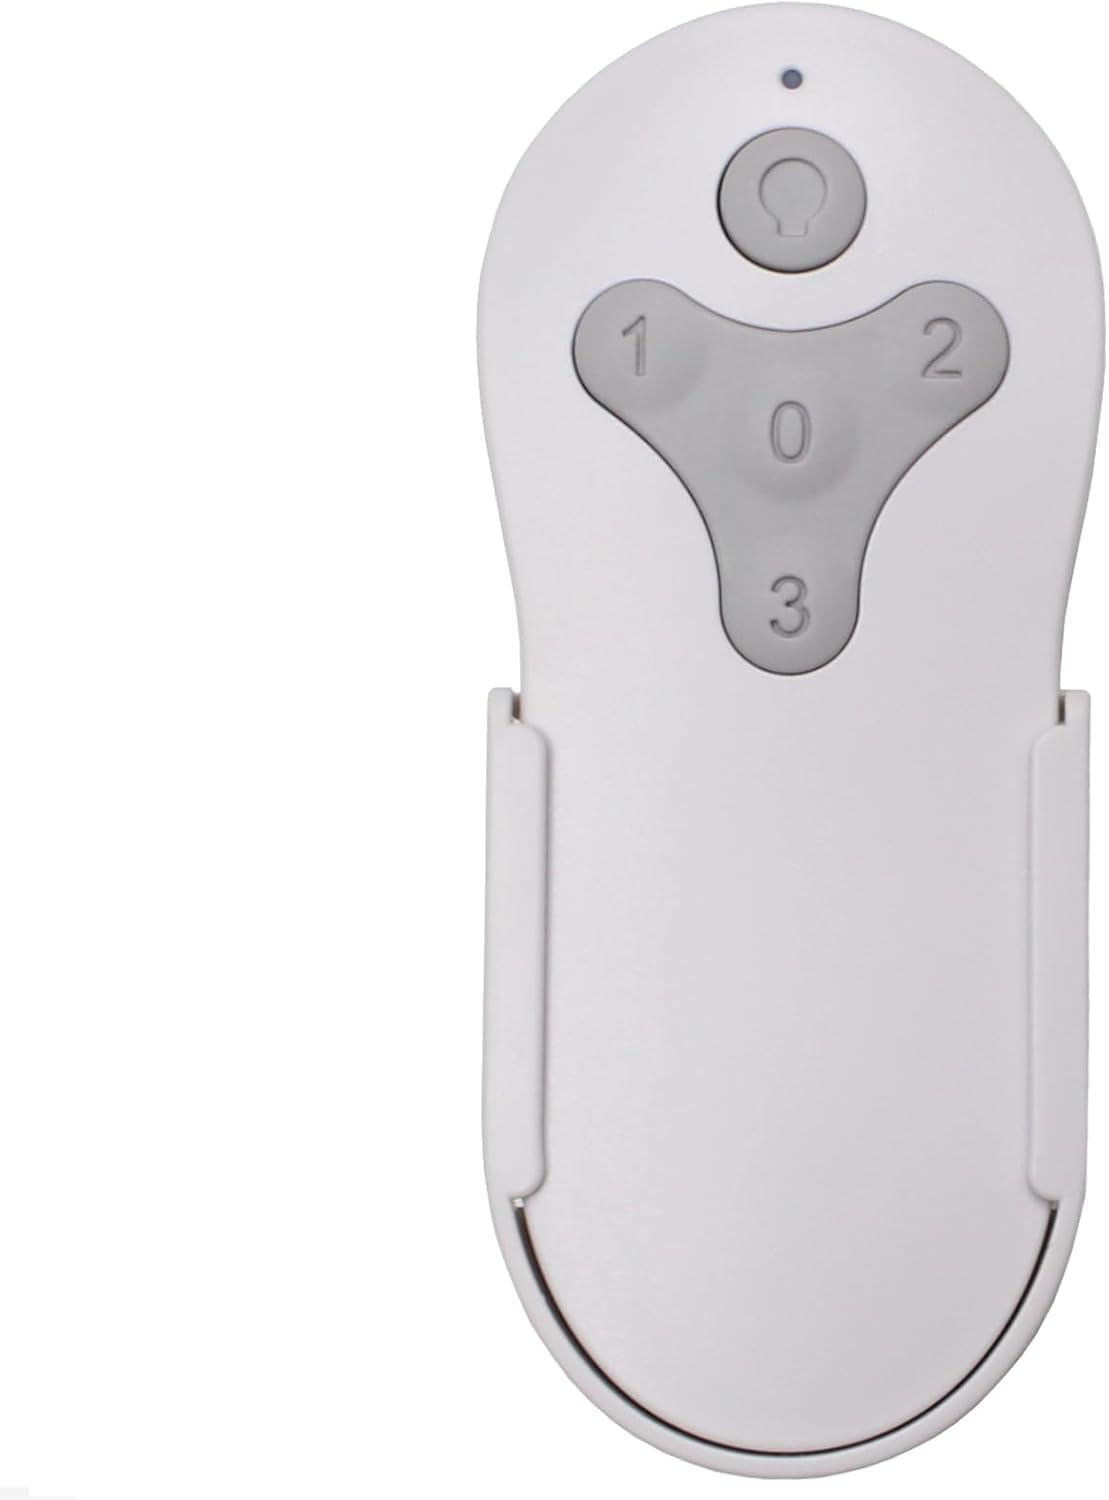
Obraz: Przód view of the Reidsport Ceiling Fan Remote Control, showing the power button and fan speed buttons (0, 1, 2, 3).
Informacje dotyczące bezpieczeństwa
Zawsze przestrzegaj następujących środków ostrożności:
- Ensure power is turned off at the circuit breaker before performing any installation or maintenance.
- Nie wystawiaj pilota na działanie wody ani nadmiernej wilgotności.
- Use only the specified battery type (12V 23A).
- Przechowuj baterie w miejscu niedostępnym dla dzieci.
Zawartość opakowania
Sprawdź, czy w opakowaniu znajdują się wszystkie elementy:
- Reidsport Ceiling Fan Remote Control
- Uchwyt do montażu na ścianie
- Śruby montażowe (2)

Image: The remote control, its wall mount holder, and two mounting screws, indicating the complete package contents.
Specyfikacje
| Funkcja | Szczegół |
|---|---|
| Numer modelu | CDTR214D |
| Wymiary produktu | 2 x 1 x 4 cala |
| Waga przedmiotu | 6 uncji |
| Typ baterii | 1 x 12V 23A (not included) |
| Kompatybilne urządzenia | Harbor Breeze Reidsport Ceiling Fans (RDS44MBK5LR, RDS44BNK5LR, RDS44MW5LR, RDS52MBK6LR, RDS52BNK6LR, RDS52MW6LR) |
| Funkcja specjalna | Radiofrequency (RF) Control |
Konfiguracja i parowanie
1. Instalacja baterii
The remote control requires one 12V 23A battery (not included).
- Znajdź komorę baterii z tyłu pilota.
- Aby otworzyć pokrywę baterii, przesuń ją w dół.
- Insert one 12V 23A battery, ensuring the correct polarity (+ and -).
- Wsuń pokrywę baterii z powrotem na miejsce, aż zaskoczy.

Obraz: Tył view of the remote control with the battery compartment open, showing where to insert the 12V 23A battery.
2. Pairing with Ceiling Fan Receiver
Follow these steps to pair the remote control with your existing ceiling fan receiver:
- Turn Power Off To Fan: Locate the circuit breaker or wall switch that controls power to your ceiling fan and turn it OFF. Ensure the fan is completely powered down.

Image: A hand turning off a wall light switch, illustrating the first step of cutting power to the fan.
- Turn Power Back On To Fan: After a few seconds, turn the power back ON to the ceiling fan.
- Press and Hold "0" Key: Within 30 seconds of restoring power, press and hold the "0" key on the remote control for 5 seconds. The fan light should blink or the fan should respond, indicating successful pairing.

Image: A close-up of the remote control, with the "0" button highlighted, indicating the button to press for pairing.
If pairing is unsuccessful, repeat the steps. Ensure the remote control is within range of the fan receiver during the pairing process.

Image: The remote control securely placed in its wall mount holder, positioned on a wall near a ceiling fan, illustrating the ease of access after setup.
Instrukcja obsługi
The remote control provides comprehensive control over your ceiling fan's functions.
- Power Button (Top Button): Press to turn the fan light ON or OFF. Press and hold to dim the fan light.
- Przyciski prędkości wentylatora (1, 2, 3, 0):
- "1": Ustawia prędkość wentylatora na niską.
- "2": Ustawia prędkość wentylatora na średnią.
- "3": Ustawia prędkość wentylatora na wysoką.
- "0": WYŁĄCZA wentylator.

Image: The remote control displayed alongside icons and text describing its functions: full speed control, light control, dimming, and compatibility with multiple fan models.
Konserwacja
Aby zapewnić optymalną wydajność i długą żywotność pilota:
- Czyszczenie: Przetrzyj pilota miękką, suchą ściereczką. Nie używaj środków czyszczących ani rozpuszczalników o działaniu ściernym.
- Wymiana baterii: Replace the 12V 23A battery when the remote's range decreases or it becomes unresponsive. Dispose of old batteries according to local regulations.
- Składowanie: Store the remote control in a cool, dry place when not in use for extended periods.
Rozwiązywanie problemów
| Problem | Możliwa przyczyna | Rozwiązanie |
|---|---|---|
| Pilot nie odpowiada. | Rozładowana lub nieprawidłowo zainstalowana bateria. | Replace the 12V 23A battery, ensuring correct polarity. |
| Remote control not pairing with fan. | Incorrect pairing procedure or power interruption. | Repeat the pairing steps carefully (Power Off, Power On, Hold "0" for 5 seconds). Ensure power is completely cycled. |
| Ograniczony zasięg lub sterowanie przerywane. | Niski poziom naładowania baterii lub zakłócenia. | Replace battery. Ensure no major obstructions between remote and fan receiver. |
| Fan light not dimming. | Fan receiver or light kit does not support dimming. | Verify your ceiling fan's specifications for dimming compatibility. |
Gwarancja i wsparcie
Ten produkt jest dostarczany z 1-letnia gwarancja producenta.
For technical support or warranty claims, please contact Comfort Direct customer service. Refer to your purchase documentation for contact details or visit the official Comfort Direct webstrona.
Notatka: The warranty does not cover damage caused by improper installation, misuse, or unauthorized modifications.


