Wstęp
This manual provides comprehensive instructions for the setup, operation, and maintenance of your V7 Dual Bay Docking Station USB 3.0. This device is designed to provide convenient access to 2.5-inch and 3.5-inch SATA hard disk drives (HDDs) and solid-state drives (SSDs), offering high-speed data transfer and a standalone cloning function.
Przed użyciem produktu należy dokładnie przeczytać instrukcję, aby mieć pewność, że będzie on działał prawidłowo i uniknąć uszkodzeń.
Zawartość opakowania

Image: The side of the V7 Dual Bay Docking Station packaging, detailing the included items.
Sprawdź, czy w przesyłce znajdują się wszystkie wymienione poniżej elementy:
- 1x V7 Dual Bay Docking Station
- 1x USB 3.0 A to B Cable
- 1x DC 12V/3A Power Adapter
- 1x Instrukcja obsługi (ten dokument)
Produkt ponadview
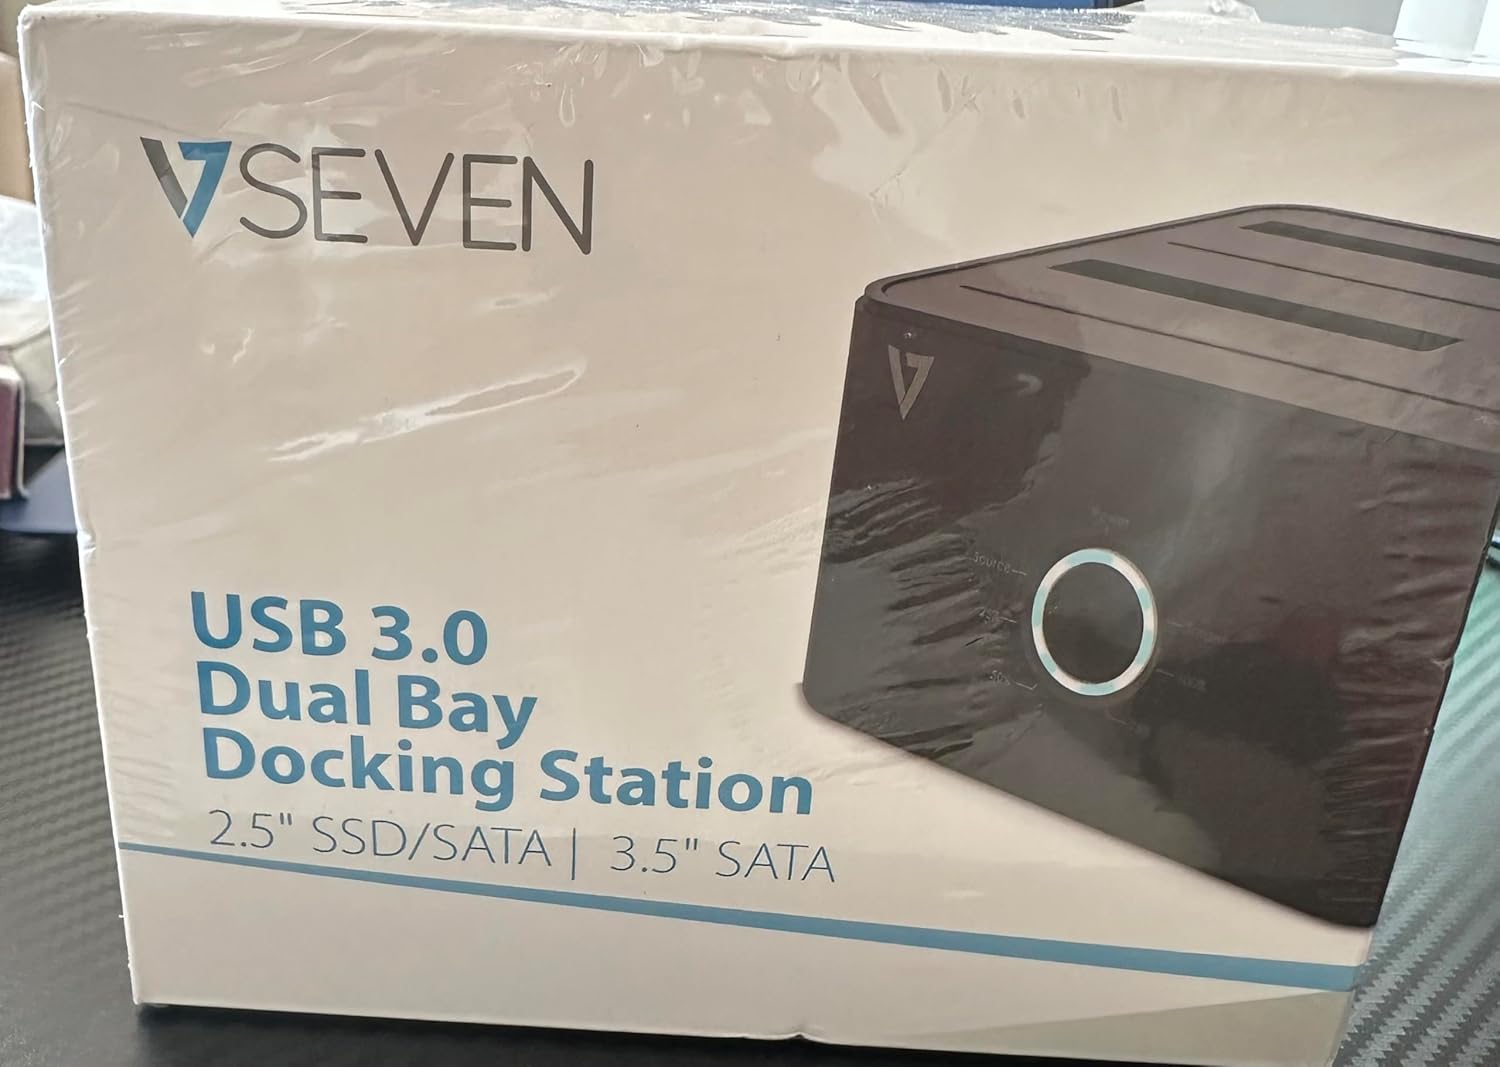
Image: The front of the V7 Dual Bay Docking Station packaging, displaying the product and its name.
The V7 Dual Bay Docking Station provides a versatile solution for managing your 2.5-inch and 3.5-inch SATA drives. Key features include:
- USB 3.0 Super-Speed Data Transfer: Achieves speeds up to 5 Gbps, significantly faster than USB 2.0.
- Konstrukcja z dwoma zatokami: Supports two SATA I/II/III HDDs or SSDs simultaneously.
- Standalone Clone Function: Allows direct cloning of one drive to another without requiring a computer.
- Wyświetlacz LED: Provides status indication during operation, especially for cloning.
- Materiały pochodzące z recyklingu: Constructed with recycled materials, contributing to environmental sustainability.

Image: The back of the V7 Dual Bay Docking Station packaging, illustrating key features and benefits, including the use of recycled materials.
Porty i wskaźniki:
- USB-B Port (1x): Łączy stację dokującą z komputerem.
- SATA Drive Bays (2x): Do montażu dysków twardych/SSD SATA 2.5" lub 3.5".
- DC Power Input (1x): For connecting the 12V/3A power adapter.
- Power Button/LED: Steruje zasilaniem i wskazuje stan operacyjny.
- Clone Button/LEDs: Initiates the cloning process and indicates progress.
Organizować coś
- Podłącz zasilanie: Insert the DC 12V/3A power adapter into the "DC Power Input" port on the docking station, then plug the adapter into a wall outlet.
- Włóż napędy:
- Gently slide your 2.5-inch or 3.5-inch SATA HDD/SSD into the drive bay(s) until it is securely seated. Ensure the SATA connector aligns correctly.
- For cloning, insert the source drive into Bay 1 (Source) and the target drive into Bay 2 (Target). The target drive must be equal to or larger in capacity than the source drive.
- Connect to Computer (for data transfer): If you intend to use the docking station for data transfer with a computer, connect one end of the USB 3.0 A to B cable to the USB-B port on the docking station and the other end to an available USB 3.0 port on your computer.
- Włączanie: Press the power button on the docking station. The power LED should illuminate.
Instrukcja obsługi
A. Data Transfer Mode (Connected to Computer)
- Sprawdź, czy stacja dokująca jest włączona i podłączona do komputera za pomocą kabla USB 3.0.
- Insert one or two SATA drives into the bays.
- Your operating system should detect the drives as external storage. You may need to initialize and format new drives through Disk Management (Windows) or Disk Utility (macOS) before use.
- You can now access, read, and write data to the inserted drives as you would with any external storage device.
- Always safely eject the drives from your operating system before powering off the docking station or removing the drives.
B. Standalone Clone Function (Without Computer)
The clone function allows you to duplicate a source drive to a target drive without a computer connection. The target drive must have a capacity equal to or greater than the source drive.
- Przygotowanie:
- Ensure the docking station is disconnected from any computer.
- Włóż Dysk źródłowy (the drive you want to copy FROM) into Zatoka 1.
- Włóż Napęd docelowy (the drive you want to copy TO) into Zatoka 2.
- Warning: All data on the target drive will be erased during the cloning process. Back up any important data on the target drive before proceeding.
- Zainicjuj klonowanie:
- Włącz stację dokującą.
- Press and hold the "Clone" button for approximately 3-5 seconds until the clone progress LEDs begin to flash.
- Confirm Clone:
- Release the "Clone" button. The 25% progress LED should start blinking.
- Press the "Clone" button again briefly to confirm and start the cloning process.
- Monitoruj postęp: The progress LEDs (25%, 50%, 75%, 100%) will illuminate sequentially to indicate the cloning status.
- Ukończenie: When the 100% LED remains solid, the cloning process is complete.
- Wyłączanie i usuwanie: Przed wyjęciem dysków wyłącz stację dokującą.
Konserwacja
- Utrzymuj stację dokującą w czystości i bez kurzu. Do czyszczenia używaj miękkiej, suchej ściereczki.
- Unikaj wystawiania urządzenia na działanie ekstremalnych temperatur, wilgoci lub bezpośredniego światła słonecznego.
- Nie próbuj samodzielnie demontować ani naprawiać urządzenia. Spowoduje to unieważnienie gwarancji.
- Podczas pracy urządzenia należy zapewnić odpowiednią wentylację.
Rozwiązywanie problemów
| Problem | Możliwa przyczyna | Rozwiązanie |
|---|---|---|
| Urządzenie się nie włącza. | Zasilacz nie jest podłączony lub jest uszkodzony. | Ensure the power adapter is securely connected to both the docking station and a working power outlet. Try a different outlet. |
| Drives not detected by computer. | USB cable not connected properly; drive not seated correctly; drive uninitialized/unformatted. | Check USB cable connection. Re-seat the drive(s). For new drives, initialize and format them via Disk Management (Windows) or Disk Utility (macOS). Try a different USB port on your computer. |
| Clone function not starting. | Incorrect drive placement; target drive too small; clone button not held long enough. | Ensure source drive is in Bay 1 and target drive in Bay 2. Verify target drive capacity is equal to or larger than source. Hold the clone button for 3-5 seconds until LEDs flash. |
| Niska prędkość przesyłu danych. | Connected to USB 2.0 port; faulty USB cable. | Ensure the docking station is connected to a USB 3.0 port on your computer. Try a different USB 3.0 cable. |
Specyfikacje
- Model: 9UDBBS-BLK
- Interfejs sprzętowy: USB 3.0 (kompatybilny wstecz z USB 2.0)
- Prędkość przesyłu danych: Up to 5 Gbps (USB 3.0 Super-Speed)
- Zgodność napędu: 2.5" and 3.5" SATA I/II/III HDDs and SSDs
- Zatoki napędowe: 2
- Porty: 1x USB-B (Host), 2x SATA (Internal), 1x DC Power Input
- Pobór mocy: DC 12V/3A (12 Watts)
- Kod UPC: 662919116557
- Producent: Ingram Micro Inc
- Tworzywo: Made from Recycled Materials
Gwarancja i wsparcie
For warranty information and technical support, please refer to the official V7 webOdwiedź witrynę lub skontaktuj się ze sprzedawcą. Zachowaj dowód zakupu na wypadek reklamacji.
Aby uzyskać dalszą pomoc, odwiedź stronę: www.v7world.com/support (Byłyample link, rzeczywisty link może się różnić)