1. Wprowadzenie
Thank you for choosing the SUNVIVI 6.5QT 12-in-1 Digital Programmable Multi Slow Cooker Roaster Oven. This versatile appliance is designed to simplify your cooking process with its multiple functions and user-friendly interface. Please read this manual thoroughly before first use to ensure safe and optimal operation.
2. Ważne instrukcje bezpieczeństwa
- Przed użyciem urządzenia należy przeczytać całą instrukcję.
- Nie dotykaj gorących powierzchni. Używaj uchwytów lub gałek.
- Aby uniknąć porażenia prądem elektrycznym, nie zanurzaj przewodu zasilającego, wtyczek ani jednostki głównej w wodzie ani innej cieczy.
- Należy zachować ścisły nadzór, jeżeli z urządzenia korzystają dzieci lub w ich pobliżu.
- Odłącz od gniazdka, gdy nie jest używany i przed czyszczeniem. Pozostaw do ostygnięcia przed założeniem lub zdjęciem części.
- Nie używaj żadnego urządzenia, jeśli przewód lub wtyczka są uszkodzone, ani po awarii urządzenia lub po jego uszkodzeniu w jakikolwiek sposób.
- Stosowanie akcesoriów niezalecanych przez producenta urządzenia może spowodować obrażenia.
- Nie stosować na zewnątrz.
- Nie pozwól, aby przewód zwisał z krawędzi stołu lub blatu i dotykał gorących powierzchni.
- Nie umieszczać na gorącym palniku gazowym lub elektrycznym ani w jego pobliżu, a także w nagrzanym piekarniku.
- Należy zachować szczególną ostrożność podczas przenoszenia urządzenia zawierającego gorący olej lub inne gorące płyny.
- Zawsze najpierw podłącz wtyczkę do urządzenia, a następnie podłącz przewód do gniazdka ściennego. Aby odłączyć, przestaw dowolne pokrętło w położenie „off”, a następnie wyjmij wtyczkę z gniazdka ściennego.
- Nie używaj urządzenia niezgodnie z jego przeznaczeniem.
3. Koniec produktuview
Komponenty
- Jednostka główna z panelem sterowania
- Removable Nonstick Cooking Crock
- Szklana pokrywa z uchwytem
- Roasting/Steaming Rack

Image: The complete SUNVIVI 6.5QT 12-in-1 Multi Slow Cooker Roaster Oven with its glass lid, showing the control panel and handles.
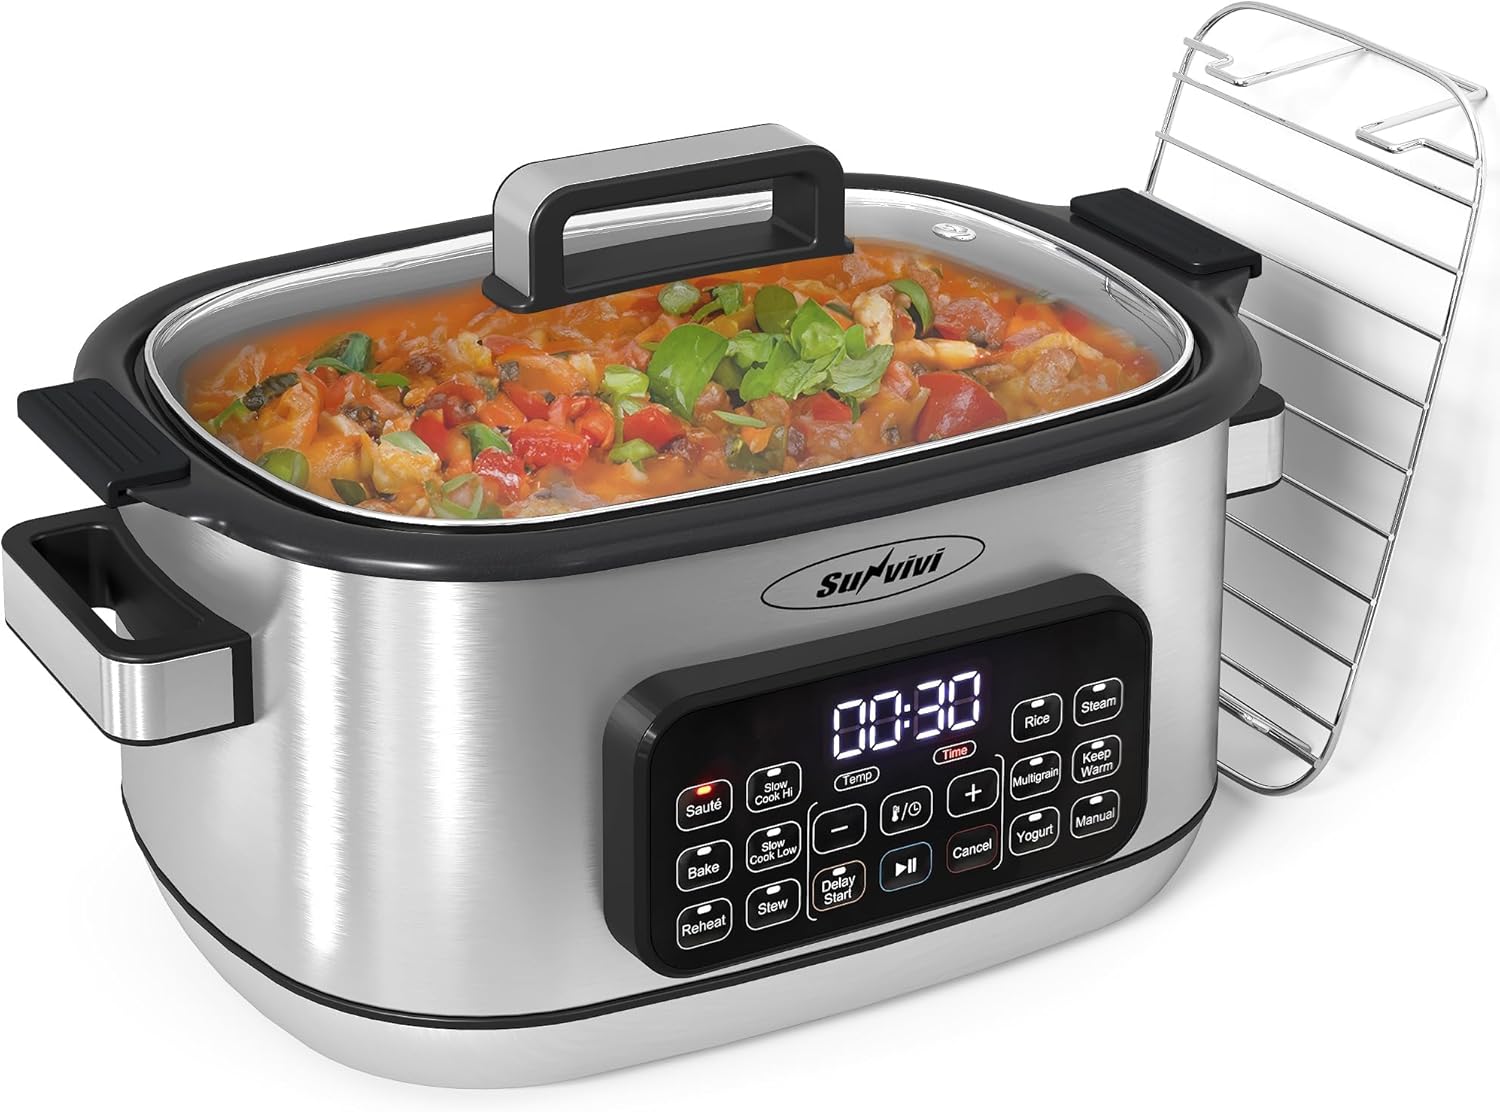
Image: The SUNVIVI Multi Cooker with the roasting rack placed beside it, demonstrating its accessories.
Główne cechy
- Wszechstronność 12 w 1: Functions include Sauté, Bake, Reheat, Slow Cook (High/Low), Stew, Rice, Multigrain, Yogurt, Steam, Keep Warm, Manual, and Delay Start.
- Cyfrowy panel sterowania: High-definition LED display with intuitive touch controls for easy mode selection, temperature, and timer adjustments.
- Pojemność 6.5 kwarty: Large capacity suitable for family meals or gatherings.
- Powłoka zapobiegająca przywieraniu: Upgraded non-stick interior for easy food release and quick cleanup.
- Równomierne ogrzewanie: Advanced surround heating technology ensures uniform heat distribution.
- Funkcje bezpieczeństwa: High-temperature resistant glass lid and dual anti-scald cool-touch handles.
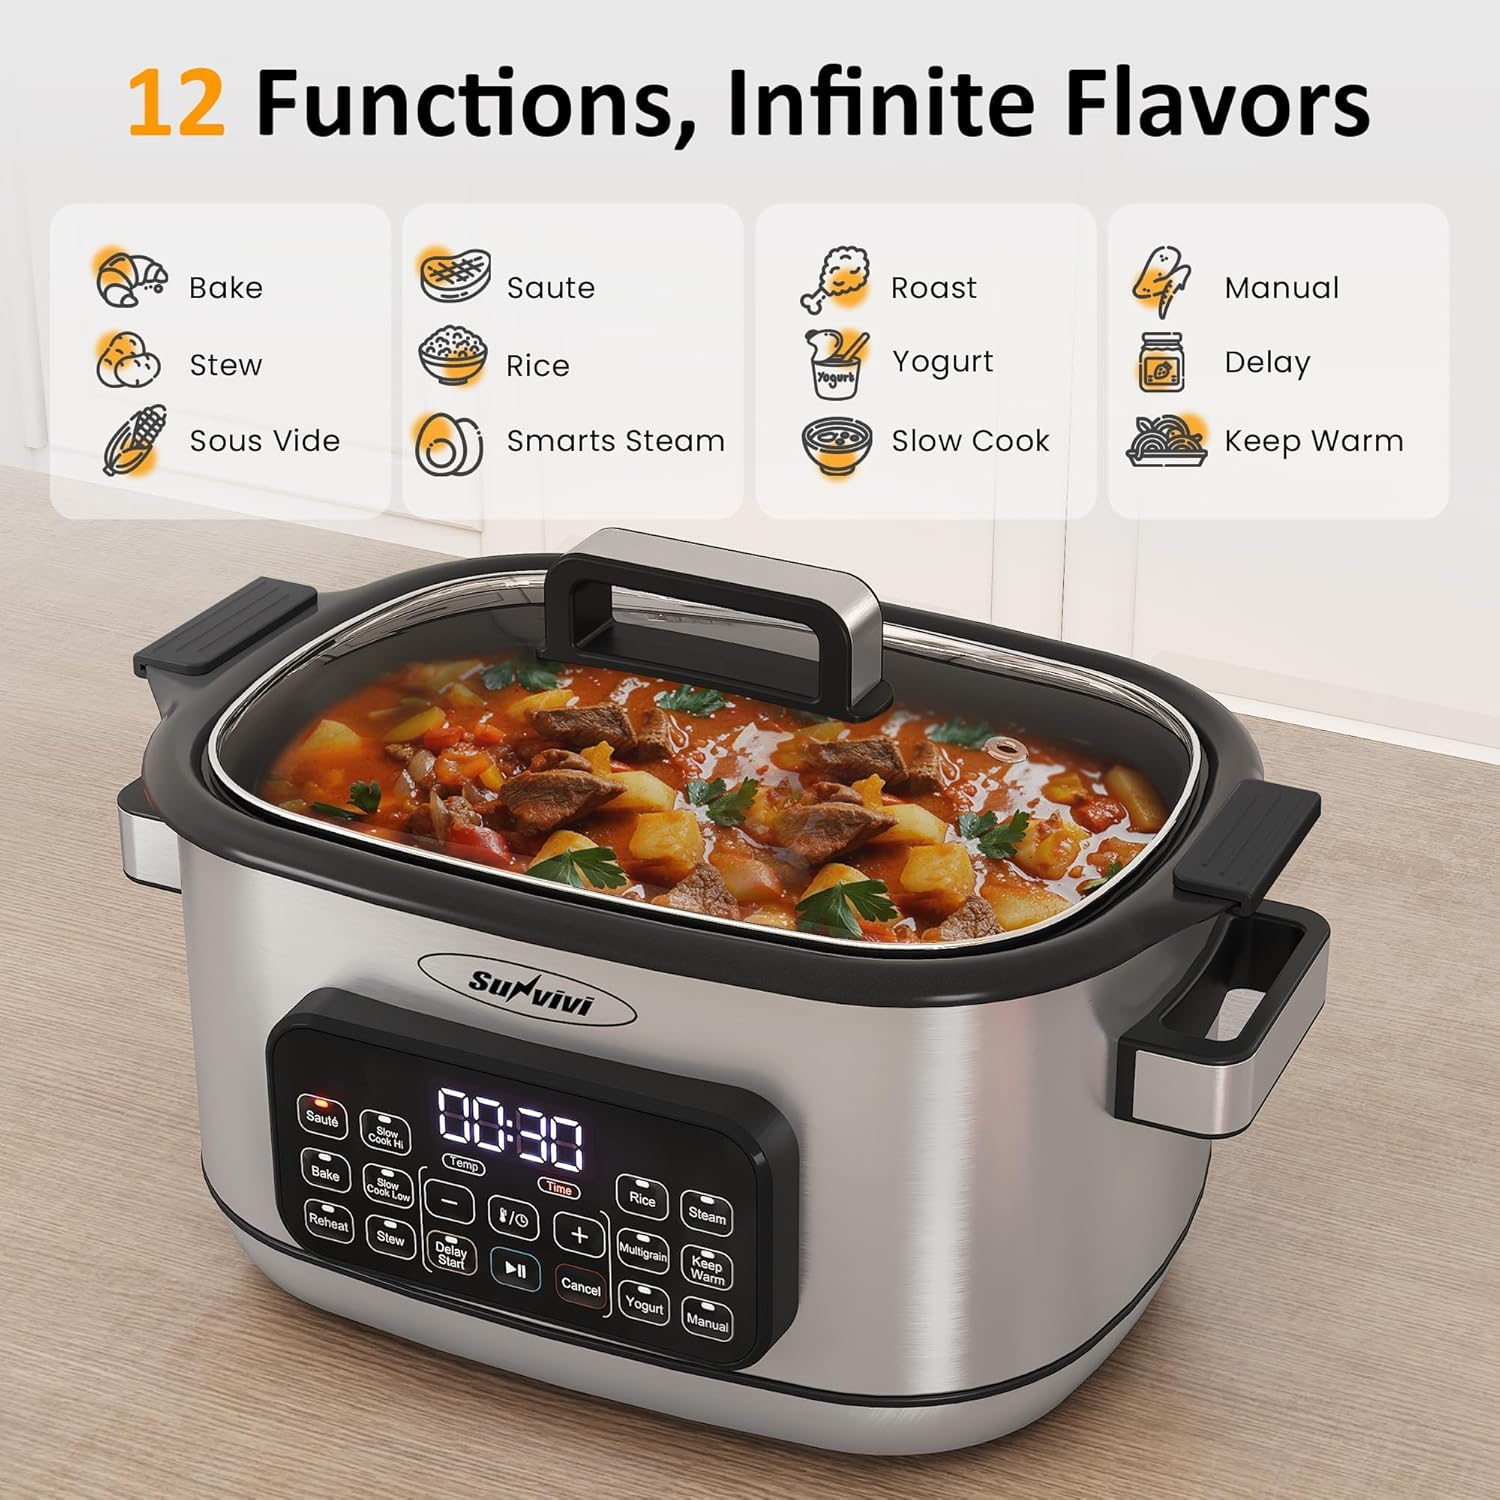
Image: A visual representation of the 12 cooking functions available on the SUNVIVI Multi Cooker, including Bake, Sauté, Roast, Stew, Sous Vide, Yogurt, Smarts Steam, Slow Cook, Manual, Delay, and Keep Warm.

Image: Diagram illustrating the uniform heating technology of the SUNVIVI Multi Cooker, showing heat distribution from the base and sides.
4. Konfiguracja
- Rozpakować: Ostrożnie wyjąć wszystkie elementy z opakowania.
- Czysty: Wash the removable cooking crock, glass lid, and rack with warm, soapy water. Rinse thoroughly and dry completely. Wipe the exterior of the main unit with a damp płótno.
- Umieszczenie: Place the main unit on a stable, flat, heat-resistant surface, away from walls or other appliances to allow for proper ventilation.
- Gromadzić się: Insert the clean, dry cooking crock into the main unit. Place the glass lid on top.
- Moc: Podłącz przewód zasilający do uziemionego gniazdka elektrycznego. Wyświetlacz się podświetli.
5. Instrukcja obsługi
Panel sterowania nadview
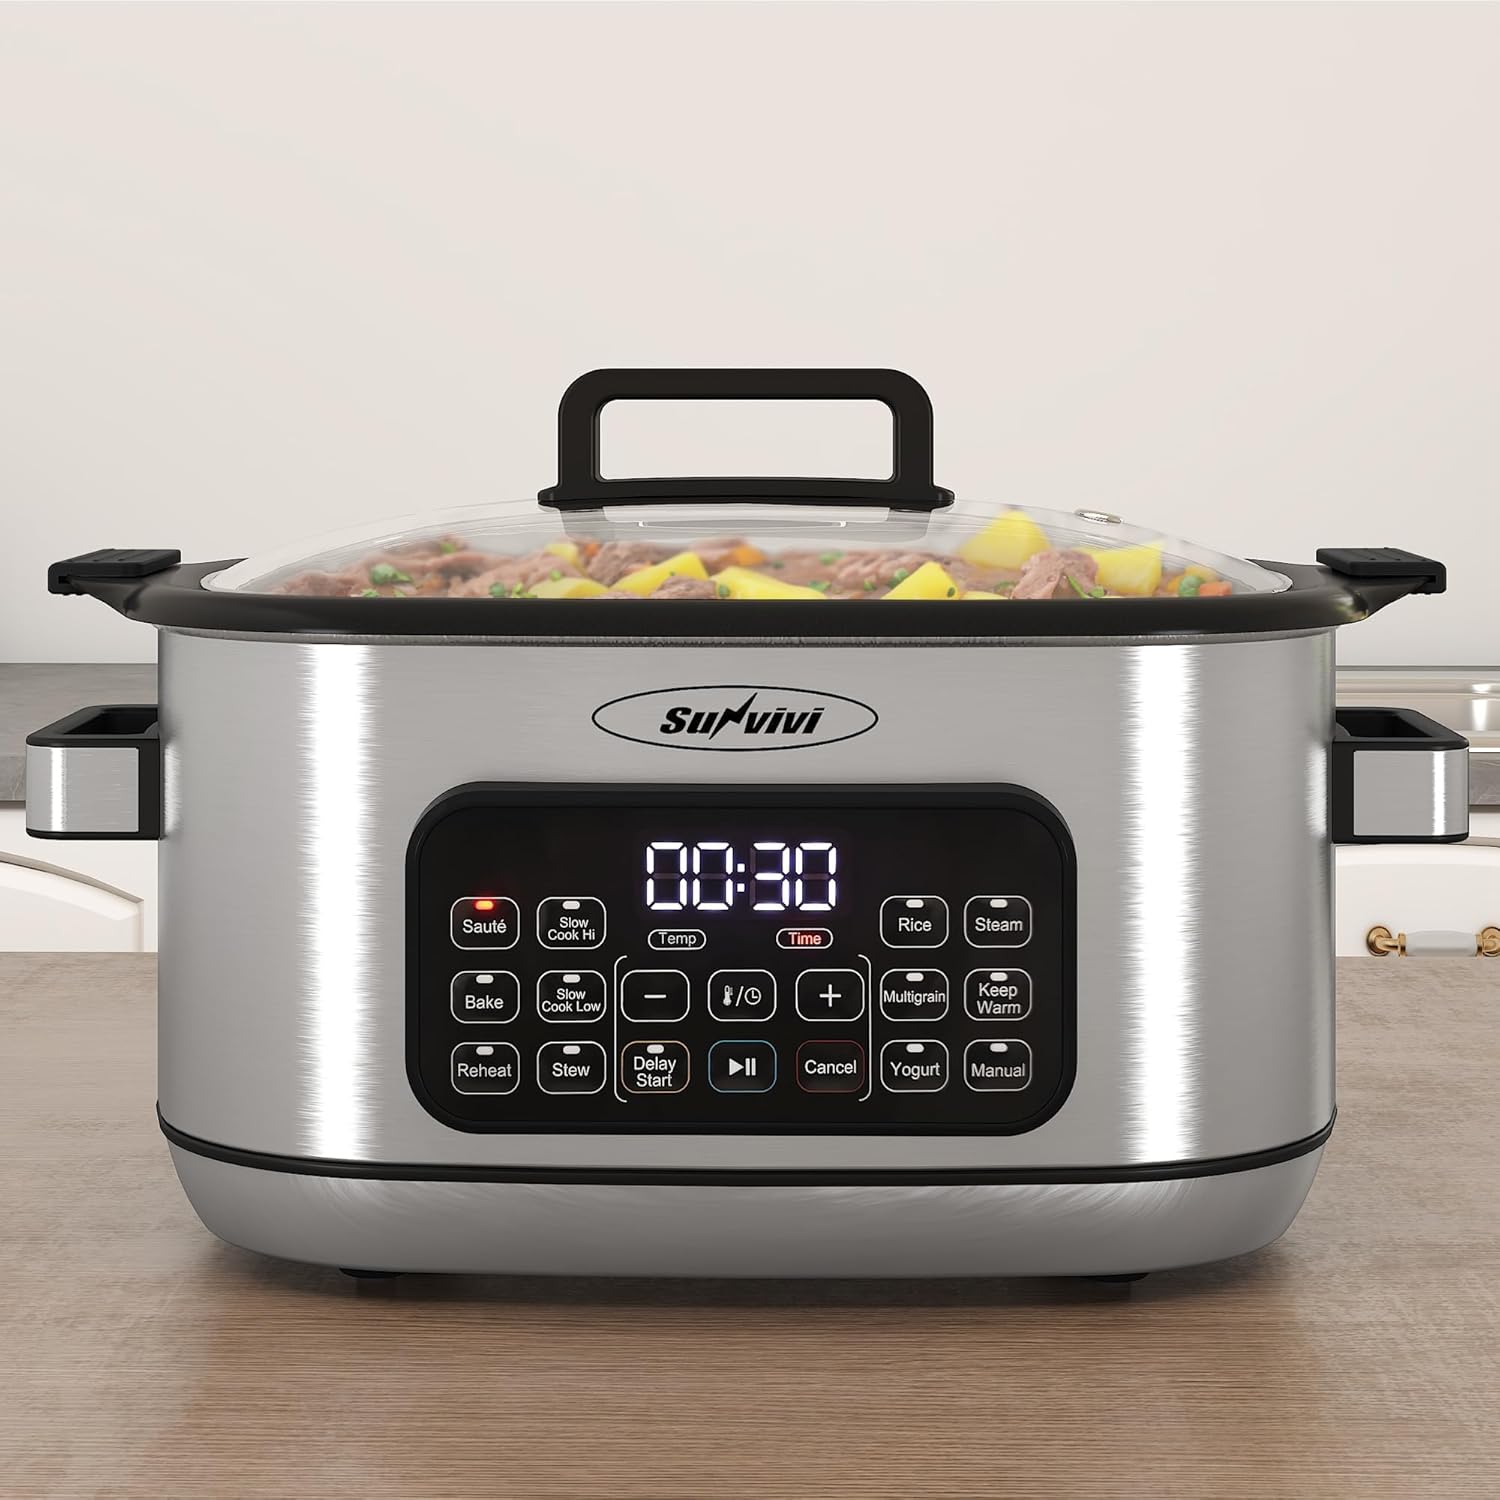
Image: Close-up of the SUNVIVI Multi Cooker's digital control panel, showing buttons for various cooking modes, temperature, and timer settings.
The control panel features an LED display and touch buttons for various cooking functions, temperature adjustment, and time settings.
Ogólne działanie
- Włączanie: Plug in the appliance. The display will show standby mode.
- Wybierz funkcję: Press the desired function button (e.g., Sauté, Slow Cook High, Bake). The default time and temperature for that function will appear on the display.
- Dostosuj czas/temperaturę: Use the 'Temp' and 'Time' buttons, along with the '+' and '-' buttons, to adjust the cooking temperature and duration as needed.
- Rozpocznij gotowanie: Press the 'Start' button (often represented by a play icon) to begin the cooking process.
- Cancel/Power Off: Press the 'Cancel' button to stop cooking or to turn off the appliance.
Specific Cooking Modes
- Podsmażyć: Ideal for browning meats or sautéing vegetables before slow cooking. Temperature range: 250-425°F, Time: 5 min - 1 hr.
- Wolne gotowanie (wysokie/niskie): For traditional slow cooking. Temperature range: 115-205°F, Time: 30 min - 24 hrs.
- Upiec: For baking various dishes. Temperature range: 230-420°F, Time: 30 min - 4 hrs.
- Podgrzanie: To warm up cooked food. Temperature range: 210-300°F, Time: 1 min - 20 min.
- Gulasz: Optimized for stewing. Temperature: 190°F, Time: 15 min - 4 hrs.
- Ryż: For cooking rice. Temperature: 212°F.
- Wieloziarnisty: Do gotowania różnych zbóż.
- Jogurt: For making homemade yogurt. Time: 4 hrs - 12 hrs.
- Para: Use with the included rack for steaming. Temperature range: 175-205°F, Time: 1 min - 2 hrs.
- Utrzymaj ciepło: Automatically activates after some cooking cycles or can be selected manually. Temperature: 150°F, Time: 1 hr - 10 hrs.
- Manual: Allows for custom temperature and time settings. Temperature range: 175-425°F, Time: 5 min - 12 hrs.
- Opóźniony start: Set a delay before cooking begins. Use the '+' and '-' buttons to set the delay time.
6. Konserwacja i czyszczenie
Instrukcje czyszczenia
- Odłącz i ostudź: Zawsze odłączaj urządzenie i pozwól mu całkowicie ostygnąć przed czyszczeniem.
- Części wyjmowane: The removable cooking crock, glass lid, and rack are dishwasher safe. Alternatively, wash them with warm, soapy water using a soft sponge.
- Pielęgnacja powłoki zapobiegającej przywieraniu: Do not scrub the nonstick coating with abrasive materials like steel wool balls, as this can damage the coating and lead to rust.
- Jednostka główna: Wytrzyj zewnętrzną część jednostki głównej za pomocąamp ściereczką. Nie zanurzaj jednostki głównej w wodzie ani żadnym innym płynie.
- Wysuszenie: Always dry all parts thoroughly after cleaning to prevent water spots or mineral buildup.
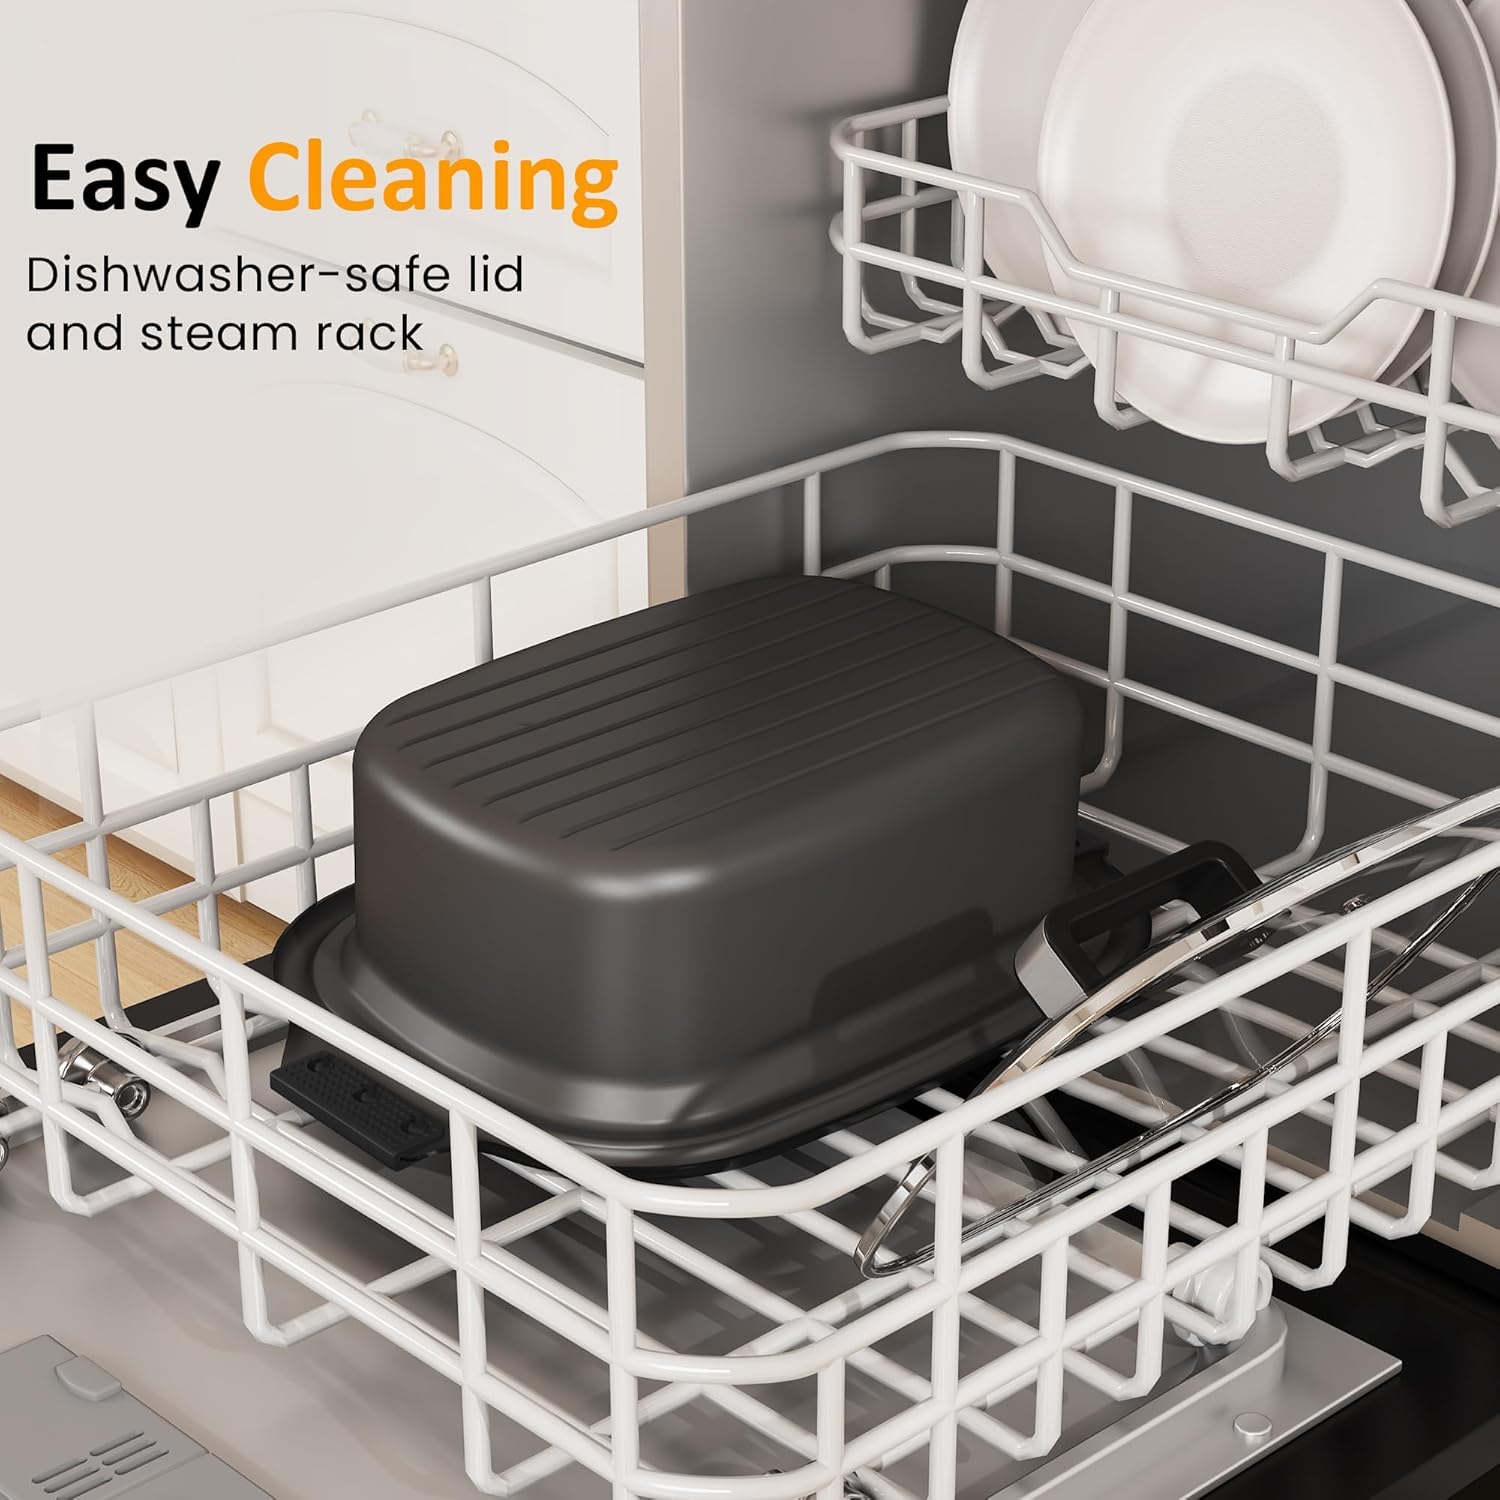
Image: The removable cooking crock and glass lid of the SUNVIVI Multi Cooker shown in a dishwasher rack, indicating they are dishwasher safe.
7. Rozwiązywanie Problemów
If you encounter issues with your SUNVIVI Multi Cooker, please refer to the following common troubleshooting steps:
- Urządzenie się nie włącza: Upewnij się, że przewód zasilający jest prawidłowo podłączony do sprawnego gniazdka elektrycznego. Sprawdź, czy gniazdko jest zasilane.
- Jedzenie nie gotuje się równomiernie: Ensure the cooking crock is properly seated in the main unit. Avoid overfilling the crock. Stir food occasionally if the recipe allows.
- Wyświetlacz nie odpowiada: Unplug the appliance for a few minutes, then plug it back in to reset the system.
- Pokrywa nie jest prawidłowo uszczelniona: Check for any food debris or damage around the rim of the crock or lid that might prevent a tight seal.
Aby uzyskać dalszą pomoc, skontaktuj się z obsługą klienta.
8. Specyfikacje
| Marka | SUNVIVI |
| Numer modelu | ZES015SL+016SL |
| Pojemność | 6.5 kwarty |
| Cotage | 1250 watów |
| Tomtage | 240 wolty |
| Wymiary produktu | 16.9" gł. x 10" szer. x 11" wys. |
| Waga przedmiotu | 12.47 funta |
| Tworzywo | Metal |
| Metoda kontroli | Dotyk / Przycisk |
| Liczba ustawień | 12 |
| Można myć w zmywarce | Tak (części wyjmowane) |

Image: Diagram showing the dimensions of the SUNVIVI Multi Cooker, including the main unit, lid, rack, and cooking pot.
9. Gwarancja i wsparcie
The SUNVIVI Multi Slow Cooker Roaster Oven typically comes with a manufacturer's warranty. Please refer to the product packaging or the official SUNVIVI website for specific warranty details and registration information. For technical support, replacement parts, or any inquiries, please contact SUNVIVI customer service through their official channels.


