1. Wprowadzenie
This manual provides essential instructions for the safe and efficient operation of your RadioShack Home Projector. Please read this manual thoroughly before using the device and retain it for future reference.
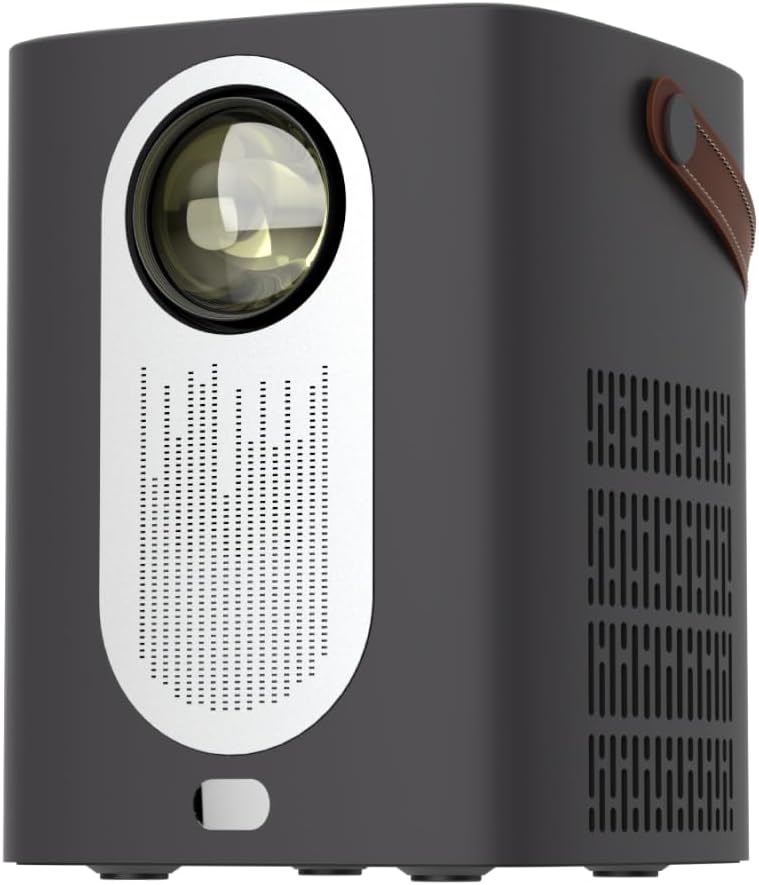
Obraz 1.1: Przód view of the RadioShack Home Projector, showcasing its lens and speaker grille.
2. Zawartość opakowania
Sprawdź, czy w opakowaniu znajdują się wszystkie elementy:
- 1 x RadioShack Home Projector
- 1 x Pilot zdalnego sterowania
- 1 x kabel zasilający
- 1 x Instrukcja obsługi (ten dokument)

Image 2.1: Illustration of the package contents, including the projector, remote control, power cable, and user manual.
3. Koniec produktuview
3.1. Główne cechy
- Wyświetlacz o wysokiej rozdzielczości: Supports full HD resolution for clear and detailed images.
- Bright and Long-Lasting: Features impressive brightness and a durable light source.
- Wszechstronna łączność: Includes Bluetooth, WiFi, Android Miracast, and iOS Cast for streaming.
- Wzmocniony Viewing: Digital focus and keystone correction for optimal image alignment.
- Kompaktowy i przenośny: Lightweight design with a handle for easy transport.
3.2. Porty i elementy sterujące
Familiarize yourself with the projector's input/output ports and controls.

Obraz 3.1: Tył view of the projector showing USB input for media playback, AV input for DVD players, and HDMI input for various devices like video game consoles, streaming sticks, cell phones, tablets, and laptops.

Obraz 3.2: Bok view illustrating the compact dimensions (approximately 7 inches tall, 5.3 inches wide) and the integrated leather handle for portability.
4. Przewodnik konfiguracji
4.1. Pierwsze włączenie zasilania
- Connect the power cable to the projector and a suitable power outlet.
- Press the power button located on the top of the projector or on the remote control to turn on the device. The indicator light will illuminate.
- The RadioShack logo will appear on the projection surface, indicating successful power-on.
Video 4.1: A short demonstration showing the unboxing, connecting the power cable, powering on the projector, and the initial display of the RadioShack logo.
4.2. Placement and Focus
- Place the projector on a stable, flat surface, ensuring the lens is unobstructed.
- Adjust the distance from the projection surface (wall or screen) to achieve the desired image size.
- Use the digital focus adjustment (refer to the remote control or on-screen menu) to sharpen the image.
- Utilize keystone correction if the image appears trapezoidal, to achieve a rectangular projection.
5. Instrukcja obsługi
5.1. Podłączanie urządzeń
Projektor obsługuje wiele źródeł sygnału wejściowego:
- HDMI: Connect devices such as laptops, gaming consoles, streaming boxes, or Blu-ray players using an HDMI cable. Select HDMI as the input source from the projector's menu.
- USB: Insert a USB drive to play compatible video or audio files. Select USB as the input source.
- AV: Connect older devices like DVD players using an AV cable. Select AV as the input source.
- Bluetooth: Pair with Bluetooth audio devices for wireless sound output.
- WiFi / Casting: Connect to a Wi-Fi network to enable Android Miracast or iOS Cast for screen mirroring from compatible smartphones and tablets.

Image 5.1: A couple enjoying content projected by the RadioShack Home Projector, demonstrating its use in a home cinema setting.
5.2. Funkcje pilota
Dołączony pilot zdalnego sterowania umożliwia wygodną obsługę:
- Moc: Włączanie/wyłączanie projektora.
- Źródło: Wybierz źródła wejściowe (HDMI, USB, AV itp.).
- Nawigacja: Arrow keys to navigate menus, OK button to confirm.
- Tom: Dostosuj poziom wyjściowy dźwięku.
- Ostrość/trapez: Access digital focus and keystone correction settings.

Image 5.2: The RadioShack Home Projector placed on a table next to its remote control, ready for use.
6. Konserwacja
- Czyszczenie obiektywu: Do delikatnego przecierania soczewki projektora używaj miękkiej, niepozostawiającej włókien ściereczki przeznaczonej specjalnie do soczewek optycznych. Unikaj materiałów ściernych i silnych środków chemicznych.
- Czyszczenie powierzchni zewnętrznej: Przetrzyj obudowę projektora miękką, suchą ściereczką. Nie używaj płynnych środków czyszczących bezpośrednio na urządzeniu.
- Wentylacja: Ensure the projector's ventilation openings are clear of dust and obstructions to prevent overheating.
- Składowanie: Jeśli projektor nie będzie używany przez dłuższy czas, należy go przechowywać w chłodnym i suchym miejscu, z dala od bezpośredniego światła słonecznego i ekstremalnych temperatur.
7. Rozwiązywanie Problemów
| Problem | Możliwa przyczyna | Rozwiązanie |
|---|---|---|
| Obraz nie jest wyświetlany | Power cable disconnected; incorrect input source selected; lens cap on. | Check power connection; select correct input source (HDMI, USB, AV); remove lens cap. |
| Obraz jest rozmazany | Nie ustawiono ostrości; projektor jest zbyt blisko/daleko od ekranu. | Adjust digital focus; reposition projector for optimal distance. |
| Brak dźwięku | Volume too low; external audio device not connected/paired; incorrect audio output selected. | Increase volume; ensure Bluetooth device is paired or wired audio is connected; check audio output settings. |
| Pilot nie działa | Baterie są rozładowane; między pilotem a projektorem znajduje się przeszkoda. | Replace remote control batteries; ensure clear line of sight to the projector's IR receiver. |
8. Specyfikacje
- Marka: RadioShack
- Model: Home Projector (ASIN: B0DP1GFG9L)
- Rozdzielczość wyświetlacza: 1280 x 720 (Supports Full HD)
- Technologia łączności: AV, HDMI, USB, Bluetooth, WiFi (Android Miracast, iOS Cast)
- Cechy szczególne: Portable, Digital Focus, Keystone Correction
- Zalecane użycie: Kino domowe
- Wymiary produktu: 5.31 x 5.31 x 7.09 cala
- Waga przedmiotu: 3.91 funta

Image 8.1: The projector displaying content, highlighting its support for full HD resolution and high-quality sound.
9. Gwarancja i wsparcie
For warranty information and technical support, please refer to the official RadioShack webOdwiedź stronę internetową lub skontaktuj się z działem obsługi klienta. Zachowaj paragon jako dowód zakupu.
Wsparcie online: www.radioshack.com


