1. Wprowadzenie
Welcome to the user manual for your Pulsar Axion Compact Thermal Imaging Monocular XG35. This device is engineered to deliver advanced thermal imaging capabilities within a portable and ergonomic design. Please review this manual thoroughly to understand the features, proper operation, and maintenance procedures for your monocular.

Image 1.1: The Pulsar Axion Compact Thermal Imaging Monocular XG35.
2. Główne cechy
The Pulsar Axion Compact Thermal Imaging Monocular XG35 incorporates several advanced features for enhanced performance:
- Czujnik termiczny o wysokiej rozdzielczości: Features a 12-micron microbolometer and a 640x400 AMOLED display for superior image clarity and detail.
- Kompaktowa i lekka konstrukcja: Engineered for portability and ease of use, fitting comfortably in hand or pocket.
- Eight Color Modes: Offers a variety of viewing options to adapt to different environments and user preferences, enhancing visibility and target identification.
- Solidna trwałość: Designed with a wide operating temperature range (-13°F to +104°F) and an IPX7 waterproof rating for reliable performance in harsh conditions.
- Extended Detection Range: Capable of detecting heat signatures up to 1750 yards.
- Długa żywotność baterii: Equipped with an APS 5 Li-Ion battery providing up to 7 hours of continuous use.
- Stream Vision 2 App Support: Compatible with the Stream Vision 2 application for remote control, streaming, and firmware updates via iOS and Android devices.

Image 2.1: The Axion XG35 Compact monocular, emphasizing its portability.

Image 2.2: Illustration of the monocular's compact size, fitting into a pocket.
3. Zawartość opakowania
Po otwarciu opakowania należy sprawdzić, czy znajdują się w nim wszystkie poniższe elementy:
- Pulsar Axion Compact Thermal Imaging Monocular XG35
- Akumulator APS 3
- Zasilacz
- Etui transportowe
- Instrukcja obsługi (ten dokument)
4. Konfiguracja
4.1. Instalacja baterii
Locate the battery compartment on the monocular. Insert the APS 3 battery, ensuring correct orientation according to the markings inside the compartment. Close the compartment securely.
4.2. Ładowanie akumulatora
Connect the provided power adapter to the charging port on the monocular and then plug the adapter into a standard electrical outlet. The charging indicator will illuminate. A full charge typically takes several hours. Ensure the battery is fully charged before first use for optimal performance.
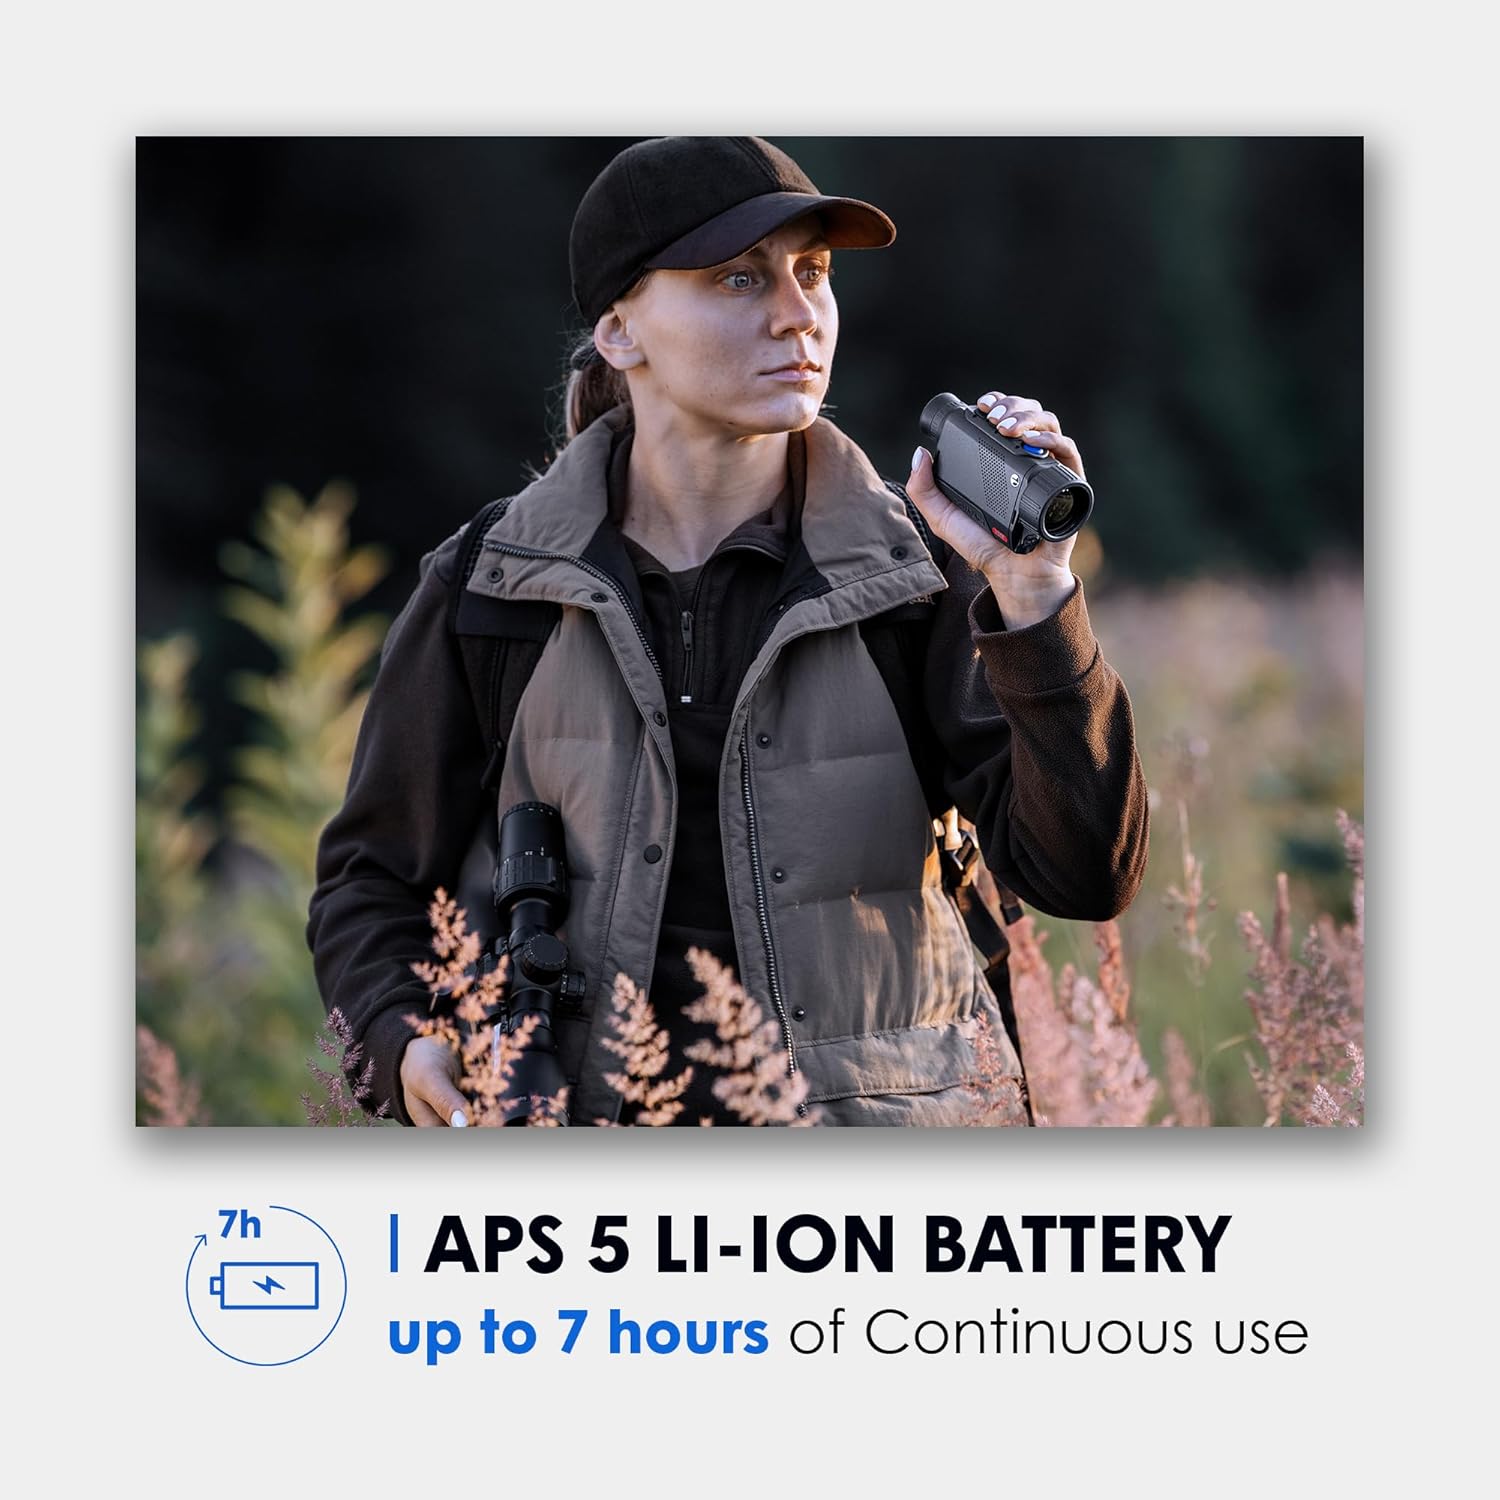
Image 4.1: Illustration of the APS 5 Li-Ion battery, indicating its capacity.
4.3. Włączanie/wyłączanie zasilania
To power on the device, press and hold the power button (typically located on the top panel) until the display illuminates. To power off, press and hold the power button again until the display shuts down.
5. Instrukcja obsługi
5.1. Podstawowe sterowanie
Familiarize yourself with the buttons on the top panel of the monocular. These typically include:
- Przycisk zasilania: For turning the device on/off and sometimes for quick menu access.
- Przycisk menu: To access the main settings and options.
- Zoom/Magnification Buttons: To adjust the digital magnification level.
- Color Palette Button: To cycle through different thermal color modes.
5.2. Regulacja ostrości
To achieve a clear and sharp image, rotate the objective lens (front lens) to adjust the focus for objects at different distances. Additionally, adjust the eyepiece diopter for your individual vision by rotating the eyepiece until the on-screen information is sharp.
5.3. Tryby kolorów
The XG35 offers eight distinct color palettes to optimize viewing for various scenarios. Press the dedicated color mode button to cycle through:
- Biały gorący
- Czarny gorący
- Czerwony gorący
- Red Monochrome
- Tęcza
- Ultramaryna
- Fioletowy
- Sepia

Image 5.1: Visual representation of the eight available color palettes.
5.4. Stream Vision 2 App Integration
Enhance your monocular's functionality by connecting it to the Stream Vision 2 mobile application. Download the app from your device's app store (iOS and Android compatible). The app allows for remote control of the monocular, live streaming of thermal footage, and convenient firmware updates.

Image 5.2: A smartphone displaying the Stream Vision 2 app interface connected to a thermal device.
6. Konserwacja
6.1. Czyszczenie
To maintain optimal performance, keep the monocular clean. Use a soft, lint-free cloth to gently wipe the optical surfaces (lenses). For stubborn smudges, a specialized optical cleaning solution can be applied to the cloth, not directly to the lens. Avoid using abrasive materials, harsh chemicals, or excessive force, as these can damage the coatings.
6.2. Przechowywanie
When not in use, store the Pulsar Axion Compact Thermal Imaging Monocular XG35 in its provided carrying case. Ensure the device is powered off and stored in a dry, cool environment, away from direct sunlight and extreme temperatures. Remove the battery if storing for extended periods to prevent potential leakage.
7. Rozwiązywanie Problemów
This section addresses common issues you might encounter with your monocular.
- Urządzenie się nie włącza: Ensure the APS 3 battery is correctly installed and fully charged. Connect the power adapter to confirm if the issue is battery-related.
- Poor image quality or blurry display: Adjust the objective lens for focus and the eyepiece diopter for your vision. Clean the lenses if they are dirty.
- Bateria szybko się rozładowuje: Ensure the device is completely powered off when not in use. Extreme cold temperatures can reduce battery life. If the battery is old or appears damaged, consider replacing it.
- No image or display issues: Try restarting the device. If the problem persists, ensure the battery is charged and properly seated.
If you encounter issues not covered here or if troubleshooting steps do not resolve the problem, please refer to the Warranty & Support section for contact information.
8. Specyfikacje
The following table outlines the key specifications for the Pulsar Axion Compact Thermal Imaging Monocular XG35:
| Specyfikacja | Wartość |
|---|---|
| Nazwa modelu | Axion XG35 |
| Numer części | PL77509 |
| Rozdzielczość czujnika | 640x480 (12-micron) |
| Typ wyświetlacza | AMOLED |
| Powiększenie | 2.5-20x |
| Zasięg wykrywania | 1750 jardów |
| Typ baterii | APS 3 Li-Ion |
| Temperatura pracy | -13°F do +104°F |
| Stopień wodoodporności | IPX7 |
| Tworzywo | Stop magnezu |
| Waga przedmiotu | 0.77 funtów |
| Wymiary produktu (DxSxW) | 5.8 x 2 x 2.8 cala |
| Producent | Korporacja Sellmark |
| Data pierwszej dostępności | 1 listopada 2024 r. |

Image 8.1: Key specifications including magnification, display, and IPX7 rating.

Rysunek 8.2: Szczegółowy view of the monocular's sensor specifications.

Image 8.3: Illustration of the 1750-yard detection range capability.
9. Gwarancja i pomoc techniczna
9.1. Informacje o gwarancji
The Pulsar Axion Compact Thermal Imaging Monocular XG35 is covered by a 5-letnia gwarancja producentaNiniejsza gwarancja obejmuje wady materiałowe i wykonawcze powstałe w wyniku normalnego użytkowania. Prosimy zachować dowód zakupu na potrzeby roszczeń gwarancyjnych.
9.2. Obsługa klienta
For technical assistance, troubleshooting, or to initiate a warranty claim, please contact Pulsar customer support. You can find up-to-date contact information and additional resources on the official Pulsar webstrona: www.pulsarnv.com.


