1. Wprowadzenie
This manual provides comprehensive instructions for the operation and maintenance of your EBTOOLS Body Camera, Model EBTOOLSs1gq2a4o5t-12. This portable, body-mounted camcorder is designed for various recording needs, including law enforcement, security, and outdoor activities, offering 1080P HD video recording, night vision capabilities, and a wide-angle lens.
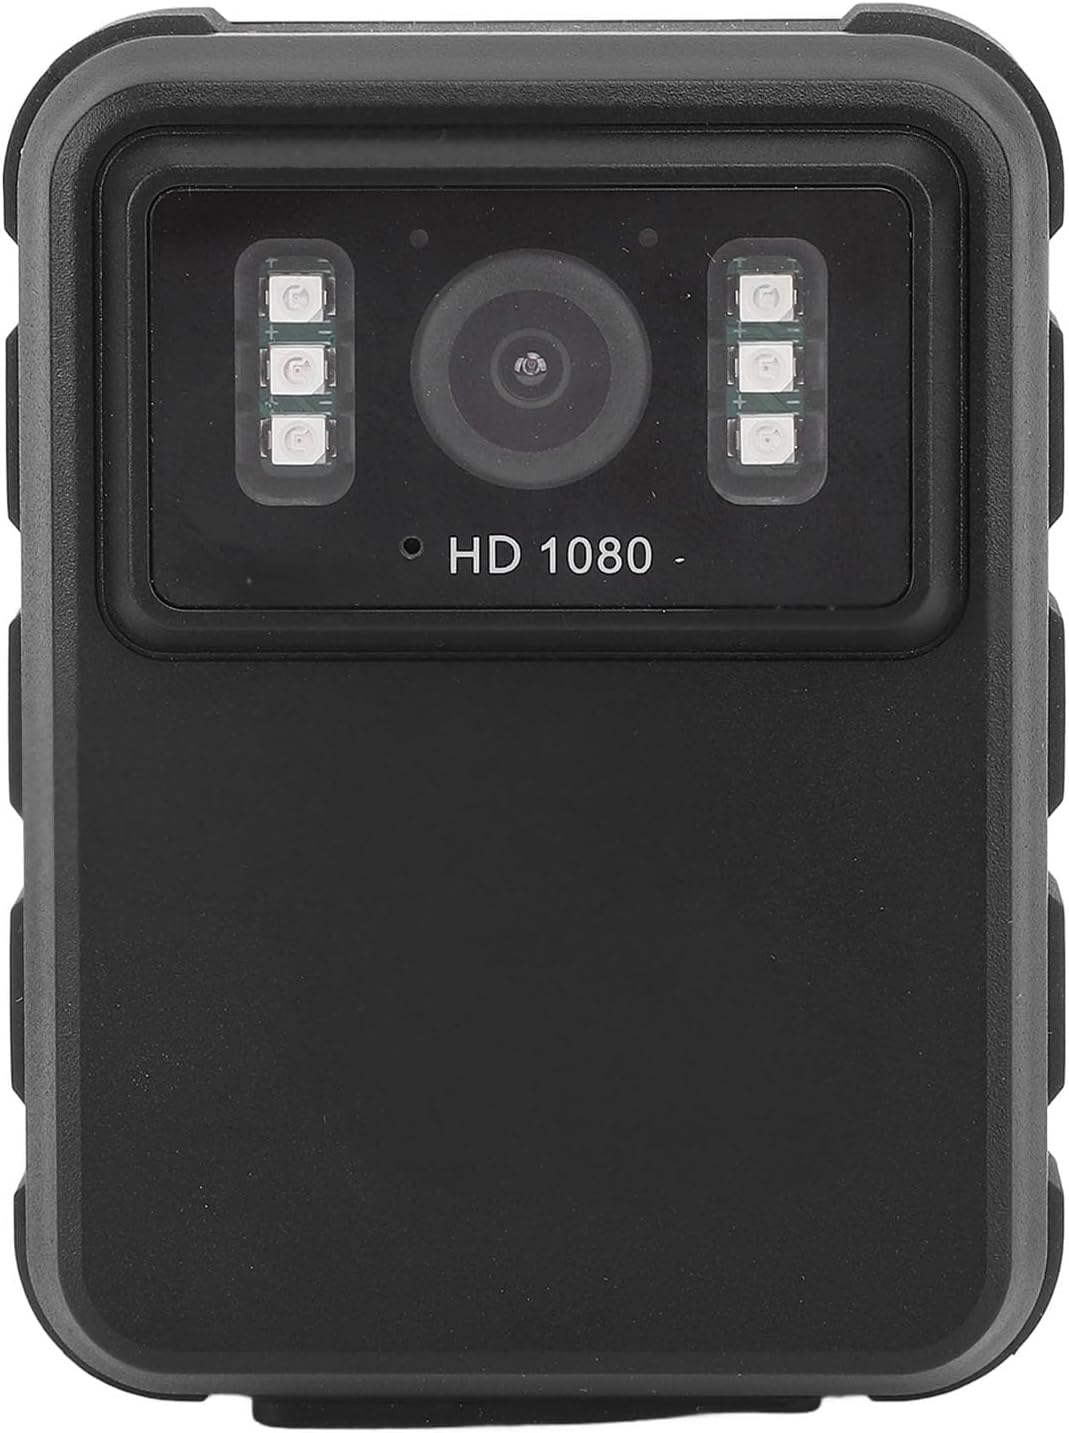
Rysunek 1: Przód view of the EBTOOLS Body Camera, showing the lens and infrared LEDs.
2. Koniec produktuview
2.1 Główne cechy
- Nagrywanie wideo w jakości HD 1080P: Captures high-definition video for clear footage.
- Widzenie nocne: Equipped with 6 infrared LEDs for clear recording up to 33 feet in low-light or dark conditions, with manual and automatic activation modes.
- Obiektyw szerokokątny 130°: Provides a broader field of view to capture more of the surroundings.
- Nagrywanie w pętli: Automatycznie nadpisuje najstarszy footage when storage is full, ensuring continuous recording.
- 2.0-calowy wyświetlacz IPS: Allows for immediate video playback and photo viewing directly on the device.
- Wszechstronne opcje montażu: Can be clipped to clothing, mounted on a motorcycle, or used as a dash cam.
- Długa żywotność baterii: Built-in 1800mAh lithium battery supports approximately 8 hours of continuous recording.

Rysunek 2: Illustration of the 130° wide-angle lens and the 2.0-inch IPS display for clear viewing.

Rysunek 3: The camera's built-in infrared lights for night vision and its robust design suitable for various conditions.
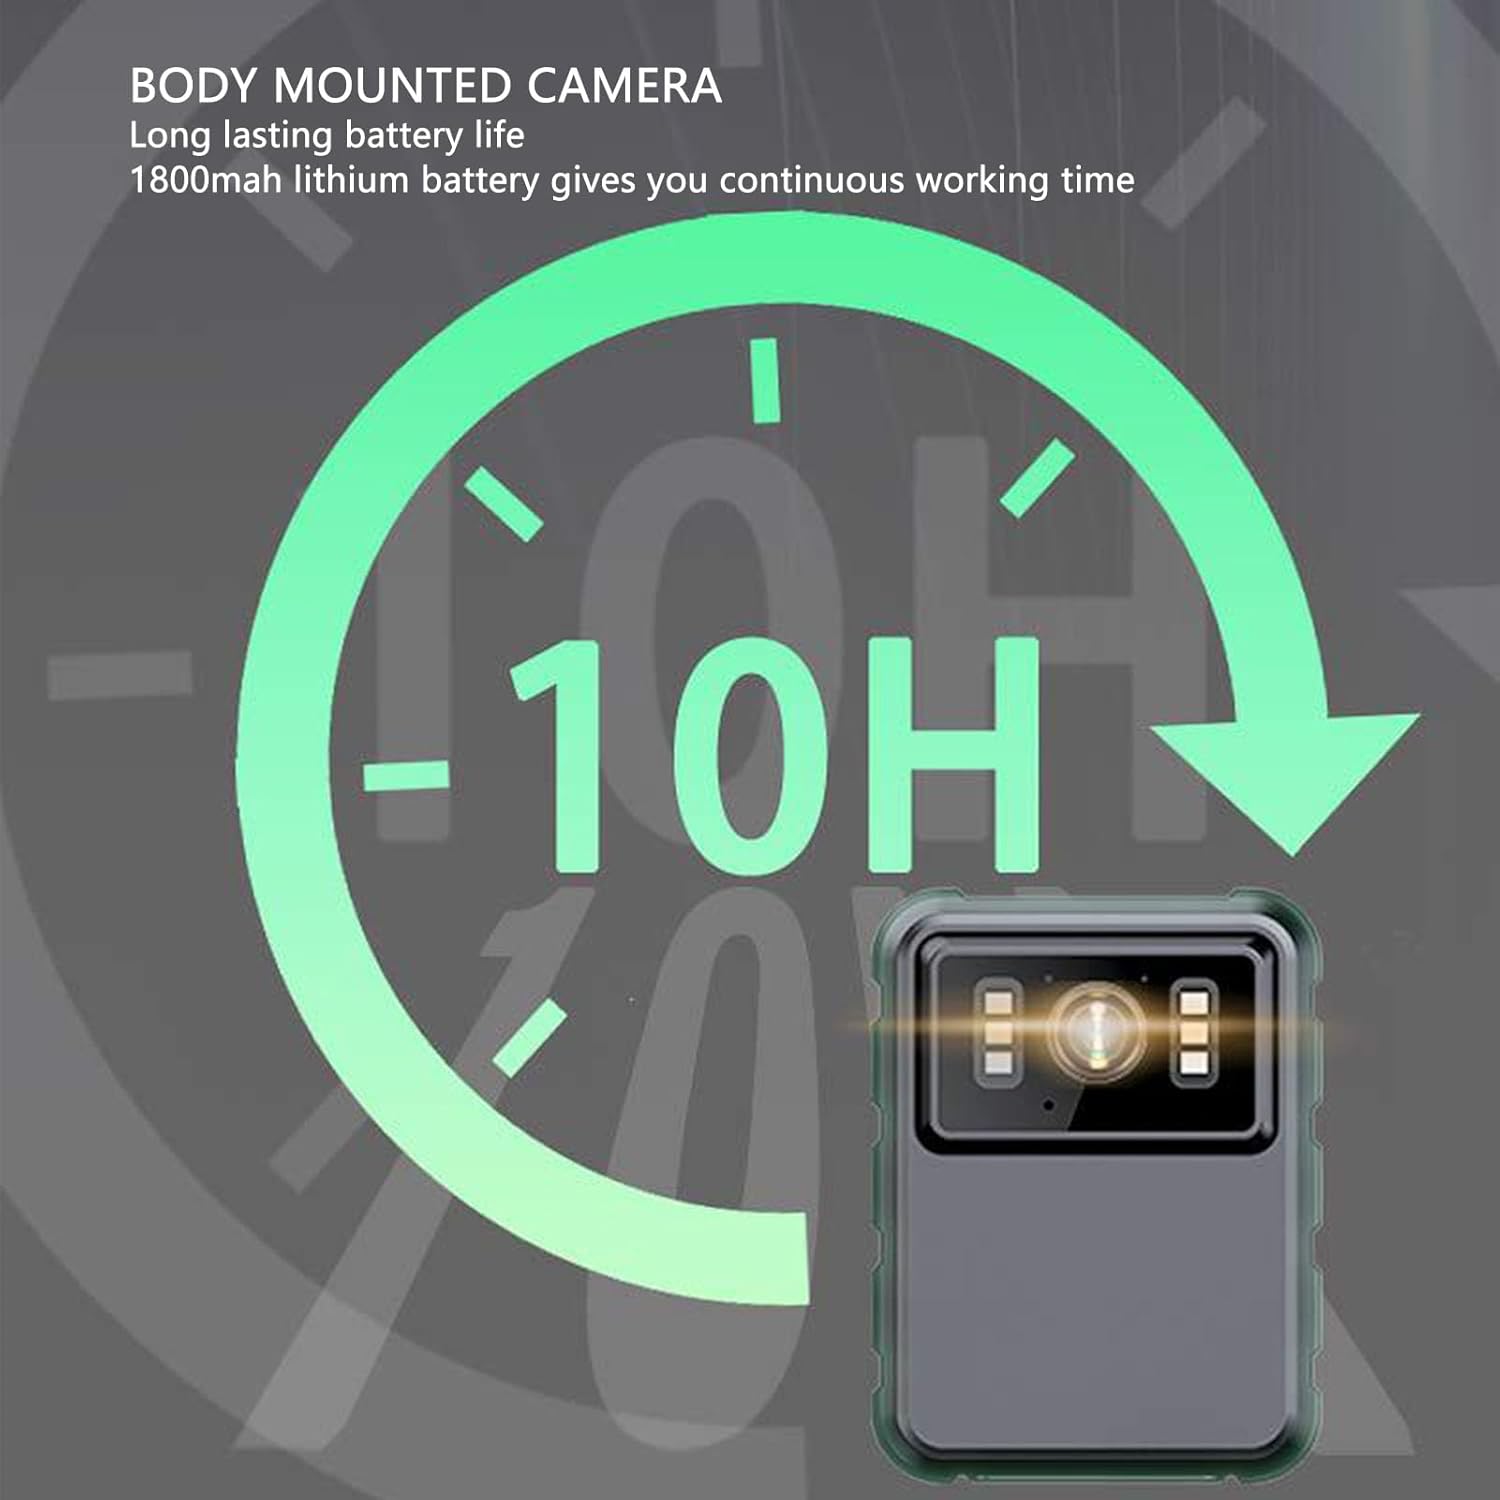
Rysunek 4: The camera features a long-lasting 1800mAh lithium battery, providing extended operational time.
2.2 Zawartość opakowania
Sprawdź, czy w opakowaniu znajdują się wszystkie elementy:
- 1 x EBTOOLS Body Camera
- 2 x wsporniki montażowe
- 1 x adapter
- 1 x kabel ładujący (USB)
- 1 x Instrukcja obsługi (ten dokument)
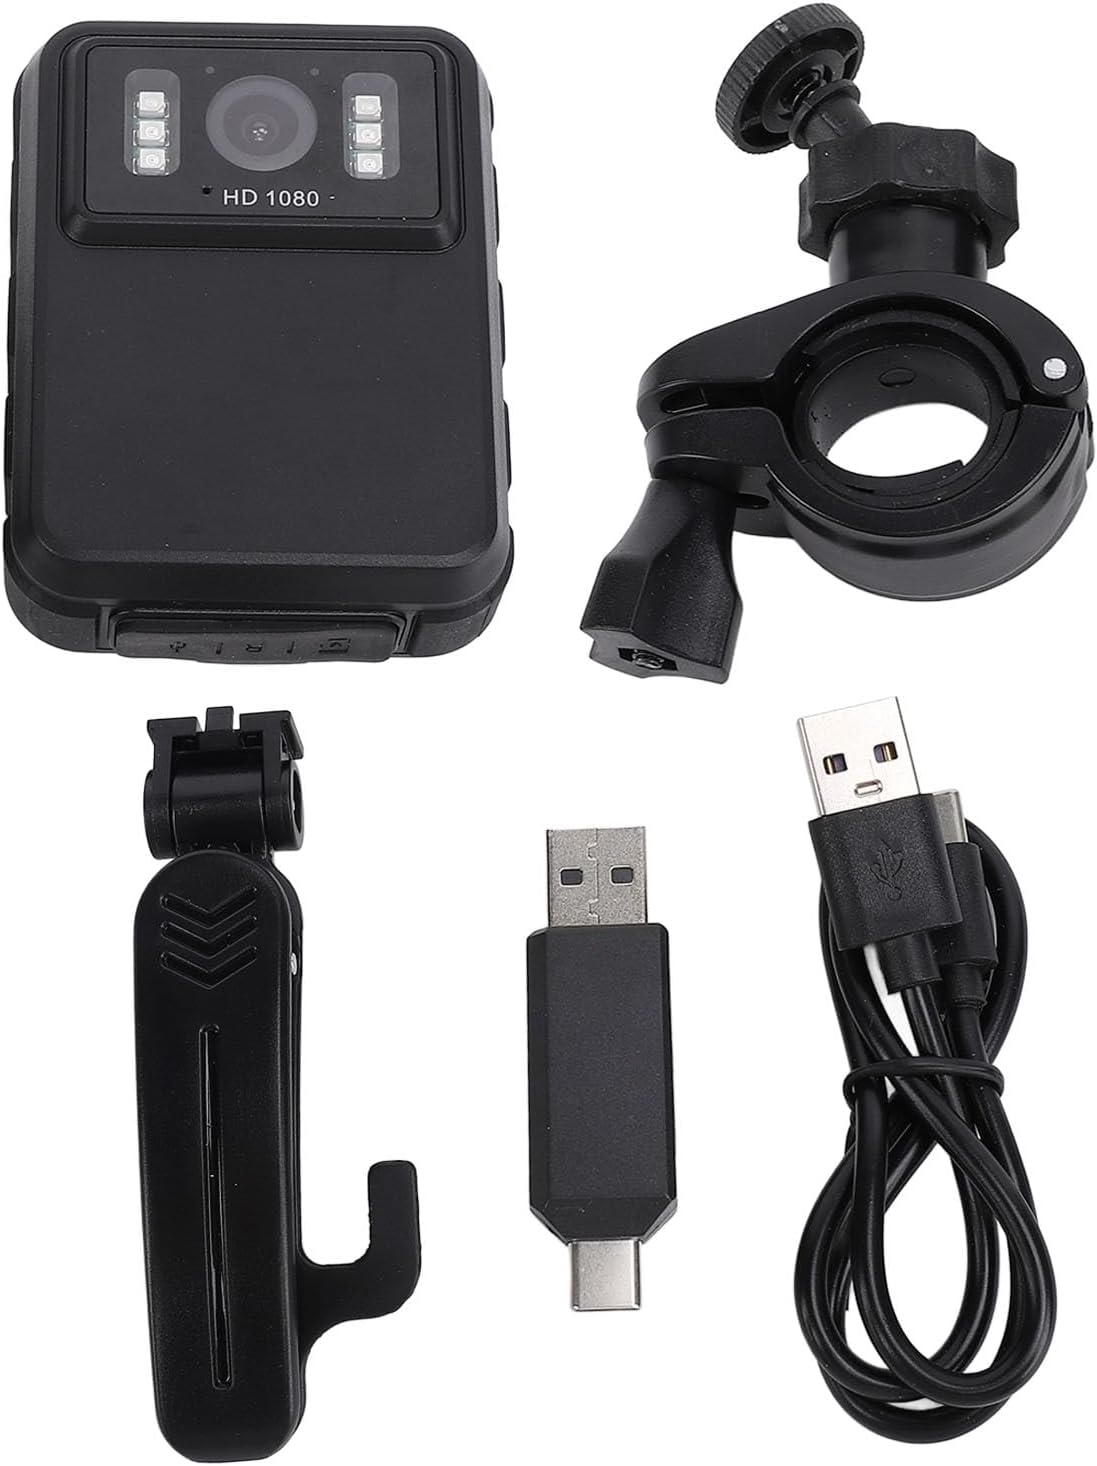
Rysunek 5: All components included in the EBTOOLS Body Camera package.
3. Konfiguracja
3.1 Pierwsze ładowanie
- Podłącz dołączony kabel ładujący do portu USB aparatu.
- Connect the other end of the charging cable to the adapter, then plug the adapter into a standard power outlet.
- Allow the camera to charge fully before first use. The charging indicator light will typically change color or turn off when charging is complete.
3.2 Włączanie/wyłączanie
- Włączanie: Press and hold the Power button (usually located on the side or top) for a few seconds until the screen illuminates.
- Aby wyłączyć: Naciśnij i przytrzymaj przycisk zasilania, aż urządzenie się wyłączy.
3.3 Attaching Brackets
The camera comes with two types of brackets for versatile mounting:
- Clip Bracket: For attaching to clothing, pockets, or straps. Slide the camera onto the clip until it securely locks.
- Universal Mount Bracket: For motorcycle handlebars, dashboards, or other surfaces. Attach the camera to the bracket's screw mount, then secure the bracket to the desired location.

Rysunek 6: Detail of the camera's universal mounting screw thread.
4. Instrukcja obsługi
4.1 Nagrywanie wideo
- Upewnij się, że kamera jest włączona.
- Press the dedicated Record button (often marked with a red dot or camera icon) to start video recording. A recording indicator (e.g., a flashing red light or icon on the screen) will appear.
- Naciśnij ponownie przycisk nagrywania, aby zatrzymać nagrywanie. Wideo file zostanie zapisany automatycznie.
- The camera supports 1080P and 2K resolution. Refer to the on-screen menu for resolution selection.

Rysunek 7: The camera supports both 2K and 1080P video recording resolutions.
4.2 Robienie zdjęć
- With the camera powered on, switch to photo mode (if applicable, via a mode button or menu).
- Press the Shutter button (often the same as the Record button, or a separate button) to capture a still image.
4.3 Aktywacja widzenia nocnego
The camera features both automatic and manual night vision modes:
- Tryb automatyczny: The camera will detect low light conditions and automatically activate the infrared LEDs.
- Tryb ręczny: Access the camera's menu settings to manually turn night vision on or off.
4.4 Nagrywanie w pętli
When the storage capacity is full, the camera will automatically overwrite the oldest video files to continue recording. This feature ensures continuous operation without manual intervention to clear space.
4.5 Odtwarzanie i File Kierownictwo
- Odtwarzanie na urządzeniu: Use the 2.0-inch IPS display and navigation buttons to browse and play recorded videos or view photos directly on the camera.
- Połączenie z komputerem: Connect the camera to a computer using the USB cable to transfer files for backup or viewing on a larger screen. The camera will appear as a removable disk drive.

Rysunek 8: The camera's display and control buttons for navigation and playback.

Rysunek 9: Examples of the camera's versatile applications, such as for delivery personnel or motorcycle riders.
5. Konserwacja
- Czyszczenie: Use a soft, dry cloth to clean the camera body. For the lens, use a specialized lens cleaning cloth and solution to avoid scratches. Do not use harsh chemicals.
- Składowanie: Przechowuj kamerę w chłodnym, suchym miejscu, z dala od bezpośredniego światła słonecznego i ekstremalnych temperatur.
- Pielęgnacja baterii: Aby przedłużyć żywotność baterii, unikaj częstego całkowitego rozładowywania. Regularnie ładuj aparat, nawet jeśli nie jest używany, aby utrzymać baterię w dobrym stanie.
- Aktualizacje oprogramowania układowego: Sprawdź producenta webokresowo odwiedzaj tę witrynę w celu sprawdzenia dostępności aktualizacji oprogramowania sprzętowego, aby zapewnić optymalną wydajność i nowe funkcje.
6. Rozwiązywanie Problemów
6.1 Kamera się nie włącza
- Ensure the battery is sufficiently charged. Connect the camera to a power source and allow it to charge for at least 30 minutes before attempting to power on again.
- Verify that the power button is being pressed and held for the required duration (typically 3-5 seconds).
6.2 Recording Issues (e.g., not saving, corrupted files)
- Check available storage space. If the storage is full and loop recording is not enabled or functioning correctly, new recordings may not save.
- Ensure the camera's internal storage is not corrupted. If issues persist, consider formatting the storage via the camera's settings menu (this will erase all data).
6.3 Night Vision Not Activating
- Verify that night vision is enabled in the camera's settings, either in automatic or manual mode.
- Ensure there are no obstructions blocking the infrared LEDs on the front of the camera.
6.4 Computer Not Recognizing Camera
- Wypróbuj inny port USB na swoim komputerze.
- Sprawdź, czy kabel USB jest prawidłowo podłączony do aparatu i komputera.
- Uruchom ponownie kamerę i komputer.
7. Specyfikacje
| Funkcja | Szczegół |
|---|---|
| Marka | EBTOOLS |
| Nazwa modelu | EBTOOLSs1gq2a4o5t-12 |
| Ekran wyświetlacza | 2.0 inch IPS Screen (Resolution: 320x240) |
| Obiektyw Viewing kąt | 100° (szeroki kąt) |
| Rozdzielczość kamery | 3840x2160p (2K), 2560x1440p, 1920x1080p (1080P) |
| audio Bitrate | WAV (512 kB/s) |
| Wizja nocna w podczerwieni | Support, Built-in 6 Enhanced Energy Saving Infrared Lights |
| Infrared Switching Mode | Off, Auto, Manual Adjustment |
| Mikrofon | Omnidirectional Built-in Capacitor MIC |
| Wbudowana bateria | Bateria litowa 1800mAh |
| Recording Working Time | Około 8 godzin |
| Ciągły czas nagrywania | Około 8 godzin |
| Longest Photo Time | Approximately 10 hours (1080p 30fps High Grade Video) |
| Technologia łączności | USB |
| Waga przedmiotu | 10.9 uncji |
| Wymiary opakowania | 5.91 x 5.12 x 2.36 cala |
8. Gwarancja i wsparcie
For warranty information, technical support, or service inquiries, please refer to the official EBTOOLS webOdwiedź witrynę lub skontaktuj się z działem obsługi klienta. Zachowaj paragon jako dowód zakupu na wypadek reklamacji.
You can typically find support contact details on the manufacturer's webna stronie internetowej lub za pośrednictwem sprzedawcy, u którego produkt został zakupiony.


