1. Ważne informacje dotyczące bezpieczeństwa
Read this instruction manual carefully before using the appliance and save it for future reference. Always follow basic safety precautions when using electrical appliances to reduce the risk of fire, electric shock, and personal injury.
- Bezpieczeństwo elektryczne: Upewnij się, że objętośćtage podana na urządzeniu odpowiada lokalnej objętości sieci zasilającejtage przed podłączeniem. Nie używaj urządzenia, jeśli przewód lub wtyczka są uszkodzone.
- Zagrożenie parą: The steamer produces hot steam. Keep hands and face away from the steam nozzle during operation. Do not direct steam at people or pets.
- Zbiornik na wodę: Napełniaj zbiornik na wodę wyłącznie czystą wodą z kranu. Nie dodawaj perfum, octu, krochmalu, środków odkamieniających ani innych chemikaliów, ponieważ mogą one uszkodzić urządzenie lub spowodować powstawanie plam.
- Stabilność: Always place the steamer on a stable, flat surface. Ensure the poles are securely locked in place.
- Dzieci: To urządzenie nie jest przeznaczone do użytku przez dzieci. Trzymaj urządzenie i jego przewód poza zasięgiem dzieci.
- Konserwacja: Unplug the appliance before cleaning or performing any maintenance. Allow it to cool completely.
2. Koniec produktuview
Familiarize yourself with the components of your Philips 1000 Series Stand Steamer.

Rysunek 2.1: Koniecview of the Philips 1000 Series Stand Steamer components, including the adjustable double pole, large plastic plate, 3 steam settings dial, 36g/min continuous steam nozzle, detachable 1.8L water tank, and calc clean feature.
- A. Steam Nozzle: Delivers continuous steam for wrinkle removal.
- B. Steam Hose: Connects the base unit to the steam nozzle.
- C. Adjustable Double Pole: Provides stability and allows height adjustment for various garment lengths.
- D. Integrated Hanger: For conveniently hanging garments during steaming.
- E. Water Tank: Detachable 1.8L capacity for extended steaming sessions.
- F. Steam Settings Dial: Allows selection of three custom steam settings for different fabric types.
- G. Power Button/Indicator: Turns the appliance on/off and indicates operational status.
- H. De-Calc/Easy Rinse Knob: For performing the descaling function.
- I. Base Unit: Zawiera element grzewczy i zbiornik na wodę.
- J. Fabric Brush: (Included accessory) Helps to open fabric weave for better steam penetration on thicker fabrics.
- K. Protective Glove: (Included accessory) For hand protection during steaming.
3. Instalacja i montaż
Follow these steps to assemble your stand steamer before first use.
- Rozpakuj komponenty: Ostrożnie wyjmij wszystkie części z opakowania.
- Złóż słupy: Insert the adjustable double poles into the designated slots on the base unit until they click into place. Ensure they are stable.
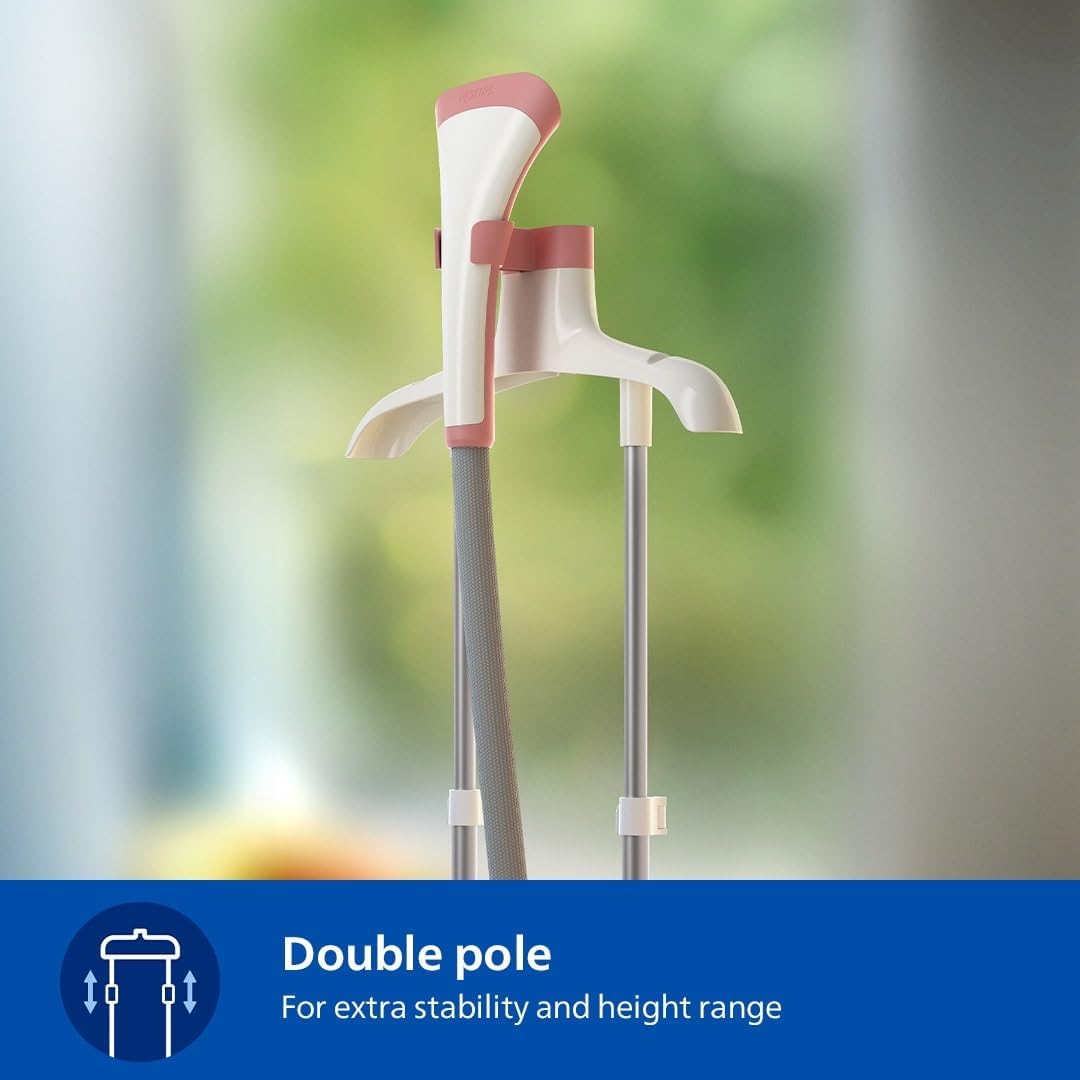
Figure 3.1: The double pole system provides stability and allows for height adjustment.
- Zamontuj wieszak: Slide the integrated garment hanger onto the top of the poles.
- Podłącz wąż parowy: Securely attach the steam hose to the steam outlet on the base unit.
- Napełnij zbiornik na wodę: Remove the detachable 1.8L water tank from the base. Open the cap, fill with clean tap water, and close the cap securely. Reinsert the water tank into the base unit.

Figure 3.2: The large 1.8L detachable water tank minimizes the need for frequent refills.
- Pozycja parowca: Place the assembled steamer on a stable, level surface, away from walls or furniture that could be damaged by steam.
4. Instrukcja obsługi
Learn how to effectively use your Philips Stand Steamer for optimal results.
4.1 Włączanie i nagrzewanie
- Sprawdź, czy zbiornik na wodę jest napełniony i prawidłowo włożony.
- Podłącz przewód zasilający do uziemionego gniazdka elektrycznego.
- Press the power button. The indicator light will illuminate, and the steamer will begin to heat up. It heats up in approximately 45 seconds.
- Once ready, steam will start to emit from the nozzle.
4.2 Wybieranie ustawień Steam
The steamer offers three custom steam settings to suit various fabric types.

Figure 4.1: The steam settings dial allows you to choose the appropriate steam level for your fabric.
- Low Steam: For delicate fabrics like silk, synthetics, and cashmere.
- Medium Steam: For lightweight fabrics such as cotton shirts and dresses.
- High Steam: For thick fabrics like denim, wool, and coats, providing a powerful 36g/min continuous steam output.

Figure 4.2: The steamer delivers a continuous steam output of 36g/min for effective de-wrinkling.
Rotate the steam settings dial to select your desired steam level.
4.3 Prasowanie odzieży
- Hang the garment on the integrated hanger.
- Hold the steam nozzle close to the fabric, but do not press it directly against delicate materials.
- Move the nozzle slowly downwards over the fabric. For stubborn wrinkles, gently stretch the fabric with your free hand (using the protective glove for safety).
- For thicker fabrics, attach the fabric brush accessory to the steam nozzle to help open the weave and allow steam to penetrate deeper.
- The hot steam also helps to kill 99.9% of bacteria and remove odors, refreshing your clothes.

Figure 4.3: Steaming helps to sterilize fabrics, eliminating 99% of bacteria and dust mites.
- The large steam plate allows for fewer strokes, making the process more efficient.

Figure 4.4: The steamer features a large steam plate for efficient wrinkle removal.
- The steamer is safe for use on all ironable fabrics, including delicate materials.

Figure 4.5: The steamer is safe for use on a wide range of ironable fabrics, from delicate to heavy.
4.4 Finishing Steaming
- Po zakończeniu naciśnij przycisk zasilania, aby wyłączyć urządzenie.
- Odłącz przewód zasilający od gniazdka.
- Przed przechowywaniem poczekaj, aż urządzenie całkowicie ostygnie.
5. Konserwacja i czyszczenie
Regularna konserwacja zapewnia optymalną wydajność i wydłuża żywotność parowaru.
5.1 Descaling (Easy Rinse Function)
To prevent limescale buildup and maintain strong steam output, regularly use the Easy Rinse descaling function. The frequency depends on water hardness and usage.
- Upewnij się, że urządzenie jest odłączone od zasilania i całkowicie ostygło.
- Wyjmij zbiornik na wodę.
- Place the steamer over a sink or basin.
- Locate the De-Calc/Easy Rinse knob on the base unit. Turn the knob to the "unlock" position and pull it out to drain the water from the base.
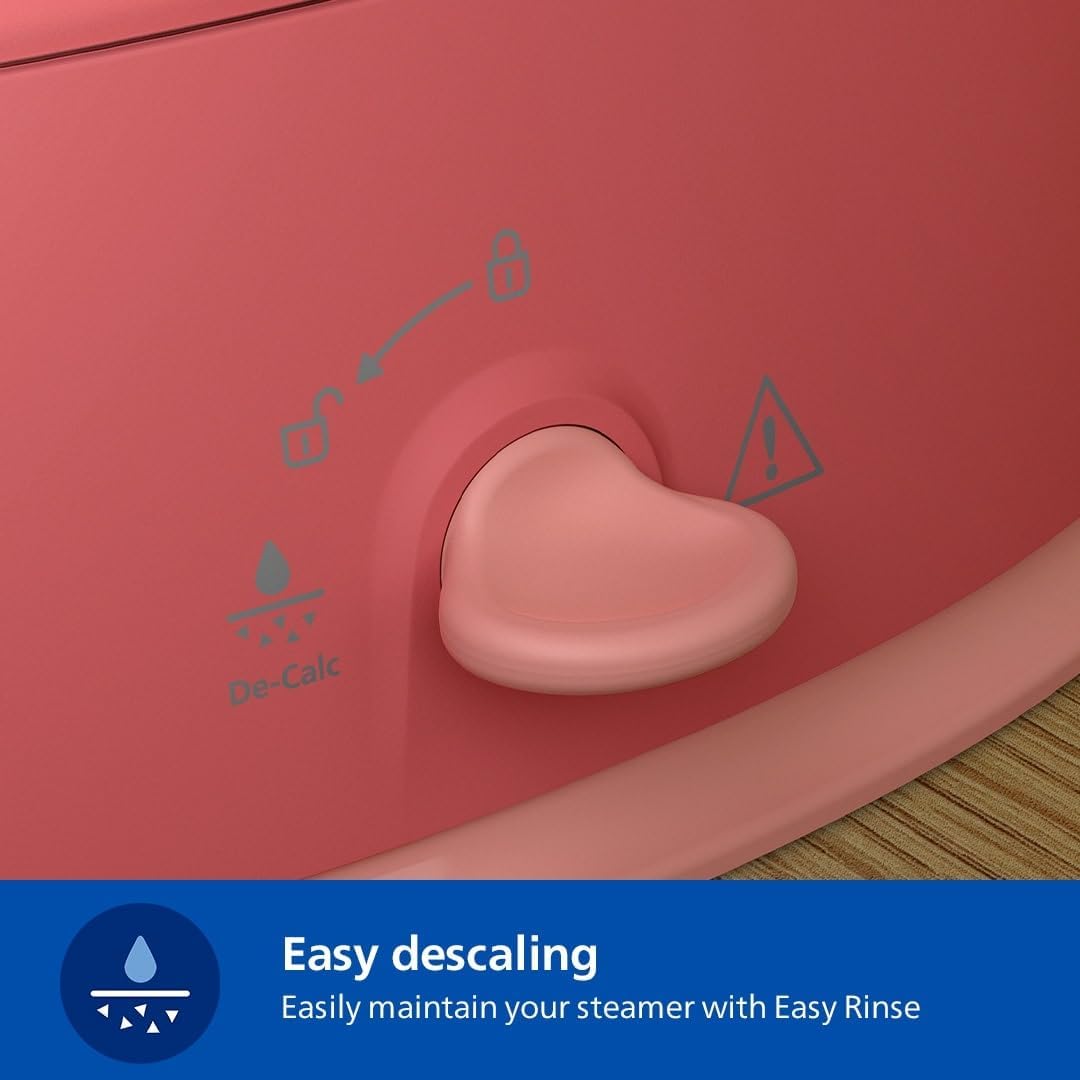
Figure 5.1: The Easy Descaling knob allows for simple maintenance to remove calcium deposits.
- Rinse the base unit with clean water, shaking gently, until no more scale particles come out.
- Reinsert and lock the De-Calc/Easy Rinse knob.
- Refill the water tank and perform a short steaming cycle to flush out any remaining residue.
5.2 Czyszczenie parowaru
- Przetrzyj zewnętrzną część urządzenia miękką, damp płótno.
- Clean the steam nozzle plate with a damp płótno. Nie używaj ściernych środków czyszczących.
- If the steam hose becomes clogged, gently stretch it to dislodge any mineral buildup.
6. Rozwiązywanie Problemów
W tej sekcji znajdziesz informacje o typowych problemach i ich rozwiązaniach.
| Problem | Możliwa przyczyna | Rozwiązanie |
|---|---|---|
| Brak pary lub słaba para. | Water tank is empty or not properly inserted. Limescale buildup. Steamer not heated sufficiently. | Refill water tank and ensure it's correctly seated. Perform descaling (Easy Rinse). Allow 45 seconds for heating. |
| Wyciek wody z dyszy. | Condensation in the hose. Steamer not hot enough. | Allow the steamer to heat up fully before use. Hold the nozzle higher than the hose to allow condensation to drain back into the base. |
| Urządzenie nie włącza się. | Niepodłączony. Problem z gniazdkiem elektrycznym. | Upewnij się, że przewód zasilający jest prawidłowo podłączony do sprawnego gniazdka. Sprawdź wyłącznik automatyczny. |
| Ubrania pozostają pogniecione. | Incorrect steam setting. Steaming too quickly. Fabric type. | Select a higher steam setting for thicker fabrics. Move the nozzle slower. For very stubborn wrinkles, consider using an iron. |
7. Specyfikacje
Key technical details of the Philips 1000 Series STE1020/40 Stand Steamer.
- Model: STE1020/40
- Moc: 1800 watów
- Ciągła produkcja pary: 35g/min (as per product specifications)
- Pojemność zbiornika na wodę: 1.8 litrów
- Tomtage: 220 wolty
- Wymiary produktu: 43.4Dł. x 30.3Sz. x 168.2Wys. centymetrów
- Waga przedmiotu: 2.95 kilograma
- Zawartość zestawu: Fabric brush, Protective glove, Integrated hanger
- Kolor: Miękka czerwień
8. Gwarancja i wsparcie
For warranty information and product support, please refer to the official Philips webwitryny lub skontaktuj się z obsługą klienta.
- Gwarancja: This product comes with a standard manufacturer's warranty. Please retain your proof of purchase for warranty claims. Specific warranty terms and duration may vary by region.
- Obsługa klienta: For technical assistance, spare parts, or service, visit the official Philips website or contact their local customer support center. You can find contact details on the Philips website or in the warranty booklet provided with your product.
- Zasoby internetowe: Additional FAQs, troubleshooting guides, and product registration may be available on the Philips support webstrona.


