1. Wprowadzenie
Thank you for choosing the Antusi Smart Bike Tail Light Q3. This intelligent rear light is designed to enhance your cycling safety and visibility with its advanced features, including smart sensors, multiple lighting modes, and durable construction. Please read this manual carefully before use to ensure proper installation and operation.
2. Koniec produktuview
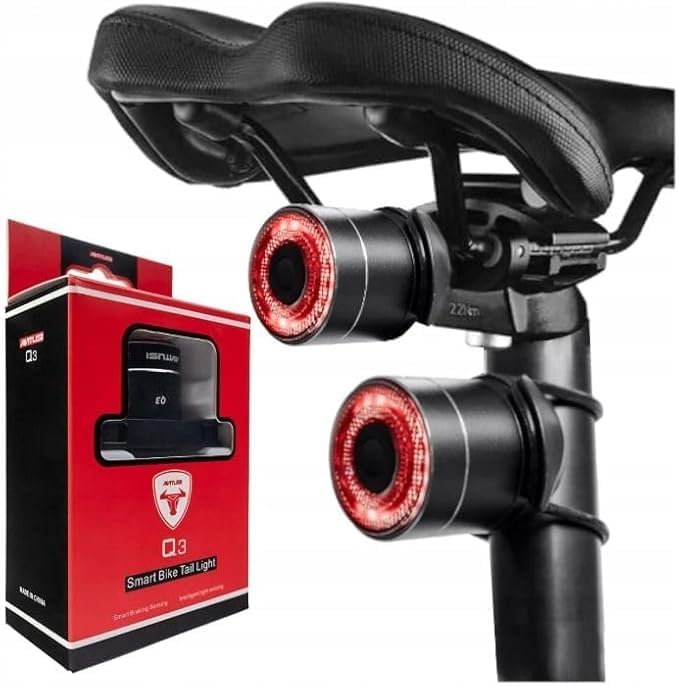
Figure 2.1: Antusi Smart Bike Tail Light Q3 with its retail packaging.
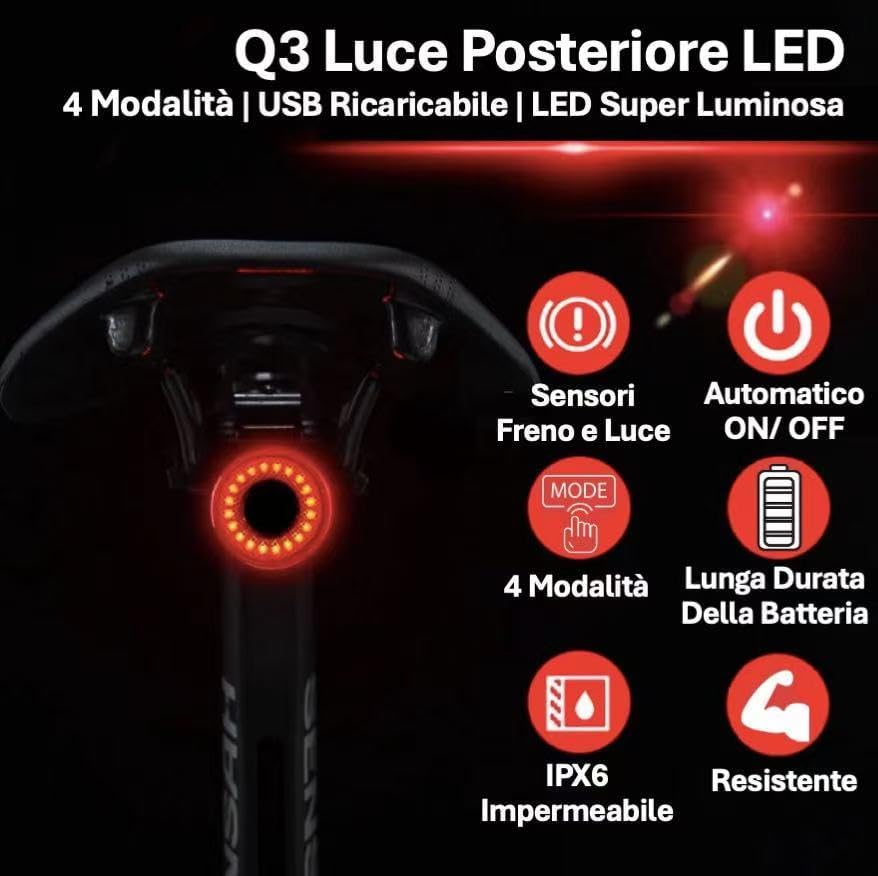
Rysunek 2.2: Koniecview of Antusi Q3 Tail Light's main features.
The Antusi Smart Bike Tail Light Q3 is a compact and lightweight (30 grams) device designed for enhanced cycling safety. It features:
- Cztery tryby oświetlenia: Brake, Turn Signal, Pulsing, and Always On, to suit various riding conditions.
- Inteligentne czujniki: Integrated braking and light sensors for automatic operation and increased safety.
- Łatwa instalacja: Designed for tool-free mounting on saddle rails or seatposts.
- Długa żywotność baterii: Up to 65 hours of operation on a single charge, with convenient USB recharging.
- IPX6 Wodoodporny: Ensures reliable performance even in rainy conditions.
- Wysoka jasność: Special LED and optical lens provide excellent visibility without blinding others.
- Trwała konstrukcja: Made with an aluminum alloy body for resistance to drops and wear.
3. Co znajduje się w pudełku

Figure 3.1: All components included in the Antusi Q3 package.
Po otwarciu opakowania należy sprawdzić, czy znajdują się w nim wszystkie poniższe elementy:
- Antusi Smart Bike Tail Light (Q3)
- Kabel ładujący typu C.
- Saddle Rail Bracket
- Mocowanie sztycy
- Pasek gumowy (x2)
- Opaska zaciskowa (x4)
4. Specyfikacje
| Funkcja | Specyfikacja |
|---|---|
| Model | Q3 |
| Marka | Antusi |
| Kolor | Czarny |
| Tworzywo | Stop aluminium |
| Waga | 30 gram |
| Źródło zasilania | Zasilany bateryjnie |
| Poziom wodoodporności | IPX6 (wodoodporny) |
| Liczba ustawień | 4 tryby oświetlenia |
| Typ montażu | Saddle Rail Mount, Seatpost Mount |
| Czas pracy baterii (maks.) | Up to 65 hours (mode dependent) |
| Port ładowania | USB Typ C |
5. Konfiguracja i instalacja
The Antusi Q3 Tail Light offers two primary installation methods to fit most bicycles: saddle rail mounting and seatpost mounting. No special tools are required for installation.
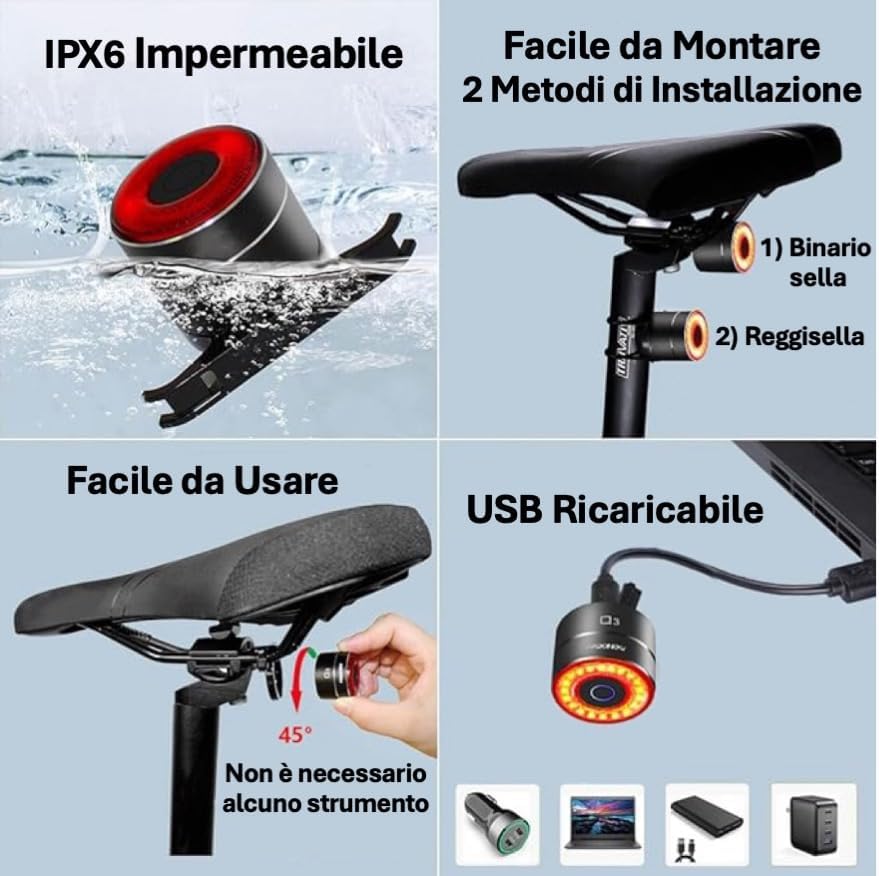
Figure 5.1: Two common installation methods for the Q3 Tail Light.
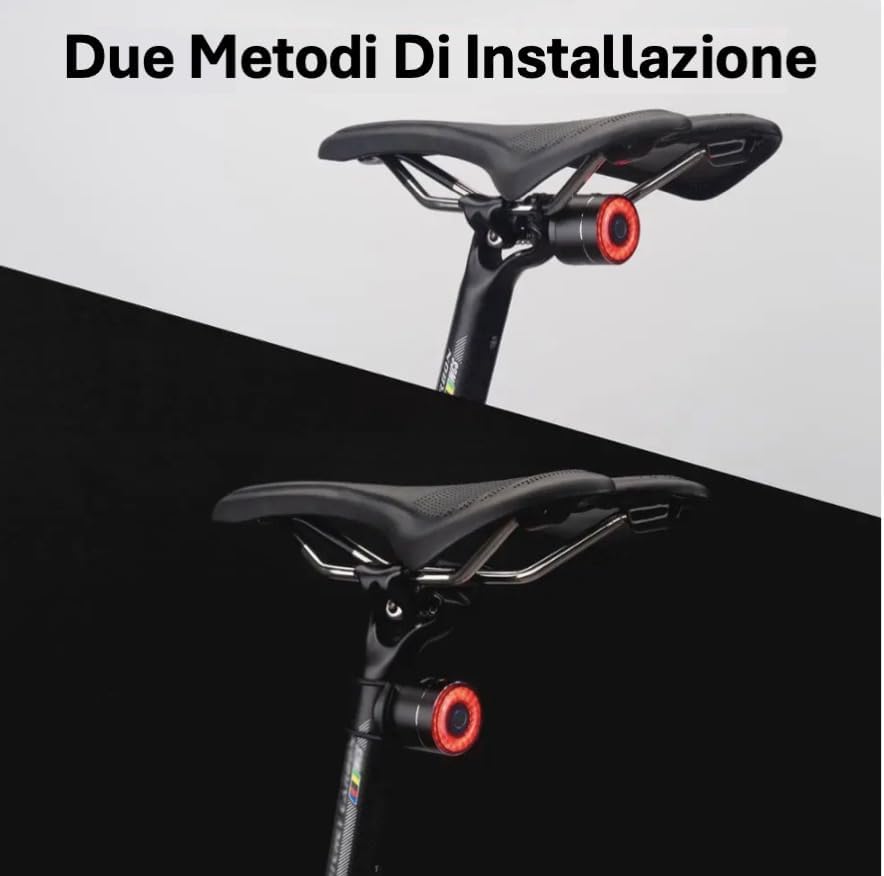
Figure 5.2: Visual representation of the two mounting options.
5.1. Saddle Rail Installation
- Select the saddle rail bracket from the package.
- Attach the bracket securely to the rails under your bicycle saddle. Ensure it is firmly in place.
- Slide the Antusi Q3 Tail Light onto the bracket until it clicks into position.
- Adjust the angle of the light for optimal visibility.
5.2. Montaż sztycy siodełka
- Select the seatpost mount and appropriate rubber straps or cable ties.
- Secure the seatpost mount to your bicycle's seatpost using the provided rubber straps or cable ties. Ensure it is tight and does not slip.
- Slide the Antusi Q3 Tail Light onto the mount until it clicks into position.
- Adjust the angle of the light for optimal visibility.
The light can be easily detached from either mount for charging or to prevent theft by simply unscrewing it from the fixation.

Figure 5.3: Easy detachment of the light for charging or security.
6. Instrukcja obsługi
The Antusi Q3 Tail Light is equipped with intelligent features and multiple modes to enhance your riding experience and safety.
6.1. Włączanie/wyłączanie zasilania
- To turn on the light, press and hold the power button for approximately 2 seconds.
- To turn off the light, press and hold the power button again for approximately 2 seconds.
- The light also features an auto on/off function based on ambient light conditions (see Smart Sensors section).
6.2. Tryby oświetlenia
The Q3 offers four distinct lighting modes. Press the power button briefly to cycle through the modes:

Figure 6.1: The four available lighting modes for enhanced visibility.
- Szybkie miganie: Szybkie miganie w celu zwrócenia uwagi.
- Breathing Flash: Slow, pulsating light for a distinct visual.
- Stroboskop: Consistent, quick flashes.
- Stałe: Stałe oświetlenie.
6.3. Inteligentne czujniki
The Q3 is equipped with intelligent braking and light sensors for automatic safety enhancements.
Figure 6.2: Smart sensors for automatic safety features.
- Braking Sensor: When braking is detected, the Q3 will automatically switch to a bright brake light mode to alert following traffic.
- Czujnik światła: The light will automatically turn on in low-light conditions and turn off in high-intensity light, conserving battery and ensuring visibility when needed.
7. Ładowanie urządzenia
The Antusi Q3 Tail Light features a built-in rechargeable battery and is charged via a Type-C USB cable.
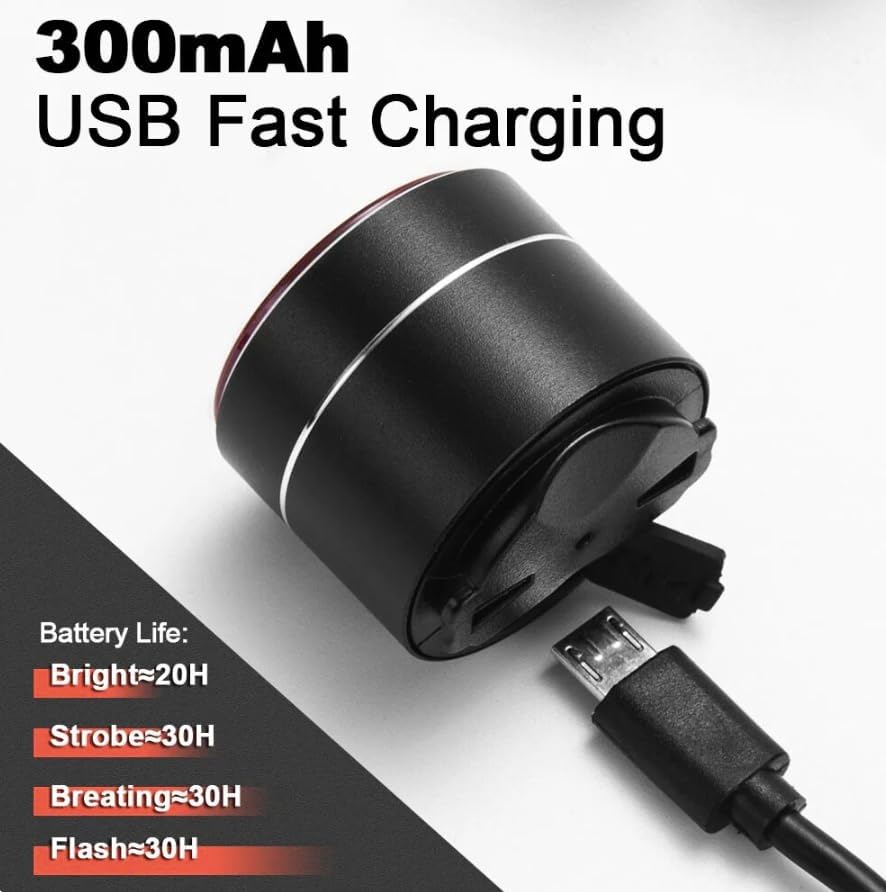
Figure 7.1: USB Type-C charging port and battery life indications.
- Locate the Type-C charging port on the light. It is usually covered by a rubber flap to protect against water and dust.
- Gently open the rubber flap.
- Connect the provided Type-C USB cable to the light and the other end to any standard USB power source (e.g., computer, wall adapter, power bank).
- Kontrolka na urządzeniu pokaże stan ładowania (np. czerwona oznacza ładowanie, zielona oznacza pełne naładowanie).
- A full charge can provide up to 65 hours of operation, depending on the selected mode. Typical battery life estimates are:
- Bright Mode: ~20 hours
- Strobe Mode: ~30 hours
- Breathing Mode: ~30 hours
- Flash Mode: ~30 hours
- Once fully charged, disconnect the cable and ensure the rubber flap is securely closed to maintain water resistance.
8. Konserwacja
Proper maintenance will ensure the longevity and optimal performance of your Antusi Q3 Tail Light.
8.1. Wodoodporność (IPX6)

Figure 8.1: The Q3 Tail Light is designed to withstand water splashes and rain.
The Antusi Q3 Tail Light has an IPX6 waterproof rating, meaning it is protected against powerful water jets. This makes it suitable for use in rainy conditions. To maintain its waterproof integrity:
- Always ensure the rubber cover for the charging port is securely closed when not charging.
- Avoid submerging the light in water for extended periods.
- Do not use high-pressure water jets directly on the light.
8.2. Czyszczenie i przechowywanie
- Wyczyść lampę miękką,amp ściereczka. Nie należy używać środków czyszczących o właściwościach ściernych ani rozpuszczalników.
- Przechowuj lampę w chłodnym i suchym miejscu, gdy jej nie używasz, z dala od bezpośredniego światła słonecznego i ekstremalnych temperatur.
- If storing for a long period, charge the battery to about 50% every few months to prolong its lifespan.
9. Rozwiązywanie Problemów
If you encounter issues with your Antusi Q3 Tail Light, please refer to the following common troubleshooting steps:
| Problem | Możliwa przyczyna | Rozwiązanie |
|---|---|---|
| Światło się nie włącza. | Bateria jest rozładowana. | Charge the light using the provided Type-C USB cable. |
| Światło niespodziewanie gaśnie. | Low battery or smart light sensor activated. | Recharge the battery. If in a bright environment, the light sensor may have turned it off automatically. Move to a darker area to test. |
| Brake light function not working. | Light not securely mounted or sensor obstructed. | Ensure the light is firmly attached to the bike and its sensor area is clear of obstructions. Test by simulating a sudden stop. |
| Światło się nie ładuje. | Problem z kablem lub źródłem zasilania. | Try a different Type-C USB cable or a different USB power source. Ensure the cable is fully inserted. |
If the problem persists after trying these steps, please contact Antusi customer support for further assistance.
10. Gwarancja i wsparcie
Antusi stands behind the quality of its products.
- Gwarancja: The Antusi Smart Bike Tail Light Q3 comes with a 1-letnia gwarancja od daty zakupu. Niniejsza gwarancja obejmuje wady produkcyjne i wady materiałowe powstałe w wyniku normalnego użytkowania.
- Gwarancja satysfakcji: We offer a 100% satisfaction guarantee.
- Obsługa klienta: If you experience any issues or have questions regarding your product, please do not hesitate to contact our customer support team. Contact information can typically be found on the product packaging or our official webstrona.
Proszę zachować dowód zakupu na potrzeby roszczeń gwarancyjnych.


