Wstęp
This manual provides essential information for the safe and efficient operation, maintenance, and troubleshooting of your CONENTOOL 12V Cordless Drill Driver Kit. Please read this manual thoroughly before first use and keep it for future reference.
The CONENTOOL 12V Cordless Drill Driver is designed for drilling into wood, plastic, metal, and other materials, as well as for driving and removing screws. It features a powerful 35 N.m max torque, 25+1 torque settings, and two variable speeds for versatile applications.

Image: The CONENTOOL 12V Cordless Drill Driver Kit, including the drill, two batteries, charger, and a case filled with various drill bits and screwdriver bits.
Ważne instrukcje bezpieczeństwa
Aby zminimalizować ryzyko pożaru, porażenia prądem i obrażeń ciała, należy zawsze przestrzegać podstawowych zasad bezpieczeństwa podczas korzystania z narzędzi elektrycznych.
- Wear appropriate personal protective equipment (PPE) such as safety glasses, gloves, and hearing protection.
- Utrzymuj miejsce pracy w czystości i dobrze oświetlone. Zaśmiecone lub ciemne obszary zachęcają do wypadków.
- Nie należy używać elektronarzędzi w atmosferach zagrożonych wybuchem, np. w obecności łatwopalnych cieczy, gazów lub pyłów.
- Przed przystąpieniem do wykonywania jakichkolwiek regulacji, wymiany akcesoriów lub przechowywania narzędzia należy upewnić się, że jest ono wyłączone.
- Użyj odpowiedniego narzędzia do danego zastosowania. Nie używaj narzędzia na siłę.
- Przechowuj nieużywane narzędzia poza zasięgiem dzieci i innych nieprzeszkolonych osób.
Składniki i funkcje produktu
Familiarize yourself with the various parts and features of your CONENTOOL Cordless Drill Driver.

Image: A detailed diagram of the CONENTOOL drill driver highlighting its key components: 3/8" keyless chuck, 25+1 adjustable clutch, LED light, variable speed switch, forward and reverse button, 2 variable speeds, and 2000 mAh lithium battery.
- Uchwyt bezkluczykowy 3/8": For quick and easy bit changes. Features an all-metal automatic spindle lock.
- 25+1 Adjustable Clutch: Allows precise torque settings for various applications, preventing overtightening or stripping screws.
- Światło LED: Oświetla miejsce pracy, zapewniając lepszą widoczność w ciemnych pomieszczeniach.
- Przełącznik prędkości zmiennej: Zapewnia precyzyjną kontrolę prędkości wiercenia i wkręcania.
- Forward and Reverse Button: Easily switch between drilling/driving and unscrewing.
- 2 zmiennych prędkości: Low speed (0-450 RPM) for screwing, high speed (0-1650 RPM) for drilling.
- 2000 mAh Lithium Battery: Offers long-lasting power and reliable performance.
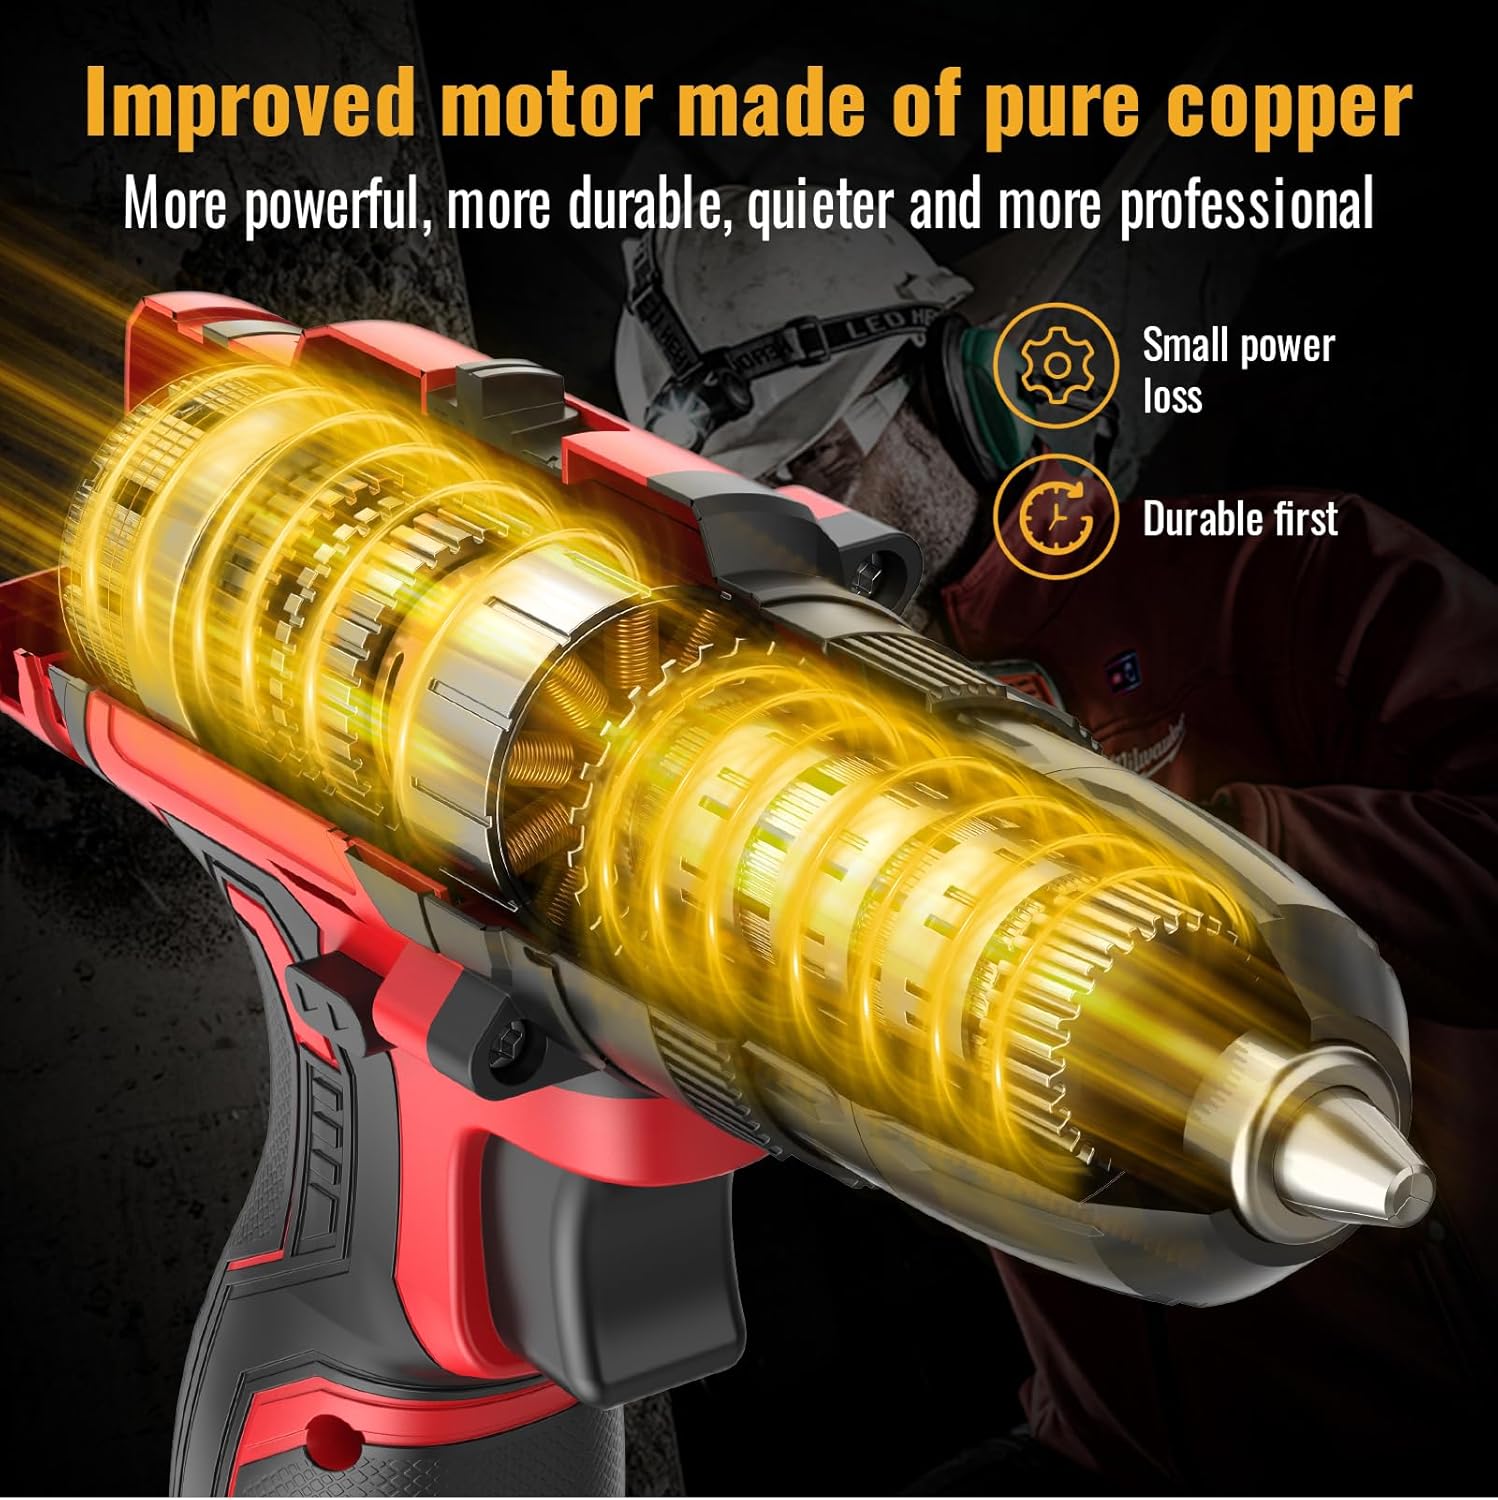
Obraz: Wnętrze view of the drill, highlighting the improved motor made of pure copper, designed for more power, durability, and quieter operation with small power loss.

Image: A graph illustrating the extended working hours provided by the 2x 2.0AH large capacity batteries compared to other batteries, showing a slower discharge rate over time.
Organizować coś
Ładowanie akumulatora
- Podłącz ładowarkę do standardowego gniazdka elektrycznego.
- Wsuń akumulator do ładowarki, aż zatrzaśnie się na miejscu.
- Allow the battery to charge fully before first use. The indicator light on the charger will change when charging is complete.
- Always disconnect the charger from the power supply and remove the battery once fully charged.
Instalowanie/wyjmowanie baterii
- Aby zainstalować: Wyrównaj akumulator z podstawą uchwytu wiertarki i wsuń go, aż do bezpiecznego zablokowania.
- Aby wyjąć baterię: Naciśnij przycisk zwalniający baterię (zazwyczaj znajduje się on z boku akumulatora) i wysuń baterię.
Montaż/demontaż wierteł lub bitów wkrętakowych

Image: A close-up showing the operation of the 3/8" (10mm) self-locking drill chuck, demonstrating how to open and close it to insert or remove bits.
- Upewnij się, że wiertarka jest wyłączona, a przełącznik kierunku obrotów do przodu/do tyłu znajduje się w pozycji środkowej (zablokowanej).
- Obróć uchwyt w kierunku przeciwnym do ruchu wskazówek zegara, aby otworzyć szczęki.
- Włóż wybrane wiertło lub końcówkę wkrętaka całkowicie do uchwytu.
- Obróć uchwyt zgodnie z ruchem wskazówek zegara, aby mocno zacisnąć szczęki wokół wiertła. Upewnij się, że wiertło jest wyśrodkowane i mocno trzymane.
- Aby wyjąć: Obróć uchwyt przeciwnie do ruchu wskazówek zegara, aby poluzować szczęki i wyciągnąć wiertło.
Instrukcja obsługi
Wybieranie prędkości
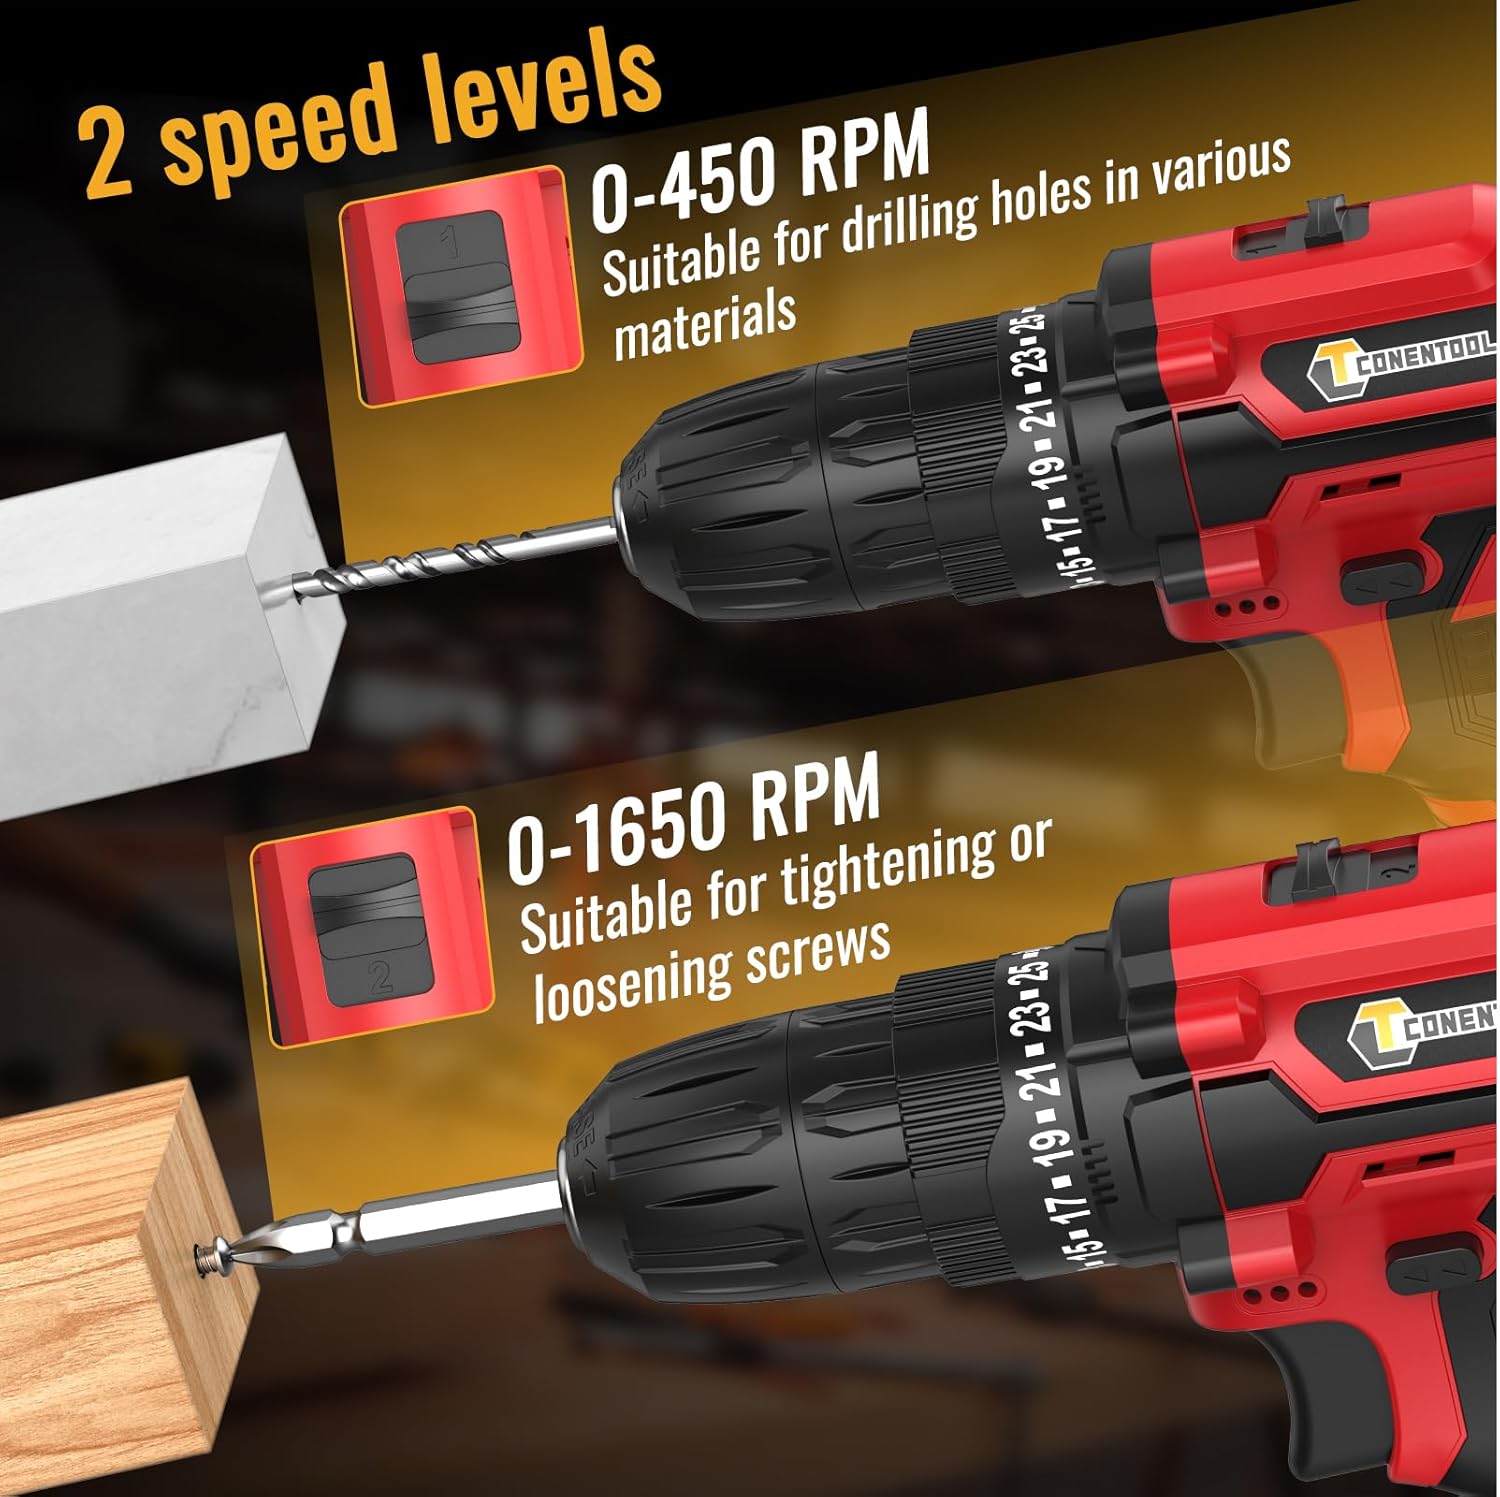
Image: A visual representation of the two-speed levels: 0-450 RPM for drilling holes in various materials (Speed 1) and 0-1650 RPM for tightening or loosening screws (Speed 2).
- Speed 1 (Low, 0-450 RPM): Ideal for driving screws, larger diameter drilling, or applications requiring higher torque.
- Speed 2 (High, 0-1650 RPM): Suitable for smaller diameter drilling and applications requiring faster speed.
- Adjust the speed by sliding the gear selector switch located on top of the drill.
Adjusting Torque (Clutch Setting)

Image: A chart illustrating the drill's multifunctional capabilities, showing increasing torque/power levels suitable for screws, wood, ceramics, brick, concrete, and steel, with distinct settings for drilling and screwdriving.
- The torque adjustment ring is located behind the chuck. Rotate it to select the desired torque setting from 1 to 25.
- The higher the number, the greater the torque. Start with a lower setting and increase as needed to prevent overtightening or damaging the workpiece.
- Use the drill symbol setting for drilling applications, which provides maximum torque without clutch engagement.
Operacja do przodu/do tyłu
- Push the forward/reverse selector switch (located above the trigger) to the left for forward rotation (drilling/driving screws).
- Przesuń przełącznik w prawo, aby rozpocząć obrót w tył (wykręcając śruby).
- For safety, place the switch in the center position to lock the trigger and prevent accidental starting.
Obsługa wiertarki
- Ensure the correct bit is installed and the battery is charged.
- Wybierz odpowiednie ustawienia prędkości i momentu obrotowego dla swojego zadania.
- Position the drill bit on the workpiece.
- Press the trigger to start the drill. The LED light will illuminate the work area.
- Stosuj stały, równomierny nacisk. Nie ćwicz na siłę.
- Zwolnij spust, aby zatrzymać wiertło.
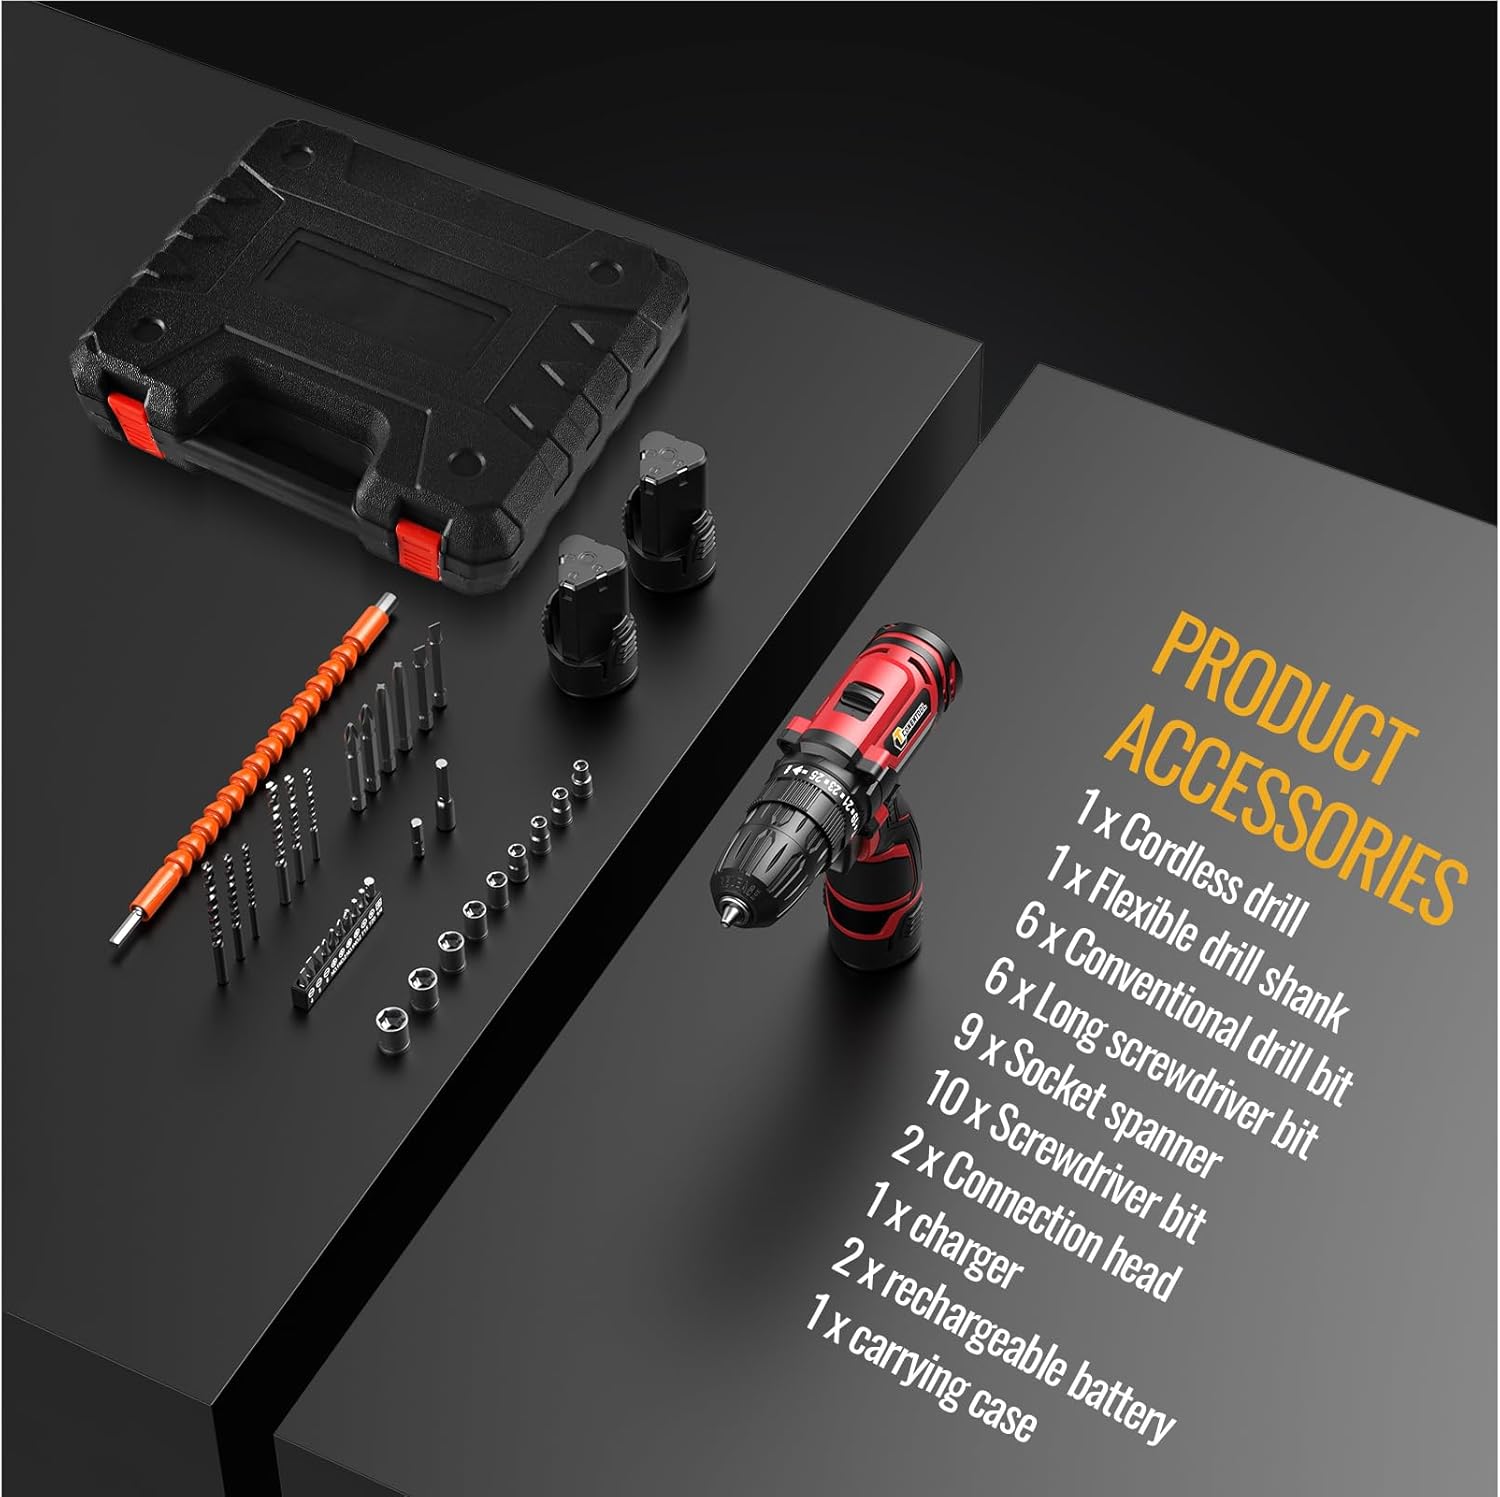
Image: A user demonstrating the versatility of the CONENTOOL drill, shown both drilling into wood and driving a screw into a wall, illustrating its practical application.
Konserwacja
Ogólne sprzątanie
- Przed czyszczeniem należy zawsze odłączyć akumulator.
- Wytrzyj narzędzie czystą,amp płótno. Nie używaj ostrych środków chemicznych ani ściernych środków czyszczących.
- Utrzymuj otwory wentylacyjne wolne od kurzu i zanieczyszczeń, aby zapobiec przegrzaniu. W razie potrzeby użyj sprężonego powietrza.
Pielęgnacja baterii
- Przechowuj baterie w chłodnym i suchym miejscu, z dala od bezpośredniego światła słonecznego i ekstremalnych temperatur.
- Nie przechowuj baterii w stanie rozładowanym przez dłuższy czas. Ładuj je okresowo, jeśli nie są używane.
- Nie wolno zwierać zacisków akumulatora.
Pielęgnacja akcesoriów
- Clean drill bits and screwdriver bits after use.
- Store accessories in the provided carrying case to prevent damage and loss.
Rozwiązywanie problemów
| Problem | Możliwa przyczyna | Rozwiązanie |
|---|---|---|
| Wiertło się nie uruchamia | Akumulator nie jest naładowany lub jest nieprawidłowo zainstalowany. Przełącznik jazdy do przodu/do tyłu w pozycji środkowej (zablokowanej). | Charge battery fully. Reinstall battery securely. Move forward/reverse switch to desired direction. |
| Utrata mocy podczas pracy | Niski poziom naładowania baterii. Zadziałało zabezpieczenie przed przeciążeniem. | Naładuj akumulator. Zmniejsz ciśnienie lub użyj wyższego momentu obrotowego. |
| Bit się chwieje lub wypada | Chuck not tightened properly. Bit shank is damaged. | Retighten chuck firmly. Replace damaged bit. |
| Przegrzanie | Ciągłe, intensywne użytkowanie. Zablokowana wentylacja. | Pozostawić narzędzie do ostygnięcia. Oczyścić otwory wentylacyjne. |
Specyfikacje
| Funkcja | Szczegół |
|---|---|
| Numer modelu | CR-314 |
| Tomtage | 12 wolty |
| Maksymalny moment obrotowy | 35 Nm |
| Prędkość bez obciążenia (niska) | 0-450 obr./min. |
| Prędkość bez obciążenia (wysoka) | 0-1650 obr./min. |
| Ustawienia sprzęgła | 25+1 |
| Rozmiar uchwytu | 3/8" (10mm) bezkluczykowy |
| Typ baterii | Litowo-jonowy |
| Pojemność baterii | 2000 mAh (2x included) |
| Waga | 2.13 kg (z baterią) |
| Wymiary (dł. x szer. x wys.) | Wymiary 31 x 25 x 9 cm |
Dołączone akcesoria

Image: A display of all accessories included in the kit, such as the cordless drill, flexible drill shank, various drill bits, screwdriver bits, socket spanner, connection head, charger, rechargeable batteries, and carrying case.
- 1 x Cordless Drill
- 1 x Flexible Drill Shank
- 6 x Conventional Drill Bits
- 6 x długie bity do śrubokrętów
- 9 x Socket Spanners
- 10 x wkręcania
- 2 x Connection Heads
- 1 x ładowarka
- 2 x Rechargeable Batteries (2000 mAh each)
- 1 x Etui transportowe
Gwarancja i wsparcie
CONENTOOL is committed to providing high-quality products. For any questions regarding your product, please refer to the seller's contact information or Amazon's customer service.
While specific warranty details are not provided in this manual, most products come with a standard manufacturer's warranty against defects in materials and workmanship. Please retain your proof of purchase for any warranty claims.
For further assistance or technical support, please contact the seller Zhen Hui Xiang EU through the Amazon platform.


