1. Wprowadzenie
Welcome to your new Lindby Josefin LED Floor Lamp. This manual provides essential information for the safe installation, operation, and maintenance of your lampPrzed użyciem należy uważnie przeczytać niniejszą instrukcję i zachować ją do wykorzystania w przyszłości.
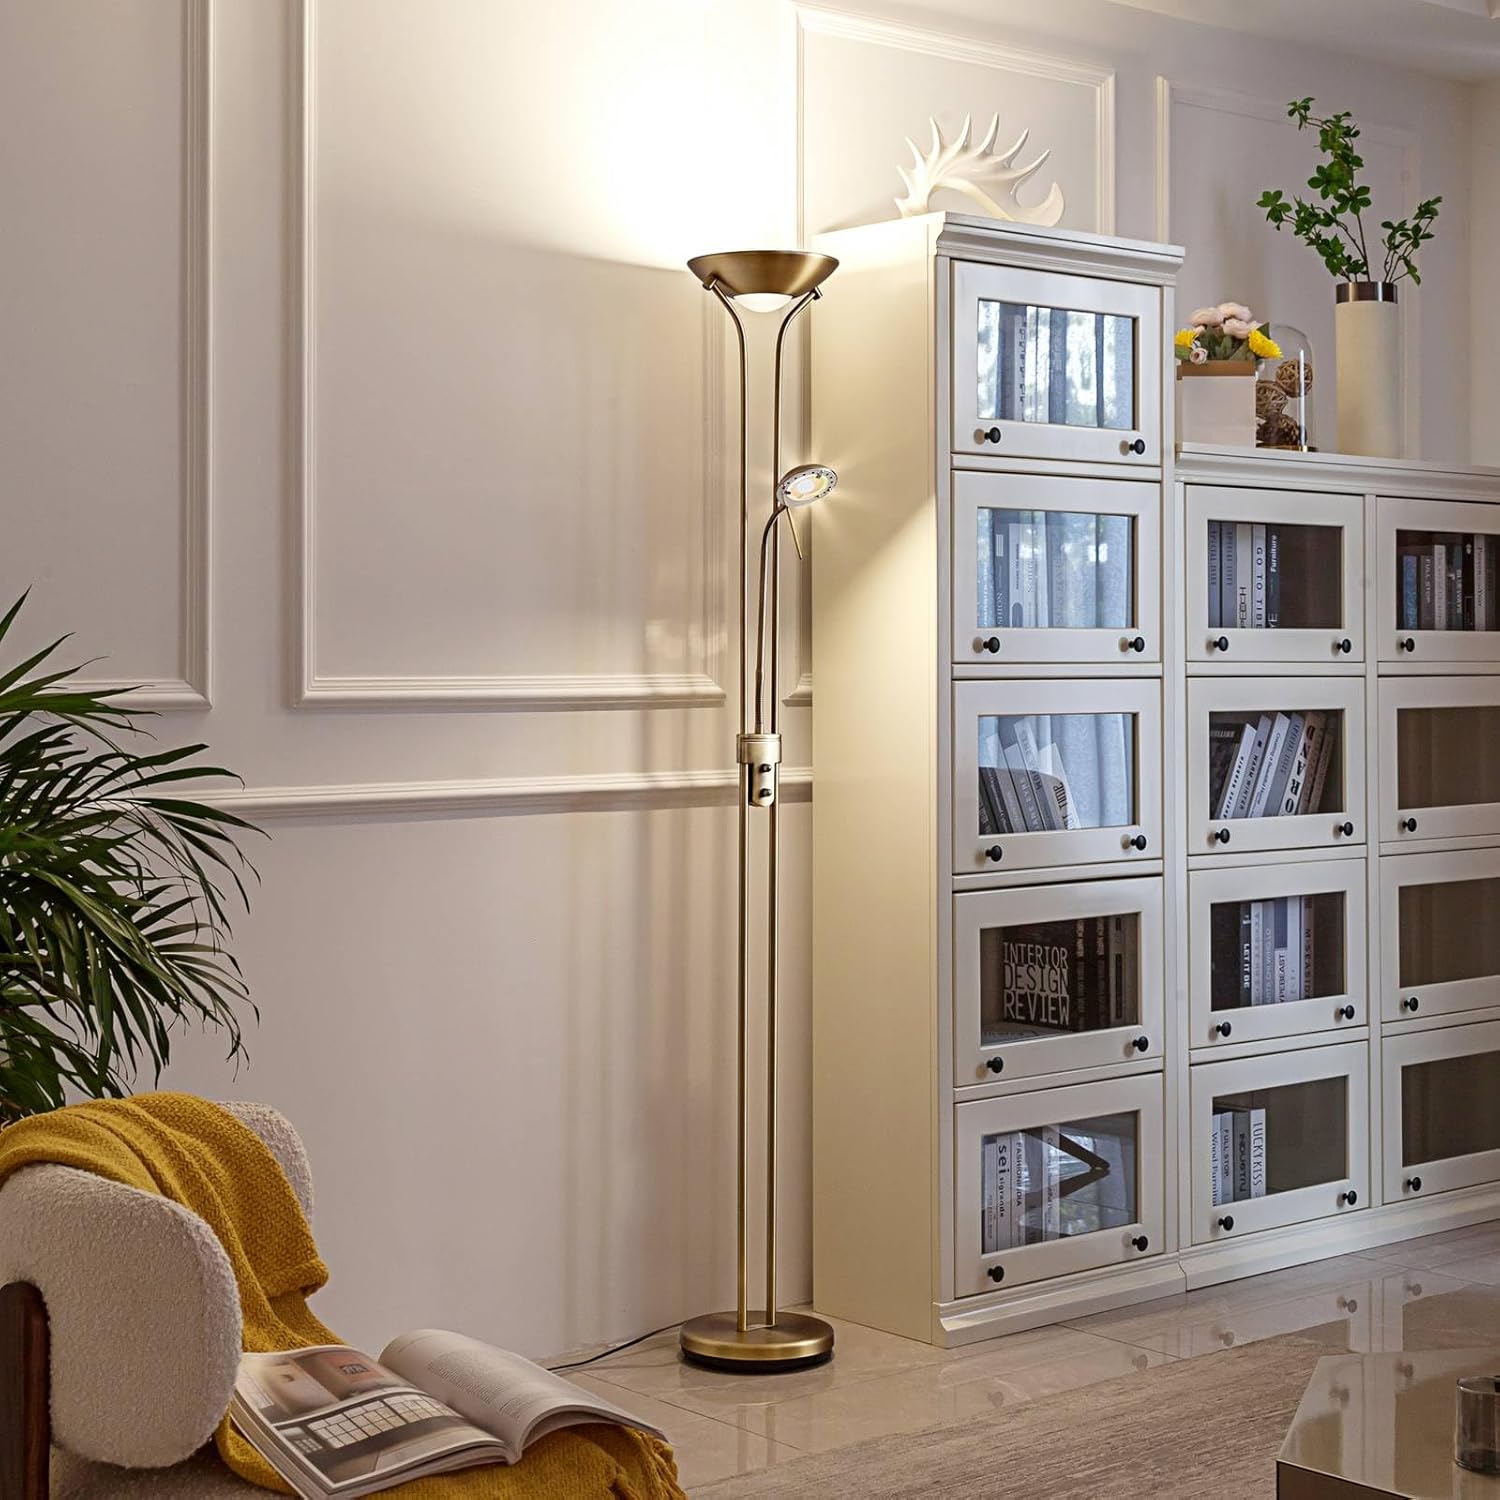
Image 1.1: The Lindby Josefin LED Floor Lamp oświetlenie nowoczesnej przestrzeni życiowej.
2. Ważne instrukcje bezpieczeństwa
Aby zapewnić bezpieczną obsługę i zapobiec uszkodzeniom, należy przestrzegać następujących wskazówek bezpieczeństwa:
- Zawsze odłączaj lamp Przed przystąpieniem do czyszczenia lub wykonywania prac konserwacyjnych należy odłączyć urządzenie od zasilania.
- To jestamp is designed for indoor use only (IP20). Do not expose it to moisture or extreme temperatures.
- Upewnij się, że lamp jest umieszczony na stabilnej i równej powierzchni, aby zapobiec jego przewróceniu.
- Nie należy podejmować prób modyfikacji lub naprawy urządzenia.amp samodzielnie. Skontaktuj się z wykwalifikowanym personelem w celu uzyskania serwisu.
- Trzymaj materiały opakowaniowe, zwłaszcza plastikowe torby, poza zasięgiem dzieci.
- The integrated LED light sources are not user-replaceable. Do not attempt to remove or replace them.
3. Zawartość opakowania
Carefully unpack the box and ensure all components are present and undamaged. The package should contain:
- Lindby Josefin LED Floor Lamp (unassembled sections)
- Integrated LED light sources (uplighter and reading lamp)
- Instrukcja obsługi
4. Instalacja i montaż
Follow these steps to assemble your Lindby Josefin LED Floor Lamp:
- Ostrożnie wyjmij wszystkie elementy z opakowania. Połóż je na miękkiej, czystej powierzchni, aby zapobiec zarysowaniom.
- Attach the base to the lowest pole section. Ensure it is securely fastened by rotating clockwise until tight.
- Connect the remaining pole sections by screwing them together. Be careful not to cross-thread the connections. Ensure the internal wiring is not pinched during assembly.
- Once all pole sections are assembled, ensure the lamp stoi prosto i stabilnie.
- Podłącz przewód zasilający do odpowiedniego gniazdka elektrycznego (230 V).

Image 4.1: The robust base of the Lindby Josefin LED Floor Lamp, zapewniając stabilność.
5. Instrukcja obsługi
The Lindby Josefin LED Floor Lamp features an uplighter and a flexible reading lamp, both with separate controls and dimming functionality.
- Main Uplighter Control: Locate the rotary switch on the lamp's pole. Rotate it clockwise to turn on the uplighter and increase brightness. Rotate counter-clockwise to dim the light and turn it off.
- Czytanie Lamp Kontrola: Below the main uplighter control, there is a separate switch for the reading lamp. Use this switch to turn the reading lamp on or off. The reading lamp also has its own dimming function, typically controlled by rotating its switch.
- Adjusting the Reading Lamp: Lektura Lamp is mounted on a flexible arm, allowing you to adjust its position and direct the light as needed.

Image 5.1: The dual rotary switches for independent control of the uplighter and reading lamp.
6. Konserwacja
Regularna konserwacja zapewnia długowieczność i optymalną wydajność Twojego lamp.
- Czyszczenie: Przed czyszczeniem zawsze odłączaj wtyczkę lamp from the power outlet. Use a soft, dry cloth to wipe the lamp's surface. Do not use abrasive cleaners, solvents, or liquids, as these can damage the finish.
- Źródło światła: The Lindby Josefin LED Floor Lamp features integrated LED light sources. These LEDs are designed for a long lifespan and are not user-replaceable. Do not attempt to open the lamp heads or replace the LEDs.
7. Rozwiązywanie Problemów
Jeśli masz problemy z lamp, zapoznaj się z poniższymi typowymi problemami i rozwiązaniami:
| Problem | Możliwa przyczyna | Rozwiązanie |
|---|---|---|
| Lamp nie włącza się. | Brak zasilania. Lamp nie jest prawidłowo podłączony. Przełącznik jest wyłączony. | Sprawdź, czy przewód zasilający jest prawidłowo podłączony do sprawnego gniazdka. Sprawdź, czy przełącznik ścienny (jeśli występuje) jest włączony. Obróć lamp's switch to the 'on' position. |
| Światło jest zbyt słabe lub zbyt jasne. | Ustawienia ściemniacza są nieprawidłowe. | Adjust the rotary dimmer switch to achieve the desired brightness level. Remember the uplighter and reading lamp have separate dimmers. |
| Czytanie lamp nie działa. | Czytanie lamp przełącznik jest wyłączony. | Ensure the reading lamp's dedicated switch is turned on. |
| Lamp migocze. | Niestabilne zasilanie. Luźne połączenie. | Spróbuj podłączyć lamp do innego gniazdka. Ensure all assembled sections are tightly screwed. If flickering persists, discontinue use and contact support. |
Jeśli powyższe rozwiązania nie rozwiążą problemu, skontaktuj się z obsługą klienta.
8. Specyfikacje
Detailed technical specifications for the Lindby Josefin LED Floor Lamp:
| Funkcja | Szczegół |
|---|---|
| Numer modelu | 10017423 |
| Marka | Lindby'ego |
| Producent | Lampogarnięty |
| Wymiary (wys. x szer. x gł.) | Wymiary: 180 cm x 25.4 cm x 25.4 cm |
| Średnica podstawy | 25.4 cm |
| Waga | 6 kilogramów |
| Tworzywo | Metal |
| Kolor | Bronze, Frosted White |
| Typ źródła światła | Integrated LED (2 lamps) |
| Całkowita wattage | 17 W (Uplighter) + 5 W (Reading Lamp) |
| Strumień świetlny | 2510 lumenów |
| Tomtage | 230 V |
| Klasa ochrony | IP20 (do użytku wewnątrz pomieszczeń) |
| Cechy specjalne | Dimmer, Reading Light, Energy-saving |
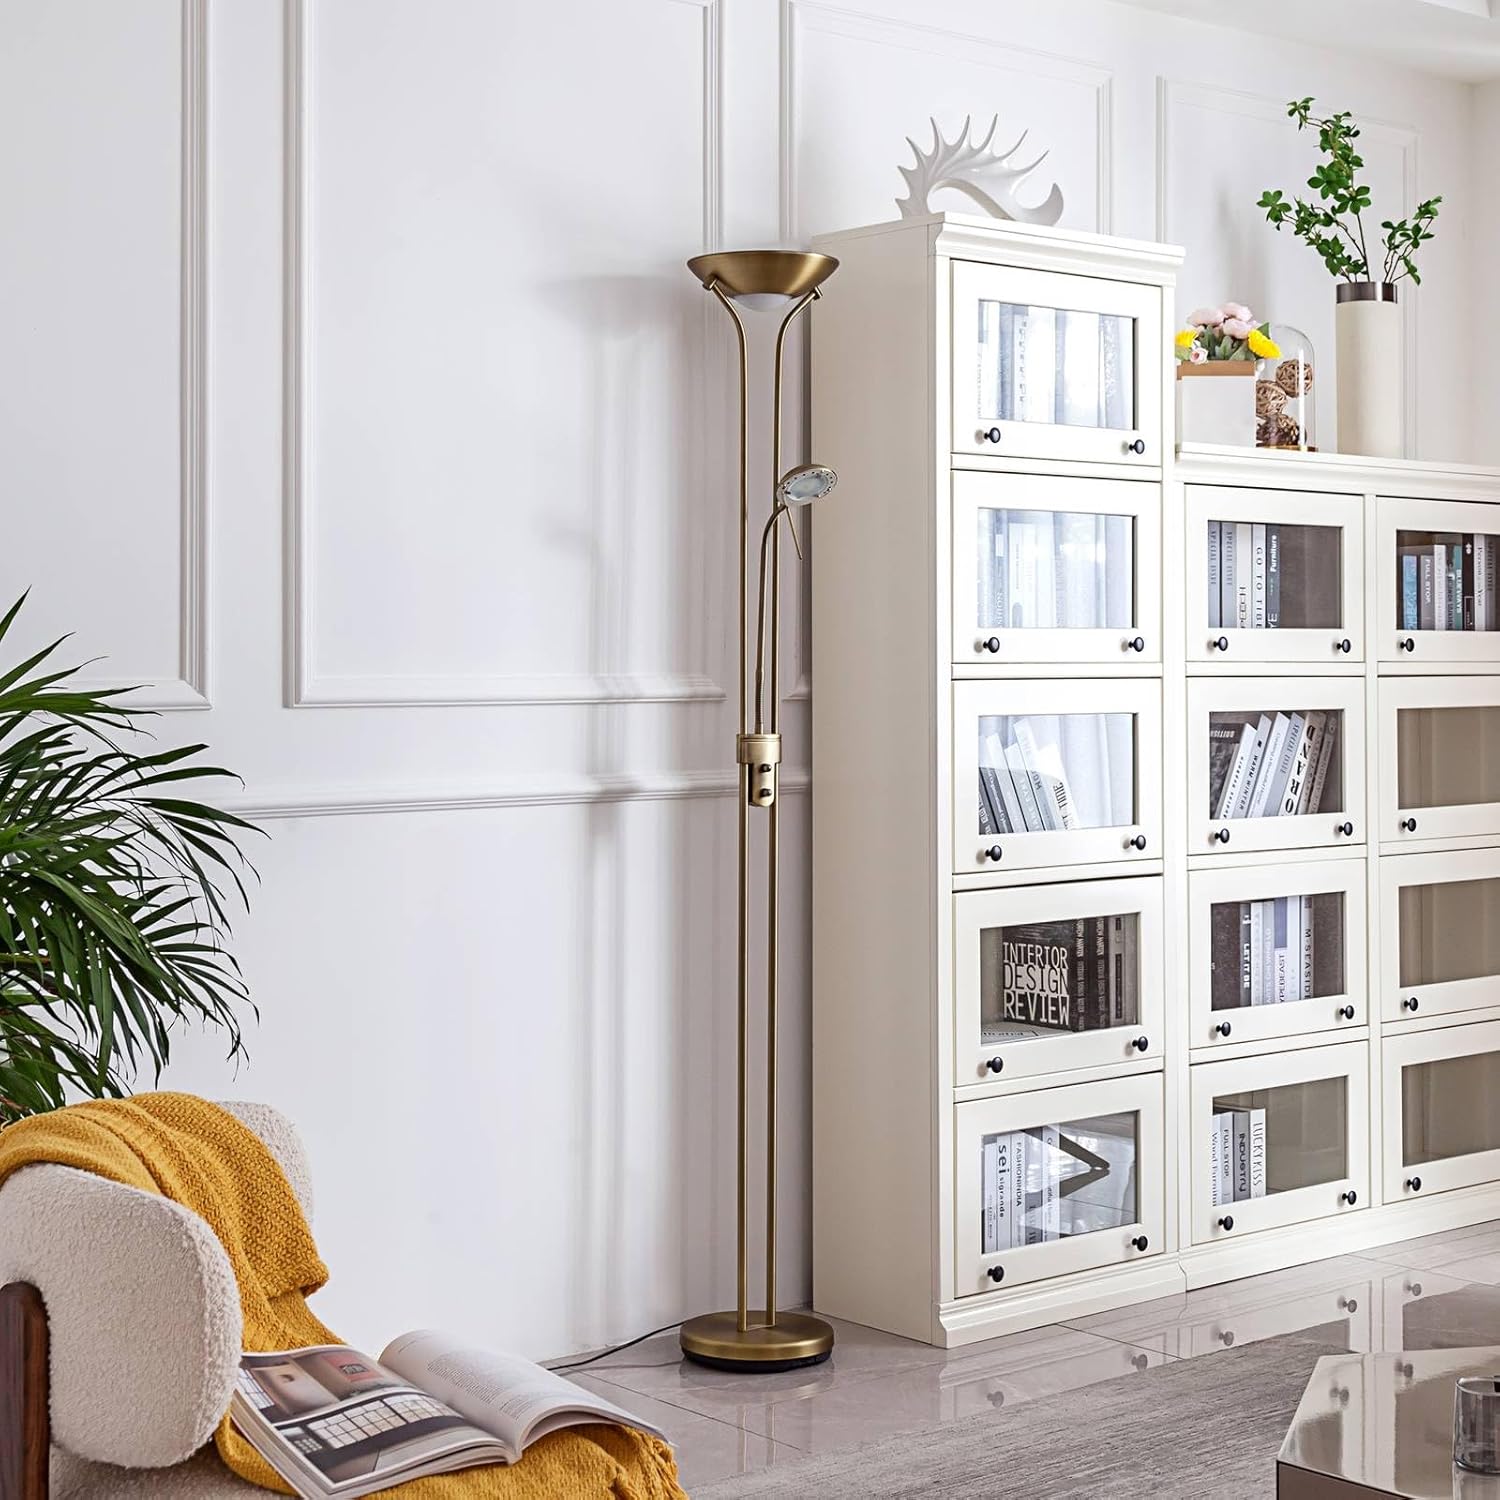
Image 8.1: Dimensional drawing of the Lindby Josefin LED Floor Lamp, showing height and base diameter.
9. Gwarancja i wsparcie
Your Lindby Josefin LED Floor Lamp is covered by a manufacturer's warranty. Please refer to the warranty card included in your package or visit the official Lindby webSzczegółowe warunki gwarancji można znaleźć na naszej stronie.
For technical support, troubleshooting assistance beyond this manual, or to inquire about replacement parts (if applicable), please contact your retailer or the manufacturer directly. Have your model number (10017423) and purchase date ready when contacting support.


