Produkt ponadview
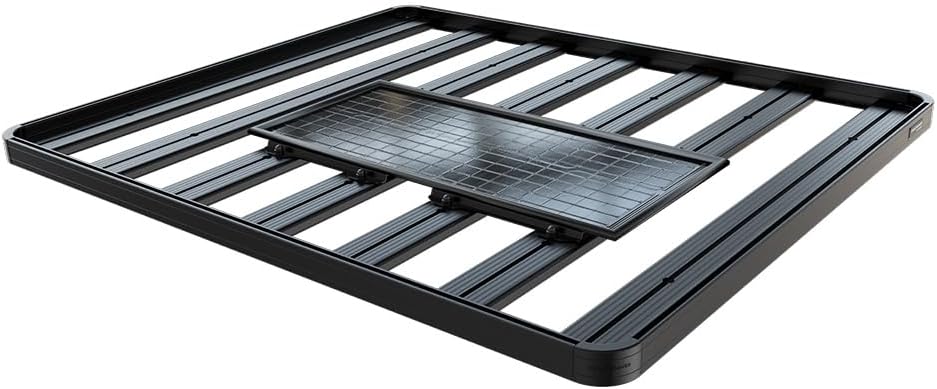
The Front Runner Universal Solar Panel Mounting Bracket (Model RRAC272) provides a secure and durable solution for attaching various fixed solar panels to your roof rack. Constructed from high-strength steel and finished with a robust powder coating, these brackets are designed for longevity and reliability in diverse environments.
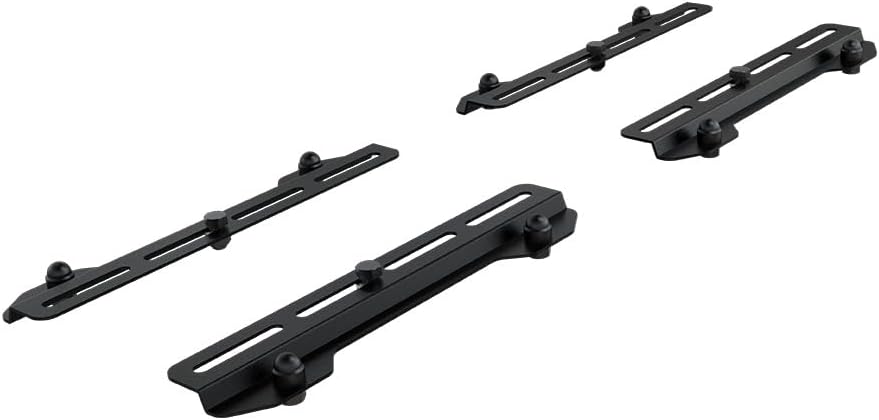
This kit includes four (4) brackets, specifically engineered to integrate seamlessly with Front Runner roof racks, ensuring a stable mounting platform for your solar energy solutions.
Zawartość opakowania
Przed rozpoczęciem instalacji sprawdź, czy wszystkie komponenty są obecne:
- Four (4) Universal Solar Panel Mounting Brackets
- Installation Hardware (bolts, nuts, washers)

Instrukcje instalacji
This section provides detailed steps for installing the Universal Solar Panel Mounting Brackets onto your Front Runner roof rack and securing a solar panel. Ensure you have all necessary tools and components before starting.
Step 1: Prepare Roof Rack
Ensure your Front Runner roof rack is clean and free of debris where the brackets will be mounted. Identify the desired position for your solar panel on the rack.
Step 2: Position Brackets
Place the four mounting brackets onto the slats of your roof rack. The brackets are designed to slide into the T-slots of the rack. Position them to align with the mounting points on your solar panel.

Step 3: Secure Brackets to Roof Rack
Using the provided hardware, loosely secure each bracket to the roof rack. Do not fully tighten at this stage, as minor adjustments may be needed when positioning the solar panel.

Step 4: Mount Solar Panel
Carefully place your solar panel onto the positioned brackets. Align the solar panel's mounting holes with the corresponding holes on the brackets. Use the remaining hardware to attach the solar panel to the brackets. Ensure the panel is centered and properly aligned.
Krok 5: Ostateczne dokręcenie
Once the solar panel is correctly positioned and all bolts are in place, systematically tighten all fasteners. Ensure all connections are firm and secure, but do not overtighten. Periodically check the tightness of all fasteners, especially after initial use and off-road travel.
Konserwacja
To ensure the longevity and optimal performance of your Front Runner Universal Solar Panel Mounting Brackets, follow these maintenance guidelines:
- Regularna kontrola: Periodically inspect all mounting points and fasteners for any signs of loosening, wear, or damage. Tighten any loose bolts immediately.
- Czyszczenie: Clean the brackets with mild soap and water to remove dirt, dust, and road grime. Avoid abrasive cleaners or solvents that could damage the powder coating.
- Kontrola korozji: Although powder-coated for durability, regularly check for any chips or scratches in the coating that could expose the steel to moisture and lead to corrosion. Touch up any damage as needed with appropriate paint.
Rozwiązywanie problemów
This section addresses common issues you might encounter with your solar panel mounting brackets.
- Loose Solar Panel: If the solar panel feels loose or rattles, re-check all mounting bolts connecting the panel to the brackets and the brackets to the roof rack. Tighten as necessary.
- Bracket Movement: If the brackets themselves are shifting on the roof rack, ensure they are correctly seated in the T-slots and all fasteners securing them to the rack are fully tightened.
- Nietypowy hałas: Rattling or squeaking noises often indicate loose components. Perform a thorough inspection of all connections and tighten any loose hardware.
Specyfikacje
| Producent | Faworyt |
| Numer części | RRAC272 |
| Numer modelu przedmiotu | RRAC272 |
| Tworzywo | Stal stopowa |
| Rodzaj wykończenia | Malowane proszkowo |
| Ilość w opakowaniu przedmiotu | 1 (set of 4 brackets) |
| Wymiary produktu (każdy wspornik) | 290mm (11.4") L x 58mm (2.3") W x 12mm (0.5") H |
| Waga przedmiotu (łącznie) | 1 kg (2.2 funta) |
Wsparcie i gwarancja
For technical assistance, replacement parts, or warranty inquiries, please contact Front Runner customer support directly. Refer to your purchase documentation or the official Front Runner webna tej stronie znajdziesz najbardziej aktualne dane kontaktowe.
Proszę zachować dowód zakupu na potrzeby roszczeń gwarancyjnych.


