Wstęp
This manual provides detailed instructions for the safe and effective use of your ANSMANN Moisture Meter, Model 1900-0116. This device is designed for quick and easy detection of surface moisture in various wood types and building materials. Please read this manual thoroughly before operating the device to ensure proper usage and to prevent damage or injury.
Informacje dotyczące bezpieczeństwa
Aby zapobiec obrażeniom ciała lub uszkodzeniu urządzenia, należy zawsze przestrzegać następujących środków ostrożności:
- Trzymaj urządzenie poza zasięgiem dzieci.
- Do not attempt to measure live electrical circuits. The probes are conductive.
- Unikaj wystawiania urządzenia na działanie ekstremalnych temperatur, bezpośredniego światła słonecznego lub wysokiej wilgotności.
- Nie zanurzaj urządzenia w wodzie ani innych płynach.
- Handle the measuring probes with care; they are sharp. Always replace the protective cap when not in use.
- Używaj wyłącznie baterii określonego typu. Podczas instalacji zwróć uwagę na prawidłową biegunowość.
Zawartość opakowania
Sprawdź, czy w opakowaniu znajdują się wszystkie elementy:
- 1 x ANSMANN Moisture Meter (Model 1900-0116)
- 2 baterie AAA Micro
- 1 x Protective Cap for Measuring Probes
- 1 x Instrukcja obsługi
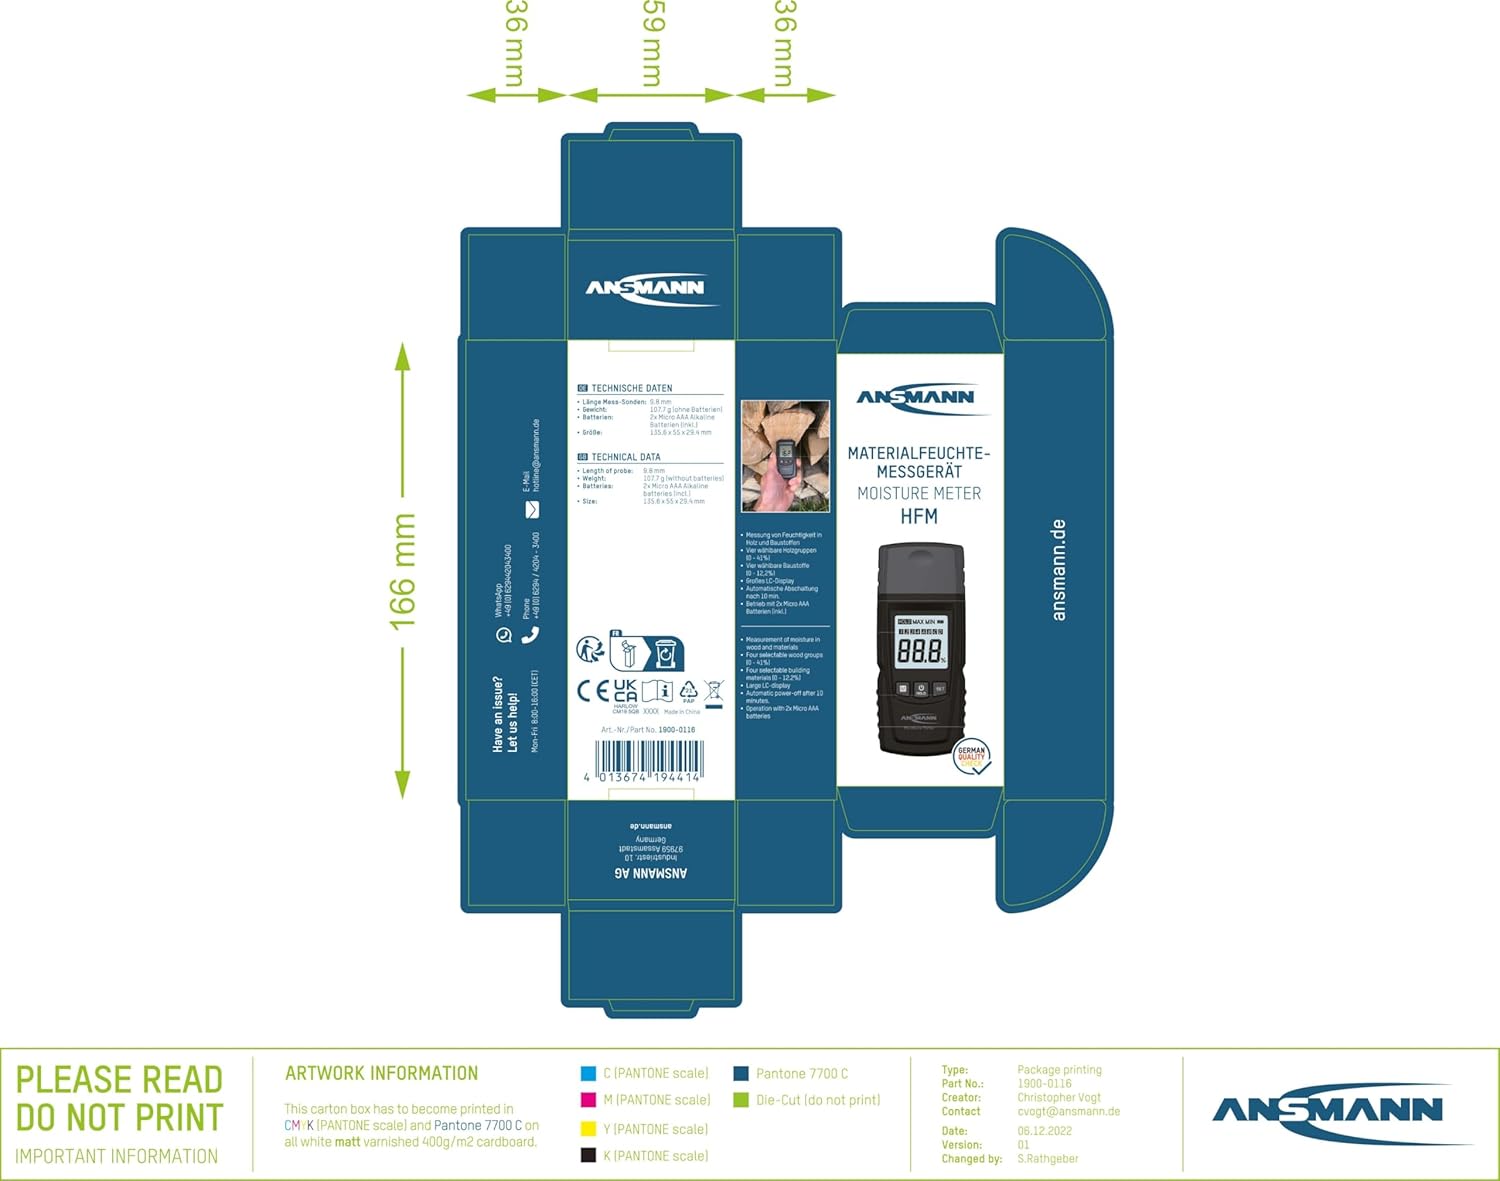
Image: The ANSMANN Moisture Meter packaging, illustrating the device and its included accessories.
Konfiguracja: Instalacja baterii
- Znajdź komorę baterii z tyłu urządzenia.
- Odkręć pokrywę komory baterii.
- Insert the two supplied AAA micro batteries, ensuring correct polarity (+/-) as indicated inside the compartment.
- Załóż pokrywę komory baterii i zabezpiecz ją śrubą.

Obraz: Przód view of the ANSMANN Moisture Meter, displaying its LCD screen and control buttons.
Instrukcja obsługi
Włączanie/wyłączanie zasilania
- Aby włączyć urządzenie, naciśnij i przytrzymaj TRZYMAĆ button (power symbol) for approximately 2 seconds.
- Aby wyłączyć urządzenie, naciśnij i przytrzymaj TRZYMAĆ Naciśnij przycisk ponownie i przytrzymaj przez około 2 sekundy.
Wybór materiałów
- Po włączeniu urządzenia naciśnij przycisk M (Mode) button to cycle through the available material groups.
- The display will show a number (1-4) corresponding to the selected wood group or building material group. Refer to the "Material Selection Guide" section for details on each group.
Dokonywanie pomiaru
- Remove the protective cap from the measuring probes.
- Carefully insert the two measuring probes into the material you wish to test. Ensure both probes penetrate the surface adequately for an accurate reading.
- The moisture content will be displayed on the LCD screen as a percentagmi (%).
- Aby zachować aktualny odczyt na wyświetlaczu, naciśnij krótko przycisk TRZYMAĆ button. Press it again to release the hold function.
- After measurement, carefully withdraw the probes and replace the protective cap.
Material Selection Guide
The ANSMANN Moisture Meter offers four selectable groups for wood and four for building materials to ensure accurate measurements. Select the appropriate group using the M przycisk.
Wood Groups:
- Grupa 1: Softwoods (e.g., Pine, Spruce, Fir)
- Grupa 2: Medium Hardwoods (e.g., Maple, Oak, Ash)
- Grupa 3: Hardwoods (e.g., Beech, Cherry, Walnut)
- Grupa 4: Dense Hardwoods (e.g., Teak, Ipe)
Building Material Groups:
- Grupa 1: Brick, Cement Mortar
- Grupa 2: Concrete, Plaster
- Grupa 3: Anhydrite Screed, Gypsum Plaster
- Grupa 4: Lime Mortar, Sandstone
Konserwacja
Czyszczenie:
- Przetrzyj urządzenie miękką, suchą ściereczką. Nie używaj środków czyszczących o właściwościach ściernych ani rozpuszczalników.
- Ensure the measuring probes are clean and free of debris after each use.
Składowanie:
- Always replace the protective cap over the measuring probes when storing the device.
- Przechowuj urządzenie w chłodnym i suchym miejscu, z dala od bezpośredniego światła słonecznego i ekstremalnych temperatur.
- Jeżeli urządzenie nie będzie używane przez dłuższy czas, należy wyjąć baterie, aby zapobiec wyciekowi.
Rozwiązywanie problemów
| Problem | Możliwa przyczyna | Rozwiązanie |
|---|---|---|
| Urządzenie nie włącza się. | Baterie są rozładowane lub nieprawidłowo zainstalowane. | Sprawdź biegunowość baterii lub wymień je na nowe baterie AAA. |
| Niedokładne odczyty. | Incorrect material group selected; probes not fully inserted; probes are dirty. | Ensure correct material group is selected. Insert probes fully into the material. Clean probes. |
| Display shows "LO" or similar low battery indicator. | Baterie są słabe. | Wymień baterie na nowe baterie AAA. |
Specyfikacje
- Model: 1900-0116
- Źródło zasilania: 2 x AAA Micro Batteries (included)
- Typ ogniwa baterii: Alkaliczny
- Wymiary produktu: 5.34 x 2.17 x 1.16 cala (ok. 13.56 x 5.51 x 2.95 cm)
- Waga przedmiotu: 3.8 uncji (około 107.7 gramów)
- Długość sondy: 9.8 mm (stal)
- Wyświetlacz: Duży wyświetlacz LCD
Gwarancja i wsparcie
ANSMANN products are manufactured with high-quality materials and undergo strict quality control. This device is covered by a manufacturer's warranty against defects in materials and workmanship. For specific warranty terms, duration, and to obtain support, please refer to the warranty card included with your product or visit the official ANSMANN webstrona.
For technical assistance, troubleshooting, or service inquiries, please contact ANSMANN customer support through their official channels. Keep your purchase receipt as proof of purchase for warranty claims.


