1. Wprowadzenie
This manual provides detailed instructions for the proper installation, operation, and maintenance of your SmallRig Black Mamba Camera Cage, designed specifically for the Canon EOS R6 Mark II camera. This cage offers enhanced protection and expands the mounting capabilities for various camera accessories, improving your filmmaking and photography experience.
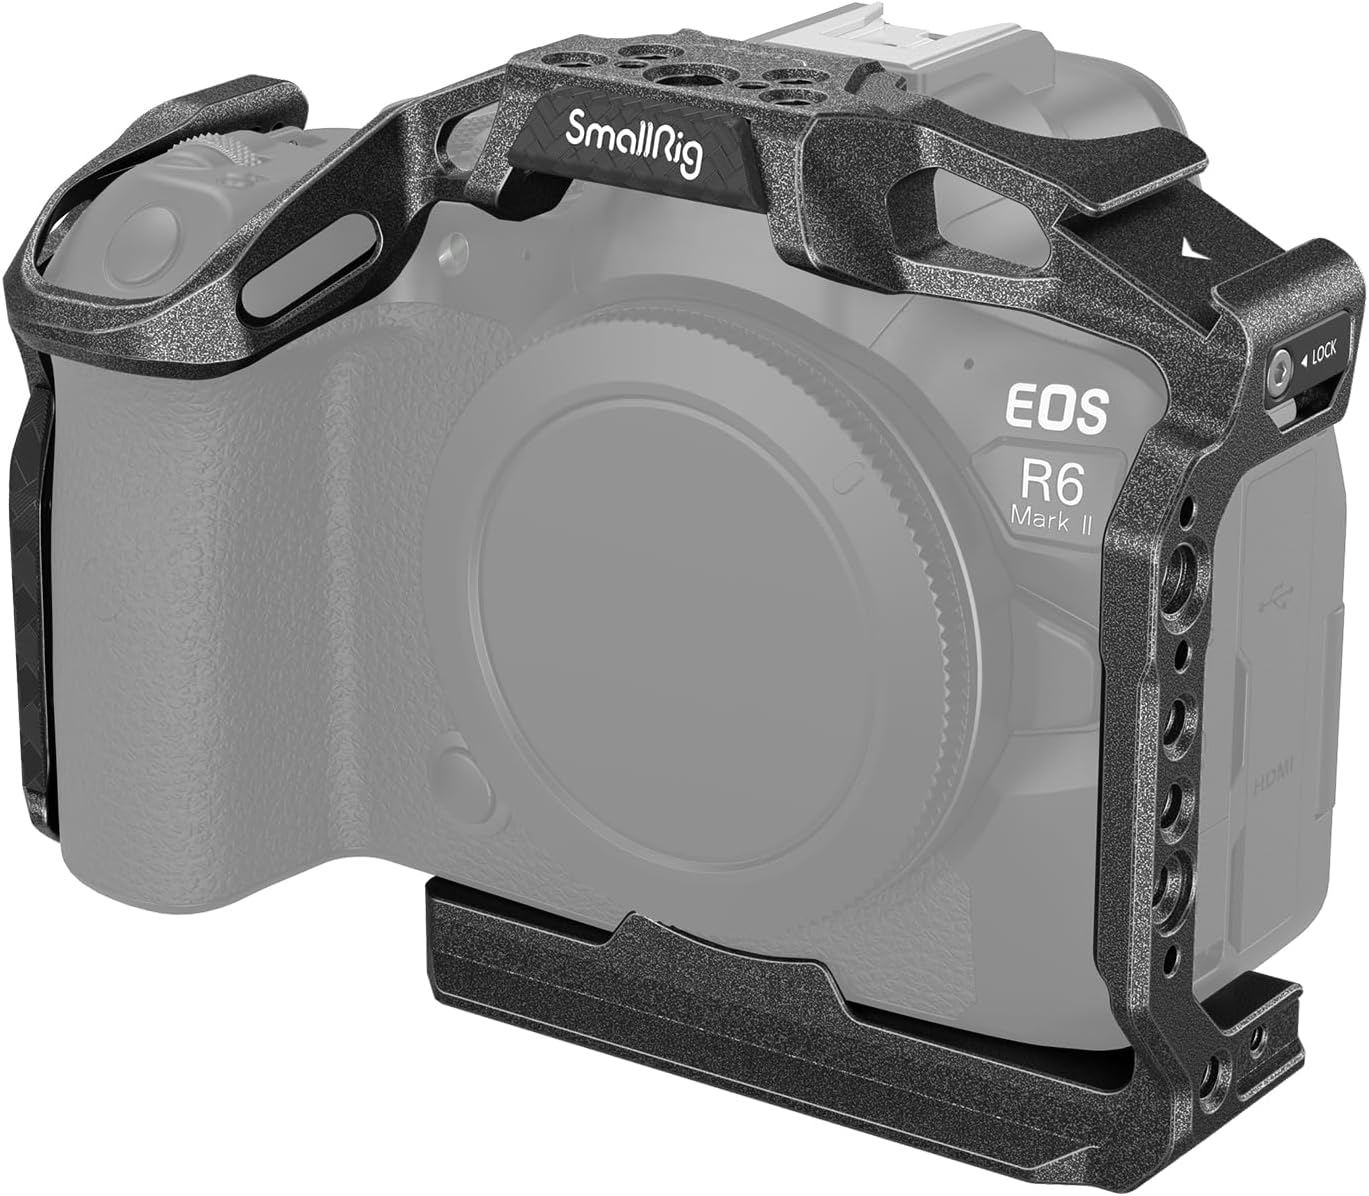
Figure 1.1: SmallRig Black Mamba Camera Cage on Canon EOS R6 Mark II.
2. Zawartość opakowania
Sprawdź, czy w przesyłce znajdują się wszystkie elementy:
- Camera Cage × 1

Rysunek 2.1: Zawartość opakowania i wymiary produktu.
3. Główne cechy
The SmallRig Black Mamba Camera Cage offers several key features:
- Usprawniony projekt: Provides comprehensive protection while maintaining access to all camera buttons and controls. Weighs only 158g (0.34 lbs).
- Built-in Quick Release Plate: Features an Arca-Swiss compatible bottom plate for quick transitions between handheld, tripod, and DJI RS 2 / RSC 2 / RS 3 / RS 3 Pro stabilizer setups.
- Anti-Twisting Mechanism: Securely locks the camera with a 1/4"-20 screw at the bottom and two side positioning blocks, preventing rotation. Integrated silicone pads protect the camera from scratches.
- Wiele opcji montażu: Includes 1/4"-20 and 3/8"-16 threaded holes, ARRI locating holes, and a cold shoe mount for attaching various accessories like top handles, side handles, monitors, microphones, and LED lights.
- Integrated Wrench: A built-in wrench facilitates easy mounting and removal.
- Gniazdo QD: Compatible with SmallRig handbands (e.g., PAC2456) and shoulder straps (e.g., PSC2428).
4. Konfiguracja i instalacja
Follow these steps to securely install the camera cage onto your Canon EOS R6 Mark II:
- Krok 1: Align the camera with the cage. Use the built-in dual-head wrench to tighten the 1/4"-20 screw located at the bottom of the cage into the camera's tripod socket.
- Krok 2: Secure the left side lock. Position the left side lock adapter into the camera's strap slot and ensure it is firmly seated.
- Krok 3: Secure the right side lock. Position the right side lock adapter into the camera's strap slot and ensure it is firmly seated.
Ensure all screws and locks are tightened to prevent any movement or twisting of the camera within the cage. The integrated silicone pads provide additional protection against scratches.

Figure 4.1: Three-Point Locking Design installation steps.
5. Instrukcja obsługi
5.1 Quick Release Plate Functionality
The integrated Arca-Swiss compatible quick release plate on the bottom of the cage allows for rapid transitions between different shooting setups. This feature is compatible with DJI RS 2, RSC 2, RS 3, and RS 3 Pro stabilizers, as well as standard Arca-Swiss tripods.

Figure 5.1: Quick and easy scene switching using the built-in Arca-Swiss plate.
5.2 Accessory Mounting Options
The cage provides numerous mounting points for expanding your camera rig:
- Otwory gwintowane 1/4"-20: Standard mounting points for a wide range of accessories.
- Otwory gwintowane 3/8"-16: Larger mounting points for heavier accessories or specific mounting standards.
- Otwory lokalizacyjne ARRI: Designed to prevent twisting of accessories attached via 3/8"-16 screws, ensuring stability.
- Mocowanie zimnej stopki: Ideal for attaching microphones, LED video lights, or other cold shoe compatible accessories.
- Miejsce na pasek na nadgarstek: For attaching wrist straps for added security during handheld operation.
- Gniazdo QD: Quick Detach socket for compatible handbands and shoulder straps.

Figure 5.2: Extensive expansion capabilities with various mounting points.

Figure 5.3: Detail of QD Socket and Wrist Strap Slot.
5.3 Recommended Accessories
The cage is designed to integrate seamlessly with a range of SmallRig accessories to build a complete camera rig:
- Top Handles (e.g., ID: 3765, 2165C)
- Side Handles (e.g., ID: 4016)
- Monitor Mounts (e.g., ID: 2903B)
- Microphones (e.g., ID: 3487)
- Follow Focus Systems (e.g., ID: 3010C)
- Matte Boxes (e.g., ID: 3196)
- V-Mount Battery Mounting Systems (e.g., ID: 4064)
- Tripods (e.g., ID: 4059)

Figure 5.4: Kit recommendation showing a fully accessorized camera rig.
6. Konserwacja
To ensure the longevity and optimal performance of your SmallRig Black Mamba Camera Cage, follow these maintenance guidelines:
- Czyszczenie: Przetrzyj klatkę miękką, suchą ściereczką, aby usunąć kurz i odciski palców. W przypadku uporczywych zabrudzeń, delikatnie przetrzyj.amp Można użyć ściereczki, a następnie natychmiast wysuszyć. Unikać środków czyszczących o działaniu ściernym i rozpuszczalników.
- Składowanie: Store the cage in a dry, cool environment away from direct sunlight and extreme temperatures. If not in use for extended periods, consider storing it in its original packaging or a protective bag.
- Kontrola: Periodically check all screws and mounting points for tightness. Ensure the silicone pads are intact and providing adequate protection.
7. Rozwiązywanie Problemów
If you encounter any issues with your camera cage, consider the following:
- Cage feels loose on camera: Ensure the 1/4"-20 screw at the bottom and both side lock adapters are fully tightened. Refer to Section 4 for installation steps.
- Accessories are not secure: Verify that accessories are attached to the correct mounting points (e.g., ARRI locating holes for anti-twist) and that their respective screws are tightened.
- Difficulty attaching to stabilizer/tripod: Confirm that the quick release plate is correctly aligned with the Arca-Swiss clamp on your stabilizer or tripod. Ensure the clamp is fully open before insertion and securely closed afterward.
Jeśli potrzebujesz dalszej pomocy, skontaktuj się z obsługą klienta SmallRig.
8. Specyfikacje
| Funkcja | Szczegół |
|---|---|
| Wymiary produktu | 153 × 73.9 × 114.5 mm (6.0 × 2.9 × 4.5 cali) |
| Waga przedmiotu | 158 g ± 5 g (5.6 ± 0.2 oz) |
| Wymiary opakowania | 184 × 130 × 76 mm (7.2 × 5.1 × 3.0 cali) |
| Waga paczki | 238 g ± 5 g (8.4 ± 0.2 oz) |
| Tworzywo | Stop aluminium |
| Zgodność | Canona EOS R6 MarkII |
| Punkty mocowania | 1/4"-20 Threaded Holes, 3/8"-16 Threaded Holes, ARRI Locating Holes, Cold Shoe Mount, Wrist Strap Slot, QD Socket |
| Płyta szybkiego uwalniania | Kompatybilny z Arca-Swiss |
| Numer modelu | 4161-CF-FBA-US |
9. Gwarancja i wsparcie
SmallRig products are manufactured to high-quality standards. For information regarding warranty coverage, product registration, or technical support, please refer to the official SmallRig webOdwiedź stronę internetową lub skontaktuj się bezpośrednio z działem obsługi klienta. Zachowaj paragon jako dowód zakupu.
SmallRig Official Webstrona: www.mallrig.com


