1. Wprowadzenie
Dziękujemy za zakupasing the BlitzMax 480P Mini WiFi Projector. This compact and portable projector is designed to provide a versatile entertainment experience with its advanced DLP technology, Android 9.0 system, 5G WiFi, and Bluetooth connectivity. Please read this manual carefully to ensure proper setup, operation, and maintenance of your device.

Image 1.1: The BlitzMax Mini HD Projector providing an immersive visual experience.
2. Informacje dotyczące bezpieczeństwa
- Nie patrz bezpośrednio w obiektyw projektora, gdyamp jest włączony.
- Zapewnij odpowiednią wentylację wokół projektora, aby zapobiec przegrzaniu.
- Trzymaj projektor z dala od wody, wilgoci i materiałów łatwopalnych.
- Używaj wyłącznie dołączonego zasilacza.
- Nie próbuj samodzielnie demontować ani naprawiać projektora. Skontaktuj się z obsługą klienta, aby uzyskać pomoc.
- Przechowywać w miejscu niedostępnym dla dzieci.
3. Zawartość opakowania
Sprawdź, czy w opakowaniu znajdują się wszystkie elementy:
- BlitzMax Mini WiFi Projector
- Zdalne sterowanie
- Zasilacz
- Kabel HDMI
- Instrukcja obsługi (ten dokument)

Image 3.1: Contents included in the BlitzMax Mini WiFi Projector package.
4. Koniec produktuview
Zapoznaj się z podzespołami i interfejsami projektora.

Image 4.1: Front, rear, and top views of the projector highlighting ports and touch controls.
4.1. Interfejsy
- USB 2.0: Do podłączania urządzeń pamięci masowej USB.
- IR: Odbiornik podczerwieni do pilota.
- DC IN: Port wejściowy zasilania.
- Zgodność z HDMI: Do podłączania urządzeń zewnętrznych, takich jak laptopy, konsole do gier czy dekodery TV.
4.2. Dotknij Panelu sterowania
The top panel features sensitive touch controls for easy navigation and operation, even in low-light conditions due to its LED screen light.
- Menu: Dostęp do ustawień i opcji.
- Dom: Powrót do głównego interfejsu.
- Tom: Dostosuj poziom wyjściowy dźwięku.
- Powrót: Wróć do poprzedniego ekranu.
5. Konfiguracja
5.1. Włączanie/wyłączanie zasilania
- Connect the power adapter to the DC IN port on the projector and then to a power outlet.
- Naciśnij przycisk zasilania na projektorze lub pilocie, aby go włączyć.
- To turn off, press the power button again and confirm shutdown.
5.2. Initial Setup (Android 9.0 System)
Upon first use, the projector will guide you through initial setup steps, including:
- Wybór języka: Wybierz preferowany język.
- Połączenie internetowe: Connect to a 5G or 2.4G WiFi network for internet access and streaming.
- Strefa czasowa: Ustaw prawidłową strefę czasową.
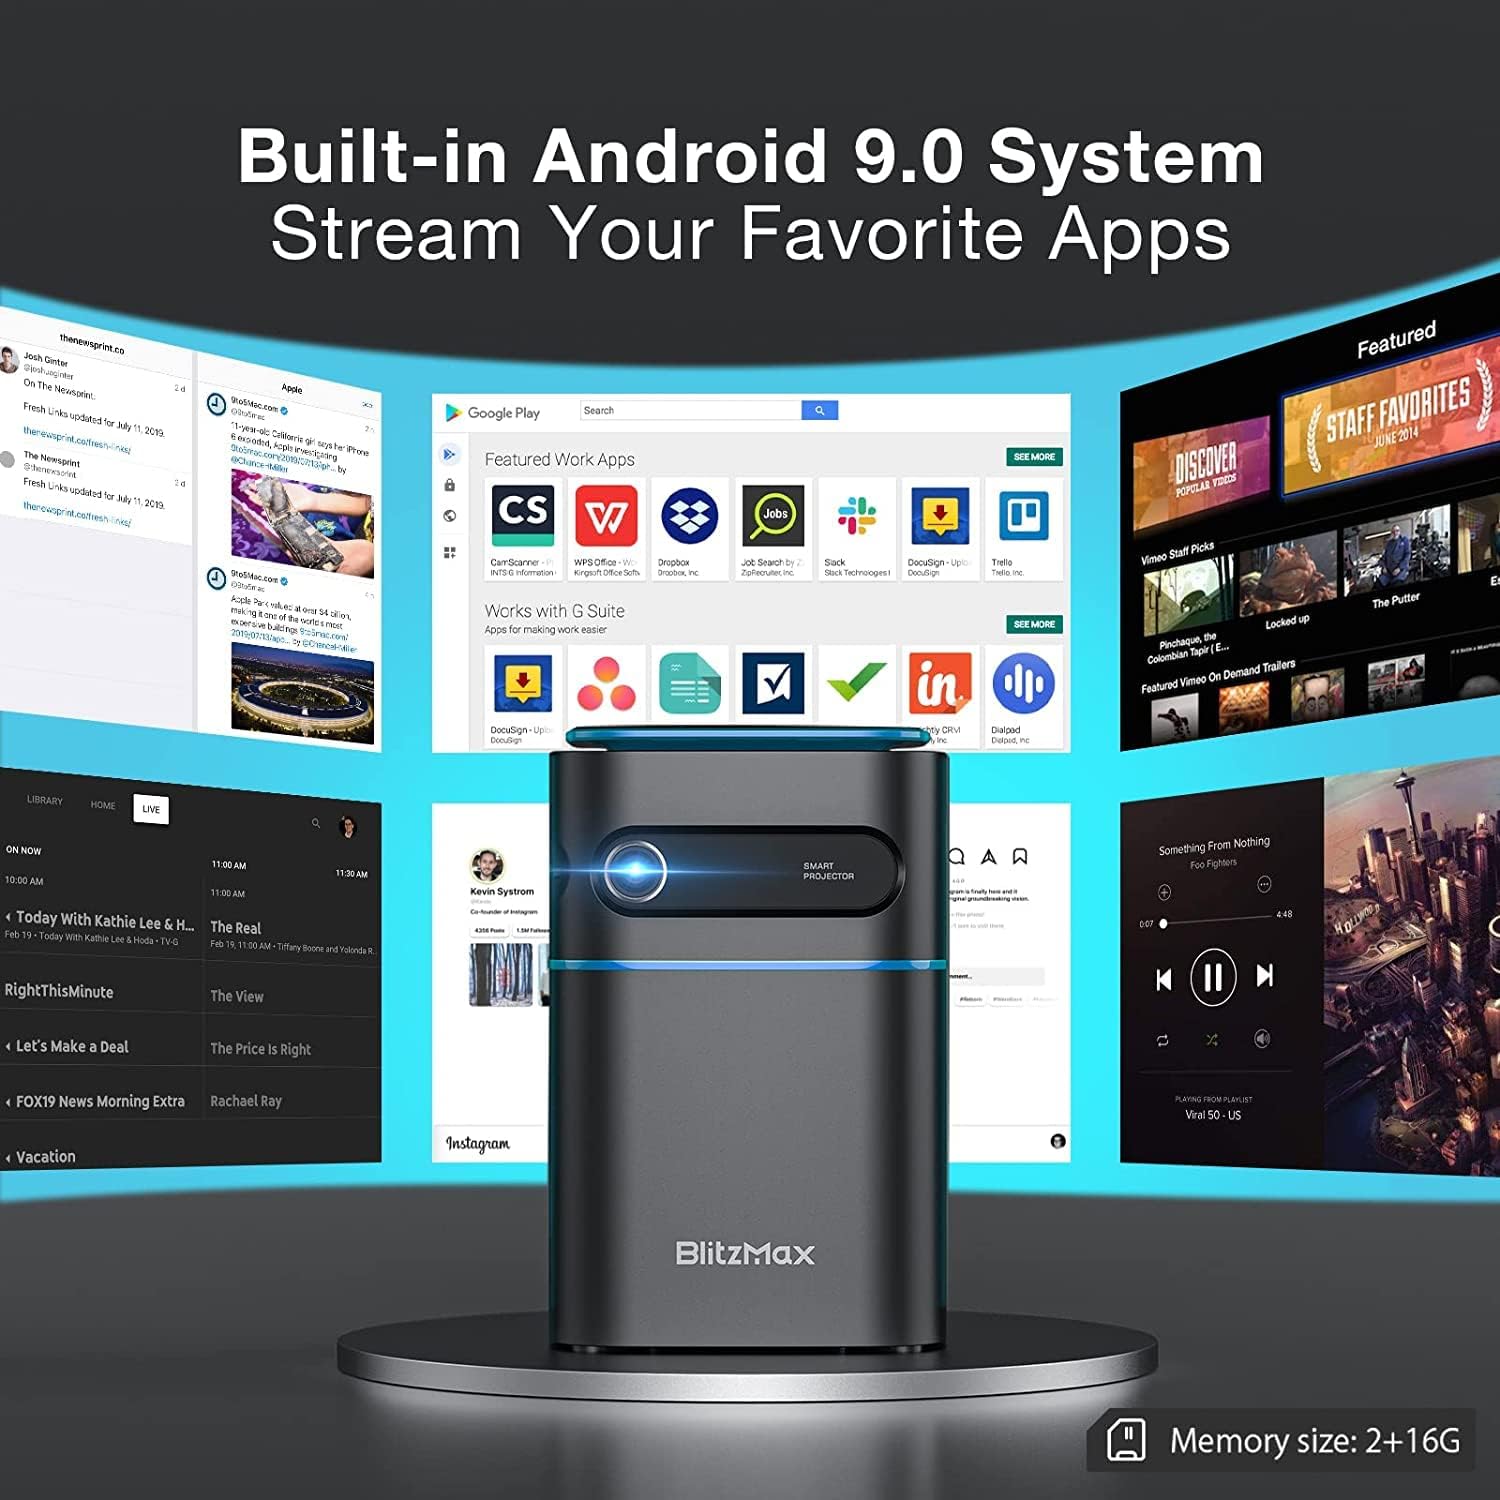
Image 5.1: The projector's built-in Android 9.0 system allows streaming of favorite apps.
5.3. Korekcja ostrości i trapezu
Adjust the image for clarity and proper rectangular shape.
- Centrum: Rotate the focus ring near the lens until the projected image is sharp.
- Korekcja Keystone'a: The projector supports ±40° keystone correction. Access this setting through the menu to adjust the image geometry if the projector is not perfectly perpendicular to the screen.

Image 5.2: Illustrating the ±40° keystone correction capability.
6. Obsługa
6.1. Podłączanie urządzeń zewnętrznych
Projektor oferuje wiele opcji łączności:
- HDMI: Connect devices like PCs, DVD players, PS3/PS4, or TV boxes using an HDMI cable. Select the HDMI input source from the projector's menu.
- USB: Insert a USB flash drive into the USB 2.0 port to play media files bezpośrednio.
- Wireless Projection (WiFi): Connect your smartphone or tablet wirelessly via the 5G WiFi chip for screen mirroring. Ensure both devices are on the same network.
- Bluetooth: Pair with Bluetooth-enabled devices such as smartphones for audio output.

Image 6.1: Wireless projection and Bluetooth connectivity with a smartphone.
6.2. Using Touch Control
The intelligent touch control panel provides a sensitive and convenient operation experience.

Image 6.2: Demonstrating the touch screen control functionality.
6.3. Tryb głośnika Bluetooth
The projector can function as a standalone Bluetooth speaker, providing clear and balanced sound.

Image 6.3: The projector operating in Bluetooth speaker mode.
7. Konserwacja
7.1. Czyszczenie
- Obiektyw: Używaj miękkiej, niepozostawiającej włókien ściereczki przeznaczonej specjalnie do soczewek optycznych. Nie używaj środków ściernych.
- Zewnętrzny: Przetrzyj zewnętrzną część projektora miękką, suchą ściereczką. W przypadku uporczywych zabrudzeń delikatnie przetrzyj.ampi szmatkę z wodą.
- Otwory wentylacyjne: Regularly check and clean the ventilation ports to ensure unobstructed airflow and prevent overheating. Use a soft brush or compressed air.
7.2. Przechowywanie
Jeśli projektor nie jest używany przez dłuższy czas, należy go przechowywać w chłodnym, suchym miejscu, z dala od bezpośredniego światła słonecznego i ekstremalnych temperatur. Należy używać oryginalnego opakowania lub etui ochronnego, aby zapobiec gromadzeniu się kurzu i uszkodzeniom mechanicznym.
7.3. Pielęgnacja baterii
The projector has a built-in battery with a working time of approximately 1.5 hours. To prolong battery life:
- Unikaj częstego całkowitego rozładowywania akumulatora.
- Aby zachować sprawność akumulatora, należy go regularnie ładować, nawet jeśli nie jest używany.
- Store the projector with a partial charge (around 50%) if storing for a long time.
8. Rozwiązywanie Problemów
Jeśli masz problemy z projektorem, zapoznaj się z poniższymi typowymi problemami i ich rozwiązaniami:
| Problem | Możliwa przyczyna | Rozwiązanie |
|---|---|---|
| Brak wyświetlanego obrazu | Power issue, incorrect input source, lens cap on. | Check power connection, select correct input source (HDMI, USB, WiFi), remove lens cap. |
| Obraz jest rozmazany | Brak ostrości. | Adjust the focus ring near the lens. |
| Obraz jest zniekształcony (kształt trapezu) | Projektor nie jest ustawiony prostopadle do ekranu. | Use keystone correction feature in the settings menu. |
| Brak dźwięku | Volume too low, incorrect audio output, external device muted. | Increase projector volume, check audio settings, unmute external device. |
| Połączenie Wi-Fi jest niestabilne | Signal interference, distance from router. | Ensure projector is within range of the WiFi router, minimize interference from other devices. |
| Projector freezes or bugs frequently | Software issue, insufficient memory, overheating. | Restart the projector. Ensure sufficient free storage. Check for firmware updates. Ensure proper ventilation. |
9. Specyfikacje
Key technical specifications of the BlitzMax Mini WiFi Projector:
| Funkcja | Specyfikacja |
|---|---|
| Producent | BlitzMax |
| Wymiary produktu | Wymiary 20 x 16 x 8 cm |
| Waga produktu | 400 gram |
| Rozdzielczość wyświetlacza | 1920 x 1080 (1080P Compatible, Native 480P) |
| Jasność | 180 ANSI Lumen |
| Odległość projekcji | 0.5 - 8 metrów |
| Rozmiar projekcji | 40 - 300 cali |
| Proporcje obrazu | 16: 9 / 16: 10 / 4: 3 |
| System operacyjny | Android 9.0 |
| Łączność bezprzewodowa | 5G WiFi, Bluetooth V4.2 |
| Pojemność baterii | 7.4V 4000mAh (Approx. 1.5-2 hours working time) |
| Lamp Życie | Do 10,000 godzin |
| Typ sterowania | Pilot zdalnego sterowania, sterowanie dotykowe |
| Kompatybilne urządzenia | Smartphone, PC, DVD, PS3/4, Camera, TV Box, Laptop |

Image 9.1: Physical dimensions and weight of the projector.

Image 9.2: Projection distance, size, and aspect ratio capabilities.
10. Gwarancja i wsparcie
For warranty information and technical support, please refer to the documentation provided with your purchase or contact BlitzMax customer service through their official websklep lub sklep, w którym zakupiono produkt. Zachowaj paragon jako dowód zakupu na wypadek reklamacji.


