1. Wprowadzenie
This manual provides detailed instructions for the setup, operation, maintenance, and troubleshooting of your ORIA Projection Alarm Clock. Please read this manual thoroughly before using the product to ensure proper function and longevity.
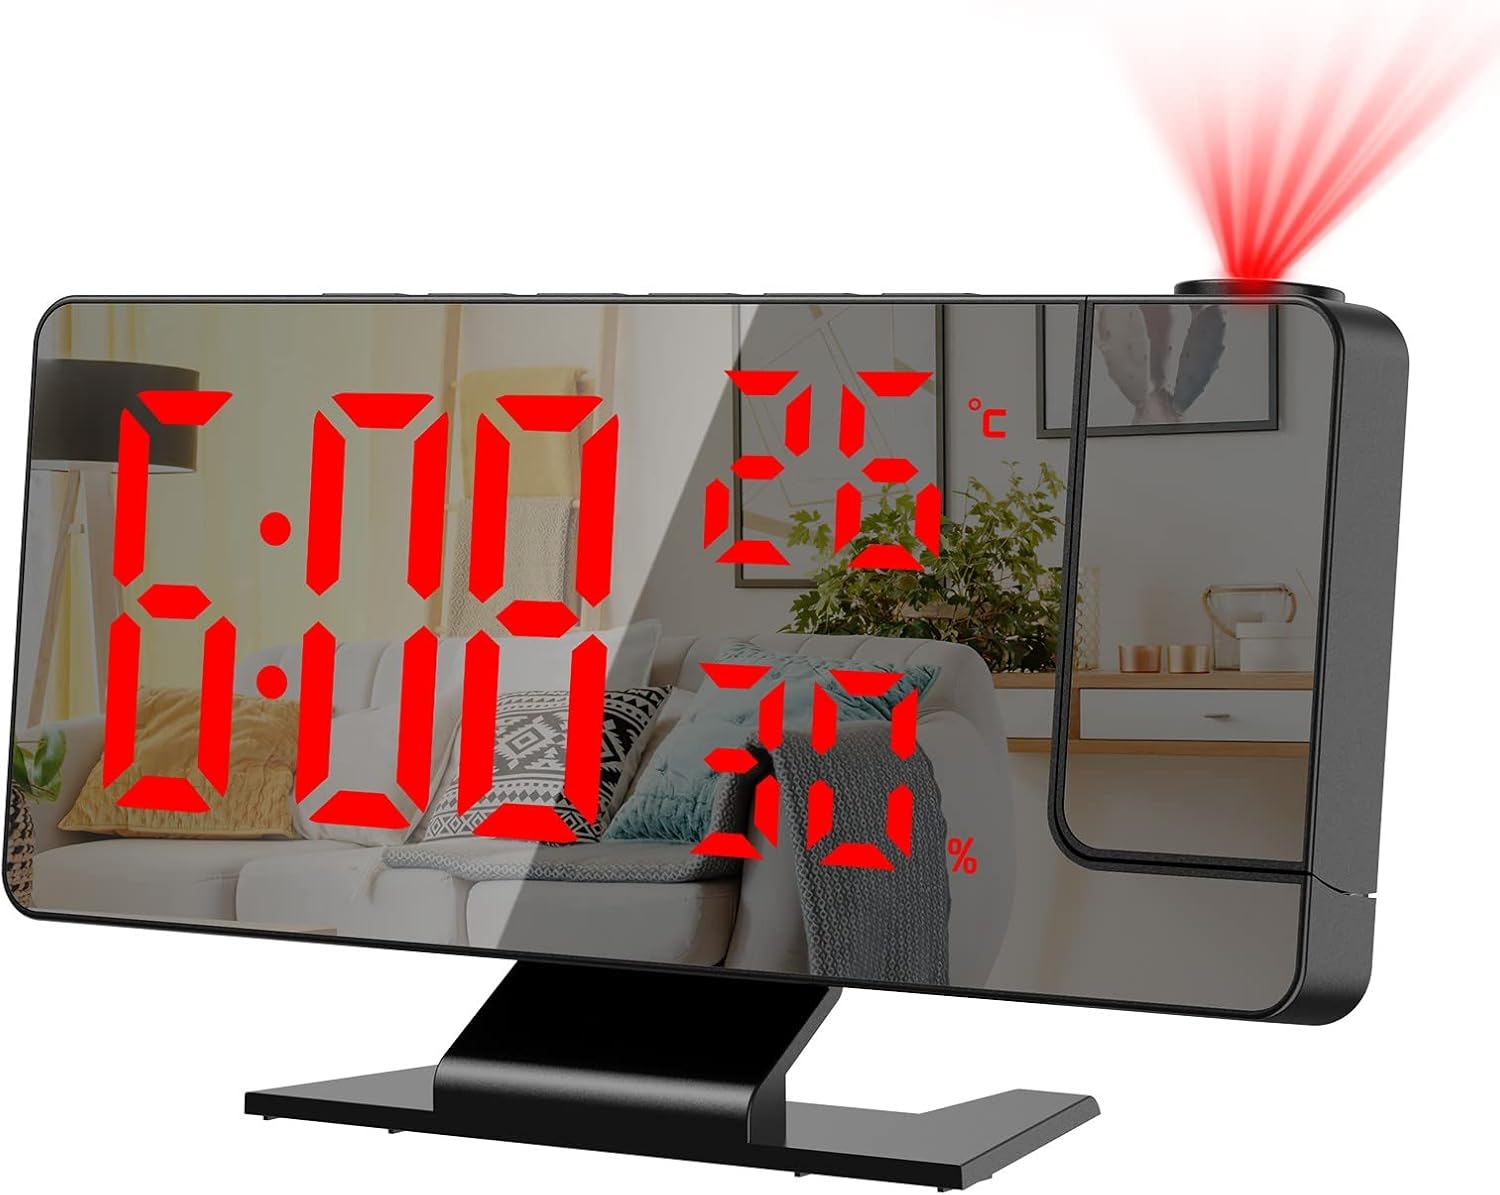
Obraz 1.1: Przód view of the ORIA Projection Alarm Clock displaying time, temperature, and humidity, with a red projection on the wall.
2. Funkcje produktu
The ORIA Projection Alarm Clock is designed with multiple features to enhance your daily routine:
- Obrotowa projekcja 180°: Projects time onto your ceiling or wall with adjustable brightness and a projection distance of 2-5 meters (6.5-16 feet).
- Regulowana jasność wyświetlacza: The 7.8-inch mirror LED display offers 4 levels of brightness (Bright, Medium, Dim, OFF) to suit your preference.
- Tryb nocny: Automatically dims the screen from 18:00 to 5:59 to prevent disturbance during sleep. The time range is adjustable.
- Wyświetlacz wielofunkcyjny: Shows time, temperature, and humidity simultaneously.
- Wiele trybów alarmu: Set alarms for Monday-Friday, Monday-Saturday, or Monday-Sunday.
- Funkcja drzemki: Provides an adjustable snooze duration from 1 to 60 minutes.
- Port ładowania USB: Features a USB output port for charging other devices.
- Funkcja pamięci: Built-in CR2032 backup battery (included) retains time settings during power outagt.j.

Obraz 2.1: Koniecview of the alarm clock's main functions and dimensions.
3. Konfiguracja
3.1 Zawartość opakowania
Przed kontynuowaniem sprawdź, czy w przesyłce znajdują się wszystkie elementy:
- 1 x ORIA Projection Alarm Clock
- 1 x 1.5-metrowy kabel USB (zasilacz nie jest dołączony)
- 1 x CR2032 Backup Battery (pre-installed)
- 1 x Instrukcja obsługi

Ilustracja 3.1: Zawartość opakowania produktu.
3.2 Połączenie zasilania
The alarm clock requires continuous power via the included USB cable. It is not equipped with a charger, so you will need to use a standard USB power adapter (e.g., phone charger) or a USB port on another device.
- Connect the small end of the USB cable to the power port on the back of the alarm clock.
- Connect the large end of the USB cable to a USB power adapter (not included) or a powered USB port.
- The display will illuminate, indicating the clock is powered on.
3.3 Bateria zapasowa
A CR2032 button cell battery is pre-installed to provide backup power for time settings during power interruptions. The screen will not display when running on backup battery power alone.

Obraz 3.2: Tył view of the alarm clock with labeled components, including the power port and battery compartment.
4. Instrukcja obsługi
4.1 Funkcje przycisków
Familiarize yourself with the control buttons located on the top and back of the unit:
- DRZEMKA/ŚWIATŁO: Włącza drzemkę, dostosowuje jasność wyświetlacza.
- ALARM: Wchodzi w tryb ustawiania alarmu.
- Sposób użycia: Switches between time, temperature, and humidity display modes; enters time setting mode.
- W GÓRĘ: Increases values during setting; switches 12/24H format.
- NA DÓŁ: Decreases values during setting; adjusts projection brightness.
- PROJEKT: Activates/deactivates projection; flips projection orientation.
4.2 Ustawianie czasu
- Naciśnij i przytrzymaj TRYB Naciśnij przycisk przez 3 sekundy, aby wejść w tryb ustawiania czasu. Cyfry godzin zaczną migać.
- Użyj UP or W DÓŁ przyciski do regulacji godziny.
- Naciskać TRYB Naciśnij ponownie, aby potwierdzić godzinę i przejść do ustawiania minut. Cyfry minut zaczną migać.
- Użyj UP or W DÓŁ przyciski do ustawienia minut.
- Naciskać TRYB aby potwierdzić i wyjść z ustawień czasu.
4.3 Format 12/24-godzinny
Aby przełączać się między formatem 12-godzinnym i 24-godzinnym:
- W normalnym trybie wyświetlania czasu naciśnij przycisk UP button. The display will toggle between 12H and 24H format.

Image 4.1: Switching between 12-hour and 24-hour time formats.
4.4 Ustawianie alarmów
The clock supports multiple alarm modes.
- Naciśnij ALARM Naciśnij przycisk, aby przejść do trybu ustawiania alarmu. Godzina alarmu zacznie migać.
- Użyj UP or W DÓŁ przyciski do ustawienia godziny alarmu.
- Naciskać ALARM again to confirm the hour and move to minute setting. The alarm minute will flash.
- Użyj UP or W DÓŁ przyciski do regulacji minut alarmu.
- Naciskać ALARM again to select the alarm mode (1-5 for Monday-Friday, 1-6 for Monday-Saturday, 1-7 for Monday-Sunday). Use UP or W DÓŁ aby przełączać się między opcjami.
- Naciskać ALARM aby potwierdzić i wyjść z ustawień alarmu.

Image 4.2: Available alarm modes for different days of the week.
4.5 Funkcja drzemki
Gdy zabrzmi alarm, naciśnij SNOOZE / LIGHT button to activate the snooze function. The alarm will pause for the set snooze duration (default 9 minutes, adjustable from 1-60 minutes) and sound again afterward.
- To adjust snooze duration: While in alarm setting mode (after setting hour and minute), press ALARM until the snooze duration flashes. Use UP or W DÓŁ ustawić żądane minuty.

Image 4.3: The snooze button and its function.
4.6 Regulacja jasności wyświetlacza
The main LED display has 4 brightness levels:
- W trybie wyświetlania czasu normalnego naciśnij krótko przycisk SNOOZE / LIGHT button to cycle through brightness levels: Bright, Medium, Dim, OFF.

Image 4.4: Four levels of screen brightness adjustment.
4.7 tryb nocny
The clock features an automatic night mode that dims the display during specific hours.
- Default night mode is from 18:00 (6 PM) to 5:59 (5:59 AM). During this period, the screen brightness will automatically switch to the lowest setting.
- To adjust night mode time: Press and hold the TRYB button until the hour flashes. Press TRYB wielokrotnie, aż do