1. Wprowadzenie
This manual provides detailed instructions for the Apera Instruments GroStar Series GS3 EC/ppm Pen Tester Kit (AI103G). This lab-grade conductivity meter is designed for accurate measurement of EC (Electrical Conductivity), 500ppm, and 700ppm, along with temperature, making it suitable for hydroponics and general water quality testing. The device features a replaceable titanium conductivity sensor and a user-friendly interface.
2. Koniec produktuview
The GroStar Series GS3 EC/ppm Pen Tester is engineered for reliability and ease of use. Key features include:
- Measures conductivity (EC), 500ppm, 700ppm, and temperature.
- Replaceable titanium sensor for high accuracy in the 0 to 10 EC range.
- Backlit HD screen for clear readings.
- Grower-friendly calibration workflow with a calibration reminder function.

Figure 1: Apera Instruments GroStar Series GS3 EC/ppm Pen Tester.
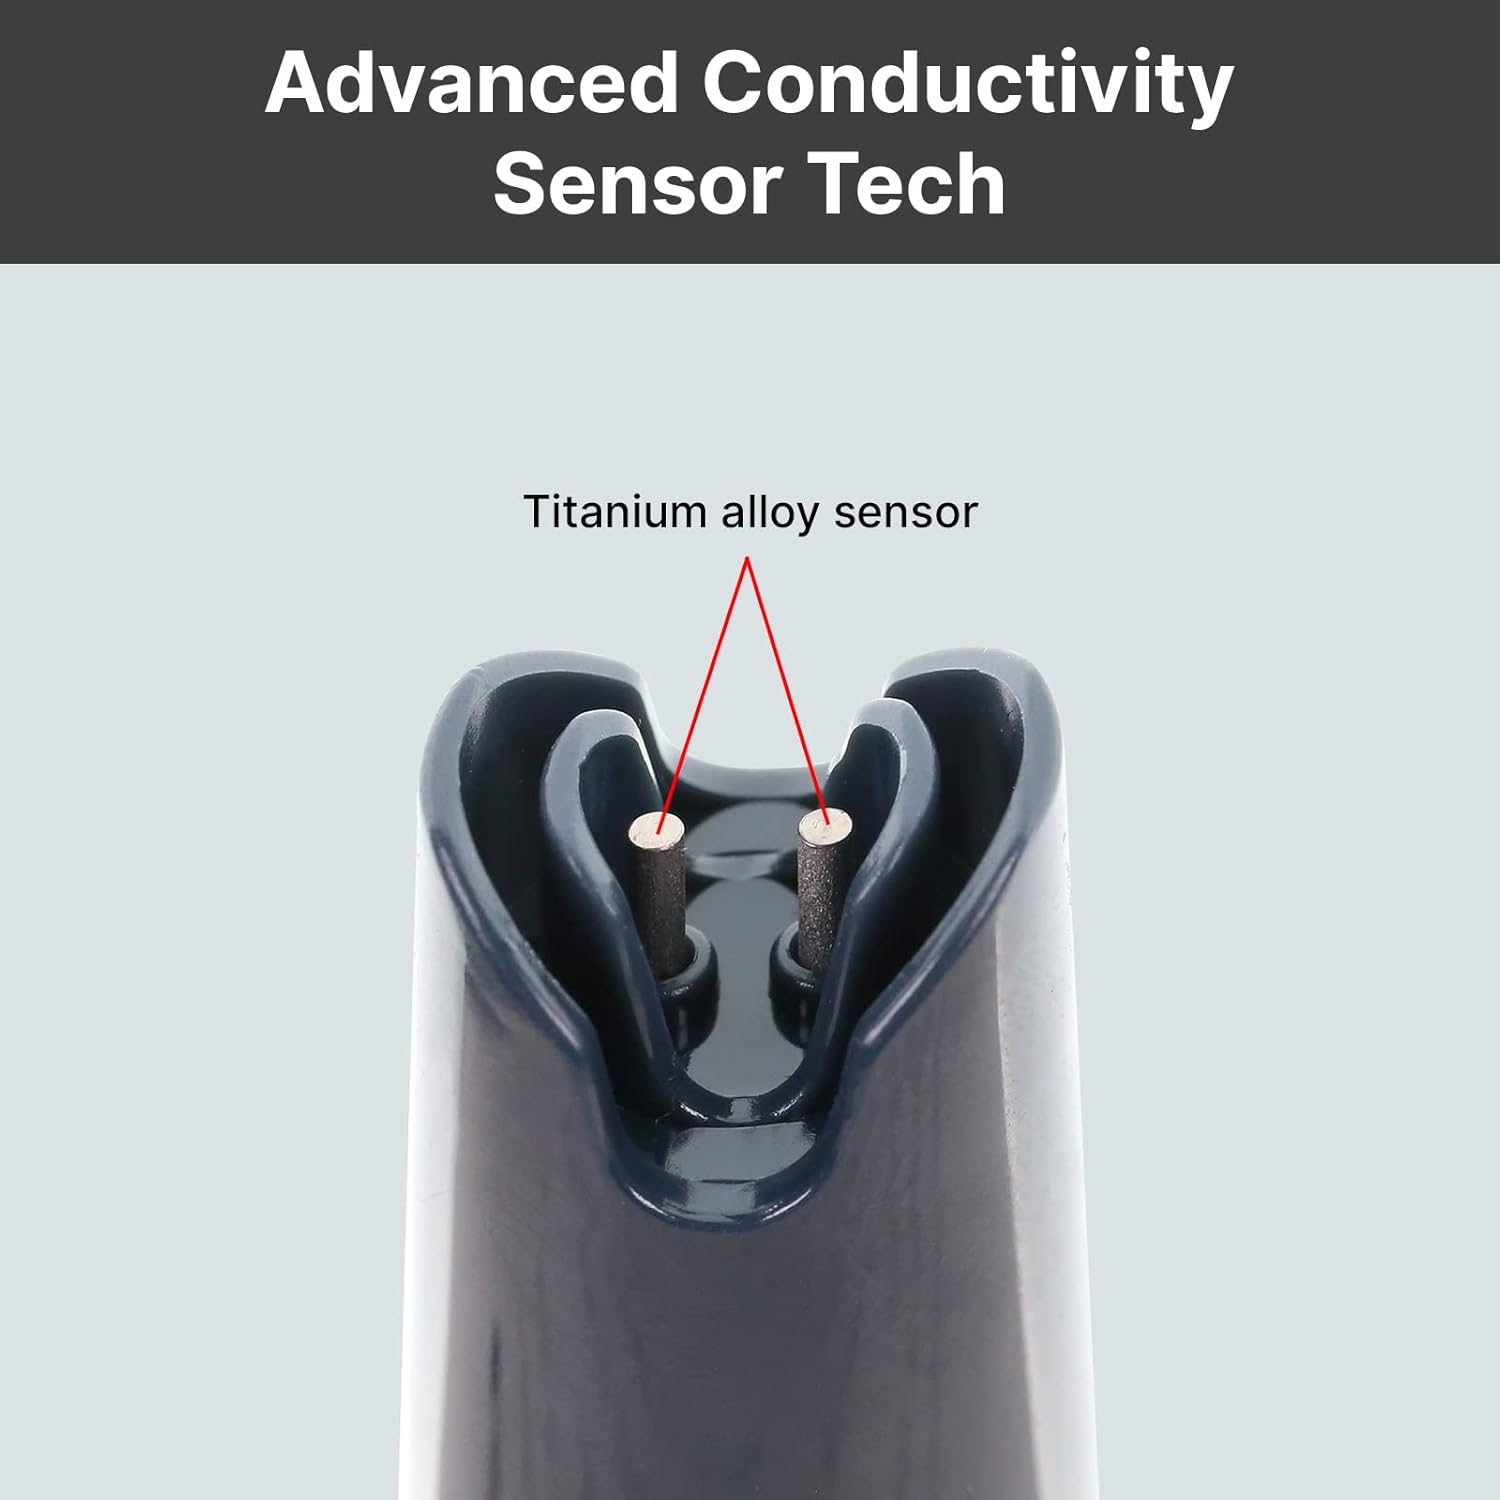
Rysunek 2: Zbliżenie view of the durable titanium alloy sensor for conductivity measurements.
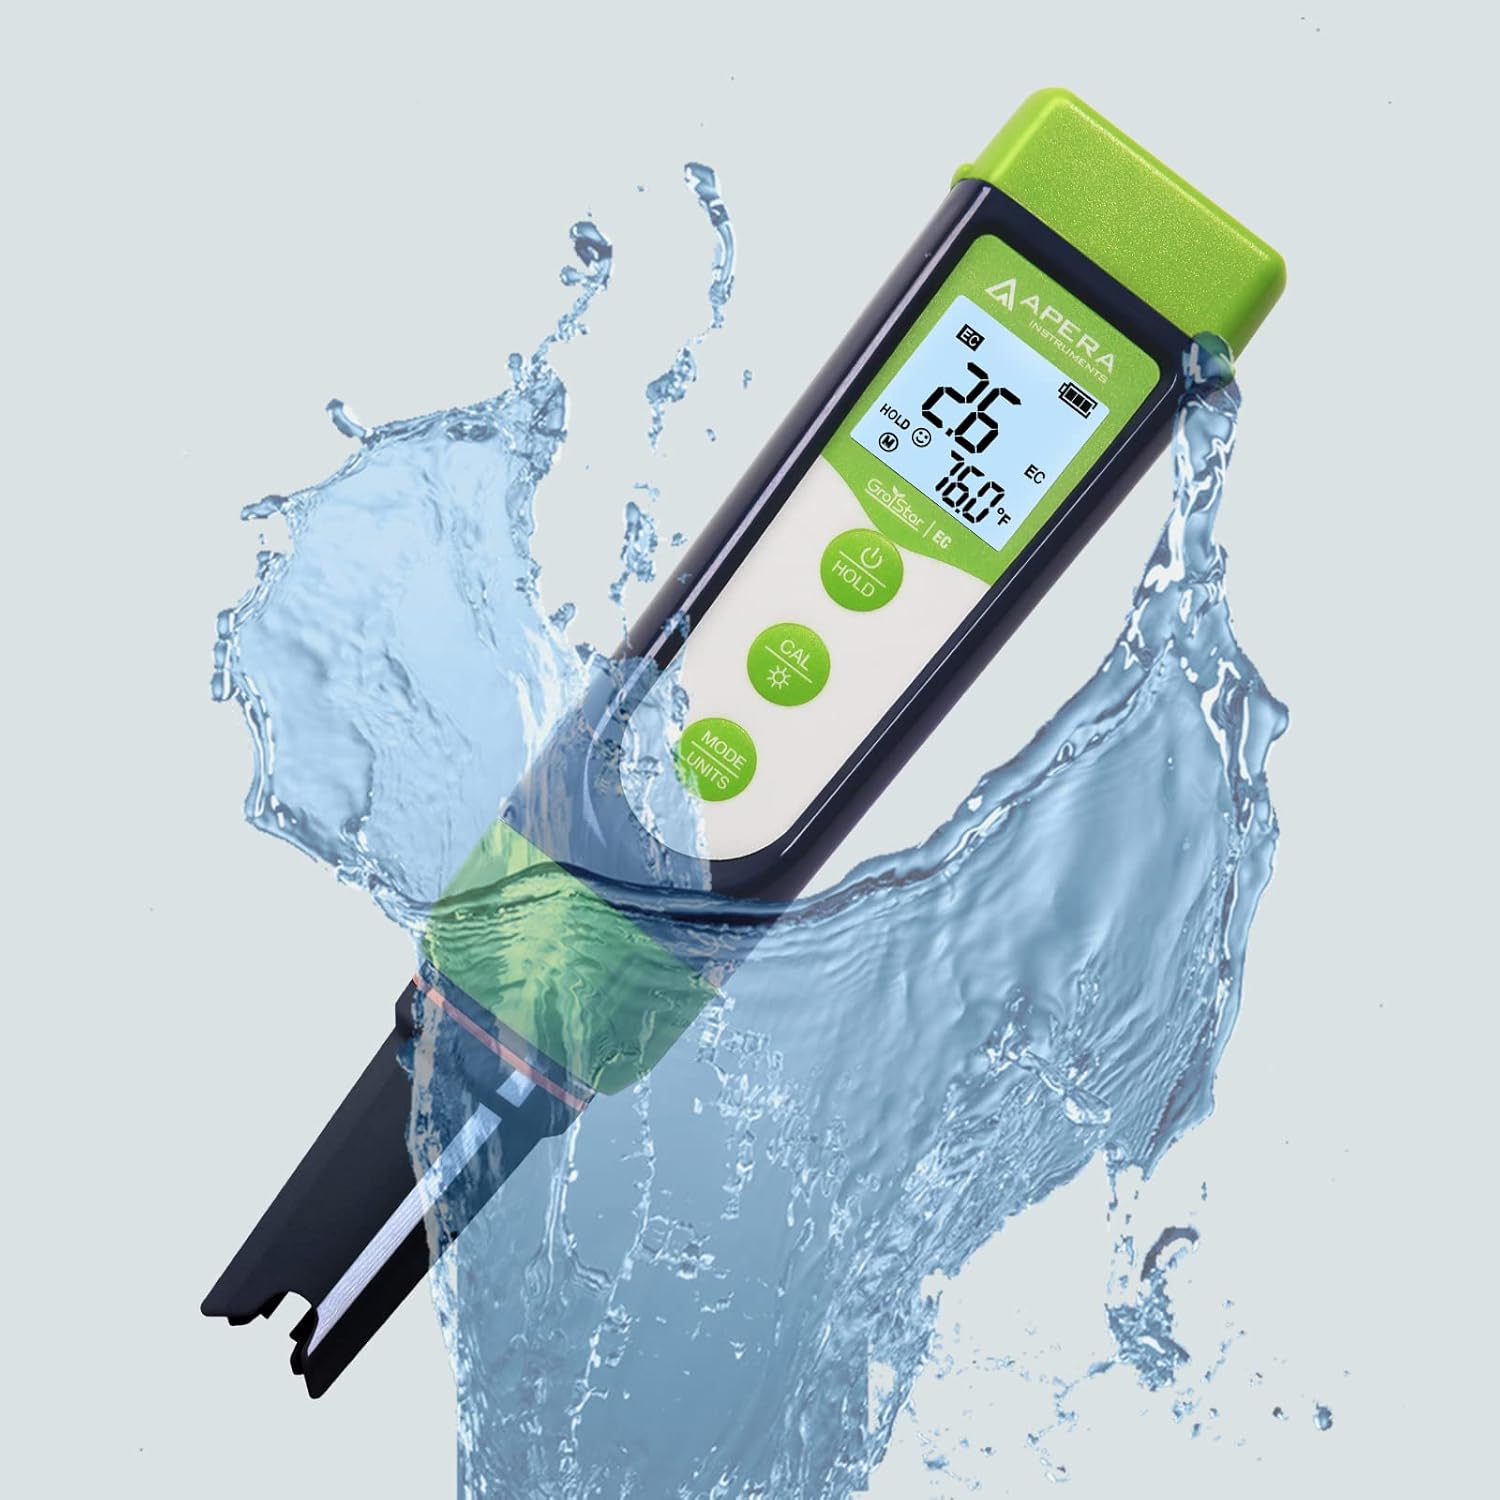
Figure 3: The GroStar GS3 Pen Tester demonstrating its water resistance during use.
3. Konfiguracja
Before first use, ensure all components are present and the device is ready for operation.
3.1 Zawartość pudełka
- Apera Instruments GroStar Series GS3 EC/ppm Pen Tester (Gen II)
- 2.77 EC Calibration Solution
- Falrep
- 4 AAA batteries (pre-installed or included separately)

Figure 4: The complete kit contents, including the tester, calibration solution, and lanyard.
3.2 Instalacja baterii
The device requires 4 AAA batteries. If not pre-installed, open the battery compartment located at the top of the tester, insert the batteries according to the polarity indicators, and securely close the compartment.
3.3 Wstępne przygotowanie
- Zdjąć nasadkę ochronną z czujnika.
- Rinse the sensor with distilled or deionized water.
- Gently shake off excess water.
4. Instrukcja obsługi
4.1 Włączanie/wyłączanie zasilania
Naciśnij MOC button to turn the tester on or off.
4.2 Wykonywanie pomiaru
- Ensure the tester is clean and calibrated.
- Zanurz czujnik w sampRozwiązanie polega na całkowitym zanurzeniu czujnika.
- Stir gently and wait for the reading to stabilize on the display.
- The display will show EC/ppm and temperature readings.
4.3 Switching Measurement Modes (EC/ppm)
Naciśnij MODE/UNITS button to cycle through EC, 500ppm, and 700ppm measurement modes.

Figure 5: The tester's display cycling through different measurement units.
4.4 Funkcja wstrzymania
Naciśnij TRZYMAĆ Naciśnij przycisk, aby zamrozić aktualny odczyt na wyświetlaczu. Naciśnij ponownie, aby zwolnić.
4.5 TruRead Display
The TruRead display provides MAX, AVG, and MIN readings, offering a comprehensive view Twoich pomiarów.

Figure 6: The TruRead display feature, showing maximum, average, and minimum recorded values.
5. Kalibracja
Regular calibration ensures accurate measurements. The GS3 features a grower-friendly calibration workflow and a reminder function.
5.1 Proces kalibracji
- Włącz tester.
- Naciśnij CAL przycisk, aby wejść w tryb kalibracji.
- Immerse the sensor into the 2.77 EC calibration solution.
- The tester will automatically recognize the solution and calibrate. Wait for the stable reading and confirmation.
- Rinse the sensor with distilled water after calibration.

Figure 7: Visual representation of the tester's display in measurement, calibration, and error states.
5.2 Calibration Reminder
The tester will automatically remind you when recalibration is due, ensuring consistent accuracy.
6. Konserwacja
6.1 Czyszczenie czujnika
After each use, rinse the sensor thoroughly with distilled or deionized water to prevent residue buildup. Do not scrub the sensor vigorously.
6.2 Przechowywanie
Always replace the protective cap after use. For long-term storage, ensure the sensor is kept moist. Refer to the product packaging or Apera Instruments website for specific storage solution recommendations if applicable.
6.3 Wymiana czujnika
The titanium EC sensor is replaceable. If the sensor performance degrades significantly or it becomes damaged, a new sensor can be purchased and easily installed by twisting off the old one and attaching the new one.
7. Rozwiązywanie Problemów
| Problem | Możliwa przyczyna | Rozwiązanie |
|---|---|---|
| Niedokładne odczyty | Sensor is dirty or dry; Calibration is outdated or incorrect; Damaged sensor. | Clean the sensor; Recalibrate the tester; Replace the sensor if damaged. |
| Tester się nie włącza | Rozładowane baterie; Nieprawidłowa instalacja baterii. | Wymień baterie. Sprawdź biegunowość baterii. |
| "CAL Er" error during calibration | Incorrect calibration solution; Contaminated solution; Sensor issue. | Ensure correct 2.77 EC solution is used; Use fresh calibration solution; Clean or replace sensor. |
8. Specyfikacje
- Numer modelu: AI103G
- Wymiary produktu: 7 x 1.5 x 1.3 cala
- Waga: 4.69 uncji
- Źródło zasilania: 4 baterie AAA (w zestawie)
- Typ czujnika: Replaceable Titanium EC Probe
- Parametry pomiaru: EC, 500ppm, 700ppm, Temperature
- Data pierwszej dostępności: 28 września 2022 r.
9. Gwarancja i wsparcie
Apera Instruments products are backed by a manufacturer's warranty. For detailed warranty information, technical support, or to purchase replacement parts, please visit the official Apera Instruments webOdwiedź stronę internetową lub skontaktuj się bezpośrednio z działem obsługi klienta. Zachowaj paragon zakupu na wypadek reklamacji.
Producent: Instrumenty Apery