1. Wprowadzenie
The PikDik Mini Portable Photo Printer PD-Q2 is a compact thermal printer designed for on-the-go printing. It connects via Bluetooth to compatible Android and iOS devices, allowing users to print photos, labels, lists, and more without the need for ink cartridges. This manual provides essential information for setting up, operating, maintaining, and troubleshooting your PD-Q2 printer.
2. Informacje dotyczące bezpieczeństwa
- Nie wystawiaj drukarki na działanie wody ani nadmiernej wilgoci.
- Avoid extreme temperatures. Operate and store the printer within recommended environmental conditions.
- Używaj wyłącznie dołączonego kabla ładującego i zalecanych źródeł zasilania.
- Przechowywać w miejscu niedostępnym dla dzieci.
- Nie próbuj samodzielnie demontować ani naprawiać drukarki. Skontaktuj się z obsługą klienta, aby uzyskać pomoc.
3. Zawartość opakowania
Proszę sprawdzić, czy w paczce znajdują się następujące elementy:
- PikDik Mini Portable Photo Printer PD-Q2
- Kabel do ładowania USB typu C.
- Roll of Thermal Photo Paper
- Instrukcja obsługi
4. Koniec produktuview
The PD-Q2 printer features a compact design with a single power/function button and a paper output slot. It utilizes thermal printing technology, eliminating the need for ink. The device is powered by a built-in rechargeable lithium battery.
5. Przewodnik konfiguracji
5.1 Ładowanie drukarki
Before first use, fully charge the printer. Connect the provided USB Type-C cable to the printer's charging port and a compatible USB power adapter. The LED indicator will show charging status.
5.2 Ładowanie papieru termicznego
- Otwórz pokrywę komory papieru drukarki.
- Insert a new roll of thermal paper, ensuring the printing side faces the print head.
- Pull a small length of paper out of the slot and close the cover securely.
5.3 Instalacja aplikacji i połączenie Bluetooth
The PikDik PD-Q2 printer requires the "Meta Print" application for operation. Follow these steps to connect your device:
- Włącz drukarkę: Naciśnij i przytrzymaj przycisk zasilania, aż zaświeci się kontrolka.
- Download and Install the "Meta Print" APP: Szukaj "Meta Print" on your smartphone's app store (Google Play for Android or App Store for iOS) and install it.
- Włącz Bluetooth: On your phone or tablet, go to your device's settings and ensure Bluetooth is turned on.
- Connect in the APP: Open the "Meta Print" app. The app will guide you to link the printer via Bluetooth. Select the PD-Q2 from the list of available devices.
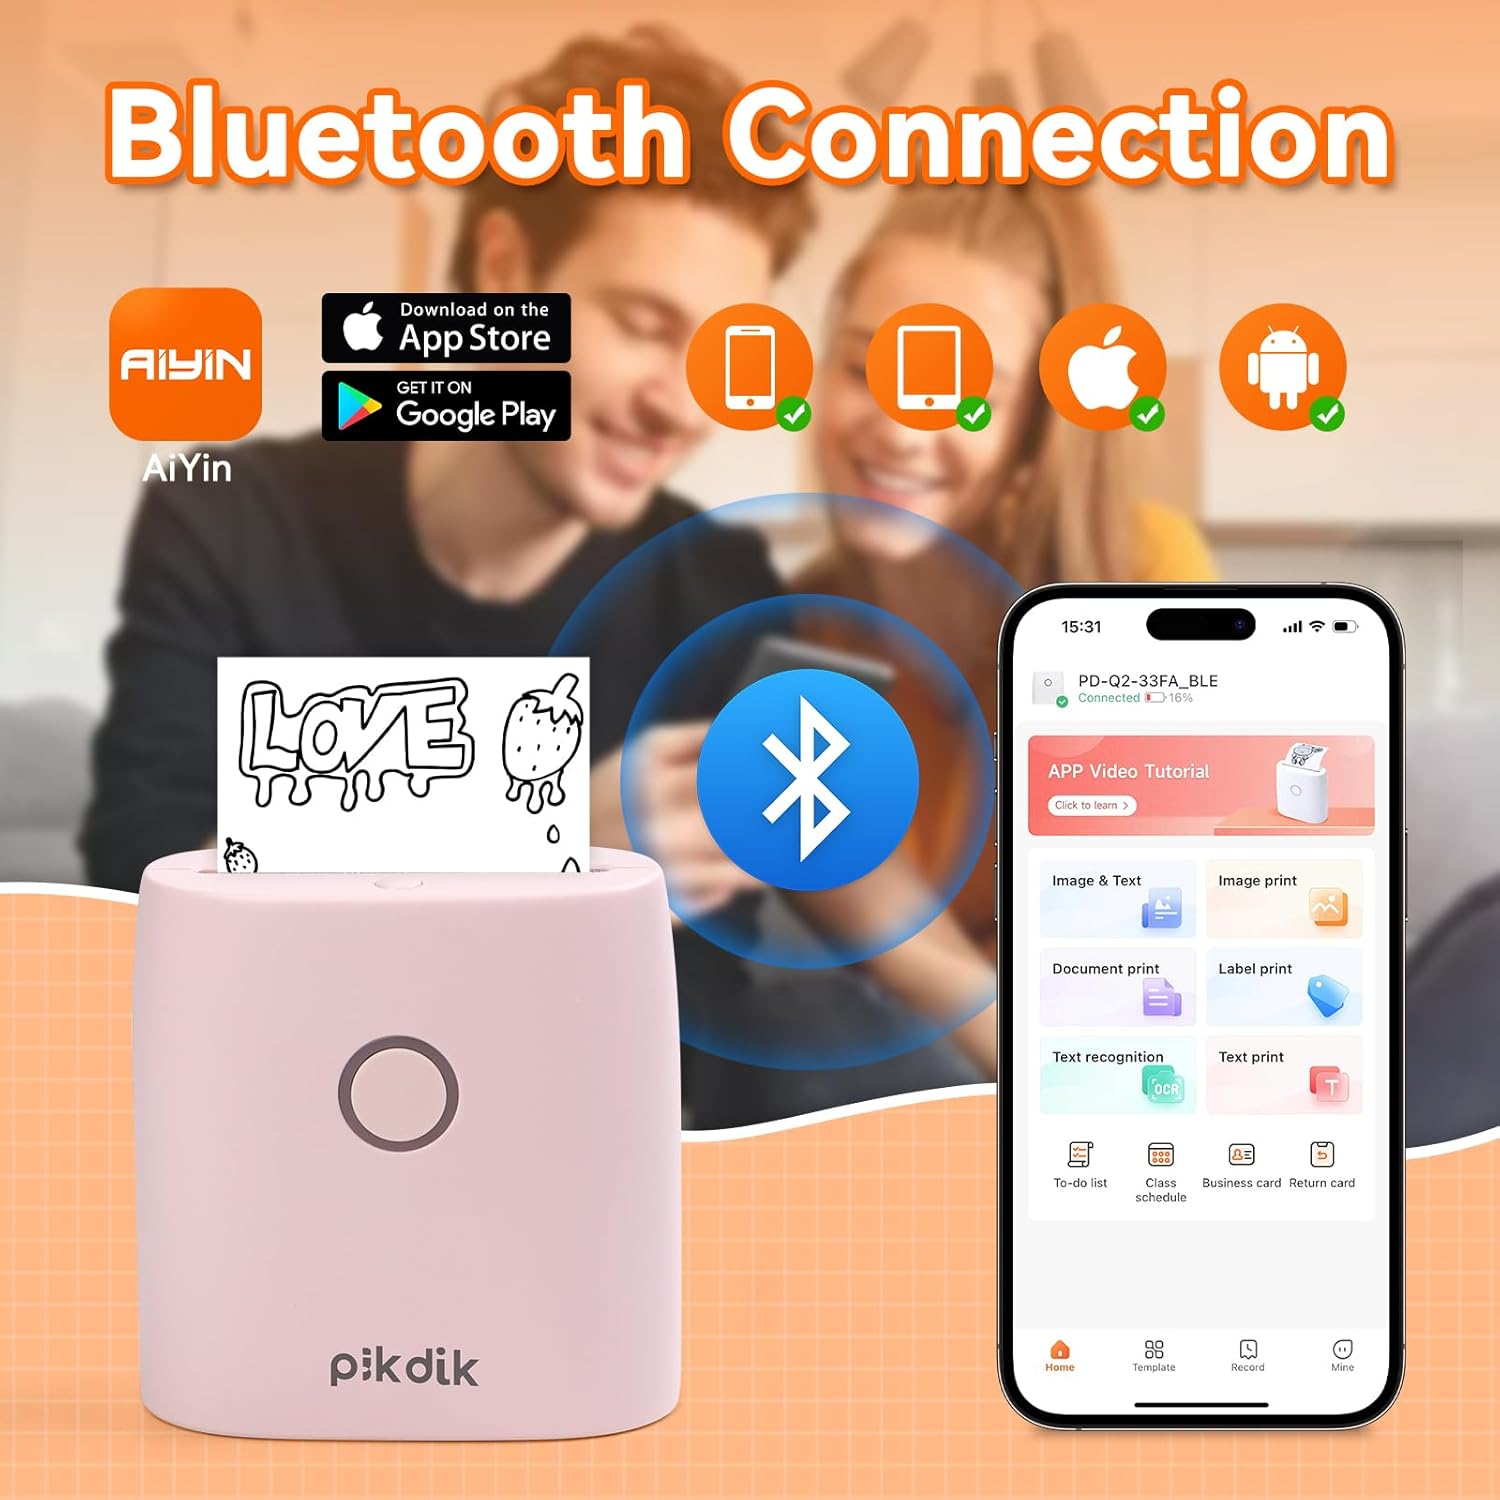
Image: The printer connects to your smartphone via Bluetooth using the Meta Print app, available on both Android and iOS.
6. Instrukcja obsługi
6.1 Printing Content
Once connected to the "Meta Print" app, you can select various content types for printing:
- Image & Text: Print photos, graphics, or combine them with text.
- Wydruk dokumentu: Print documents or notes.
- Label Print: Create and print custom labels.
- Rozpoznawanie tekstu: Convert images of text into editable text for printing.
- Szablony: Utilize pre-designed templates for to-do lists, business cards, emojis, and more.
After selecting and editing your content within the app, tap the print button to initiate printing. The printer will output the thermal paper with your printed content.

Image: The printer is suitable for various applications such as journaling, scrapbooking, printing shopping lists, and notes.
6.2 Print Quality and Limitations
The PD-Q2 printer offers a 300 DPI resolution for clear and detailed black and white prints. As a thermal printer, it does not support color printing.
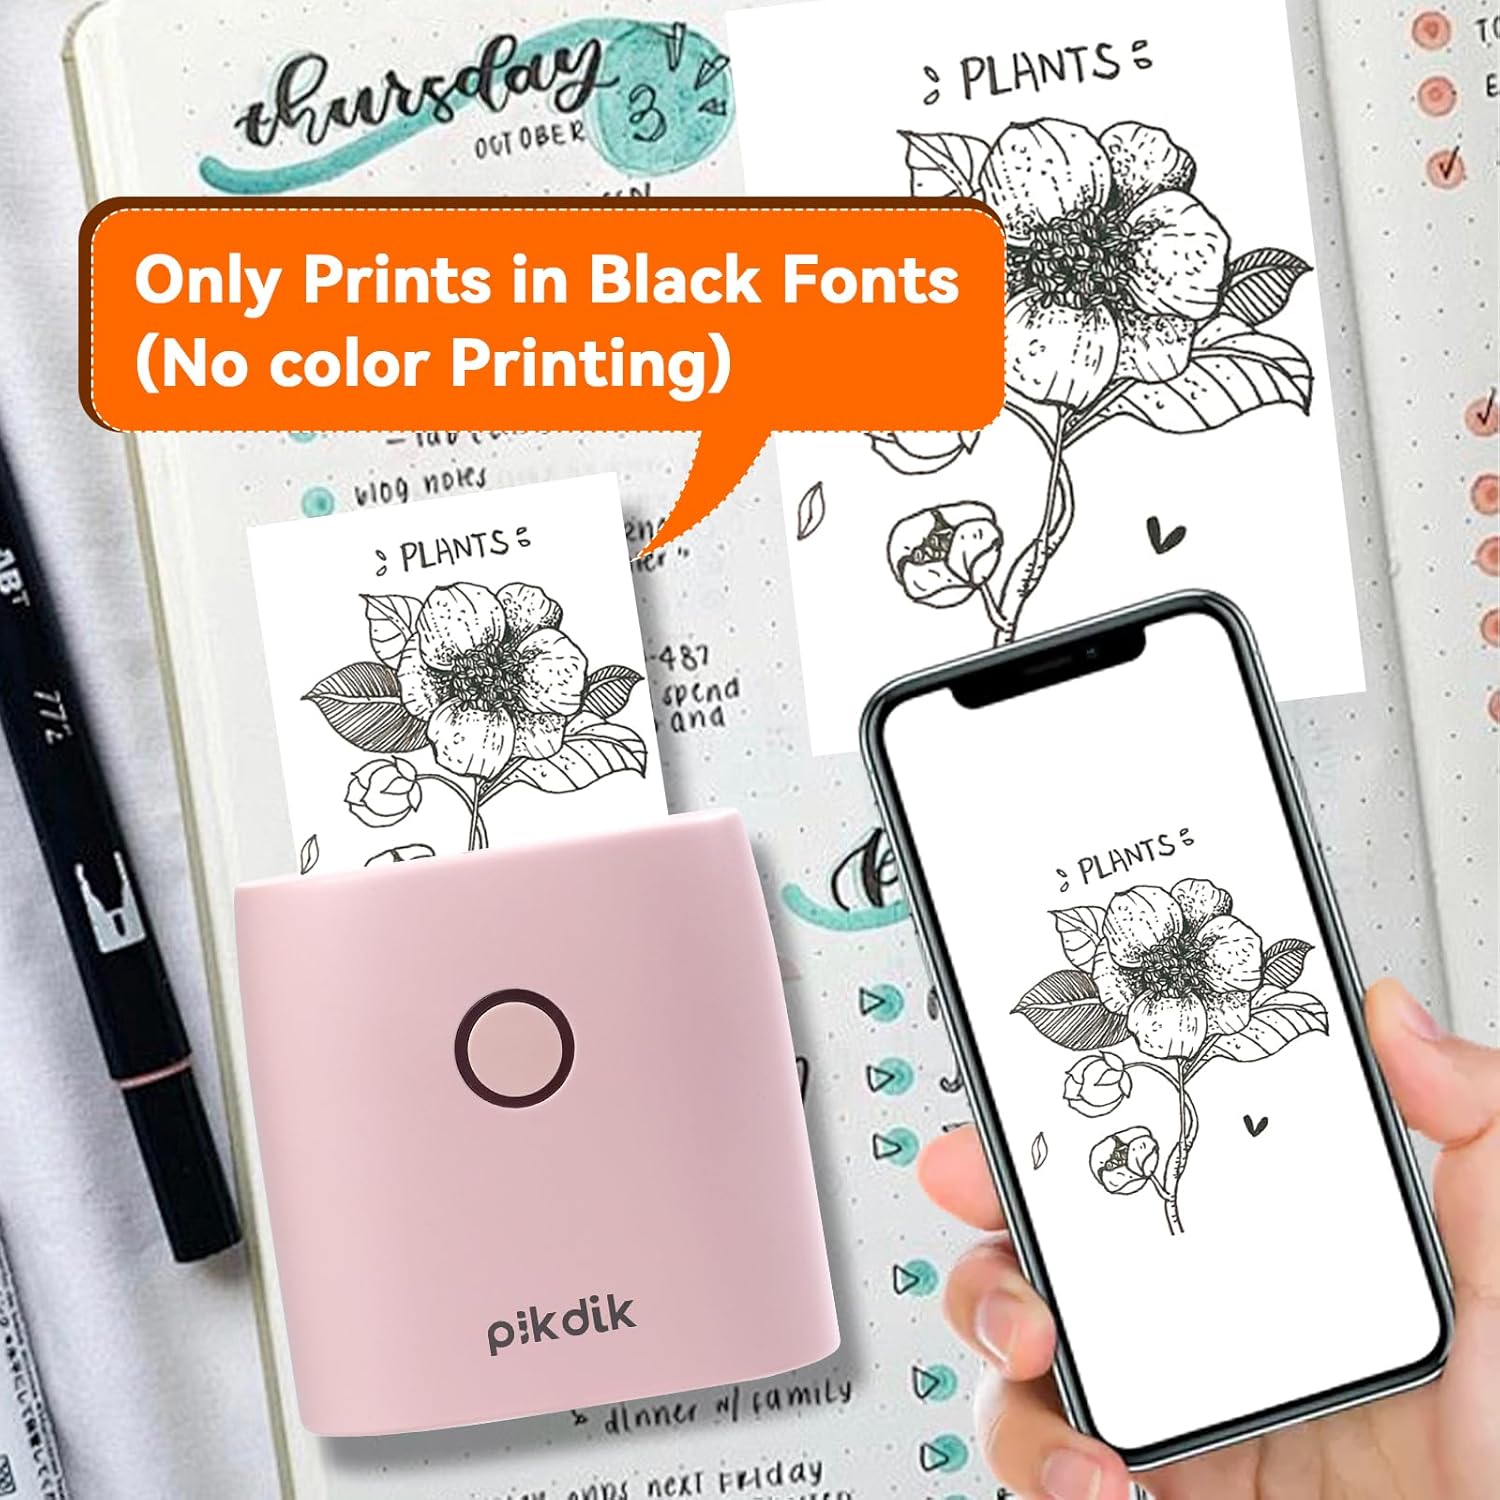
Image: The printer produces prints exclusively in black and white, as shown with a plant illustration.

Image: The 300 DPI resolution of the Q2 printer provides enhanced clarity and detail in prints compared to lower resolution alternatives.
7. Konserwacja
7.1 Czyszczenie drukarki
Aby utrzymać optymalną jakość druku, należy okresowo czyścić głowicę drukującą. Delikatnie przecierać miękką, niepozostawiającą włókien ściereczką.ampPrzetrzyj powierzchnię głowicy drukującej alkoholem izopropylowym. Delikatnie przetrzyj powierzchnię głowicy drukującej. Przed użyciem upewnij się, że drukarka jest wyłączona i całkowicie sucha.
7.2 Wymiana papieru termicznego
When the paper roll is depleted, replace it by following the steps in Section 5.2. Use only thermal paper compatible with the PD-Q2 printer to ensure proper function and print quality.
8. Rozwiązywanie Problemów
| Problem | Możliwa przyczyna | Rozwiązanie |
|---|---|---|
| Drukarka nie włącza się | Niski poziom naładowania baterii; przycisk zasilania nie został prawidłowo naciśnięty | Naładuj drukarkę; naciśnij i przytrzymaj przycisk zasilania przez kilka sekund. |
| Nie można połączyć się przez Bluetooth | Bluetooth wyłączony w telefonie; Drukarka nie jest w trybie parowania; Problem z aplikacją | Ensure phone Bluetooth is on; Restart printer and app; Re-pair device in app. |
| Poor print quality (faint, pixelated) | Low battery; Print head dirty; Incorrect paper type; Image resolution too low | Charge printer; Clean print head (Section 7.1); Use correct thermal paper; Use higher resolution images. |
| Zacięcie papieru | Paper not loaded correctly; Foreign object in paper path | Open cover, remove jammed paper, reload correctly; Check for obstructions. |
| Drukarka nie odpowiada | Błąd systemu | Perform a soft reset by turning the printer off and on again. If issue persists, contact support. |
9. Specyfikacje
| Funkcja | Szczegół |
|---|---|
| Model | Q2 |
| Wymiary (gł. x szer. x wys.) | 4.1 x 8.4 x 8.4 cm (1.6 x 3.3 x 3.3 cala) |
| Waga | 0.57 funta (ok. 258.55 g) |
| Technologia druku | Termiczny |
| Rozdzielczość wydruku | 300 DPI (monochromatyczny) |
| Łączność | Bluetooth |
| Kompatybilne urządzenia | Smartfony, tablety (Android, iOS) |
| Maksymalny rozmiar nośnika | 2 cali |
| Źródło zasilania | Built-in Lithium Polymer Battery (Rechargeable via USB Type-C) |
| Nazwa aplikacji | Meta Print |
10. Gwarancja i wsparcie
For warranty information and technical support, please refer to the warranty card included with your product or contact PikDik customer service directly. Keep your purchase receipt as proof of purchase.


