1. Ważne informacje dotyczące bezpieczeństwa
Przed montażem i użyciem należy przeczytać i zrozumieć wszystkie instrukcje. Zachowaj tę instrukcję do wykorzystania w przyszłości.
- Nie przekraczać maksymalnego udźwigu 750 funtów (340 kg).
- Be cautious around the non-slip foot caps to avoid injury from sharp edges during assembly or relocation.
- Przed użyciem upewnij się, że wszystkie śruby i wkręty są mocno dokręcone. Regularnie sprawdzaj i dokręcaj w razie potrzeby.
- Nie należy pozwalać dzieciom bawić się na ramie łóżka ani pod nią.
- Stosować na równej powierzchni, aby zapobiec niestabilności.
- Trzymaj małe części z dala od dzieci, aby zapobiec ryzyku zadławienia.
2. Zawartość opakowania
Verify all components are present before beginning assembly. If any parts are missing or damaged, contact Yaheetech customer support.
Lista części:
- Headboard and Footboard Components:
- (2) Headboard/Footboard Panels
- (4) Vertical Support Bars
- Side Rails and Support Legs:
- (2) Side Rails (Left and Right)
- (4) Corner Legs
- (2) Center Support Beams
- (4) Center Support Legs
- Listwy:
- (12) Metal Slats
- Pakiet sprzętu:
- Assorted Bolts, Washers, Nuts, and Allen Wrench (refer to diagram for specific quantities and types)

3. Instrukcja montażu
Follow these steps carefully for proper assembly. It is recommended to assemble with two people.
Krok 1: Złóż zagłówek i podnóżek
- Attach the vertical support bars to the headboard and footboard panels using the specified bolts and washers. Ensure all connections are finger-tight initially.
Step 2: Connect Side Rails and Center Supports
- Connect the two side rails together using the center support beam and appropriate hardware.
- Attach the center support legs to the center support beam.

Step 3: Attach Headboard/Footboard to Side Rails
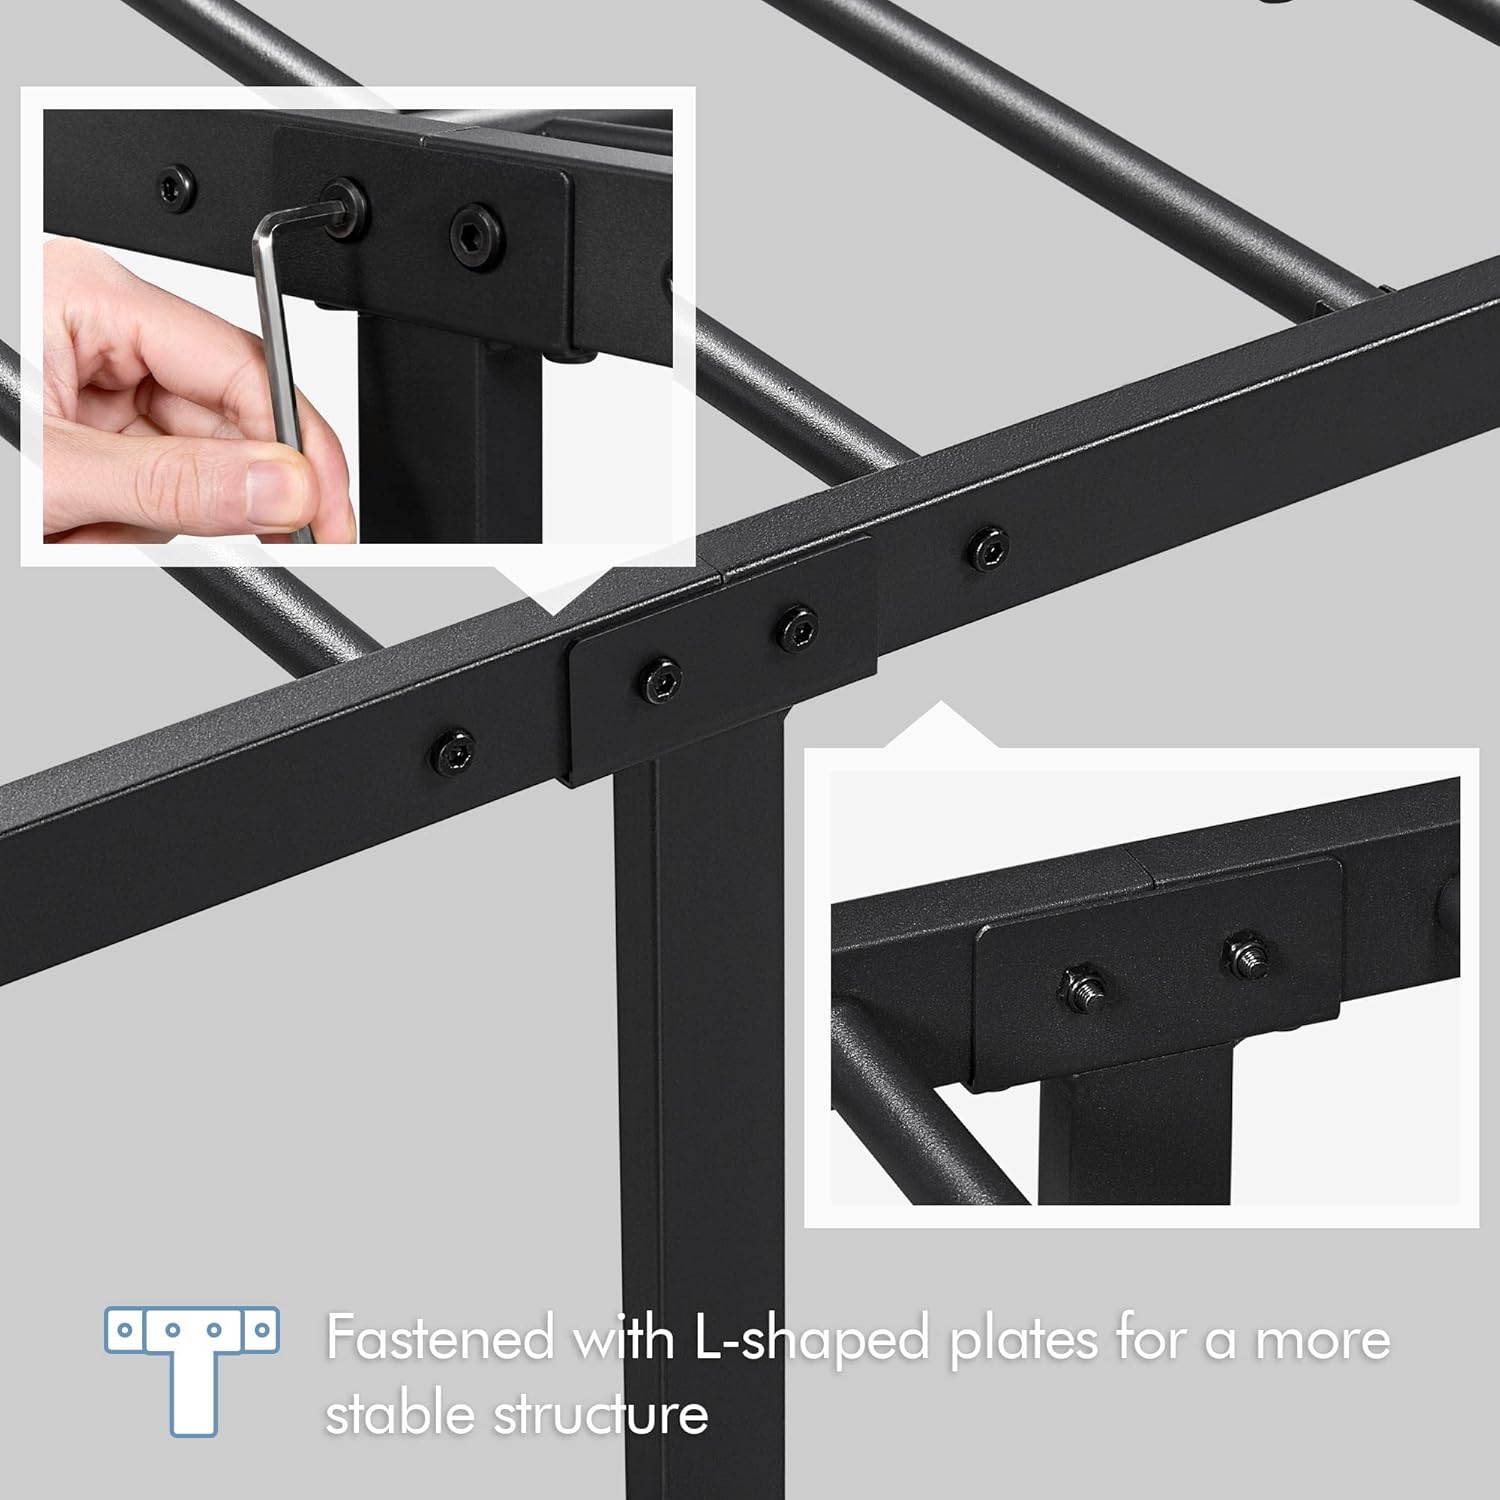
- Connect the assembled headboard and footboard sections to the side rails using the remaining bolts and washers.
- Once all connections are made, fully tighten all bolts using the provided Allen wrench. Do not overtighten.

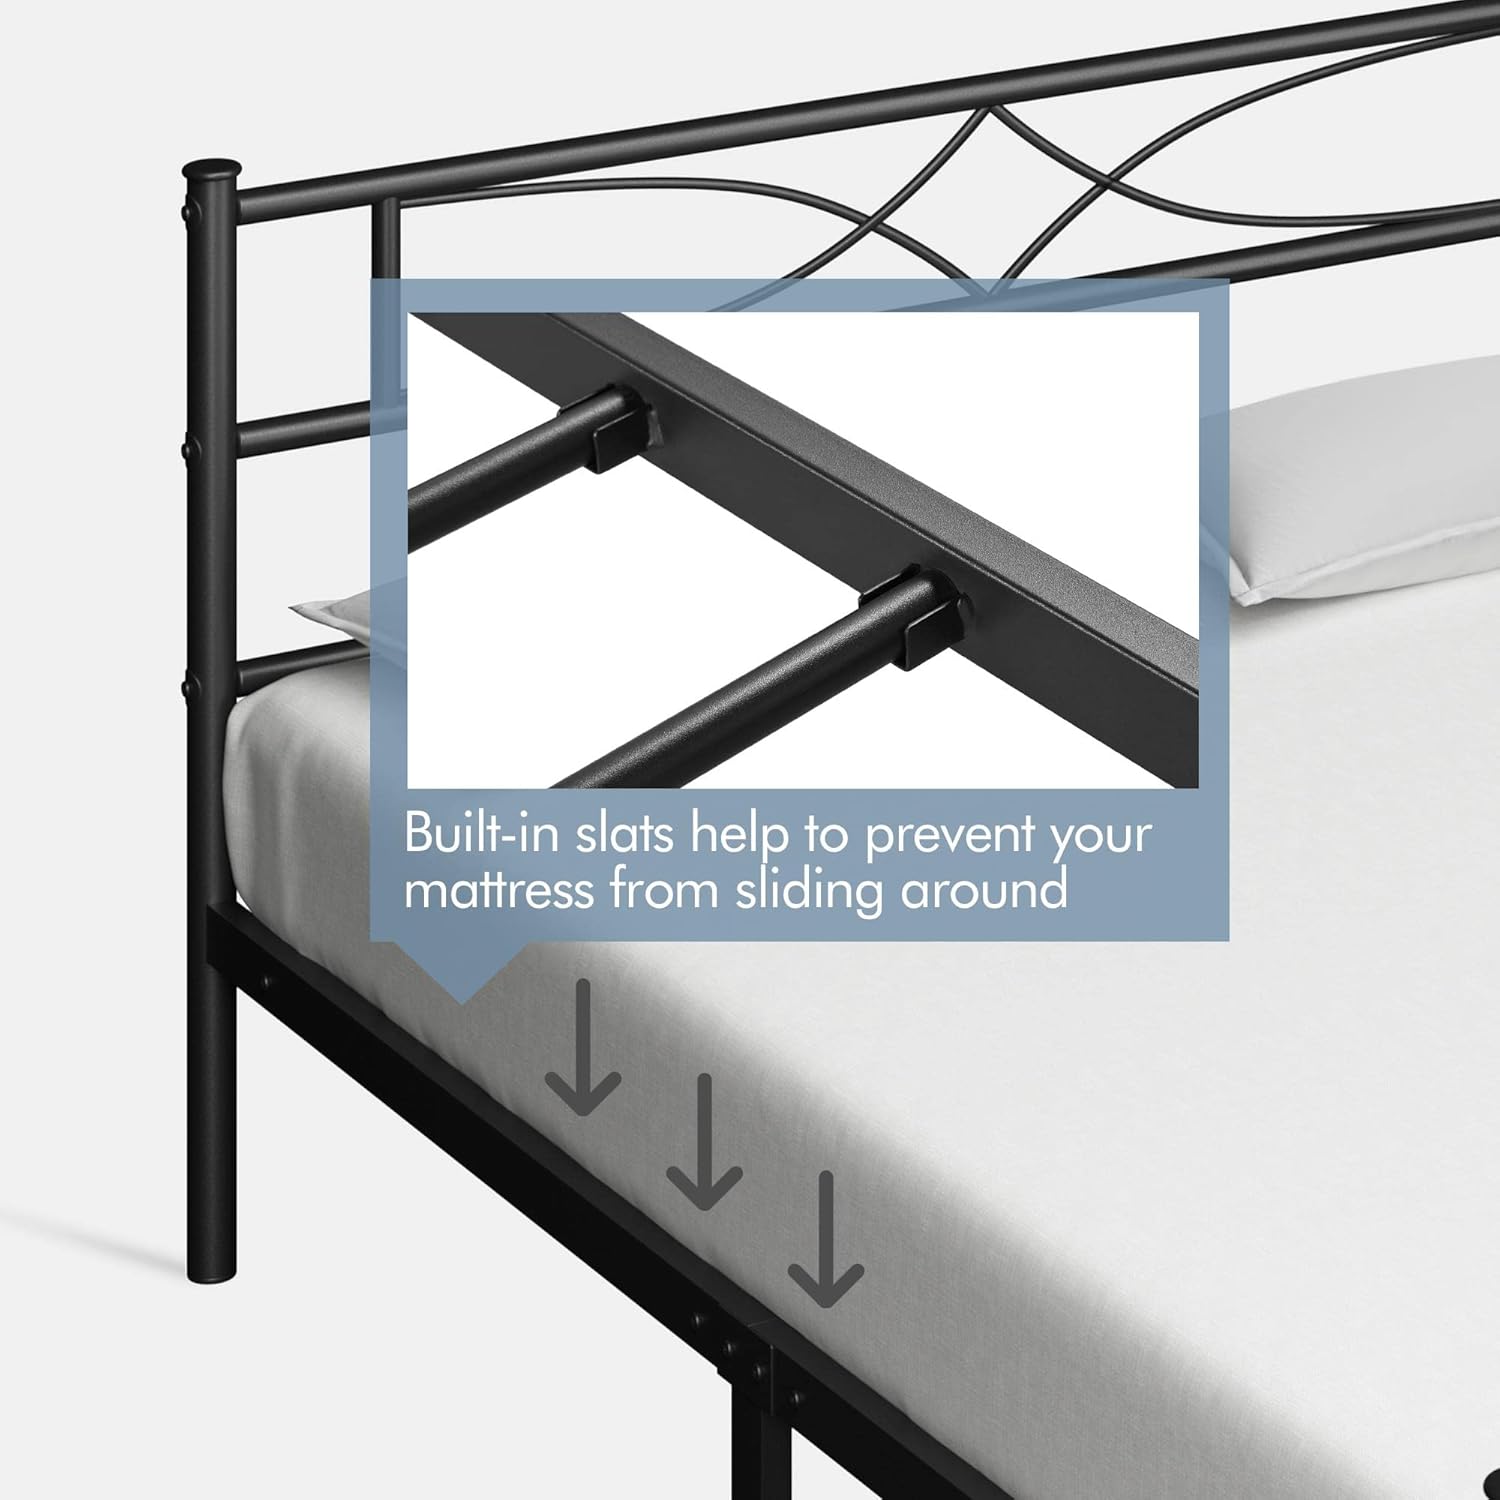
Step 4: Install Metal Slats
- Place the metal slats across the side rails, ensuring they fit into the designated slots or attachment points.
- Secure each slat as per the instructions, typically by screwing them into the side rails or using built-in clips.

Instrukcja montażu w formie filmu:
Video 1: Detailed assembly instructions for the Yaheetech Full/Queen bed frame with curved design headboard. This video demonstrates the step-by-step process of putting the bed frame together, including attaching the headboard, footboard, side rails, and slats.
Video 2: Assembly overview for the Metal Full/Queen Bed Frame with Curved Design Headboard. This video provides a concise visual guide to the assembly process, highlighting key steps for quick setup.
4. Funkcje produktu
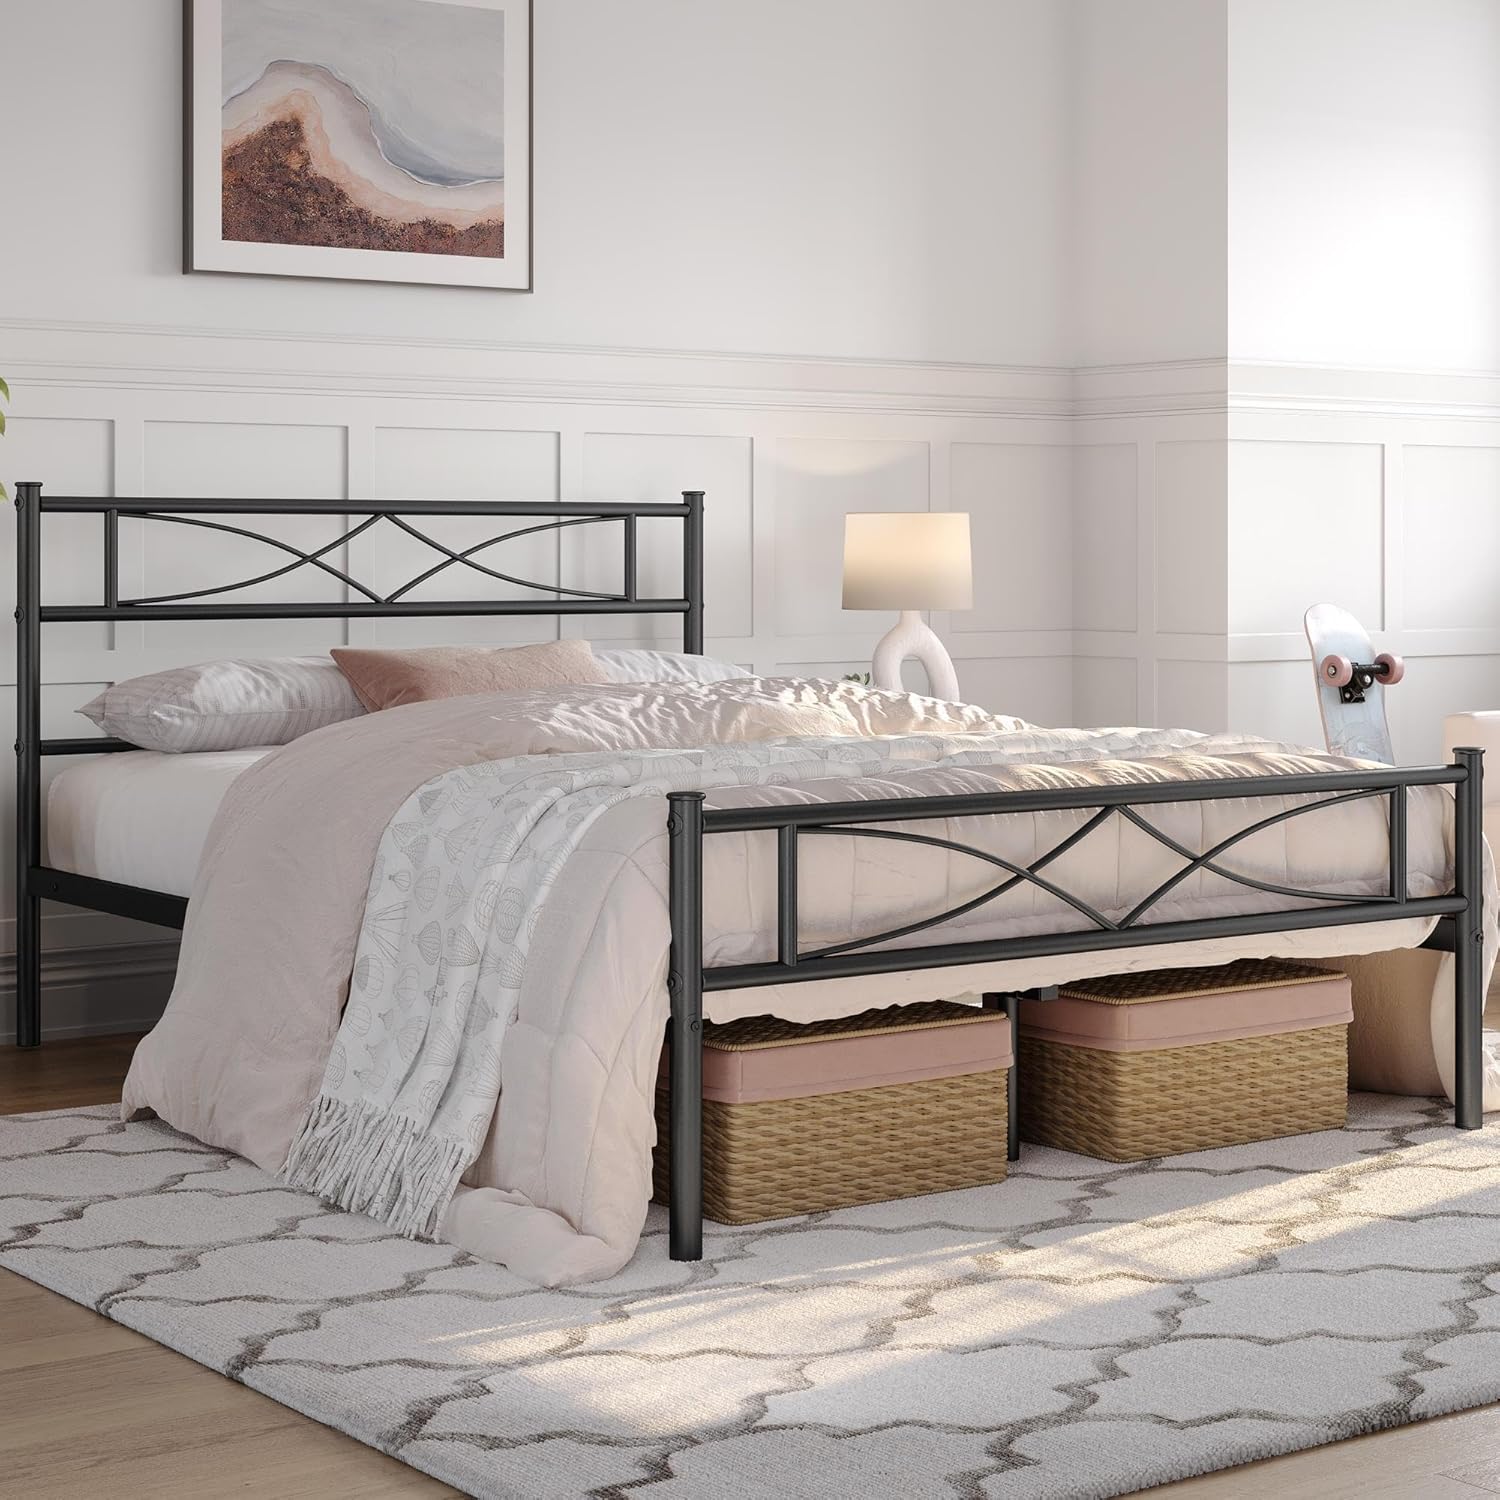
- Classy Headboard and Footboard: Artistically designed head and footboard with unique weaves add character and provide protection, keeping bedding in place.
- Niezawodne wsparcie: Constructed with metal slats, side rails, and 10 sturdy legs, supporting up to 750 lb. Ensures a quiet sleep without squeaky sounds. No box spring required.
- Secure Mattress Design: Side rails are higher than the inserted slats to prevent the mattress from sliding.
- 13'' Under-the-Bed Storage Space: Oferty ample clearance for storage boxes and easy access, suitable for all ages.
- Fast and Easy Assembly: Includes all necessary hardware, tools, and an illustrated manual for straightforward setup.
5. Specyfikacje
| Atrybut | Szczegół |
|---|---|
| Rozmiar | Pełny |
| Wymiary produktu | 77.5" dł. x 56" szer. x 35" wys. |
| Tworzywo | Metal |
| Kolor | Czarny |
| Rodzaj wykończenia | Malowane proszkowo |
| Maksymalna nośność | 750 funty (340 kg) |
| Kompatybilny rozmiar materaca | 75" dł. × 54" szer. |
| Prześwit | 13 cali |
| Waga przedmiotu | 39 funtów (17.7 kg) |
| Wymagany montaż | Tak |
| Numer modelu | YT-00120450-001 |
6. Konserwacja
Proper maintenance ensures the longevity and safety of your bed frame.
- Czyszczenie: Wipe clean with a dry cloth. Avoid abrasive cleaners or harsh chemicals that may damage the finish.
- Regularne kontrole: Okresowo sprawdzaj wszystkie śruby i połączenia, aby upewnić się, że są dobrze dokręcone. Dokręć je ponownie, jeśli wykryjesz jakiekolwiek luzy.
- Rozkład masy: Distribute weight evenly across the bed frame to prevent stress on individual components.
- Ruch: When moving the bed frame, lift it rather than dragging to prevent damage to the legs or floor.
7. Rozwiązywanie Problemów
Typowe problemy i ich rozwiązania:
- Piszczące dźwięki:
- Check all bolts and connections. Tighten any loose hardware.
- Ensure the bed frame is on a level surface.
- Przesuwanie materaca:
- Verify that the mattress is correctly positioned within the side rails. The design includes higher side rails to minimize sliding.
- Consider using a non-slip mattress pad if the issue persists.
- Niestabilność/Chwiejność:
- Ensure all legs are firmly on the ground and the frame is level.
- Re-check all connections for tightness.
8. Gwarancja i wsparcie
For warranty information or further assistance, please contact Yaheetech customer support directly. Keep your purchase receipt and model number (YT-00120450-001) handy for faster service.
You can typically find support contact details on the Yaheetech official webna stronie internetowej lub za pośrednictwem pierwotnego punktu zakupu.


