Wstęp
This manual provides instructions for the safe and effective use of your Energizer TAC500 Rechargeable LED Flashlight. Please read this manual thoroughly before operating the device and retain it for future reference.
Informacje dotyczące bezpieczeństwa
Observe the following safety precautions to prevent injury or damage to the flashlight:
- Do not look directly into the LED light. The intense light can cause temporary vision impairment.
- Przechowywać w miejscu niedostępnym dla dzieci.
- Do not attempt to disassemble or modify the flashlight. This may void the warranty and pose a safety risk.
- Use only the provided Micro-USB charging cable or a certified equivalent.
- Unikaj wystawiania latarki na działanie ekstremalnych temperatur lub bezpośredniego światła słonecznego przez dłuższy czas.
- Although rated IPX4 water resistant, do not submerge the flashlight in water.
Zawartość opakowania
Sprawdź, czy w przesyłce znajdują się wszystkie elementy:
- 2 x Energizer TAC500 Rechargeable LED Flashlights
- 2 x Micro-USB Charging Cables
- 2 x Smycze

Image: Contents of the Energizer TAC500 package, including two flashlights, charging cables, and lanyards.
Cechy produktu
- Wysoka jasność: 500 lumens LED light, providing powerful illumination.
- Odległość długiej wiązki: Up to 200 meters, suitable for various outdoor and emergency scenarios.
- Wiele trybów światła: High, Low, and Strobe settings for versatile use.
- Możliwość ładowania: Integrated lithium-ion battery with Micro-USB charging.
- Trwała konstrukcja: Aircraft-grade aluminum body with a shatterproof lens.
- Wodoodporność: Klasa ochrony IPX4 zapewnia ochronę przed rozpryskami wody.
- Wygodna konstrukcja: Features an on/off push button and a lanyard loop for easy carrying.

Image: The Energizer TAC500 flashlight providing 500 lumens of light, illuminating a path.
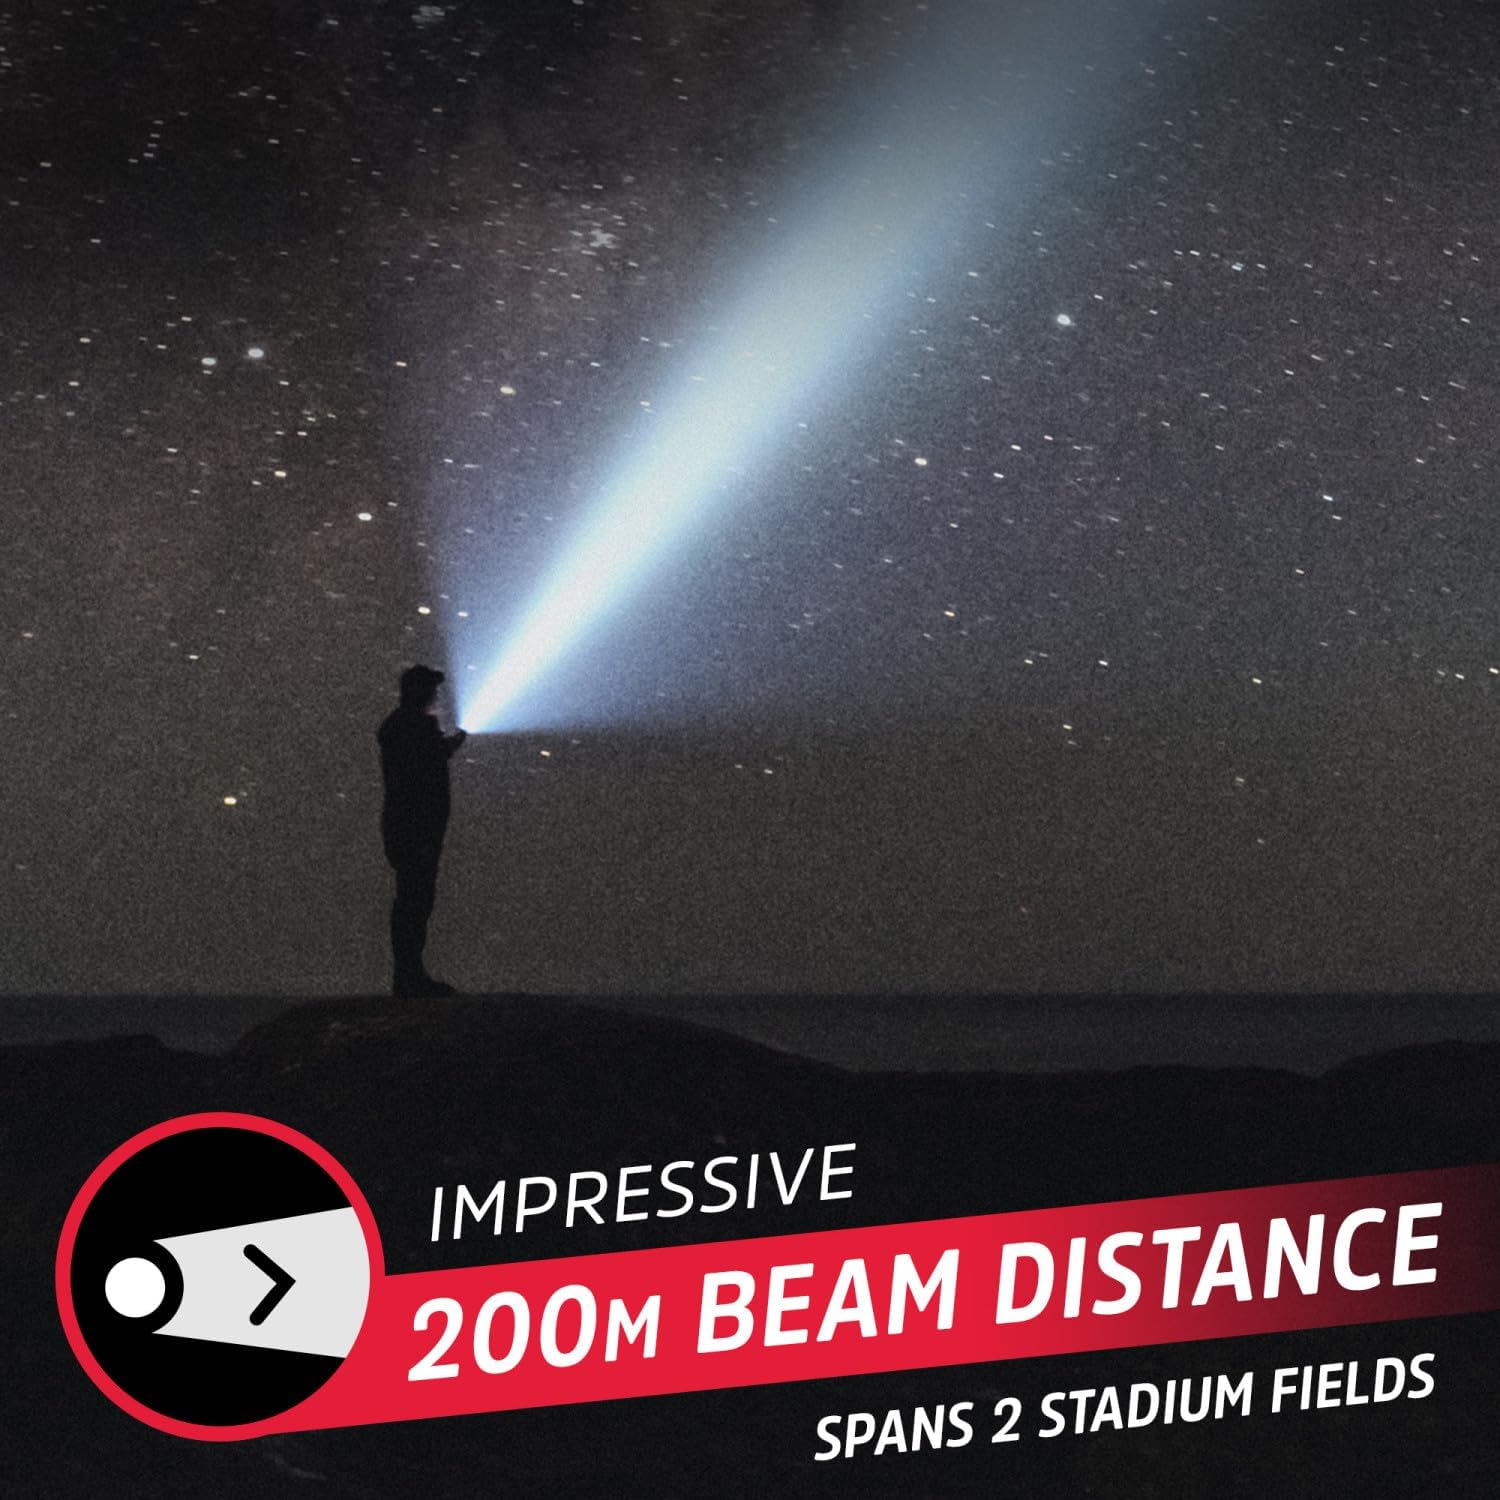
Image: The flashlight's impressive 200-meter beam distance, reaching far into the night.

Obraz: Szczegółowy view of the flashlight's design, highlighting the power button, water resistance, and lanyard attachment point.
Organizować coś
Ładowanie latarki
Before first use, fully charge the flashlight. The integrated lithium-ion battery is not user-replaceable.
- Locate the Micro-USB charging port on the flashlight. It is typically covered by a rubber flap for water resistance.
- Otwórz gumową klapkę.
- Connect the small end of the Micro-USB charging cable to the flashlight's charging port.
- Connect the larger end of the USB cable to a compatible USB power source (e.g., computer USB port, USB wall adapter).
- The power button LED indicator will illuminate red during charging.
- Po całkowitym naładowaniu wskaźnik LED zmieni kolor na zielony.
- Disconnect the charging cable and securely close the rubber flap to maintain water resistance.
A full charge provides approximately 4 hours of runtime on high setting, and up to 7 hours on low setting.

Image: The flashlight in use, demonstrating its extended runtime on lower settings.
Instrukcja obsługi
Włączanie/wyłączanie zasilania i wybór trybu
The flashlight features a single push button for operation.
- Włączyć: Press the power button once. The flashlight will turn on in High mode.
- Aby zmienić tryb: While the flashlight is on, press the power button repeatedly to cycle through the modes: High → Low → Strobe.
- Wyłączyć: Continue pressing the power button until the flashlight cycles past the Strobe mode and turns off. Alternatively, if the flashlight remains in one mode for more than 5 seconds, the next press will turn it off directly.
Korzystanie ze smyczy
Attach the included lanyard to the lanyard loop at the tail end of the flashlight for secure carrying and to prevent accidental drops.
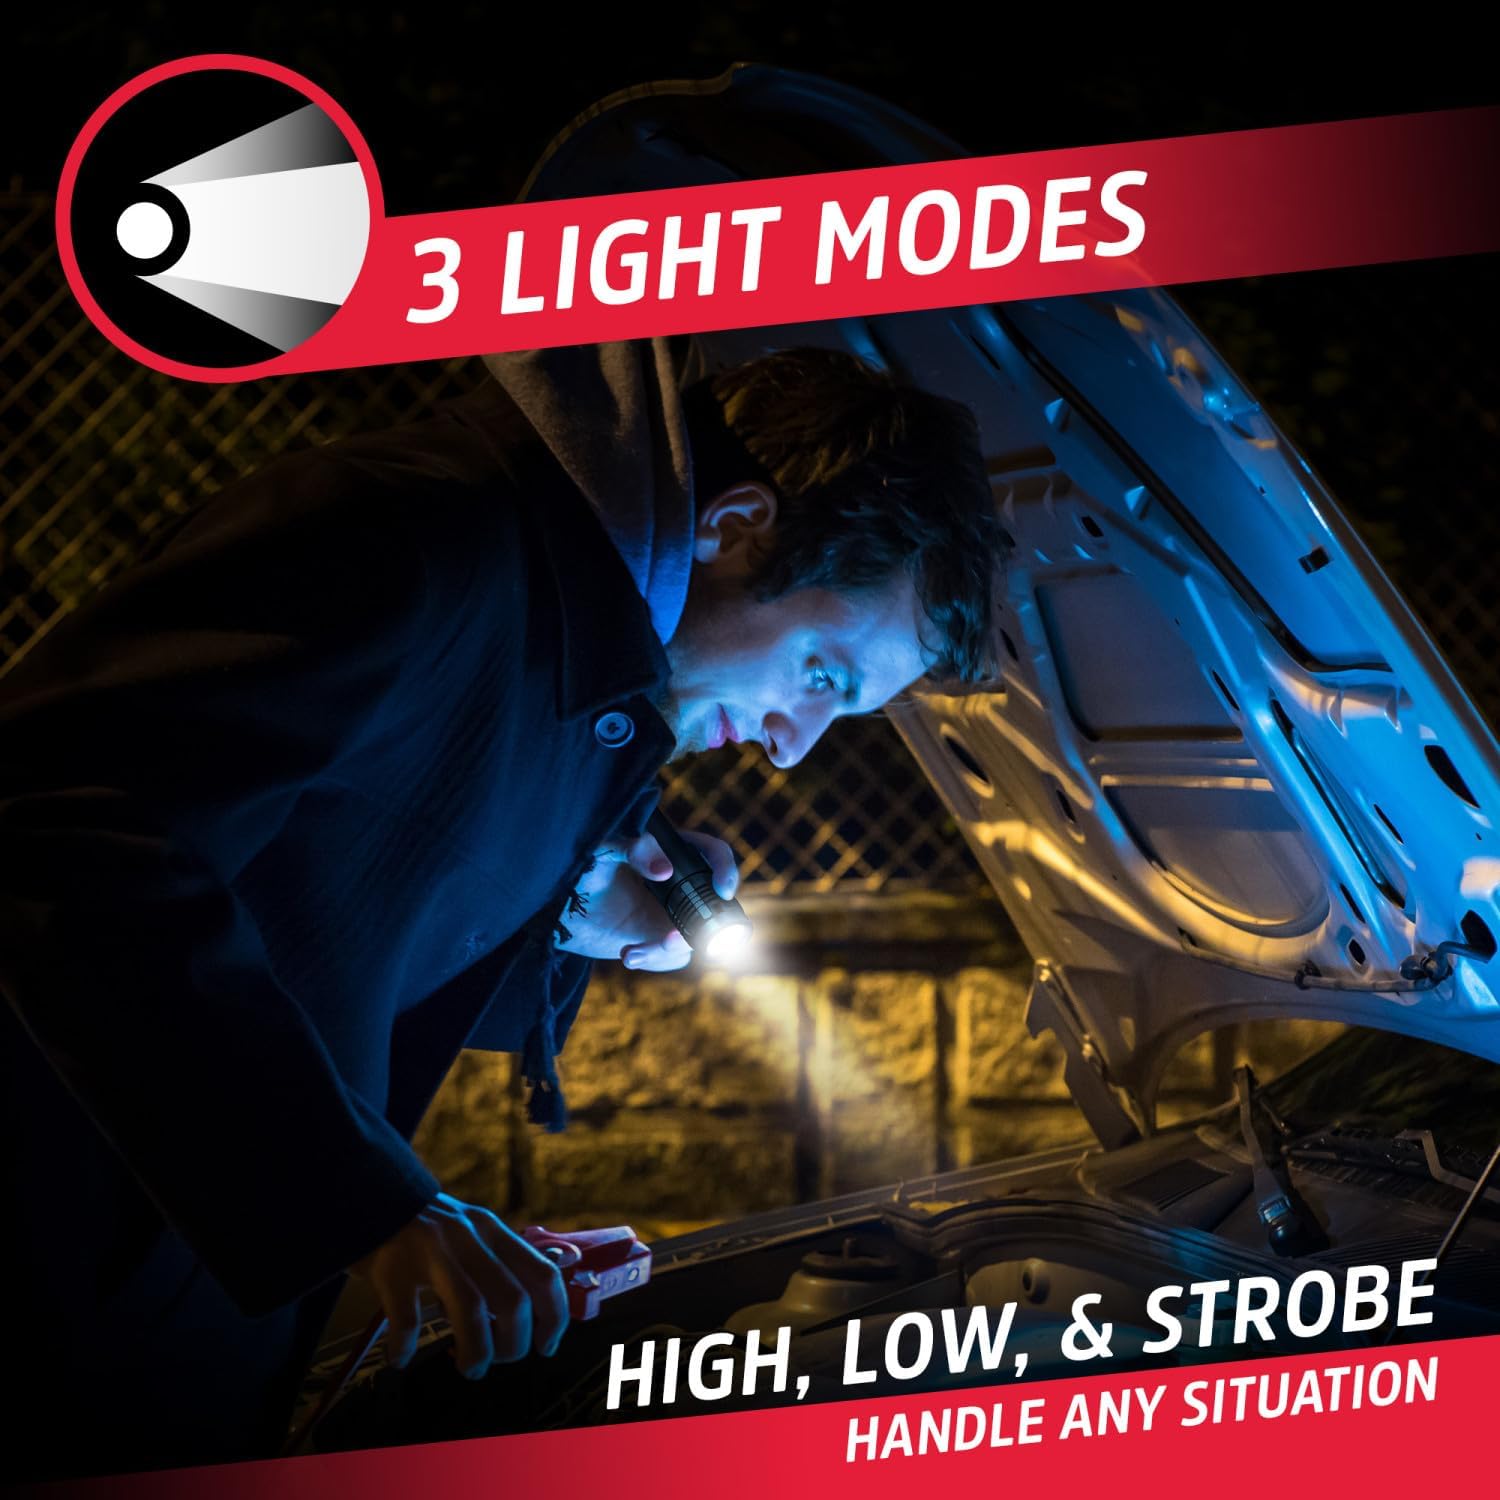
Image: The flashlight in use, demonstrating its versatility across different light modes for various tasks.
Konserwacja
- Czyszczenie: Przetrzyj latarkę miękką,amp ściereczka. Nie należy używać środków czyszczących o właściwościach ściernych ani rozpuszczalników.
- Składowanie: Store the flashlight in a cool, dry place away from direct sunlight when not in use. For long-term storage, charge the battery every 3-6 months to maintain battery health.
- Bateria: The lithium-ion battery is built-in and not user-replaceable. Do not attempt to open the flashlight to replace the battery.
Rozwiązywanie problemów
| Problem | Możliwa przyczyna | Rozwiązanie |
|---|---|---|
| Latarka się nie włącza. | Bateria jest rozładowana. | Charge the flashlight using the Micro-USB cable. |
| Latarka się nie ładuje. | Problem z kablem ładującym lub źródłem zasilania. | Ensure the Micro-USB cable is securely connected. Try a different USB cable or power source. |
| Moc światła jest słaba. | Bateria jest słaba. | Naładuj latarkę. |
| Nie można zmienić trybów oświetlenia. | Przycisk nie został wciśnięty prawidłowo lub wystąpił problem wewnętrzny. | Ensure the button is pressed firmly. If the issue persists, contact customer support. |
Specyfikacje
| Funkcja | Szczegół |
|---|---|
| Numer modelu | ENVMHHL8A |
| Moc światła | 500 lumenów (wysoka) |
| Odległość wiązki | Do 200 metrów |
| Tryby oświetlenia | Wysoki, niski, stroboskop |
| Źródło zasilania | Akumulator litowo-jonowy |
| Port ładowania | Mikro USB |
| Czas wykonania (wysoki) | Około 4 godzin |
| Czas wykonania (niski) | Do 7 godzin |
| Odporność na wodę | IPX4 (odporność na zachlapanie) |
| Tworzywo | Aircraft-grade Aluminum, Plastic |
| Wymiary | 5" gł. x 1" szer. x 1" wys. (w przybliżeniu) |
| Waga | 0.66 funta (w przybliżeniu) |
Gwarancja i wsparcie
Energizer products are manufactured to high quality standards. For warranty information or technical support, please refer to the official Energizer webOdwiedź witrynę lub skontaktuj się z działem obsługi klienta. Zachowaj dowód zakupu na wypadek reklamacji.
Aby uzyskać dalszą pomoc, odwiedź stronę Sklep Energizer na Amazon.


