1. Wprowadzenie
Dziękujemy za zakupasing the IRRADIO VDP-4600HDW LCD/LED Projector. This manual provides essential information for the safe and efficient operation of your device. Please read it thoroughly before use and retain it for future reference.
2. Instrukcje bezpieczeństwa
- Nie blokuj otworów wentylacyjnych. Zapewnij odpowiedni przepływ powietrza wokół projektora, aby zapobiec przegrzaniu.
- Nie patrz bezpośrednio w obiektyw projektora, gdyamp jest włączony, ponieważ jasne światło może uszkodzić wzrok.
- Trzymaj projektor z dala od wody i innych płynów. Nie używaj go wamp lub w wilgotnych warunkach.
- Używaj wyłącznie zasilacza dołączonego do projektora.
- Nie próbuj samodzielnie naprawiać projektora. Wszelkie naprawy zlecaj wykwalifikowanemu personelowi.
- Ustaw projektor na stabilnej i równej powierzchni, aby zapobiec jego upadkowi.
3. Zawartość opakowania
Sprawdź, czy w przesyłce znajdują się wszystkie elementy:
- IRRADIO VDP-4600HDW Projector
- Zdalne sterowanie
- Kabel zasilający
- Kabel HDMI
- Kabel AV
- Instrukcja obsługi
4. Koniec produktuview
4.1. Elementy projektora

Rysunek 4.1: Ogólnie view of the IRRADIO VDP-4600HDW Projector. This image displays the projector from an angled perspective, highlighting its compact design and the lens on the front left side, with ventilation grilles and control buttons visible on the top and sides.

Rysunek 4.2: Przód view of the projector. This image focuses on the large projection lens on the left, with the IRRADIO logo and ventilation grilles on the right side of the front panel.

Rysunek 4.3: Tył view of the projector. This image shows the VGA port, focus adjustment knob, and keystone correction knob on the rear panel, along with additional ventilation.
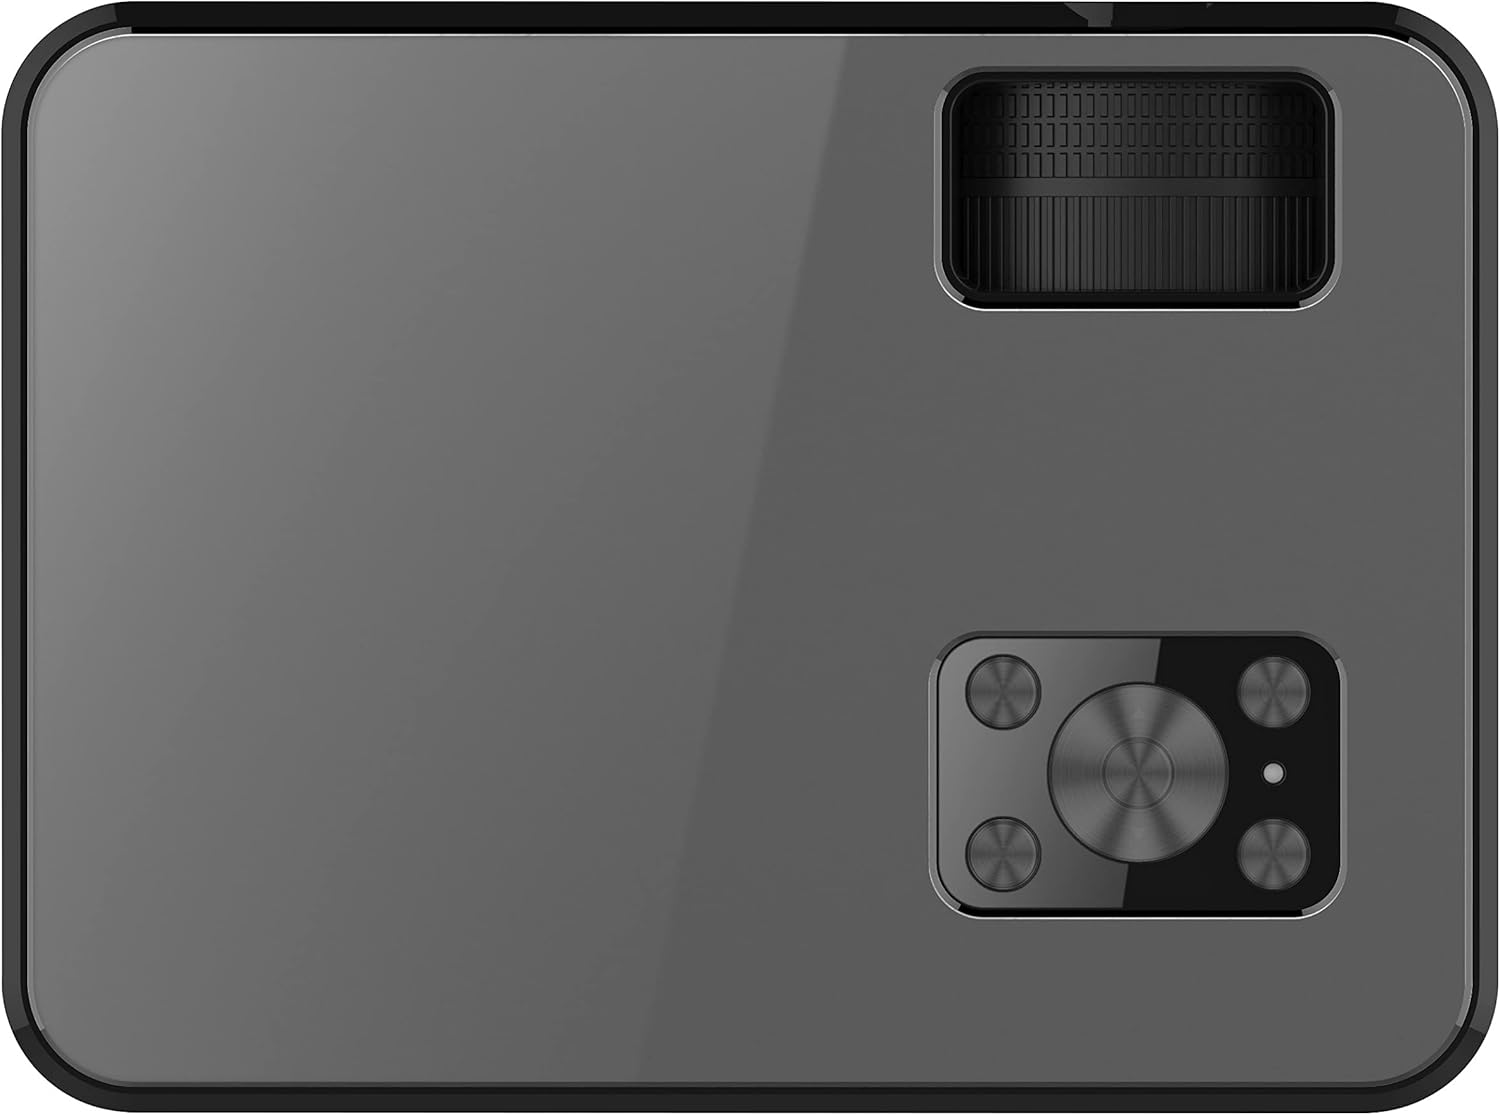
Rysunek 4.4: Szczyt view of the projector. This image displays the control panel with navigation buttons (up, down, left, right, OK), source, menu, and exit buttons, along with the power button and volume controls.

Rysunek 4.5: Strona view of the projector showing input/output ports. This image highlights two HDMI ports, AV input, two USB ports, and a 3.5mm headphone jack (audio out).

Rysunek 4.6: Strona przeciwna view of the projector. This image shows the power input port and additional ventilation grilles.

Rysunek 4.7: Spód view of the projector. This image displays the mounting points for ceiling installation and rubber feet for stable placement on a flat surface.
4.2. Pilot zdalnego sterowania
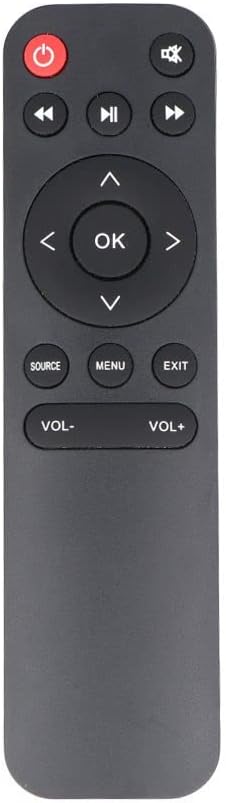
Rysunek 4.8: The remote control for the IRRADIO VDP-4600HDW Projector. It features buttons for power, mute, navigation (up, down, left, right, OK), source selection, menu, exit, and volume control.
4.3. Ports and Controls Overview
- Przycisk zasilania: Włącza/wyłącza projektor.
- Obiektyw: Wyświetla obraz.
- Pierścień ostrości: Dostosowuje klarowność obrazu.
- Korekcja Keystone'a: Koryguje zniekształcenia obrazu.
- Porty HDMI (x2): Connect to HDMI-enabled devices (laptops, gaming consoles, Blu-ray players).
- Porty USB (x2): Podłącz dyski USB w celu odtwarzania multimediów.
- Port VGA: Connect to computers with VGA output.
- Port AV: Connect to older devices using composite video.
- Wyjście audio 3.5 mm: Podłącz zewnętrzne głośniki lub słuchawki.
- Odbiornik IR: Do sygnałów zdalnego sterowania.
5. Konfiguracja
5.1. Umieszczenie
Place the projector on a stable, flat surface or mount it to the ceiling. Ensure the projector is positioned directly in front of the projection screen or wall. The optimal projection distance ranges from 1.52 meters to 3.48 meters, yielding a screen size between 50 and 120 inches.
- Projekcja przednia: Umieść projektor przed ekranem.
- Projekcja tylna: Umieść projektor za ekranem półprzezroczystym.
- Montaż sufitowy: The projector can be inverted and mounted to the ceiling. Adjust settings in the OSD menu for inverted projection.
5.2. Podłączenie zasilania
- Podłącz kabel zasilający do portu wejściowego zasilania projektora.
- Plug the other end of the power cable into a standard electrical outlet (220V AC, 50Hz).
- Naciśnij przycisk zasilania na projektorze lub pilocie, aby go włączyć.
5.3. Regulacja ostrości i zniekształcenia trapezowego
- Włącz projektor i wyświetl obraz.
- Obróć Pierścień ostrości (located near the lens) until the image appears sharp and clear.
- Dostosuj Korekcja trapezowa knob (located on the rear panel) to correct any trapezoidal distortion, making the image rectangular.
6. Obsługa
6.1. Włączanie/wyłączanie zasilania
Naciśnij przycisk zasilania na projektorze lub pilocie, aby włączyć lub wyłączyć urządzenie.
6.2. Wybór źródła wejściowego
Po włączeniu zasilania naciśnij ŹRÓDŁO button on the remote control or the projector's control panel to cycle through available input sources (HDMI1, HDMI2, USB1, USB2, VGA, AV).
6.3. Podłączanie urządzeń zewnętrznych
- HDMI: Connect an HDMI cable from your device (e.g., laptop, game console) to one of the projector's HDMI ports. Select the corresponding HDMI input.
- VGA: Connect a VGA cable from your computer to the projector's VGA port. Select the VGA input.
- AV: Use the provided AV cable to connect to devices with composite video output. Select the AV input.
- USB: Insert a USB flash drive into a USB port. The projector's media player interface will appear automatically or can be accessed via the source menu.
6.4. Odtwarzanie multimediów (USB)
The integrated media player supports various formats:
- Formaty obrazów: JPEG, BMP, PNG, MPO
- Formaty wideo: MPEG1, MPEG2, H.263, H.264, AVS, MJPEG, RV30, RV40, HEVC
- Formaty audio: MPEG1, MPEG2, LPCM, MP3
Poruszaj się po files using the remote control's arrow keys and press OK aby wybrać.
6.5. Wireless Audio Connection
The projector features an integrated wireless audio function for connecting to external audio devices. Refer to the on-screen display (OSD) menu for specific pairing instructions. Typically, you will need to enable the wireless audio feature in the projector's settings and then pair it with your desired external speaker or headphone.
7. Konserwacja
7.1. Czyszczenie soczewek
Use a soft, lint-free cloth and a specialized lens cleaning solution to gently wipe the lens. Avoid abrasive materials or excessive pressure.
7.2. Czyszczenie filtra przeciwpyłowego
Regularly check and clean the dust filters to ensure optimal airflow and prevent overheating. Use a soft brush or a vacuum cleaner with a brush attachment to remove dust from the ventilation grilles.
7.3. Przechowywanie
When not in use for extended periods, store the projector in a cool, dry place, protected from dust and direct sunlight. Use the original packaging or a protective case.
8. Rozwiązywanie Problemów
- Brak zasilania: Sprawdź, czy kabel zasilający jest prawidłowo podłączony i czy gniazdko elektryczne działa.
- Brak obrazka: Check the input source selection. Ensure the connected device is powered on and sending a signal. Verify cable connections.
- Rozmazany obraz: Adjust the focus ring. Ensure the projection distance is within the optimal range.
- Zniekształcony obraz: Dostosuj korekcję trapezu.
- Brak dźwięku: Check the volume settings on both the projector and the connected device. If using external speakers, ensure they are properly connected or paired via wireless audio.
- Pilot nie działa: Wymień baterie. Upewnij się, że między pilotem a odbiornikiem podczerwieni projektora nie ma żadnych przeszkód.
9. Specyfikacje
| Funkcja | Specyfikacja |
|---|---|
| System projekcyjny | LCD panel with LED light source |
| Rozdzielczość natywna | 1920x1080 (Pełna rozdzielczość HD 1080p) |
| Współczynnik kontrastu dynamicznego | 2000:1 |
| Jasność źródła światła | 3000 lumenów |
| LED L.amp Życie | 50,000 godziny |
| Obiektyw | Ręczne ustawianie ostrości |
| Funkcja bezprzewodowego dźwięku | Zintegrowany |
| Łączność | 2x HDMI, 2x USB, VGA, AV Composite, 3.5mm Headphone Jack (output) |
| Proporcje obrazu | 16:9 Native / 4:3 Compatible |
| Optymalny rozmiar projekcji | 50" - 120" |
| Optymalna odległość projekcji | od 1.52m do 3.48m |
| Tryby projekcji | Front, Rear, Ceiling (Front/Rear) |
| Audio | 1x 3W Hi-Fi Speaker |
| Układ chłodzenia | Podwójny system chłodzenia |
| Język OSD | 23 języków |
| Zasilacz | 220V AC 50Hz (single phase) |
| Waga | 1.4 kilogramów |
| Wymiary (szer. x wys. x gł.) | Wymiary: 222 x 91 x 173 mm |
10. Gwarancja i wsparcie
Information regarding specific warranty terms and support contacts is not available in the provided product data. Please refer to the product packaging or the retailer's webstronie, aby uzyskać szczegółowe informacje dotyczące gwarancji i obsługi klienta.


