1. Wprowadzenie i koniecview
This instruction manual provides essential information for the safe installation, operation, and maintenance of the Satco S8025 S14 Yellow LED Bulb. The S8025 is a 1-watt, 120-volt LED bulb with an E26 base, designed to provide 40 lumens of yellow light. It is an energy-efficient and long-lasting lighting solution suitable for both indoor and outdoor applications, with an average lifespan of 15,000 hours.
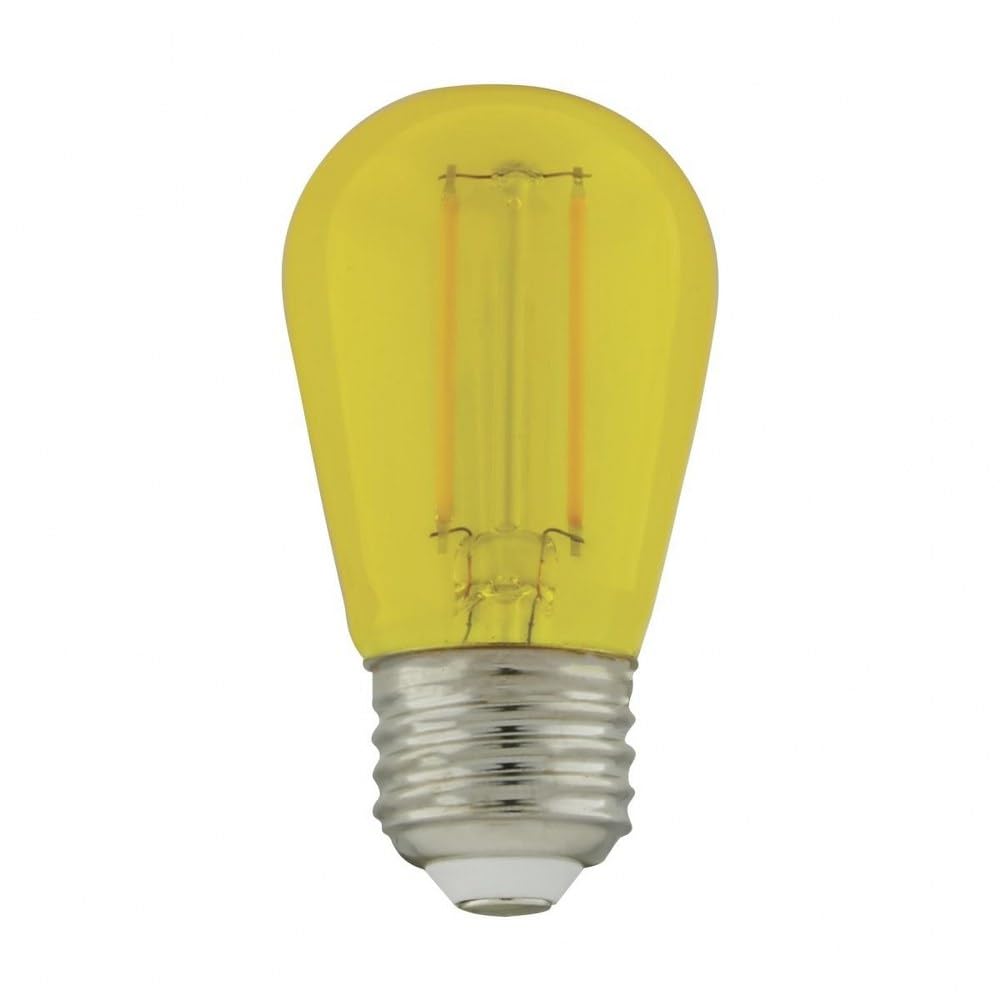
Rysunek 1: Satco S8025 S14 Yellow LED Bulb. This image displays the yellow-tinted glass bulb with its visible LED filaments and standard E26 screw base.
2. Informacje dotyczące bezpieczeństwa
Please read all safety instructions carefully before installing or operating the bulb. Failure to follow these instructions may result in electric shock, fire, or other hazards.
- Odłączenie zasilania: Always turn off the power supply at the circuit breaker or fuse box before attempting any installation, removal, or maintenance of the bulb.
- Tomtage Kompatybilność: Upewnij się, że głośność urządzenia jest odpowiedniatage (120V) matches the bulb's voltage.
- Cotage: Nie przekraczać maksymalnej mocytage rating of your light fixture. This bulb is 1 watt.
- Ściemniacze: This bulb is not specified as dimmable. Do not use with dimmer switches unless explicitly confirmed by the manufacturer.
- Obsługiwanie: Handle the bulb by its base, not the glass, to avoid breakage or damage to the internal components.
- Środowisko: Suitable for both indoor and outdoor use in appropriate fixtures. Ensure outdoor fixtures are sealed to protect the bulb from direct water exposure.
- Sprzedaż: Zużyte żarówki należy utylizować zgodnie z lokalnymi przepisami.
3. Konfiguracja i instalacja
Follow these steps to properly install your Satco S8025 LED bulb:
- Wyłącz zasilanie: Locate the circuit breaker or fuse box that controls the power to the light fixture. Turn off the power completely.
- Pozwól na ostygnięcie (w przypadku wymiany): If replacing an existing incandescent or halogen bulb, allow it to cool down completely before touching it.
- Wyjmij starą żarówkę (jeśli dotyczy): Ostrożnie wykręć starą żarówkę z oprawki, obracając ją w kierunku przeciwnym do ruchu wskazówek zegara.
- Zainstaluj nową żarówkę: Gently screw the Satco S8025 LED bulb into the E26 base socket by turning it clockwise until it is snug. Do not overtighten, as this can damage the bulb or the fixture.
- Przywróć zasilanie: Return to the circuit breaker or fuse box and turn the power back on.
- Test: Turn on the light switch to verify the bulb is functioning correctly.
4. Instrukcja obsługi
The Satco S8025 LED bulb is designed for simple operation. Once installed in a compatible fixture and connected to a 120-volt power supply, the bulb will illuminate when the fixture's switch is turned to the 'ON' position. To turn off the light, simply flip the switch to the 'OFF' position.
5. Konserwacja
Minimal maintenance is required for the Satco S8025 LED bulb due to its long lifespan and durable construction.
- Czyszczenie: To clean the bulb, ensure the power is off at the circuit breaker and the bulb is cool to the touch. Gently wipe the exterior with a soft, dry, lint-free cloth. Do not use liquid cleaners, abrasive materials, or harsh chemicals, as these can damage the bulb's finish or internal components.
- Wymiana: When the bulb reaches the end of its operational life (approximately 15,000 hours) or if it malfunctions, follow the 'Setup and Installation' instructions to safely remove and replace it with a new compatible bulb.
6. Rozwiązywanie Problemów
If you encounter issues with your Satco S8025 LED bulb, refer to the following troubleshooting steps:
- Żarówka się nie świeci:
- Upewnij się, że włącznik światła jest w pozycji „ON”.
- Check if the circuit breaker for the fixture has tripped. Reset if necessary.
- Verify the bulb is securely screwed into the socket. Loosen and re-tighten if needed.
- Test the bulb in a different, known-working fixture to determine if the bulb or the original fixture is faulty.
- Migotanie żarówki:
- Ensure the bulb is fully tightened in the socket.
- Confirm that the fixture is not connected to an incompatible dimmer switch. This bulb is not designed for dimming.
- Sprawdź, czy przewody w osprzęcie nie są luźne (w razie wątpliwości skonsultuj się z wykwalifikowanym elektrykiem).
- Bulb Appears Dim:
- The bulb provides 40 lumens of light. If you require brighter illumination, consider a bulb with a higher lumen output.
7. Specyfikacje
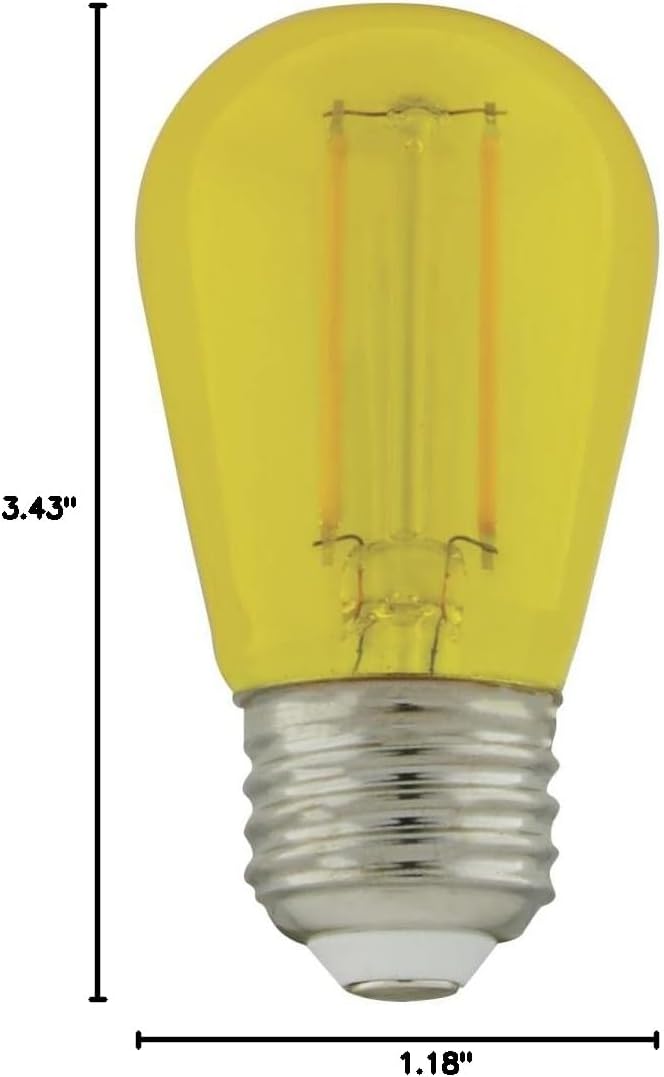
Rysunek 2: Satco S8025 S14 Yellow LED Bulb with dimensions. The image shows the bulb's height as 3.43 inches and width as 1.18 inches.
| Funkcja | Specyfikacja |
|---|---|
| Marka | Satco |
| Nazwa modelu | S8025 |
| Kształt żarówki Rozmiar | S14 |
| Typ światła | PROWADZONY |
| Cotage | 1 waty |
| Ekwiwalent żarowy Wattage | 11 watów |
| Podstawa żarówki | E26 |
| Kolor światła | Żółty |
| Tomtage | 120 wolty |
| Jasność | 40 lumenów |
| Średnie życie | 15,000 godzin |
| Tworzywo | Szkło |
| Wymiary produktu | 1.18" szer. x 3.43" wys. |
| Zastosowanie wewnątrz/na zewnątrz | Wewnątrz, Na zewnątrz |
| Funkcja specjalna | Energooszczędne, trwałe |
| Unit Count (as packaged) | 4.0 Liczba |
8. Informacje o gwarancji
The Satco S8025 S14 Yellow LED Bulb is covered by a manufacturer's warranty. For specific details regarding the warranty period, coverage, and claims process, please refer to the warranty documentation included with your purchase. You may also visit the official Satco website or contact their customer support for further information.
9. Wsparcie
For technical assistance, product inquiries, or to report any issues not covered in this manual, please contact Satco customer support:
- Webstrona: Visit the official Satco webwitryna z odpowiedziami na często zadawane pytania, informacjami o produktach i opcjami kontaktu.
- Obsługa klienta: Refer to your product packaging or the Satco website for direct customer service contact details (phone number, email).


