1. Wprowadzenie
Thank you for choosing the Prechen 19.5-inch 1600x900 LED Monitor. This monitor is designed to provide a high-quality visual experience for various applications, including office work, multimedia, and gaming. Featuring a 1600x900 resolution TN panel, 60Hz refresh rate, and built-in speakers, it offers a versatile display solution. This manual provides detailed instructions for setup, operation, maintenance, and troubleshooting to ensure optimal performance and longevity of your device.

Rycina 1: Przód view of the Prechen 19.5-inch LED Monitor.
2. Ważne informacje dotyczące bezpieczeństwa
Please read all safety warnings and instructions carefully before using this monitor to prevent damage or injury.
- Nie wystawiaj monitora na działanie deszczu i wilgoci, aby uniknąć pożaru lub porażenia prądem.
- Nie otwierać monitora casing. Wewnątrz nie ma żadnych części, które mogłyby być naprawiane przez użytkownika. Wszelkie prace serwisowe należy zlecać wykwalifikowanemu personelowi serwisowemu.
- Aby zapobiec jego upadkowi, ustaw monitor na stabilnej, płaskiej powierzchni.
- Zapewnij odpowiednią wentylację wokół monitora. Nie blokuj otworów wentylacyjnych.
- Należy używać wyłącznie zasilacza dołączonego do monitora.
- Jeśli monitor nie będzie używany przez dłuższy czas, należy odłączyć wtyczkę zasilającą od gniazdka.
- Avoid placing the monitor near heat sources such as radiators, heat registers, stoves, or other products (including amp(lifiers) wytwarzające ciepło.
3. Zawartość opakowania
Sprawdź zawartość paczki, aby upewnić się, że wszystkie przedmioty znajdują się w niej i nie są uszkodzone:
- Prechen 19.5-inch LED Monitor
- Zasilacz
- Kabel HDMI
- Instrukcja obsługi

Figure 2: Included accessories: Monitor, Power Adapter, HDMI Cable, and User Manual.
4. Przewodnik konfiguracji
4.1 Montaż stojaka
- Ostrożnie wyjmij monitor i elementy stojaka z opakowania.
- Przymocuj podstawę stojaka do szyjki stojaka, mocując ją za pomocą dołączonej śruby (jeśli dotyczy).
- Align the assembled stand with the mounting slot on the back of the monitor and gently push until it clicks into place or secure with screws as per the stand design.
4.2 Podłączanie monitora
The monitor supports both HDMI and VGA connections.
- Podłączenie zasilania: Connect the power adapter to the monitor's DC IN port, then plug the adapter into a power outlet.
- Połączenie wideo (HDMI): Connect one end of the HDMI cable to the HDMI port on your computer or device, and the other end to the HDMI port on the monitor.
- Połączenie wideo (VGA): Connect one end of the VGA cable to the VGA port on your computer or device, and the other end to the VGA port on the monitor.
- Połączenie audio: If using a VGA connection and external speakers, connect an audio cable from your computer's audio output to the monitor's audio input port. The built-in speakers will function automatically with HDMI.

Figure 3: Monitor back panel with input ports and control buttons.

Figure 4: Multiple connection options for the monitor.
5. Instrukcja obsługi
5.1 Włączanie/wyłączanie
Naciśnij przycisk zasilania z tyłu monitora, aby go włączyć lub wyłączyć. Kontrolka zasilania zaświeci się, gdy monitor jest włączony.
5.2 Korzystanie z menu OSD
The On-Screen Display (OSD) menu allows you to adjust various monitor settings. The control buttons are located on the back of the monitor (refer to Figure 3).
- MENU: Naciśnij, aby otworzyć menu OSD.
- UP/DOWN (Volume Up/Down): Użyj, aby poruszać się po opcjach menu lub zmieniać wartości.
- ENTER (Switch): Naciśnij, aby potwierdzić wybór lub wejść do podmenu.
- EXIT (Return): Press to exit the current menu or return to the previous level.
5.3 Dostosowywanie ustawień wyświetlania
Navigate the OSD menu to adjust settings such as:
- Jasność/Kontrast: Dostosuj ogólną jasność i kontrast wyświetlacza.
- Ustawienia kolorów: Zmień temperaturę barwową, poziomy RGB lub wybierz predefiniowane tryby kolorów.
- Wybór wejścia: Ręczne przełączanie między źródłami wejściowymi HDMI i VGA.
- Proporcje obrazu: Choose between 16:9 (widescreen) or 4:3 (standard) display modes.
- Ostrość: Adjust the clarity of the image.
5.4 Ustawienia audio
The monitor features two built-in speakers. You can adjust the volume using the OSD menu or the dedicated volume buttons on the back of the monitor.
6. Konserwacja i pielęgnacja
Proper care and maintenance will extend the life of your monitor.
- Czyszczenie ekranu: Delikatnie przetrzyj ekran miękką, niepozostawiającą włókien ściereczką. W przypadku uporczywych zabrudzeń,ampDelikatnie przetrzyj ściereczkę wodą lub płynem do czyszczenia ekranów bez amoniaku i alkoholu. Nigdy nie spryskuj ekranu bezpośrednio środkiem czyszczącym.
- Czyszczenie Casing: Do czyszczenia monitora należy używać miękkiej, suchej ściereczki.asing. Unikaj stosowania środków czyszczących o właściwościach ściernych i rozpuszczalników.
- Składowanie: Jeśli monitor będzie przechowywany przez dłuższy okres, należy odłączyć go od zasilania i przechowywać w chłodnym, suchym miejscu, najlepiej w oryginalnym opakowaniu.
7. Rozwiązywanie Problemów
If you encounter problems with your monitor, please refer to the following table for common issues and solutions.
| Problem | Możliwa przyczyna | Rozwiązanie |
|---|---|---|
| Brak zasilania | Kabel zasilający nie jest podłączony; gniazdko elektryczne jest uszkodzone; monitor jest wyłączony. | Ensure power cable is securely connected. Try a different power outlet. Press the power button on the monitor. |
| Brak sygnału | Kabel wideo nie jest podłączony; wybrano nieprawidłowe źródło sygnału; komputer nie wysyła sygnału. | Check HDMI/VGA cable connection. Select the correct input source via the OSD menu. Ensure your computer is on and outputting video. |
| Brak dźwięku z wbudowanych głośników | Volume too low/muted; Incorrect audio output selected on PC; Audio cable not connected (for VGA). | Increase monitor volume. Check PC audio settings to ensure monitor is selected as output. For VGA, ensure audio cable is connected. |
| Obraz jest niewyraźny lub zniekształcony | Nieprawidłowa rozdzielczość; Problem z kablem. | Set your computer's display resolution to 1600x900. Try a different video cable. |
8. Specyfikacje produktu
| Funkcja | Specyfikacja |
|---|---|
| Marka | Preczen |
| Rozmiar ekranu | 19.5 cali |
| Typ wyświetlacza | PROWADZONY |
| Maksymalna rozdzielczość wyświetlacza | 1600x900 |
| Częstotliwość odświeżania | 60 Hz |
| Czas reakcji | 5 milisekund |
| Proporcje obrazu | 16:9 |
| Technologia łączności | HDMI, VGA, |
| Cechy specjalne | Wbudowane głośniki |
| Zgodność z mocowaniem VESA | 100x100mm |
9. Montaż VESA
The Prechen monitor supports VESA standard mounting (100 x 100 mm), allowing you to mount it on a wall or an articulating arm for flexible viewing options. This feature makes the monitor lightweight and easy to install in various setups.
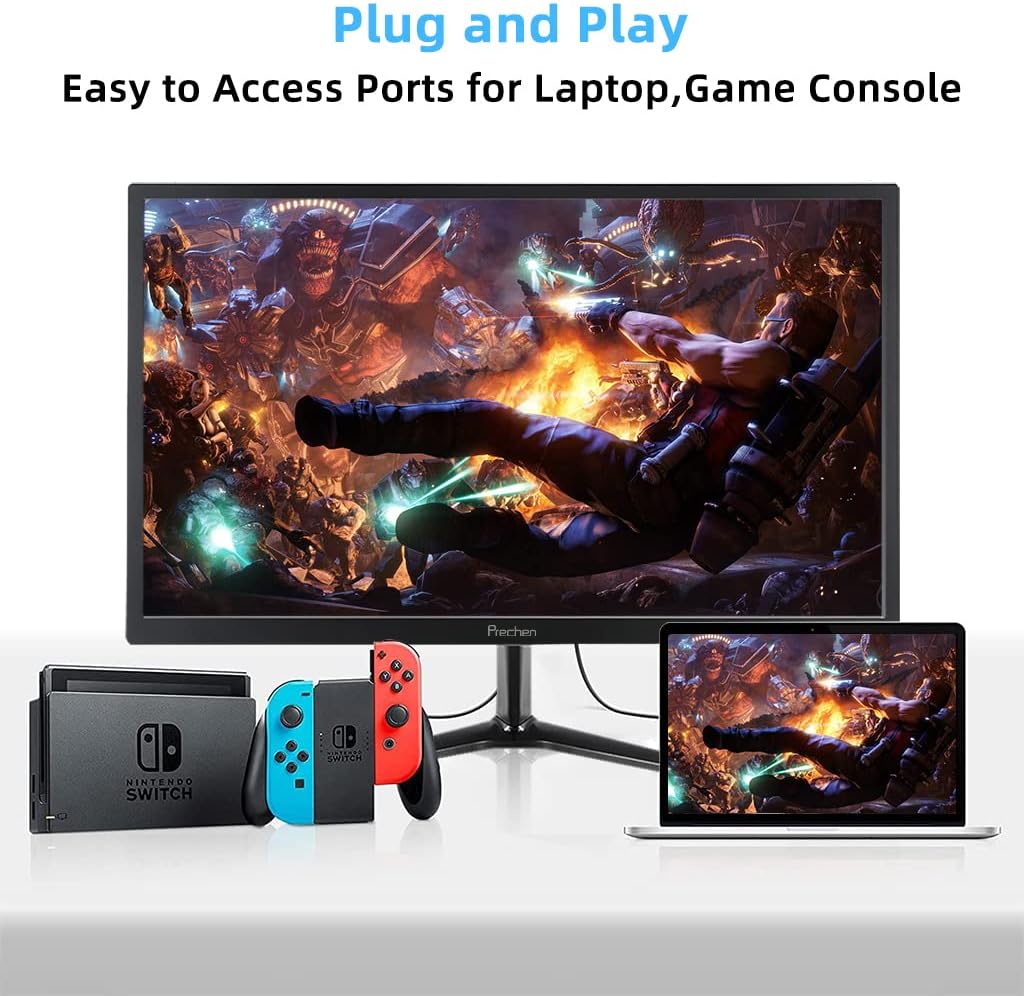
Figure 5: VESA mount dimensions on the monitor back.

Rysunek 6: Example of VESA mounting with an articulating arm.
10. Gwarancja i wsparcie
Each Prechen product is covered by a one-year warranty from the date of purchase, which includes a one-month refund and exchange policy. This warranty covers manufacturing defects and issues arising from normal use.
For any questions, technical support, or warranty claims, please contact Prechen customer service. Please have your product model and purchase information ready when contacting support.
Contact information for customer service can typically be found on the product packaging or the official Prechen webstrona.


