1. Wprowadzenie
This manual provides detailed instructions for the installation, operation, and maintenance of your Vivotek IB9380-H 5MP IR Outdoor Network Bullet Camera. Please read this manual thoroughly before using the product to ensure proper setup and optimal performance. This camera is designed for outdoor security surveillance, offering high-resolution imaging and infrared capabilities for reliable monitoring.
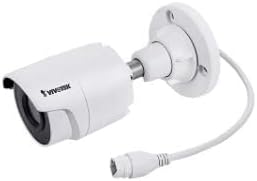
Image 1.1: Vivotek IB9380-H 5MP IR Outdoor Network Bullet Camera overview.
2. Informacje dotyczące bezpieczeństwa
- Źródło zasilania: Use only the specified AC/DC power adapter. Ensure the power supply is stable and meets the camera's requirements (3.5 watts).
- Środowisko instalacji: This camera is rated for outdoor use (IP9380). Avoid installing in locations with extreme temperatures, high humidity, or corrosive substances beyond its operating specifications.
- Obsługiwanie: Do not drop or subject the camera to severe shock. Avoid touching the lens directly.
- Demontaż: Nie próbuj demontować ani modyfikować aparatu. Może to spowodować unieważnienie gwarancji i uszkodzenie.
- Okablowanie: Ensure all cables are properly secured and protected from environmental damage or tamping.
3. Zawartość opakowania
Sprawdź, czy w opakowaniu znajdują się wszystkie elementy:
- Vivotek IB9380-H 5MP IR Outdoor Network Bullet Camera
- Zestaw montażowy (śruby, kotwy ścienne)
- Szybki przewodnik instalacji
- Wodoodporne złącze do kabla Ethernet
4. Konfiguracja
4.1. Instalacja fizyczna i montaż
The Vivotek IB9380-H camera is designed for wall mount installation. Choose a suitable location that provides the desired field of view i znajduje się w zasięgu zasilania i połączeń sieciowych.
- Przygotuj powierzchnię montażową: Mark the drilling points on the wall using the mounting template (if provided) or by holding the camera's base against the surface.
- Wiercenie otworów: Wywierć otwory wstępne w zaznaczonych miejscach. W przypadku montażu na płycie gipsowo-kartonowej lub murze zamocuj kotwy ścienne.
- Zabezpiecz kamerę: Attach the camera's mounting base to the wall using the provided screws. Ensure it is firmly secured.
- Dostosuj kąt: Odkręć śruby regulacyjne na korpusie aparatu, aby ustawić żądaną wartość. viewing angle. Tighten the screws once the angle is satisfactory.

Image 4.1: Camera dimensions and mounting diagram for installation planning.
4.2. Połączenie kablowe
Connect the necessary cables to the camera:
- Kabel Ethernet: Connect a standard Ethernet cable (RJ45) to the camera's network port. Use the waterproof connector to protect the connection if exposed to weather.
- Przewód zasilający: Connect the power adapter to the camera's power input. Ensure the connection is secure.

Image 4.2: Close-up of an Ethernet cable connector, similar to what is used for the camera's network connection.
4.3. Pierwsze włączenie zasilania
Once all cables are connected, plug the power adapter into an electrical outlet. The camera will power on and initiate its startup sequence. Observe any indicator lights for status.
5. Instrukcja obsługi
5.1. Network Configuration and Access
The Vivotek IB9380-H supports Wi-Fi connectivity. For initial setup, it is recommended to connect via Ethernet to configure network settings.
- Odkryj aparat: Use the Vivotek IP Search utility or your network router's client list to find the camera's assigned IP address.
- Dostęp Web Interfejs: Otwórz web browser and enter the camera's IP address. Log in using the default credentials (refer to the Quick Installation Guide for details).
- Konfiguruj Wi-Fi: Navigate to the network settings within the web interface. Select your Wi-Fi network, enter the password, and save the settings. Once configured, you may disconnect the Ethernet cable if desired.
5.2. Na żywo View i nagrywanie
After network setup, you can access the camera's live feed and configure recording options.
- Na żywo View: Z web interface or a compatible mobile application, select the camera to view transmisja na żywo.
- Konfiguracja nagrywania: Configure recording schedules, continuous recording, or event-triggered recording (e.g., motion detection). Recordings can be stored on a network video recorder (NVR) or a local storage device if supported.
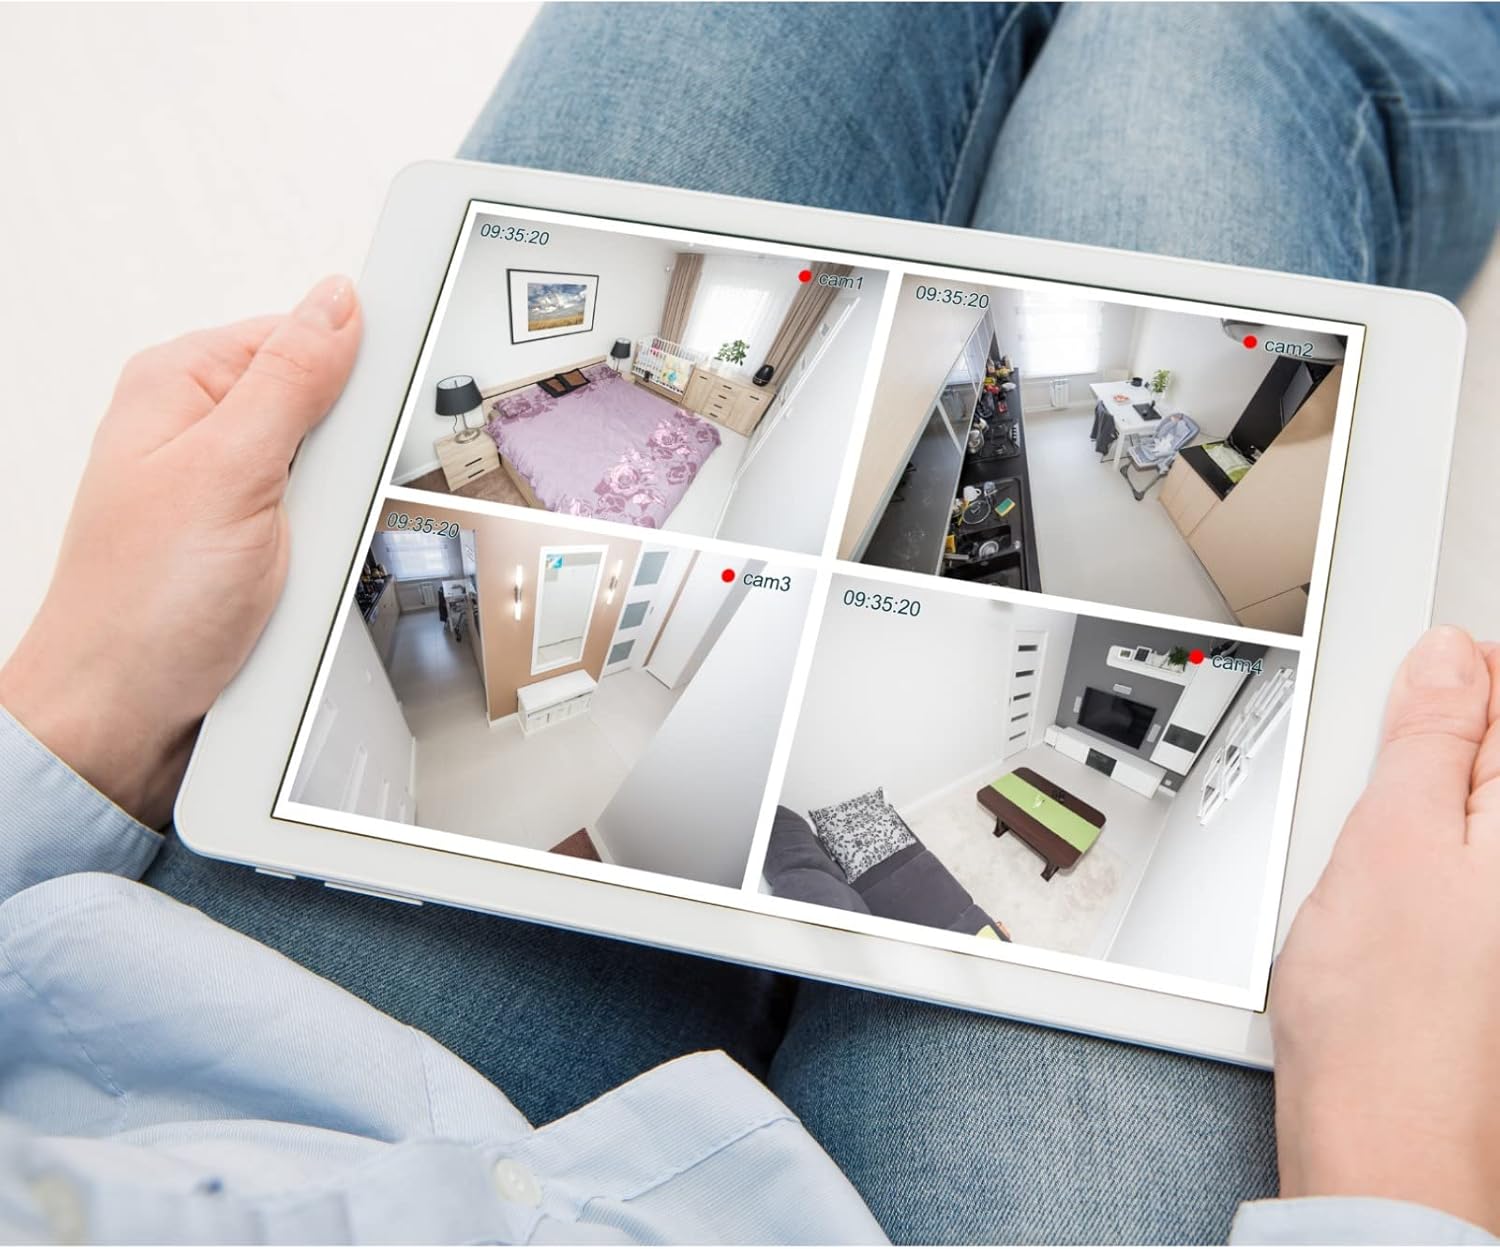
Obraz 5.1: Example of a tablet displaying multiple camera feeds, illustrating remote monitoring capabilities.
5.3. Motion Detection Setup
The camera supports motion-only alerts.
- Access Alert Settings: In the camera's web interface, navigate to the event or alert settings section.
- Configure Motion Detection: Enable motion detection and define the detection zones and sensitivity levels.
- Ustaw akcje: Specify actions to be taken upon motion detection, such as recording, sending email notifications, or triggering alarms.
5.4. Wizja nocna
The camera features IR (Infrared) and Night Color low light technology for clear imaging in various lighting conditions. These features typically activate automatically based on ambient light levels.
6. Konserwacja
- Czyszczenie obiektywu: Gently wipe the camera lens with a soft, clean cloth. For stubborn dirt, use a lens cleaning solution designed for optical surfaces. Do not use abrasive cleaners.
- Aktualizacje oprogramowania układowego: Okresowo sprawdzaj Vivotek webStrona z aktualizacjami oprogramowania sprzętowego. Regularna aktualizacja oprogramowania sprzętowego zapewnia optymalną wydajność, bezpieczeństwo i dostęp do nowych funkcji.
- Kontrola środowiskowa: Regularly inspect the camera and its mounting for any signs of wear, damage, or loose connections, especially after severe weather conditions.
- Cykl zasilania: If the camera experiences minor issues, try power cycling it by disconnecting and reconnecting the power supply.
7. Rozwiązywanie Problemów
| Problem | Możliwa przyczyna | Rozwiązanie |
|---|---|---|
| Brak zasilania | Odłączony lub uszkodzony zasilacz; problem z gniazdkiem elektrycznym. | Check power connections. Test the outlet with another device. Try a different power adapter if available. |
| Brak źródła wideo | Network connection issue; incorrect IP address; camera not configured. | Verify network cable connection or Wi-Fi settings. Confirm camera's IP address. Ensure camera is properly configured in your viewoprogramowanie. |
| Słaba jakość obrazu | Brudny obiektyw, słabe warunki oświetleniowe, nieprawidłowe ustawienia rozdzielczości. | Clean the camera lens. Ensure sufficient lighting or verify night vision is active. Check video resolution settings in the camera's interface. |
| Wykrywanie ruchu nie działa | Motion detection disabled; incorrect sensitivity; detection zones not set. | Enable motion detection in settings. Adjust sensitivity and define detection zones. |
8. Specyfikacje
| Funkcja | Szczegół |
|---|---|
| Model | IB9380-H |
| Efektywna rozdzielczość obrazu nieruchomego | 5 MP |
| Rozdzielczość przechwytywania wideo | 1080p |
| Szybkość klatek | 20 klatek na sekundę |
| Technologia słabego oświetlenia | Kolor nocy |
| Współczynnik kształtu | Kula |
| Zastosowanie wewnątrz/na zewnątrz | Plenerowy |
| Typ montażu | Montaż ścienny |
| Komunikacja bezprzewodowa | Wi-Fi |
| Protokół łączności | Wi-Fi |
| Źródło zasilania | Prąd zmienny/stały |
| Cotage | 3.5 watów |
| Tryb pracy | Tylko ruch |
| Metoda kontroli | Zdalny |
| Wymiary (dł. x szer. x wys.) | 3.59 x 3.59 x 6.96 cala |
| Międzynarodowa Ocena Ochrony | IP9380 |
| UPC | 655255870887, 681541834035 |
9. Informacje o gwarancji
This Vivotek product is covered by a manufacturer's limited warranty. Please refer to the warranty card included in your package or visit the official Vivotek webSzczegółowe warunki gwarancji, jej okres obowiązywania i procedury reklamacyjne znajdziesz na stronie. Zachowaj dowód zakupu, aby skorzystać z serwisu gwarancyjnego.
10. Obsługa klienta
For technical assistance, troubleshooting beyond this manual, or warranty inquiries, please contact Vivotek customer support. You can typically find contact information (phone, email, support portal) on the official Vivotek webstronie internetowej lub w dokumentacji dołączonej do produktu.
Zasoby internetowe: www.vivotek.com


