1. Wprowadzenie
The Keychron Q4 is a fully customizable mechanical keyboard featuring a compact 60% layout. Constructed with a solid full aluminum frame, the Q4 is designed for easy assembly and personalized typing. It supports QMK/VIA for advanced key remapping and macro programming, and includes hot-swappable switches for user-defined switch preferences. The double-gasket design and internal sound-absorbing foams contribute to a refined typing experience.

Image 1.1: Keychron Q4 keyboard highlighting key features like QMK/VIA support, double-gasket design, CNC aluminum body, macOS & Windows compatibility, 1000 Hz polling rate, hot-swappable switches, south-facing RGB, and OSA PBT keycaps.
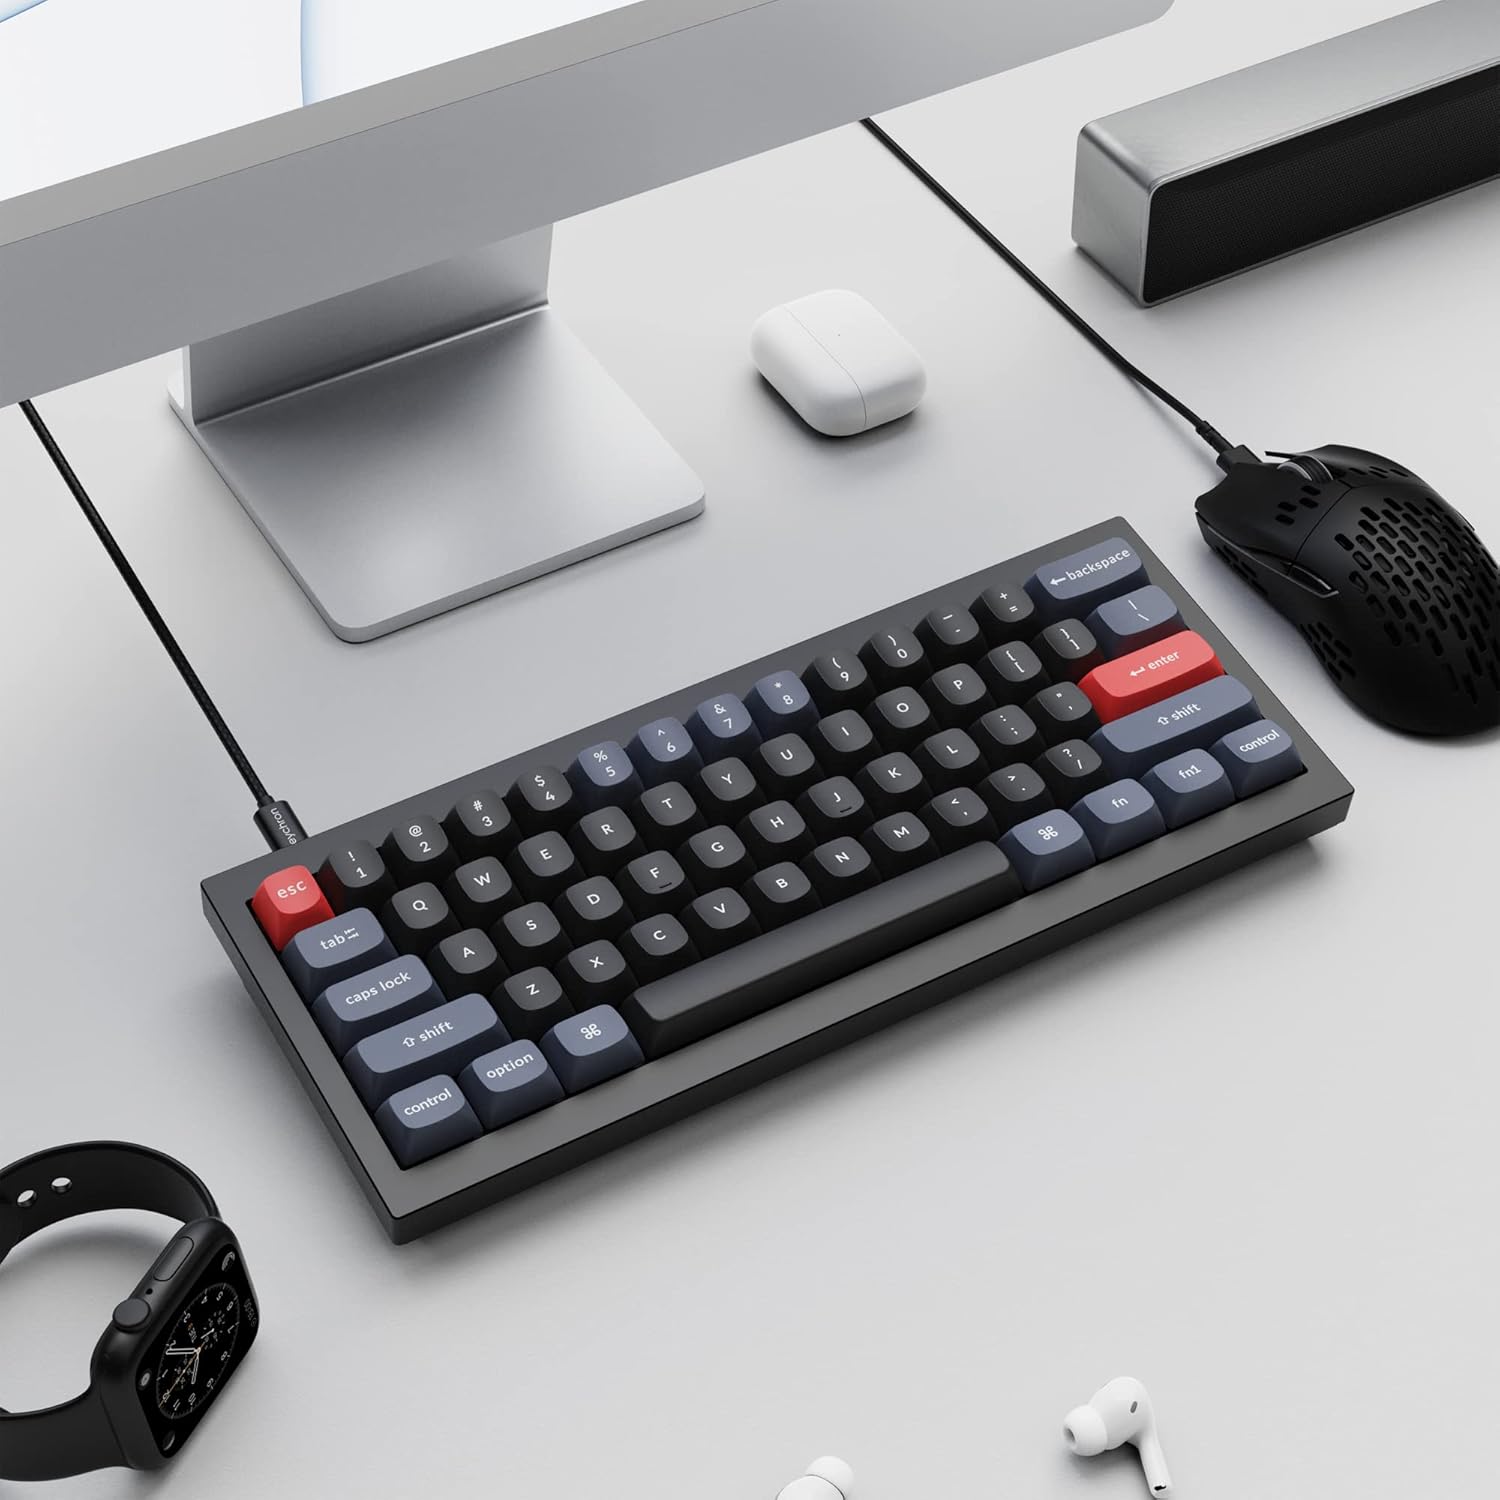
Image 1.2: The Keychron Q4 keyboard integrated into a typical desk setup, connected via USB-C.
2. Konfiguracja
2.1 Zawartość opakowania
Before beginning, verify that all components are present in the box:

Image 2.1: Diagram illustrating the contents of the Keychron Q4 package, including the fully assembled keyboard, cables, and tools.
- Klawiatura: 1x Fully Assembled Keyboard (including 1x Aluminum Case, 1x PCB, 1x Steel Plate, 1x Sound Absorbing Foam, 1x Case Foam, 12x Gaskets (8 Installed and 4 in the Box), 5 sets x Stabilizers, 1 set x Keycaps (Double-Shot PBT), 1 set x Switches (Gateron G Pro))
- Kabel: 1x Type-C to Type-C Cable, 1x Type-A to Type-C Adapter
- Narzędzia: 1x Switch Puller, 1x Keycap Puller, 1x Screwdriver, 1x Hex Key
Note: All tools are located on the bottom of the box.
2.2 Łączność
Connect the Keychron Q4 keyboard to your computer using the provided USB-C cable. The keyboard is compatible with both macOS and Windows operating systems.
2.3 Operating System Switch
The keyboard features a physical switch to toggle between macOS and Windows layouts. Locate the switch on the side or back of the keyboard and set it to your desired operating system.

Image 2.2: Close-up of the physical switch on the keyboard for selecting between Windows and macOS operating system layouts.
3. Działanie
3.1 Podstawowe funkcje klawiszy
The Keychron Q4 features a 60% layout, which means some keys may have secondary functions accessed via the 'Fn' key. Refer to the keycap legends for these functions.

Rysunek 3.1: Szczegółowy view of the Keychron Q4's 60% keyboard layout, showing the compact arrangement of keys.
3.2 South-Facing RGB Backlighting
The keyboard is equipped with south-facing RGB LEDs. This design ensures that the backlight effectively illuminates the keycap legends from the typist's perspective, especially with non-shine-through PBT keycaps.

Obraz 3.2: Zbliżenie view of the south-facing RGB LED lights illuminating the mechanical switches beneath the keycaps.
4. Personalizacja
4.1 QMK and VIA Programmability
The Keychron Q4 supports full QMK and VIA functionality, allowing users to program and remap each key and create custom macros. To utilize this feature:
- Connect the Q4 to your device via the USB-C cable.
- Download and install the VIA software.
- Import the Q4 keymap JSON file do oprogramowania VIA.
- Use the drag-and-drop interface within VIA to remap keys or assign macro commands for macOS, Windows, or Linux operating systems.
Refer to the official Keychron website for detailed instructions and the latest VIA software and keymap files.

Image 4.1: The Keychron Q4 keyboard displayed alongside the VIA software interface, demonstrating key remapping capabilities.

Rysunek 4.2: Szczegółowy view of the VIA software interface, showing the keymap configuration for the Keychron Q4.
4.2 Przełączniki z możliwością wymiany na gorąco
The Keychron Q4 features a hot-swappable PCB, allowing you to change mechanical switches without soldering. It supports most 3-pin and 5-pin MX-style mechanical switches (e.g., Cherry, Gateron, Kailh, Panda).
Wymiana przełączników:
- Ostrożnie zdejmij nakładkę klawisza za pomocą dołączonego ściągacza do nakładek klawiszy.
- Use the switch puller to gently grip the switch and pull it straight up from the PCB.
- Dopasuj piny nowego przełącznika do otworów w płytce PCB. Upewnij się, że piny są proste, aby uniknąć ich wygięcia.
- Wciśnij nowy przełącznik mocno, aż usłyszysz kliknięcie.
- Załóż z powrotem nakładkę klawisza.

Obraz 4.3: Zbliżenie view of the keyboard's PCB with several switches removed, demonstrating the hot-swappable feature.
4.3 Double-Gasket Design and Internal Foams
The Q4 incorporates a double-gasket design, which enhances typing flexibility and improves the overall sound profile. Additionally, sound-absorbing and case foams are installed internally to reduce resonance and noise between metal components. Each keyboard component is designed for easy reassembly, allowing for further customization.

Image 4.4: An exploded diagram showing the various layers of the Keychron Q4, including keycaps, switches, top case, gaskets, plate, PCB, sound absorbing foam, silicone gaskets, case foam, and bottom case.
5. Konserwacja
5.1 Czyszczenie klawiatury
Aby zachować optymalną wydajność i wygląd, zaleca się regularne czyszczenie:
- Nasadki klawiszy: Use the keycap puller to remove keycaps. Clean them with a mild soap solution and a soft cloth, then rinse thoroughly and allow them to dry completely before reattaching.
- Korpus klawiatury: Użyj miękkiej, niepozostawiającej włókien ściereczki, lekkoampened with water or a gentle cleaning solution, to wipe down the aluminum frame. Avoid excessive moisture.
- Między kluczami: Use compressed air to remove dust and debris from between the switches. A small brush can also be used for stubborn particles.
Avoid using harsh chemicals or abrasive materials, as these can damage the keyboard's finish or components.
6. Rozwiązywanie Problemów
6.1 Klawisze nie reagują
- Sprawdź łączność: Upewnij się, że kabel USB-C jest prawidłowo podłączony do klawiatury i komputera. Spróbuj użyć innego portu USB lub kabla.
- Verify OS Switch: Confirm the macOS/Windows switch is set to the correct operating system.
- Sprawdź przełączniki: If individual keys are not responding, carefully remove the keycap and then the switch using the switch puller. Inspect the switch pins for any bends or damage. Straighten bent pins gently with tweezers or replace the switch if damaged. Reinsert the switch firmly.
- QMK/VIA Configuration: If keys are remapped incorrectly, check your keymap configuration in the VIA software.
6.2 Backlighting Issues
- Regulacja jasności: Ensure the backlight brightness is not set to its lowest level. Use the designated key combinations (often Fn + arrow keys or similar) to adjust brightness.
- Kontrola oprogramowania: If using QMK/VIA, verify that lighting settings are correctly configured.
6.3 Keyboard Not Recognized by Computer
- Restart komputera: Problemy z łącznością często można rozwiązać poprzez proste ponowne uruchomienie.
- Try Another Computer: Test the keyboard on a different computer to determine if the issue is with the keyboard or the original computer's setup.
- Aktualizacja firmware: Check the Keychron website for any available firmware updates for the Q4 model. Follow the instructions carefully for firmware installation.
7. Specyfikacje
| Wymiary produktu | 11.93 x 4.76 x 0.78 cala (30.3 x 12.1 x 2.0 cm) |
| Waga przedmiotu | 4.66 funtów (2.11 kg) |
| Producent | Chronograf |
| Numer modelu przedmiotu | Klucz Q4 |
| Kompatybilne urządzenia | PC (macOS, Windows, Linux) |
| Technologia łączności | USB-C |
| Opis klawiatury | Mechaniczny |
| Funkcja specjalna | Backlit (South-facing RGB) |
| Kolor | Black (Gateron G Pro Brown Switch) |
| Tworzywo | Aluminum, Polybutylene Terephthalate (PBT) |
| Zawarte komponenty | Keyboard, USB-C Cable, Type-A to Type-C Adapter, Switch Puller, Keycap Puller, Screwdriver, Hex Key |
8. Gwarancja i wsparcie
For warranty information, technical support, and additional resources, please visit the official Keychron website or contact Keychron customer service.
Więcej informacji i wsparcia znajdziesz na stronie Keychron Store.


