1. Wprowadzenie
This manual provides detailed instructions for the installation, operation, and maintenance of your Xigmatek Aero Black Micro-ATX Case. Please read this manual thoroughly before beginning assembly to ensure proper setup and to maximize the lifespan of your components.
2. Koniec produktuview
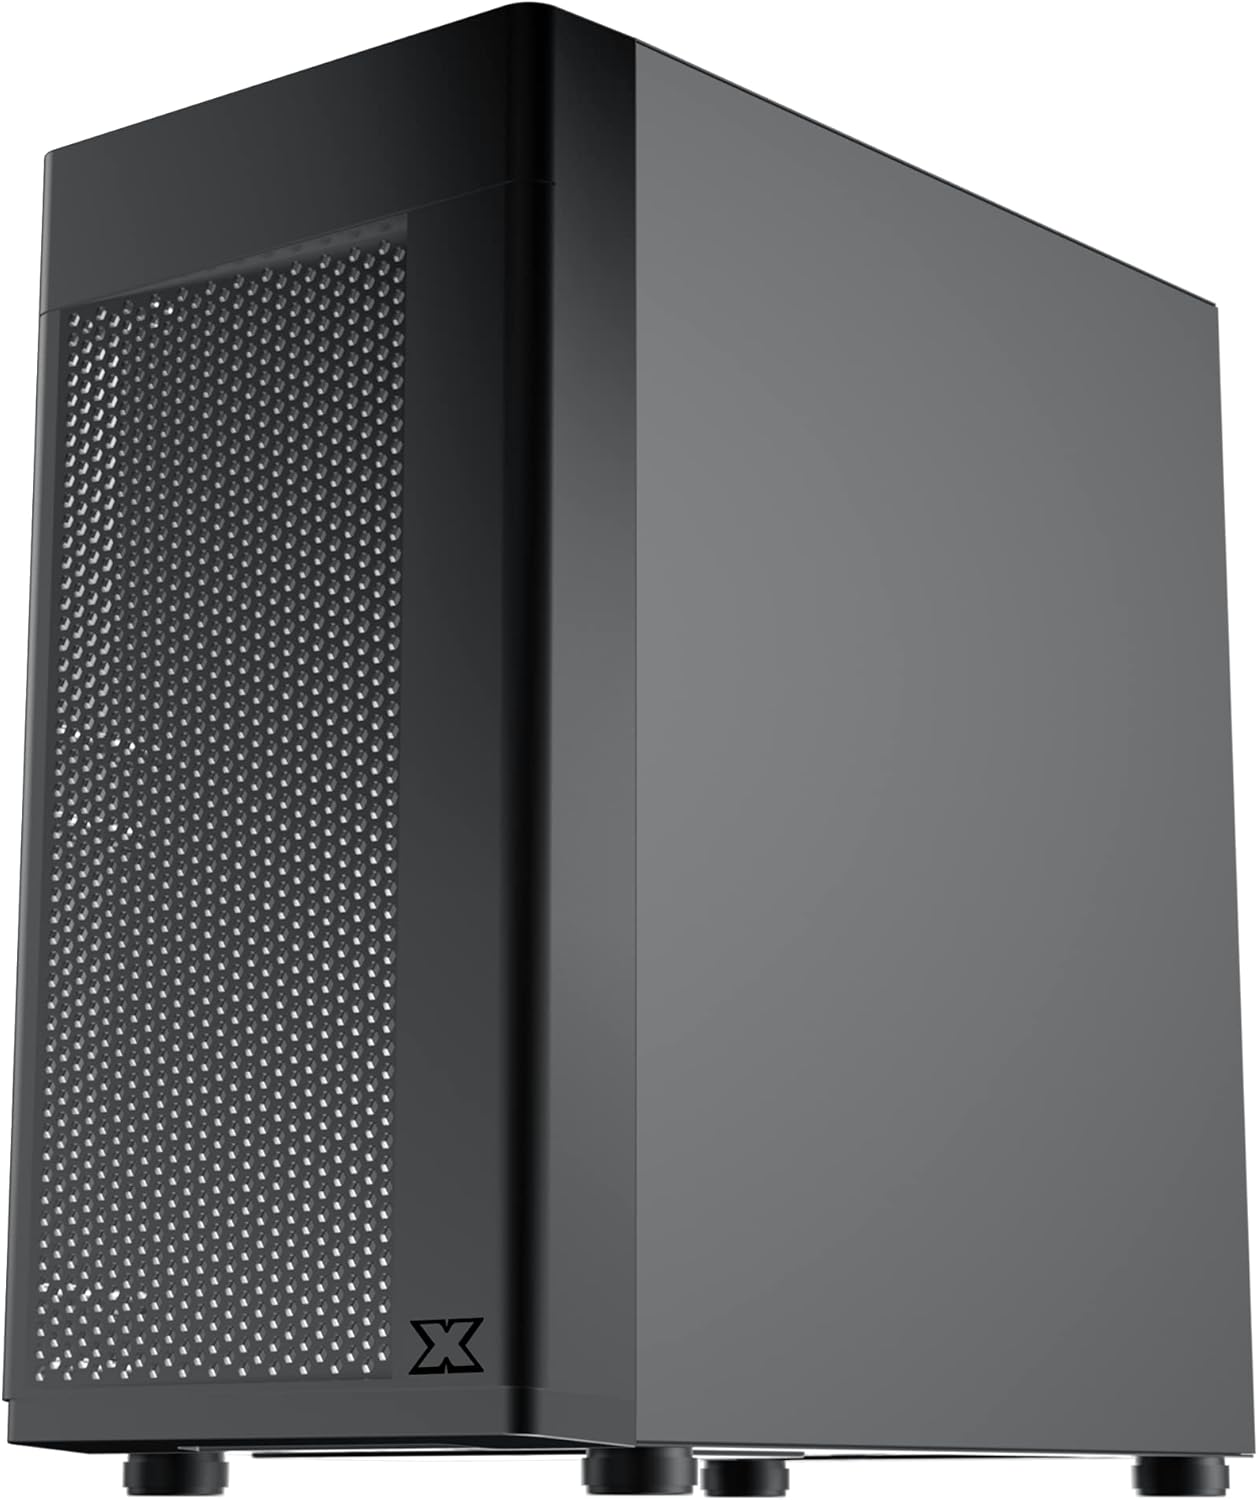
The Xigmatek Aero is a compact Micro-ATX PC case designed for efficient component housing and airflow. It features a simple and stylish design, incorporating a tempered glass front panel and an acrylic side panel for visibility of internal components.
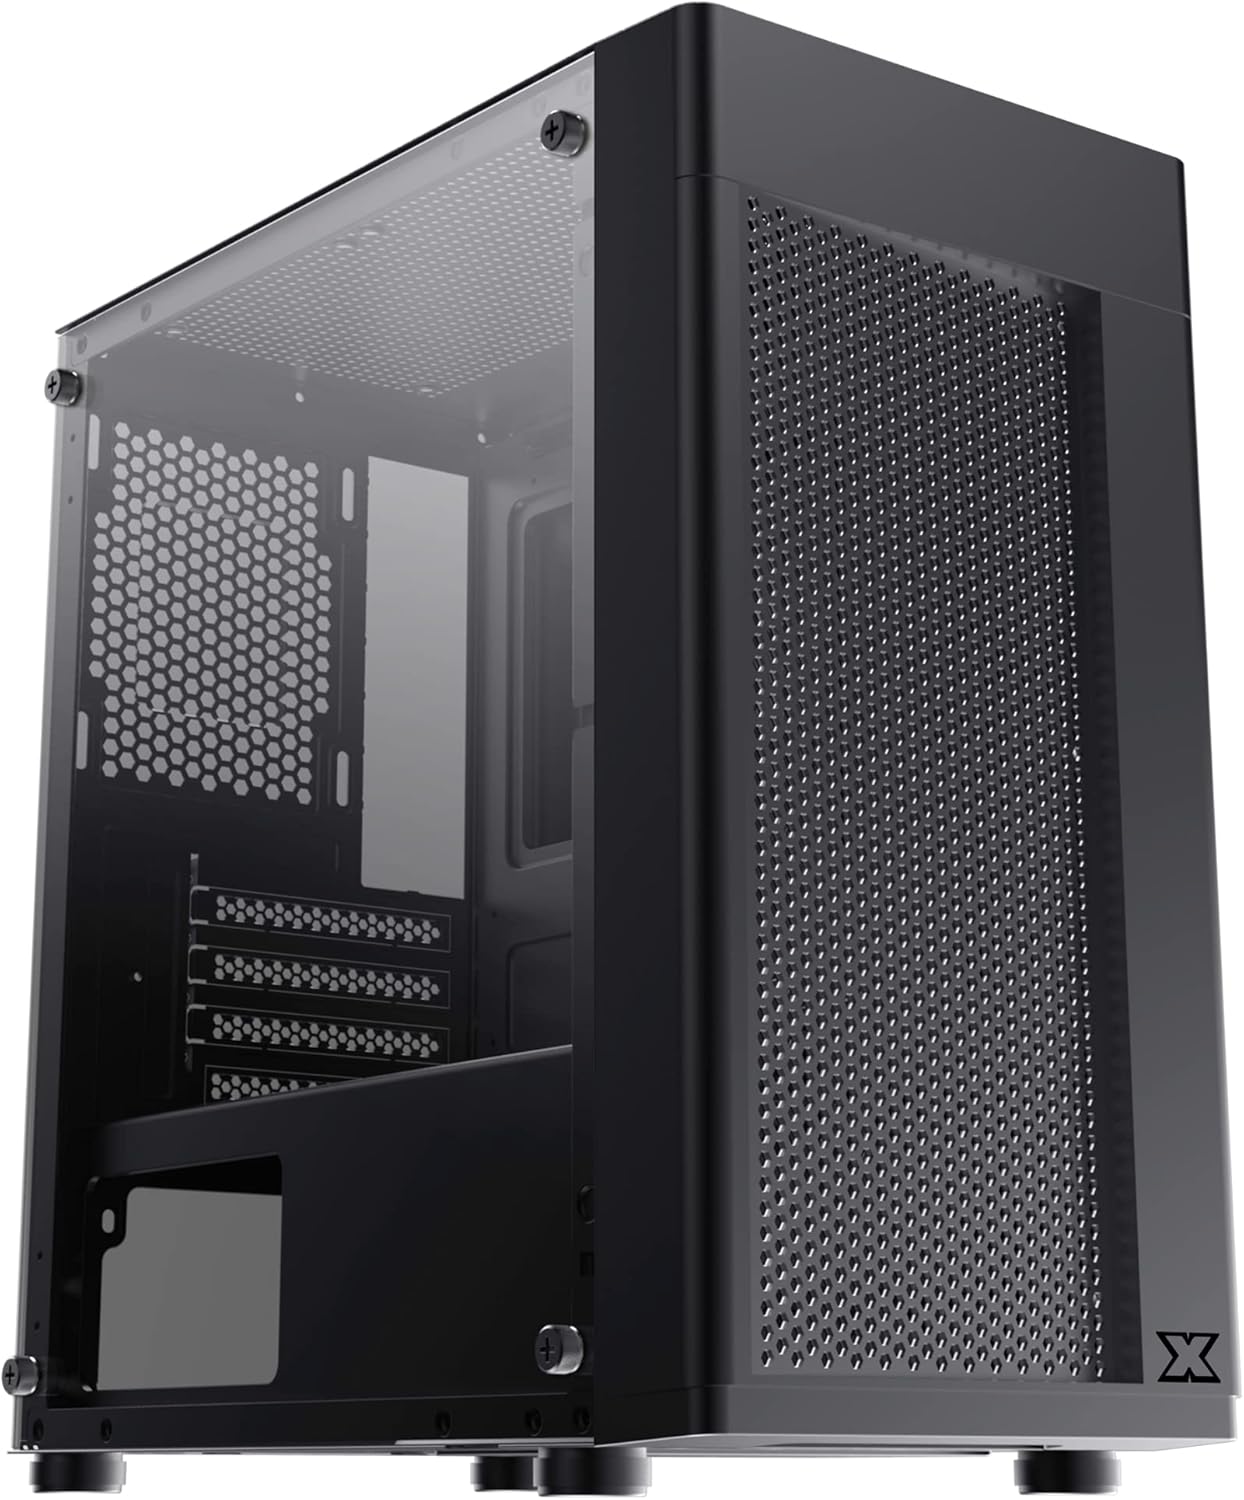
Rysunek 2.1: Przód-lewo view of the Xigmatek Aero Black Micro-ATX Case, showcasing the tempered glass front panel and acrylic side panel.
3. Główne cechy
- Panel boczny ze szkła hartowanego: Zapewnia wyraźny view komponentów wewnętrznych.
- Bottom Mounted PSU: Dedicated compartment for power supply unit, aiding in thermal management and cable routing.
- Mesh Design Front Panel: Poprawia przepływ powietrza, co przekłada się na lepszą wydajność chłodzenia.
- Łatwe zarządzanie kablami: Designed with routing options and a PSU shroud to facilitate neat cable organization.
- Kompaktowy format Micro-ATX: Optimized for smaller builds while maintaining compatibility with standard components.
4. Zawartość opakowania
Przed przystąpieniem do instalacji sprawdź, czy w opakowaniu znajdują się wszystkie elementy:
- Xigmatek Aero Black Micro-ATX Case
- Accessory Box (containing screws, standoffs, zip ties)
- Instrukcja obsługi (ten dokument)
5. Konfiguracja i instalacja
Follow these steps carefully for proper installation of your PC components into the Xigmatek Aero case.
5.1 Przygotowanie sprawy
- Połóż obudowę na płaskiej i stabilnej powierzchni.
- Carefully remove the tempered glass side panel by unscrewing the four thumb screws. Set the panel aside on a soft, non-abrasive surface to prevent scratches.
- Remove the rear side panel (solid metal panel) by unscrewing the two thumb screws at the back and sliding it off. This provides access for cable management.
Rysunek 5.1: Strona view of the case, showing the tempered glass panel secured by four thumb screws.
5.2 Instalacja zasilacza (PSU).
- Locate the PSU mounting area at the bottom rear of the case, within the PSU shroud.
- Slide your PSU into the designated slot from the rear of the case. Ensure the PSU fan faces downwards (if the case has a bottom vent) or upwards, depending on your cooling preference and PSU design.
- Przymocuj zasilacz za pomocą śrub znajdujących się z tyłu obudowy.
- Route necessary PSU cables through the cutouts in the PSU shroud to the main compartment.

Rysunek 5.2: Wewnętrzne view highlighting the PSU shroud and cable routing options.
5.3 Instalacja płyty głównej
- Zainstaluj osłonę wejścia/wyjścia (jeśli dotyczy) w tylnym otworze obudowy.
- Align your Micro-ATX motherboard with the pre-installed standoffs. Ensure the screw holes on the motherboard match the standoffs.
- Zamocuj płytę główną za pomocą dołączonych śrub. Nie dokręcaj ich zbyt mocno.

Rysunek 5.3: Wewnętrzne view of the case, showing the motherboard tray and standoff locations.
5.4 Instalacja dysku pamięci masowej
The case supports 3.5-inch HDDs and 2.5-inch SSDs.
- Dysk twardy 3.5": Locate the drive cage under the PSU shroud. Slide the HDD into the drive bay and secure with screws. Note: Some users find it easier to remove the drive caddy by unscrewing from the underside of the case first.
- Dysk SSD 2.5": SSDs can typically be mounted on dedicated brackets behind the motherboard tray or on top of the PSU shroud. Secure with screws.
5.5 Karta graficzna i karty rozszerzeń
- Remove the necessary expansion slot covers from the rear of the case. These are break-off covers, so bend them carefully until they detach.
- Umieść kartę graficzną lub inną kartę rozszerzeń w odpowiednim gnieździe PCIe na płycie głównej.
- Przymocuj karty za pomocą śrub.

Rysunek 5.4: Tył view of the case, showing expansion slots and I/O shield opening.
5.6 Fan and Cooling Installation
The Xigmatek Aero supports multiple fan configurations for optimal airflow.
- Przód: Up to 2x 120mm or 140mm fans. Can also support a 240mm AIO liquid cooler.
- Szczyt: Do 2 wentylatorów 120 mm.
- Tył: 1x wentylator 120mm.
Install fans by aligning them with the screw holes and securing them with fan screws. Pay attention to airflow direction (intake vs. exhaust).
5.7 Zarządzanie kablami
Wykorzystaj wycięcia i punkty mocowania za tacką płyty głównej, aby poprowadzić i zabezpieczyć kable. Poprawi to przepływ powietrza i estetykę.

Rysunek 5.5: View from the rear of the motherboard tray, showing space for cable routing.
5.8 Połączenia na panelu przednim
Connect the front panel cables (USB 3.0, USB 2.0, Audio, Power LED, HDD LED, Power Switch, Reset Switch) to the corresponding headers on your motherboard. Refer to your motherboard manual for exact pin layouts.

Rysunek 5.6: Góra view of the case, illustrating the front I/O ports including USB 3.0 and audio jacks.
5.9 Montaż końcowy
- Once all components are installed and cables are managed, reattach the rear side panel.
- Carefully reattach the tempered glass side panel and secure it with the four thumb screws.
6. Zagadnienia operacyjne
To ensure optimal performance and longevity of your system:
- Przepływ powietrza: Ensure proper fan configuration for intake and exhaust to maintain good internal temperatures. The mesh front panel is designed for excellent air intake.
- Umieszczenie: Place the PC case on a hard, flat surface to allow adequate airflow to the bottom-mounted PSU and any bottom intake fans. Avoid placing it on carpet.
7. Konserwacja
Regular maintenance helps preserve your system's performance and extends its lifespan:
- Czyszczenie kurzu: Periodically clean dust from the case interior and fan filters. The top panel features a magnetic dust filter for easy removal and cleaning.
- Czyszczenie zewnętrzne: Użyj miękkiego, damp cloth to clean the exterior surfaces. Avoid abrasive cleaners. For the tempered glass and acrylic panels, use a microfiber cloth and a gentle glass cleaner.
8. Rozwiązywanie Problemów
Jeżeli w trakcie lub po montażu napotkasz problemy, weź pod uwagę następujące kwestie:
- System się nie włącza:
- Ensure all PSU cables are securely connected to the motherboard and components.
- Sprawdź, czy kabel przełącznika zasilania na panelu przednim jest prawidłowo podłączony do złącza płyty głównej.
- Check the PSU switch is in the 'ON' position.
- Wentylatory nie kręcą się:
- Confirm fan cables are properly connected to motherboard fan headers or a fan controller.
- Słaby przepływ powietrza/Wysokie temperatury:
- Check fan orientation (intake/exhaust).
- Ensure dust filters are clean.
- Verify no cables are obstructing airflow.
9. Specyfikacje
| Funkcja | Szczegół |
|---|---|
| Numer modelu | EN46584 |
| Współczynnik kształtu | Micro-ATX Tower |
| Wymiary (dł. x szer. x wys.) | Wymiary 34.5 x 20 x 29 cm |
| Waga | 3.53 kilogramów |
| Tworzywo | Tempered Glass, Acrylic, Steel |
| Zgodność płyty głównej | Micro ATX, Mini-ITX |
| Montaż zasilacza | Mocowanie dolne |
| Zatoki napędowe | 1x 3.5" HDD, 2x 2.5" SSD (or 2x 3.5" HDD, 1x 2.5" SSD depending on configuration) |
| Gniazda rozszerzeń | 4 |
| Wspornik wentylatora (przód) | 2x120mm/140mm |
| Wsparcie fanów (góra) | 2x 120mm |
| Wspornik wentylatora (tył) | 1x 120mm |
| Wspornik chłodnicy (przód) | Do 240 mm |
| Przednie porty we / wy | 1x USB 3.0, 2x USB 2.0, HD Audio (Mic & Headphone) |
10. Gwarancja i wsparcie
For warranty information and technical support, please refer to the official Xigmatek webOdwiedź witrynę lub skontaktuj się z lokalnym sprzedawcą. Zachowaj dowód zakupu na wypadek reklamacji.


