1. Wprowadzenie
This manual provides detailed instructions for the proper installation, operation, and maintenance of your Dynascan M-79V VHF Radio. Please read this manual thoroughly before using the radio to ensure optimal performance and safety. The Dynascan M-79V is a compact VHF transceiver designed for reliable communication within the 136-174 MHz frequency range.
2. Zawartość opakowania
Upon unpacking, please verify that all items listed below are present and in good condition. If any items are missing or damaged, contact your dealer immediately.
- Dynascan M-79V VHF Radio Unit
- Mikrofon
- Power Line (DC power cable)
- Support Mount (Mounting Bracket)
- Mounting Hardware (Screws, nuts, washers)
- Instrukcja obsługi (ten dokument)
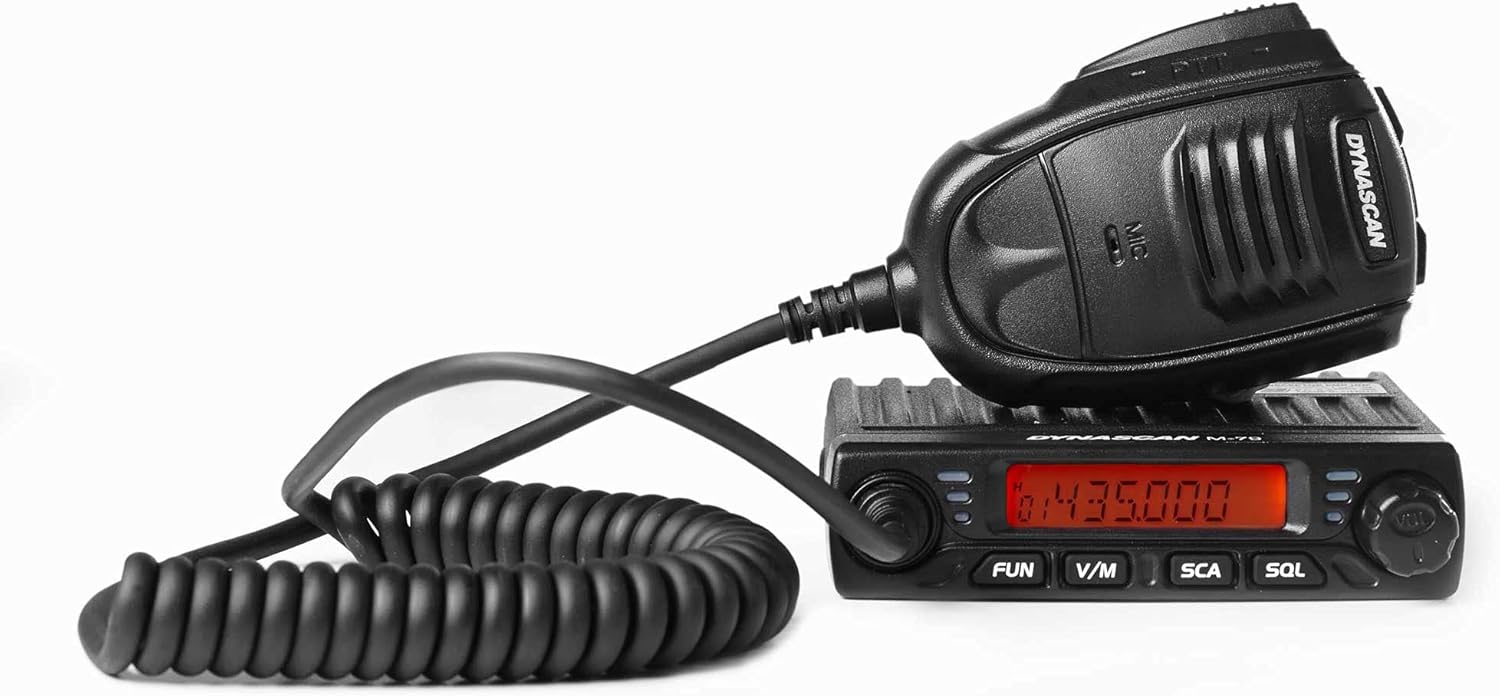
Figure 2.1: Dynascan M-79V VHF Radio unit with connected microphone.

Figure 2.2: All included components: radio unit, microphone, power cable, mounting bracket, and hardware.

Rysunek 2.3: Szczegółowy view of the mounting bracket and associated hardware.
3. Koniec produktuview
The Dynascan M-79V features a compact design with essential controls for efficient operation.
3.1 Elementy sterujące na panelu przednim

Figure 3.1: Front panel of the Dynascan M-79V radio.
- Wyświetlacz LCD: Pokazuje częstotliwość, numer kanału i różne wskaźniki stanu.
- Pokrętło zasilania/głośności: Włącza/wyłącza radio i reguluje głośność dźwięku.
- Pokrętło wyboru kanału: Służy do wyboru kanałów i regulacji częstotliwości.
- Przycisk ZABAWA: Activates function menu or special features.
- Przycisk V/M: Przełącza pomiędzy trybem VFO (częstotliwość) i trybem pamięci (kanał).
- SCA Button: Rozpoczyna lub zatrzymuje skanowanie.
- SQL Button: Dostosowuje poziom wyciszenia.
3.2 Połączenia panelu tylnego
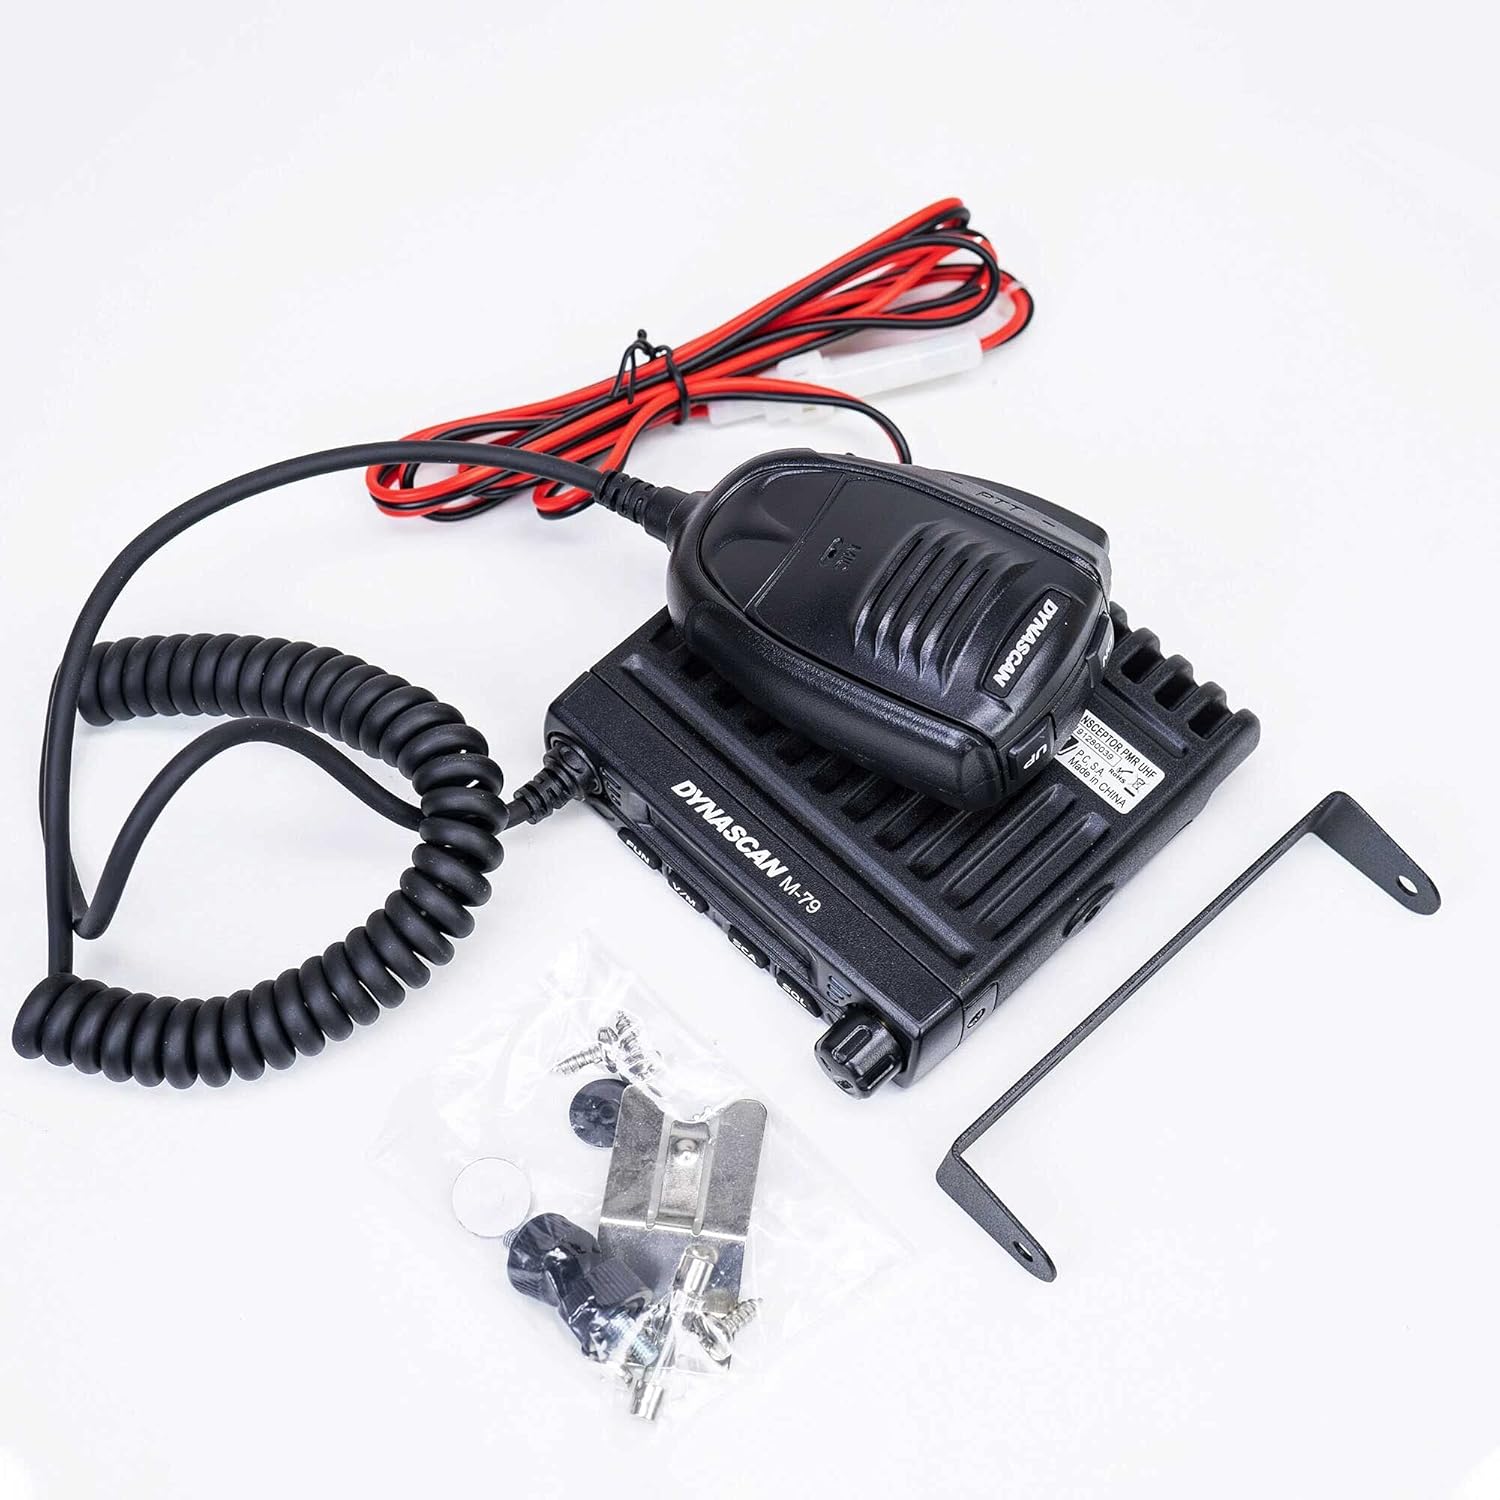
Figure 3.2: Rear panel connections of the Dynascan M-79V radio.
- Złącze ANT: Connects to the VHF antenna (SO-239 type).
- Wejście zasilania prądem stałym: Podłącza się do źródła zasilania prądem stałym 13.8 V.
- EXT.SP Jack: Do podłączenia opcjonalnego głośnika zewnętrznego.
3.3 Mikrofon

Figure 3.3: Dynascan M-79V microphone with PTT button and coiled cable.
- Przycisk PTT (Naciśnij i mów): Naciśnij, aby nadać, zwolnij, aby odebrać.
- Element mikrofonu: Do wprowadzania głosowego.
4. Konfiguracja
4.1 Montaż radia
- Select a secure and convenient location for mounting the radio, ensuring adequate ventilation.
- Użyj dołączonego uchwytu montażowego jako szablonu do zaznaczenia miejsc wiercenia.
- Wywierć otwory wstępne i przymocuj uchwyt montażowy za pomocą dołączonych śrub.
- Attach the radio to the bracket using the thumb screws.
4.2 Podłączenie anteny
Connect a suitable VHF antenna (136-174 MHz) with a 50 Ohm impedance to the ANT connector on the rear panel. Ensure the connection is tight to prevent signal loss and potential damage.
4.3 Połączenie zasilania
Connect the supplied DC power cable to the 13.8V DC power input on the rear of the radio. Connect the other end of the power cable to a stable 13.8V DC power supply capable of providing sufficient current (refer to specifications for current draw). Observe correct polarity: red wire to positive (+), black wire to negative (-). Incorrect polarity can damage the radio.
4.4 Podłączenie mikrofonu
Plug the microphone connector into the microphone jack on the front panel of the radio.
5. Instrukcja obsługi
5.1 Włączanie/wyłączanie i regulacja głośności
- Aby włączyć radio, obróć pokrętło zasilania/głośności zgodnie z ruchem wskazówek zegara.
- Aby zwiększyć głośność, kontynuuj obracanie zgodnie z ruchem wskazówek zegara.
- Obróć przeciwnie do ruchu wskazówek zegara, aby zmniejszyć głośność.
- Aby wyłączyć zasilanie, należy przekręcić pokrętło całkowicie w kierunku przeciwnym do ruchu wskazówek zegara, aż do usłyszenia kliknięcia.
5.2 Wybór częstotliwości i kanału
- Tryb VFO (tryb częstotliwości): Naciśnij W/M button to enter VFO mode. Use the Channel Selector knob to adjust the frequency. The frequency step can be configured in the menu.
- Tryb pamięci (tryb kanału): Naciśnij W/M button to enter Memory mode. Use the Channel Selector knob to select a programmed channel.
5.3 Squelch Adjustment (SQL)
The squelch function mutes the speaker when no signal is present, eliminating background noise.
- Naciśnij SQL przycisk.
- Use the Channel Selector knob to adjust the squelch level. A lower number opens the squelch more easily (more sensitive), while a higher number requires a stronger signal to open (less sensitive).
- Naciskać SQL again or wait a few seconds to exit squelch adjustment.
5.4 Scanning (SCA)
The scan function allows the radio to automatically search for active signals across frequencies or programmed channels.
- Naciśnij SCA przycisk, aby rozpocząć skanowanie.
- The radio will stop on an active signal.
- Naciskać SCA ponownie, aby zatrzymać skanowanie.
5.5 Transmisja
To transmit, ensure you are on a clear frequency or channel.
- Naciśnij i przytrzymaj PTT przycisk na mikrofonie.
- Mów wyraźnie do mikrofonu.
- Uwolnij PTT button to return to receive mode.
5.6 Advanced Features (via FUN button)
Ten ZABAWA button accesses various advanced settings and features. Consult the full user manual for detailed instructions on programming and using these functions.
- Mieszacz: Szyfruje Twój głos, zapewniając prywatną komunikację.
- Mówić w kółko: Allows direct radio-to-radio communication on a repeater output frequency.
- Timeout Timer (TOT): Ogranicza czas trwania transmisji, aby zapobiec przypadkowym długim transmisjom.
- Blokada zajętego kanału (BCL): Zapobiega transmisji na zajętym kanale.
- CTCSS / DCS: Dźwięki poddźwiękowe do wywoływania selektywnego.
- Wzmocnienie mikrofonu: Dostosowuje czułość mikrofonu.
6. Konserwacja
6.1 Ogólna opieka
- Utrzymuj radio w suchości. Jeśli ulegnie zamoczeniu, natychmiast wytrzyj je do sucha.
- Nie wystawiaj radia na działanie ekstremalnych temperatur.
- Unikaj upuszczania radia i narażania go na silne uderzenia.
- Wyczyść zewnętrzną część radia miękką,amp płótno. Nie używaj ostrych środków chemicznych ani rozpuszczalników.
6.2 Antenna and Power Cable Inspection
Regularly inspect the antenna and power cable for any signs of damage, fraying, or corrosion. Damaged cables or antennas can impair performance and pose safety risks.
7. Rozwiązywanie Problemów
| Problem | Możliwa przyczyna | Rozwiązanie |
|---|---|---|
| Radio się nie włącza. |
|
|
| Brak odbioru lub słaby sygnał. |
|
|
| Nie można transmitować. |
|
|
8. Specyfikacje
| Zakres częstotliwości | 136 - 174 MHz (UKF) |
| Programowalne kanały | 199 kanały |
| Kroki częstotliwości | 2.5 / 5 / 6.25 / 10 / 12.5 / 20 / 25 / 30 / 50 KHz |
| Zasilacz | 13.8V prądu stałego |
| Impedancja anteny | 50 omy |
| Moc wyjściowa | 17W, 10W, 5W (Selectable) |
| Wymiary (szer. x wys. x gł.) | 10.5 x 10.5 x 2.5 cm (w przybliżeniu) |
| Waga | 435 grams (radio unit only) / 640 grams (item weight) |
| Cechy specjalne | Scrambler, Talk Around, Scan, Timeout Timer (TOT), Busy Channel Lockout (BCL), Squelch, CTCSS/DCS, Mic Gain |
9. Gwarancja i wsparcie
For warranty information, please refer to the warranty card included with your purchase or contact your authorized Dynascan dealer. For technical support or service inquiries, please contact your point of purchase or visit the official Dynascan webstrona dla danych kontaktowych.
Uwaga: Specyfikacje mogą ulec zmianie bez powiadomienia.


