1. Wprowadzenie
Niniejsza instrukcja zawiera instrukcje dotyczące prawidłowego użytkowania i konserwacji suwmiarki elektronicznej MTX, model 316119. To precyzyjne urządzenie pomiarowe jest przeznaczone do dokładnych pomiarów wewnętrznych, zewnętrznych, głębokości i stopni do 150 mm.
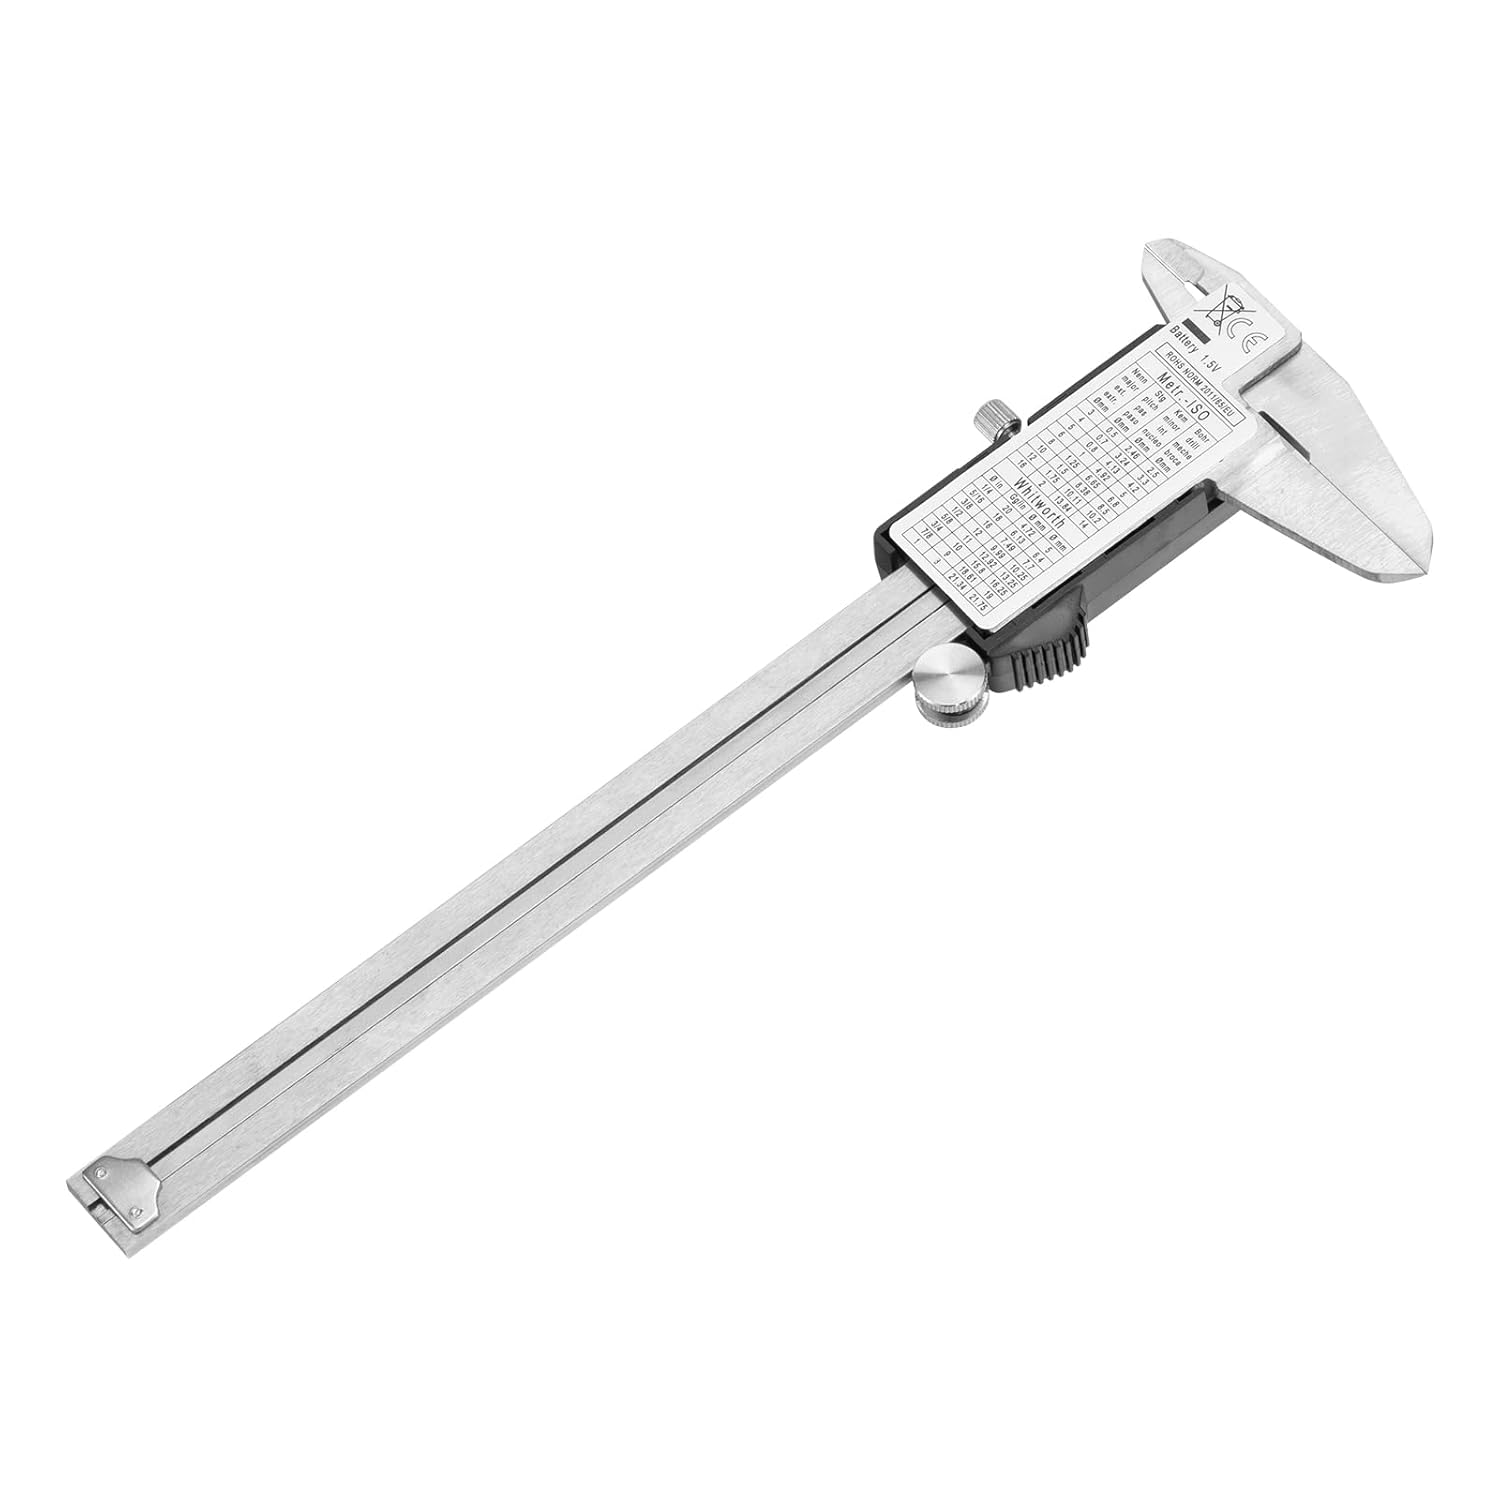
Suwmiarka wykonana z wytrzymałej stali narzędziowej posiada czytelny wyświetlacz LCD, który ułatwia odczyt pomiarów. Jej solidna konstrukcja gwarantuje trwałość i odporność na rdzę, a kompaktowe rozmiary sprawiają, że jest niezwykle poręczna.

Rysunek 1: Ogólnie view suwmiarki elektronicznej MTX.
2. Składniki produktu
Zapoznaj się z głównymi elementami suwmiarki elektronicznej:
- Szczęki zewnętrzne: Służy do pomiaru wymiarów zewnętrznych.
- Szczęki wewnętrzne: Służy do pomiaru wymiarów wewnętrznych.
- Pręt głębokościowy: Służy do pomiaru głębokości.
- Główna skala: Skala stopniowana w celach informacyjnych.
- Szczęka przesuwna: Porusza się wzdłuż skali głównej.
- Wałek do kciuka: Do precyzyjnej regulacji szczęki przesuwnej.
- Śruba blokująca: Do zamocowania szczęki przesuwnej w odpowiedniej pozycji.
- Wyświetlacz LCD: Cyfrowy odczyt pomiarów.
- Przycisk WŁ./WYŁ.: Włącza lub wyłącza zacisk.
- Przycisk ZERO: Ustawia wyświetlacz na zero w dowolnej pozycji.
- mm/cal Przycisk: Przełącza między jednostkami metrycznymi (mm) i imperialnymi (cale).
Rysunek 2: Główne elementy suwmiarki elektronicznej.
3. Konfiguracja i instalacja baterii
3.1 Instalacja baterii
Suwmiarka wymaga jednej baterii 1.5 V typu SR44. Aby zainstalować lub wymienić baterię:
- Znajdź pokrywę komory baterii z tyłu jednostki wyświetlacza LCD.
- Otwórz pokrywę.
- Włóż baterię SR44 biegunem dodatnim (+) skierowanym do góry.
- Dokładnie zamknij pokrywę komory baterii.
3.2 Czyszczenie początkowe
Przed pierwszym użyciem delikatnie przetrzyj powierzchnie pomiarowe czystą, suchą, niepozostawiającą włókien ściereczką, aby usunąć wszelkie oleje ochronne i kurz.
4. Podstawowa obsługa
4.1 Włączanie/wyłączanie zasilania
- Naciśnij WŁ./WYŁ. przycisk, aby włączyć zacisk.
- Naciśnij WŁ./WYŁ. Naciśnij przycisk ponownie, aby wyłączyć suwmiarkę. Suwmiarka może również automatycznie wyłączyć się po pewnym czasie bezczynności, aby oszczędzać baterię.
4.2 Zerowanie wyświetlacza
Aby uzyskać dokładne pomiary, przed użyciem należy wyzerować suwmiarkę:
- Zamknij całkowicie szczęki zewnętrzne, upewniając się, że są czyste i nie ma w nich zanieczyszczeń.
- Naciśnij ZERO przycisk. Wyświetlacz powinien teraz wskazywać 0.00 mm lub 0.000 cala.
- Suwmiarka jest teraz gotowa do pomiaru.
4.3 Konwersja jednostek (mm/cale)
Naciśnij mm / cal przycisk umożliwiający przełączanie między jednostkami metrycznymi (milimetry) i imperialnymi (cale) w dowolnym momencie pomiaru.

Rysunek 3: Wyświetlacz suwmiarki pokazujący pomiar w milimetrach.
5. Techniki pomiarowe
Przed dokonaniem pomiarów zawsze należy upewnić się, że suwmiarka jest czysta i wyzerowana.
5.1 Pomiar zewnętrzny
Aby zmierzyć wymiar zewnętrzny obiektu:
- Otwórz szczęki zewnętrzne szerzej niż obiekt.
- Umieść przedmiot pomiędzy szczękami zewnętrznymi.
- Za pomocą wałka kciukowego delikatnie zamknij szczęki, aż do uzyskania pewnego kontaktu z przedmiotem. Nie stosuj nadmiernej siły.
- Odczytaj pomiar na wyświetlaczu LCD.

Rysunek 4: Pomiar wymiaru zewnętrznego.
5.2 Pomiar wewnętrzny
Aby zmierzyć wymiar wewnętrzny obiektu (np. otworu lub rowka):
- Włóż szczęki wewnętrzne do otworu.
- Za pomocą wałka kciuka delikatnie rozchyl szczęki, aż do uzyskania pewnego kontaktu z powierzchniami wewnętrznymi.
- Odczytaj pomiar na wyświetlaczu LCD.

Rysunek 5: Pomiar wymiaru wewnętrznego.
5.3 Pomiar głębokości
Aby zmierzyć głębokość otworu lub stopnia:
- Umieść koniec głównej skali mocno na górnej powierzchni obiektu.
- Wsuń pręt głębokościowy do otworu lub w dół, aż do stopnia, aż dotknie dna.
- Odczytaj pomiar na wyświetlaczu LCD.
6. Konserwacja i przechowywanie
Właściwa konserwacja zapewni trwałość i dokładność suwmiarki.
- Czyszczenie: Po każdym użyciu wytrzyj suwmiarkę suchą, miękką ściereczką. Unikaj stosowania rozpuszczalników i silnych środków chemicznych, ponieważ mogą one uszkodzić wyświetlacz lub powierzchnie pomiarowe.
- Pielęgnacja baterii: Jeśli zacisk nie będzie używany przez dłuższy czas, należy wyjąć baterię, aby zapobiec wyciekowi i uszkodzeniom.
- Składowanie: Przechowuj zacisk w oryginalnym plastikowym opakowaniu z wkładką piankową, aby chronić go przed uderzeniami, kurzem i wilgocią. Przechowuj go w suchym miejscu, z dala od bezpośredniego światła słonecznego i ekstremalnych temperatur.
- Unikaj uszkodzeń: Nie upuszczaj suwmiarki ani nie narażaj jej na silne uderzenia. Unikaj zarysowania powierzchni pomiarowych.
7. Rozwiązywanie Problemów
Jeśli masz problemy z zaciskiem, zapoznaj się z poniższymi typowymi problemami i ich rozwiązaniami:
- Wyświetlacz jest pusty lub miga:
Rozwiązanie: Sprawdź baterię. W razie potrzeby wymień ją na nową baterię SR44 1.5 V. Upewnij się, że bateria jest prawidłowo włożona. - Niedokładne odczyty:
Rozwiązanie: Upewnij się, że powierzchnie pomiarowe są czyste i wolne od zanieczyszczeń. Zamknij szczęki całkowicie i dociśnij. ZERO Naciśnij przycisk, aby ponownie wyzerować suwmiarkę. Unikaj stosowania nadmiernej siły podczas pomiaru. - Ruchy żuchwy są sztywne:
Rozwiązanie: Wyczyść belkę główną i powierzchnie ślizgowe suchą, niepozostawiającą włókien ściereczką. Na belkę główną można nanieść niewielką ilość lekkiego oleju maszynowego, a następnie przetrzeć ją do czysta, pozostawiając cienką warstwę.
8. Specyfikacje
| Funkcja | Specyfikacja |
|---|---|
| Model | 316119 |
| Zakres pomiarowy | 0-150 mm |
| Tworzywo | Narzędzie ze stali nierdzewnej |
| Wyświetlacz | Wyświetlacz cyfrowy LCD |
| Źródło zasilania | 1 bateria SR44 1.5 V |
| Błąd pomiaru | 0.02 mm (do 100 mm), 0.03 mm (100-200 mm) |
| Wymiary produktu | Wymiary 15 x 15 x 0.1 cm |
| Waga produktu | 320 gramów |
| Producent | MTX |


