1. Ważne instrukcje bezpieczeństwa
Przed użyciem urządzenia należy uważnie przeczytać wszystkie instrukcje. Zachowaj instrukcję do wykorzystania w przyszłości.
- Bezpieczeństwo elektryczne: Upewnij się, że objętośćtage indicated on the appliance matches your local power supply before connecting. Do not operate with a damaged cord or plug.
- Umieszczenie: Place the dehumidifier on a stable, level surface. Maintain adequate clearance around the unit for proper airflow (at least 20 cm from walls or furniture). Do not block air inlets or outlets.
- Obsługa wody: Always empty the water tank before moving the unit. Do not drink the collected water.
- Refrigerant Gas (R290): This appliance contains R290 refrigerant gas. R290 is a flammable gas. Handle with care and ensure the appliance is not damaged during transport or installation. Do not attempt to service the unit yourself if you suspect a refrigerant leak.
- Dzieci i zwierzęta: Przechowuj urządzenie poza zasięgiem dzieci i zwierząt domowych. Nadzoruj dzieci, aby nie bawiły się urządzeniem.
- Czyszczenie: Przed czyszczeniem lub jakąkolwiek czynnością konserwacyjną należy odłączyć zasilanie.
2. Koniec produktuview
2.1 Składniki
- Panel sterowania
- Air Inlet (rear)
- Air Outlet (top/front)
- Water Collection Tank (front/bottom)
- Removable Air Filter (side/rear)
- Casters for easy movement
2.2 Panel sterowania

Obraz: Góra view panelu sterowania.
The control panel features a digital display and touch-sensitive buttons for various functions:
- Przycisk zasilania: Włącza lub wyłącza urządzenie.
- Wyświetlacz wilgotności: Shows the current ambient humidity level and the set target humidity.
- Przyciski ustawień wilgotności: Dostosuj pożądany poziom wilgotności.
- Przycisk prędkości wentylatora: Selects fan speed (if available).
- Przycisk timera: Ustawia 24-godzinny timer dla operacji automatycznych.
- Wskaźnik zapełnienia wody: Illuminates when the water tank is full, triggering automatic shut-off.
3. Konfiguracja
3.1 Rozpakowanie
Carefully remove the dehumidifier from its packaging. Retain the packaging materials for future storage or transport. Check for any signs of damage. If the unit appears damaged, do not operate it and contact customer support.
3.2 Umieszczenie
For optimal performance, place the dehumidifier in a central location within the room. Ensure the room size does not exceed 25 square meters for effective dehumidification.
- Place the unit on a firm, level surface to prevent vibrations and ensure proper water collection.
- Allow at least 20 cm of space around the air inlet and outlet to ensure unrestricted airflow.
- Unikać umieszczania urządzenia w pobliżu źródeł ciepła lub w bezpośrednim świetle słonecznym.
3.3 Połączenie zasilania
Plug the power cord into a grounded electrical outlet. Ensure the outlet meets the power requirements of the dehumidifier (210W, 240V).
4. Instrukcja obsługi
4.1 Włączanie/wyłączanie zasilania
Press the Power button on the control panel to turn the dehumidifier on or off. The unit will start operating in its default mode or resume previous settings.
4.2 Ustawianie pożądanego poziomu wilgotności
The dehumidifier features a humidity sensor that detects the ambient humidity. Use the humidity setting buttons to adjust your desired humidity level. The unit will operate until this level is reached, then cycle on and off to maintain it. Recommended humidity levels are typically between 40% and 60%.
4.3 Korzystanie z funkcji timera
Press the Timer button to set the 24-hour timer. This allows you to program the unit to turn on or off automatically after a set number of hours, providing flexible operation.
4.4 Zarządzanie zbiornikiem na wodę
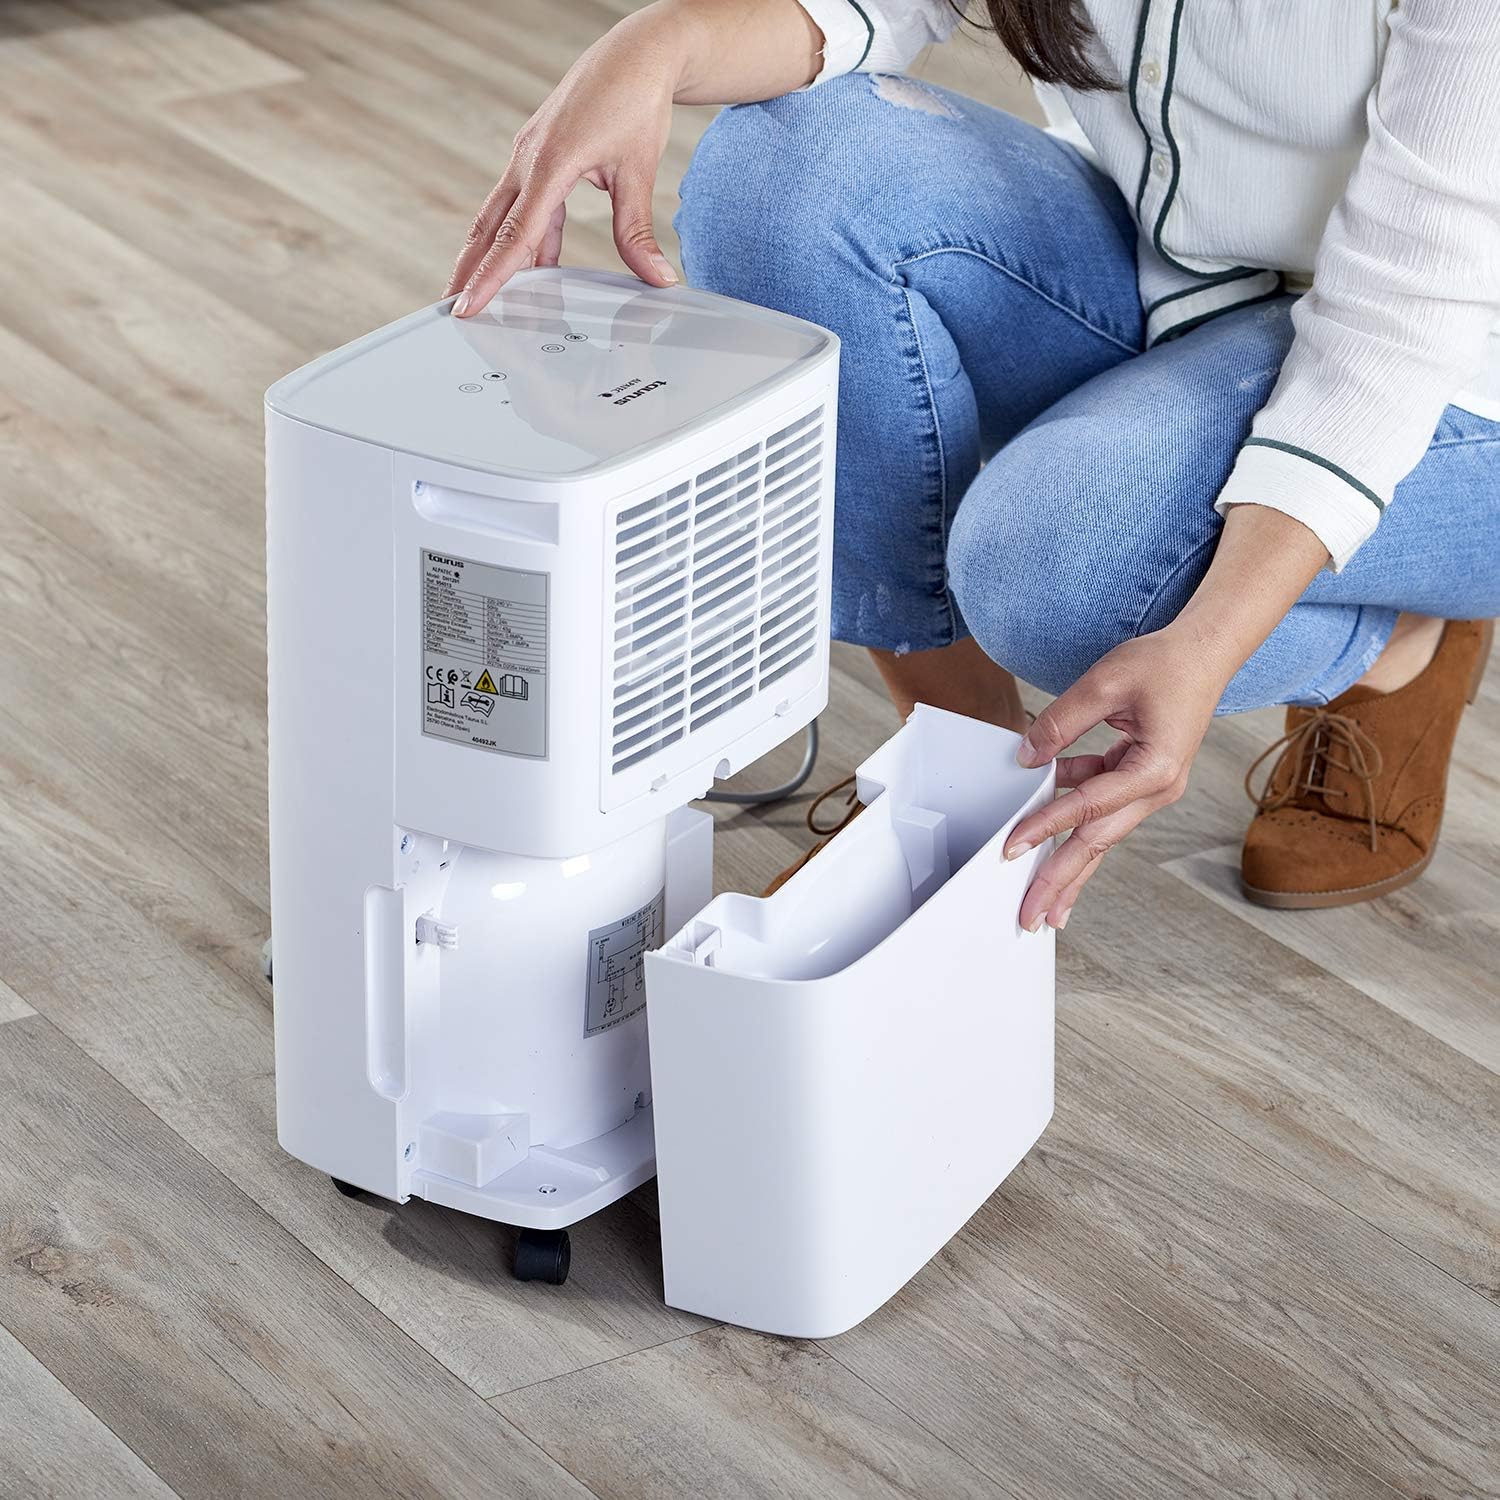
Image: Removing the water collection tank.
- Wskaźnik zapełnienia wody: The dehumidifier has a 2.5-liter water tank. When the tank is full, the Water Full Indicator light will illuminate, and the unit will automatically shut off to prevent overflow.
- Opróżnianie zbiornika: Carefully pull out the water tank from the front of the unit. Dispose of the collected water. Reinsert the empty tank firmly until it clicks into place. The unit will resume operation.
- Drenaż ciągły: For continuous operation without needing to empty the tank, connect a drainage hose (not included) to the continuous drainage outlet (usually located at the back or side of the unit). Ensure the hose is sloped downwards to allow gravity drainage into a suitable receptacle.
5. Konserwacja
5.1 Czyszczenie filtra powietrza

Image: Removing the air filter for cleaning.
Regular cleaning of the air filter is essential for efficient operation.
- Wyłącz osuszacz powietrza i odłącz go od gniazdka elektrycznego.
- Locate the air filter cover (typically on the side or rear of the unit) and remove it.
- Carefully pull out the air filter.
- Wash the filter with warm, soapy water or vacuum it to remove dust and debris.
- Dokładnie wypłucz i pozostaw filtr do całkowitego wyschnięcia na powietrzu przed ponownym włożeniem.
- Place the dry filter back into its slot and secure the cover.
5.2 Czyszczenie zewnętrznej części urządzenia
Przetrzyj zewnętrzną część osuszacza miękką, damp ściereczką. Nie używaj środków czyszczących o działaniu ściernym, rozpuszczalników ani silnych środków chemicznych, ponieważ mogą one uszkodzić powierzchnię.
5.3 Automatic Defrost Control
The dehumidifier is equipped with an automatic defrost function. If frost builds up on the evaporator coils, the unit will temporarily stop dehumidifying and run the fan to melt the frost. This is a normal operation and ensures efficient performance in cooler environments.
6. Rozwiązywanie Problemów
Przed skontaktowaniem się z obsługą klienta ponownieview następujące typowe problemy i rozwiązania:
| Problem | Możliwa przyczyna | Rozwiązanie |
|---|---|---|
| Jednostka się nie włącza | No power supply; Power cord not plugged in; Water tank full or not correctly inserted. | Sprawdź podłączenie do zasilania; opróżnij i ponownie włóż prawidłowo zbiornik na wodę. |
| No dehumidification or low efficiency | Air filter clogged; Room temperature too low; Air inlet/outlet blocked; Desired humidity level already reached. | Clean the air filter; Ensure room temperature is above 5°C; Clear obstructions; Lower the desired humidity setting. |
| Water Full Indicator is on, but tank is not full | Water tank not correctly positioned; Float switch malfunction. | Remove and reinsert the water tank firmly; If problem persists, contact support. |
| Nietypowy dźwięk podczas pracy | Jednostka nie stoi na równej powierzchni. Problem z podzespołami wewnętrznymi. | Ensure unit is on a flat, stable surface; If noise is excessive or persistent, discontinue use and contact support. |
7. Specyfikacje
7.1 Dane techniczne
| Funkcja | Szczegół |
|---|---|
| Marka | Byk |
| Numer modelu | 954513000 (PLEASANT) |
| Kolor | Biały |
| Wymiary (dł. x szer. x wys.) | Wymiary 34.5 x 20 x 10 cm |
| Waga | 9.5 kilograma |
| Pojemność zbiornika na wodę | 2.5 litrów |
| Wydajność osuszania | Up to 12 liters/24 hours |
| Moc | 210 watów |
| Tomtage | 240 V |
| Tworzywo | Plastikowy |
| Klasa energetyczna | Od A do G |
| Zalecana powierzchnia podłogi | Do 25 metrów kwadratowych |
| Cechy specjalne | Humidity level detector, 24h timer, R290 refrigerant gas, Easy maintenance, Washable filters, Automatic defrost |
8. Gwarancja i wsparcie
This product is covered by a manufacturer's warranty. Please refer to the warranty card included with your purchase or contact your retailer for specific warranty terms and conditions. For technical support, spare parts, or service inquiries, please contact the Taurus customer service department or your local distributor. Information regarding spare parts availability is not provided in this manual.


