1. Wprowadzenie
This manual provides essential instructions for the safe and efficient operation, maintenance, and care of your new SUNVIVI 22-Quart Electric Roaster Oven. Please read all instructions carefully before first use and retain this manual for future reference.
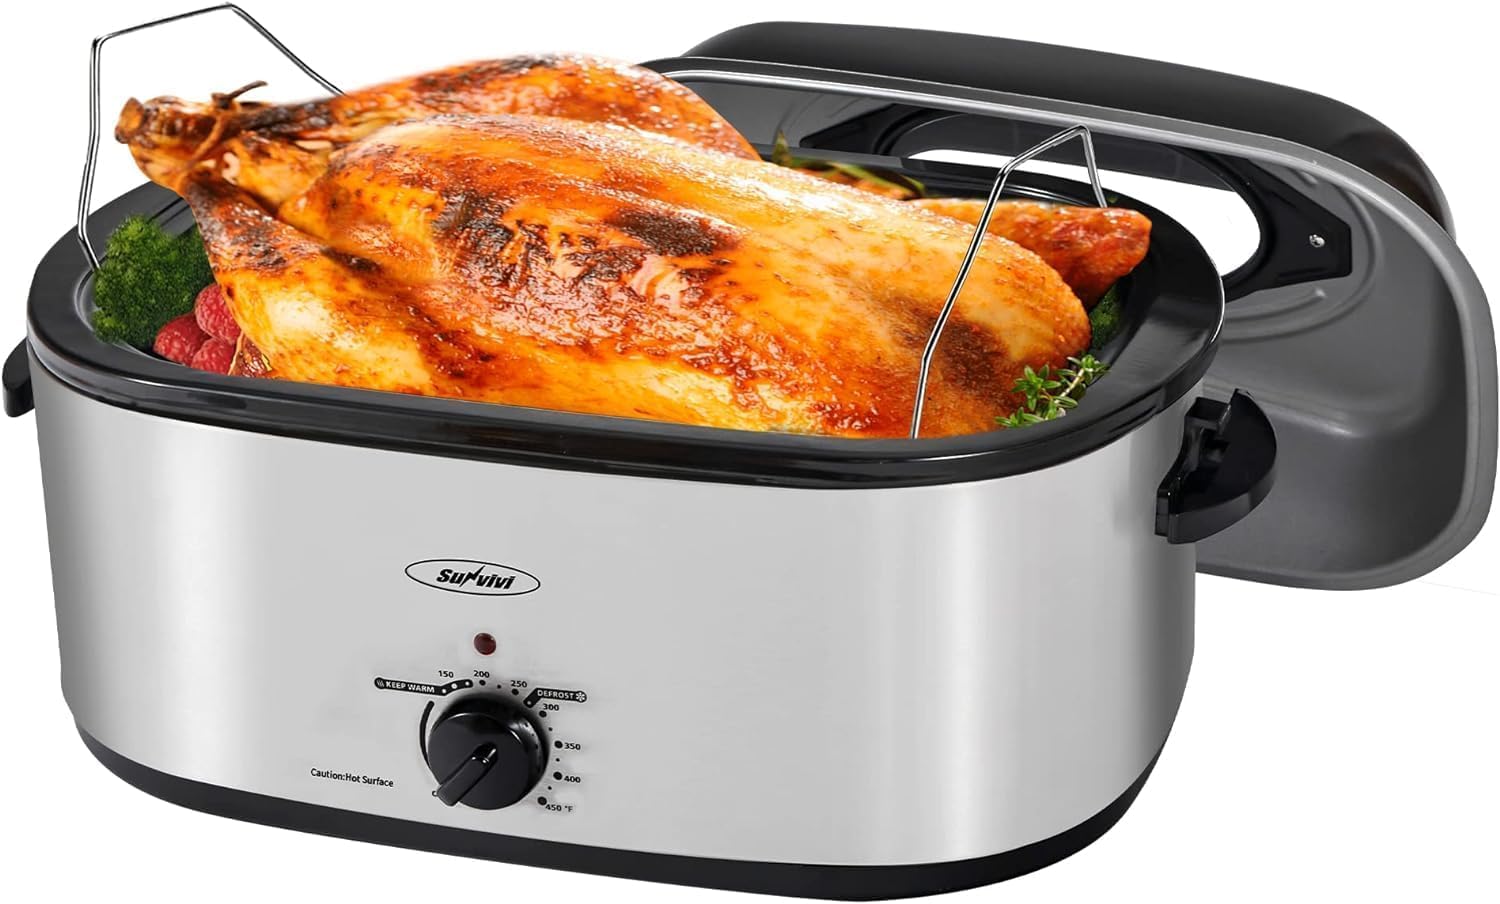
Image 1.1: The SUNVIVI 22-Quart Electric Roaster Oven.
2. Ważne instrukcje bezpieczeństwa
OSTRZEŻENIE: Aby zminimalizować ryzyko pożaru, porażenia prądem lub obrażeń ciała, należy zawsze przestrzegać podstawowych środków ostrożności.
- Przeczytaj wszystkie instrukcje przed uruchomieniem urządzenia.
- Nie dotykaj gorących powierzchni. Używaj uchwytów lub gałek.
- Aby uniknąć porażenia prądem elektrycznym, nie zanurzaj przewodu zasilającego, wtyczek ani urządzenia w wodzie ani innej cieczy.
- Należy zachować ścisły nadzór, jeżeli z urządzenia korzystają dzieci lub w ich pobliżu.
- Odłącz od gniazdka, gdy nie jest używany i przed czyszczeniem. Pozostaw do ostygnięcia przed założeniem lub zdjęciem części.
- Nie używaj urządzenia z uszkodzonym przewodem lub wtyczką, ani po awarii lub uszkodzeniu urządzenia w jakikolwiek sposób. Skontaktuj się z obsługą klienta w celu sprawdzenia, naprawy lub regulacji.
- Stosowanie akcesoriów niezalecanych przez producenta urządzenia może spowodować obrażenia.
- Nie stosować na zewnątrz.
- Nie pozwól, aby przewód zwisał z krawędzi stołu lub blatu i dotykał gorących powierzchni.
- Nie umieszczać na gorącym palniku gazowym lub elektrycznym ani w jego pobliżu, a także w nagrzanym piekarniku.
- Należy zachować szczególną ostrożność podczas przenoszenia urządzenia zawierającego gorący olej lub inne gorące płyny.
- Zawsze najpierw podłącz wtyczkę do urządzenia, a następnie podłącz przewód do gniazdka ściennego. Aby odłączyć, ustaw dowolny element sterujący w pozycji „wyłączone”, a następnie wyjmij wtyczkę z gniazdka ściennego.
- Nie używaj urządzenia do celów innych niż przeznaczone do użytku domowego.
- Nie czyścić metalowymi gąbkami. Kawałki mogą oderwać się od gąbki i dotknąć części elektrycznych, co stwarza ryzyko porażenia prądem.
- Gdy piekarnik nie jest używany, nie należy przechowywać w nim żadnych materiałów poza akcesoriami zalecanymi przez producenta.
- Nie umieszczaj w piekarniku następujących materiałów: papieru, tektury, plastiku ani podobnych materiałów.
- Do not cover the drip tray or any part of the oven with metal foil. This will cause overheating of the oven.
3. Składniki produktu
Your SUNVIVI Electric Roaster Oven includes the following components:
- Oven Base: The main unit housing the heating element and controls.
- Removable Enamel Inner Pot: The cooking vessel where food is placed.
- Visible Lid: A lid with a glass window for monitoring cooking progress.
- Ruszt do pieczenia: A metal rack designed to lift food off the bottom of the inner pot for even cooking.
- Uchwyty Cool-Touch: Handles on the lid and body designed to remain cool during operation for safe handling.

Image 3.1: The removable inner pot for easy cleaning.
4. Konfiguracja i pierwsze użycie
- Rozpakować: Ostrożnie usuń wszystkie materiały opakowaniowe i akcesoria.
- Czysty: Wash the removable inner pot, roasting rack, and lid in warm, soapy water. Rinse thoroughly and dry completely. Wipe the exterior of the oven base with a damp płótno.
- Początkowe wypalenie: Before first use, operate the roaster oven empty for 30 minutes at 350°F (175°C) to eliminate any manufacturing odors. Ensure adequate ventilation during this process.
- Umieszczenie: Place the roaster oven on a stable, heat-resistant surface, away from walls and other appliances, ensuring proper air circulation.
Wideo 4.1: Overview of the Sunvivi roaster oven, demonstrating its features and setup.
5. Instrukcja obsługi
5.1 General Roasting
- Place the removable inner pot into the oven base.
- Insert the roasting rack into the inner pot.
- Place food on the roasting rack.
- Cover with the visible lid.
- Podłącz przewód zasilający do standardowego gniazdka elektrycznego.
- Turn the temperature control knob to the desired temperature (150°F to 450°F). The indicator light will illuminate.
- The indicator light will turn off once the set temperature is reached and cycle on/off during cooking to maintain temperature.
- When cooking is complete, turn the knob to "OFF" and unplug the unit.

Image 5.1: The temperature control dial, ranging from 150°F to 450°F, with defrost and keep warm settings.
5.2 Thaw and Warming Settings
- Ustawienie rozmrażania: Use the "DEFROST" setting to safely thaw frozen foods, such as turkeys, before roasting. This setting provides a low, consistent heat.
- Keep Warm Setting: After cooking, turn the knob to "KEEP WARM" to maintain food at an ideal serving temperature without overcooking.

Image 5.2: Visual representation of the defrost and warming functions.
5.3 Visible & Self-Basting Lid
The roaster features a visible glassed lid, allowing you to monitor cooking progress without lifting the lid and losing heat. The self-basting design continually recirculates moisture, ensuring tender and juicy results, and helps prevent food from sticking to the pan.

Image 5.3: The self-basting lid design, which helps keep food moist.
Video 5.4: Demonstration of the roaster oven's use for various dishes, highlighting its versatility.
6. Konserwacja i czyszczenie
Przed czyszczeniem należy zawsze odłączyć piekarnik od zasilania i poczekać, aż całkowicie ostygnie.
- Removable Inner Pot and Roasting Rack: These parts are dishwasher safe or can be washed by hand in warm, soapy water. For stubborn food residue, soak the inner pot before cleaning.
- Pokrywa: Wash the lid in warm, soapy water and rinse thoroughly. The visible glass window can be cleaned with a non-abrasive cleaner.
- Oven Base: Wipe the exterior of the oven base with a damp cloth. Do not immerse the oven base in water or any other liquid.
- Składowanie: Ensure all parts are completely dry before reassembling and storing the roaster oven.
Video 6.1: A demonstration of the easy cleaning process for the removable inner pot and rack.
7. Rozwiązywanie Problemów
| Problem | Możliwa przyczyna | Rozwiązanie |
|---|---|---|
| Roaster się nie włącza. | Niepodłączony; gniazdko elektryczne uszkodzone; pokrętło temperatury ustawione na „WYŁ”. | Ensure the unit is securely plugged into a working outlet. Turn the temperature knob to a desired setting. |
| Jedzenie gotuje się nierównomiernie. | Food not centered on rack; lid not properly sealed; incorrect temperature setting. | Ensure food is centered. Check that the lid is securely in place. Verify the temperature setting is appropriate for the food being cooked. |
| Dym lub nieprzyjemny zapach podczas pierwszego użycia. | Spalanie się resztek olejów produkcyjnych. | This is normal for initial use. Ensure good ventilation. The odor should dissipate after the first use. |
| Jedzenie przywiera do wewnętrznego garnka. | Not enough liquid; liner used at too high a temperature. | Ensure adequate liquid for slow cooking. If using a liner, ensure temperatures are below 350°F and water is used to prevent sticking. |
8. Specyfikacje produktu
- Marka: SUNVIVI
- Nazwa modelu: Piec elektryczny
- Pojemność: 22 Quarts (fits up to 26 lb turkey)
- Źródło zasilania: Elektryczny (1450W)
- Kontrola temperatury: 150°F to 450°F, with Defrost and Keep Warm settings
- Tworzywo: Reinforced Stainless Steel exterior, Enamel Inner Pot
- Wymiary produktu: 15.5" gł. x 23.5" szer. x 12.9" wys.
- Waga przedmiotu: 17 funta
- Typ sterowania: Pokrętło
- Cechy szczególne: Visible Lid, Self-Basting, Cool-Touch Handles, Removable Pot
- Kod UPC: 611851814977
- ASIN: B08MW4B6PC
9. Gwarancja i wsparcie
The SUNVIVI Electric Roaster Oven comes with a one-year warranty. For any questions regarding your electric roaster or for warranty claims, please contact SUNVIVI customer service. You can find contact information on the official SUNVIVI webstronie lub poprzez platformę zakupową.
Aby uzyskać więcej informacji i wsparcia, odwiedź stronę SUNVIVI Store on Amazon.


