1. Wprowadzenie
Thank you for choosing the DS18 S-3500.1D/SL Class D Monoblock Car Audio Amplifier. This manual provides detailed instructions for the proper installation, operation, and maintenance of your amplifier. Przed przystąpieniem do instalacji lub użytkowania należy dokładnie przeczytać tę instrukcję, aby zapewnić optymalną wydajność i bezpieczeństwo.
The DS18 S-3500.1D/SL is a high-performance, single-channel amplifier designed to deliver powerful and clear audio to your car's subwoofer system. It features Class D efficiency, robust protection circuitry, and adjustable controls for precise sound tuning.

Obraz 1.1: Góra view of the DS18 S-3500.1D/SL Car Audio Ampliyfikator.
2. Informacje dotyczące bezpieczeństwa
Podczas instalacji i obsługi należy zawsze przestrzegać następujących środków ostrożności:
- Disconnect the vehicle's negative battery terminal before starting any electrical work to prevent short circuits.
- Upewnij się, że wszystkie przewody są prawidłowo poprowadzone i zabezpieczone, aby zapobiec ich uszkodzeniu przez ostre krawędzie lub ruchome części.
- Use appropriate wire gauges for power, ground, and speaker connections as specified in this manual.
- Zainstaluj ampumieścić w miejscu zapewniającym odpowiednią wentylację, aby zapobiec przegrzaniu.
- Unikaj montowania tzw amplifier in areas exposed to moisture or excessive vibration.
- Jeśli masz jakiekolwiek wątpliwości co do instalacji, skonsultuj się z profesjonalnym instalatorem car audio.
3. Zawartość opakowania
Sprawdź, czy w opakowaniu znajdują się wszystkie elementy:
- DS18 S-3500.1D/SL System audio samochodowy Ampżywsze
- Remote Bass Knob Controller
- Sprzęt montażowy (śruby)
- Instrukcja obsługi (ten dokument)
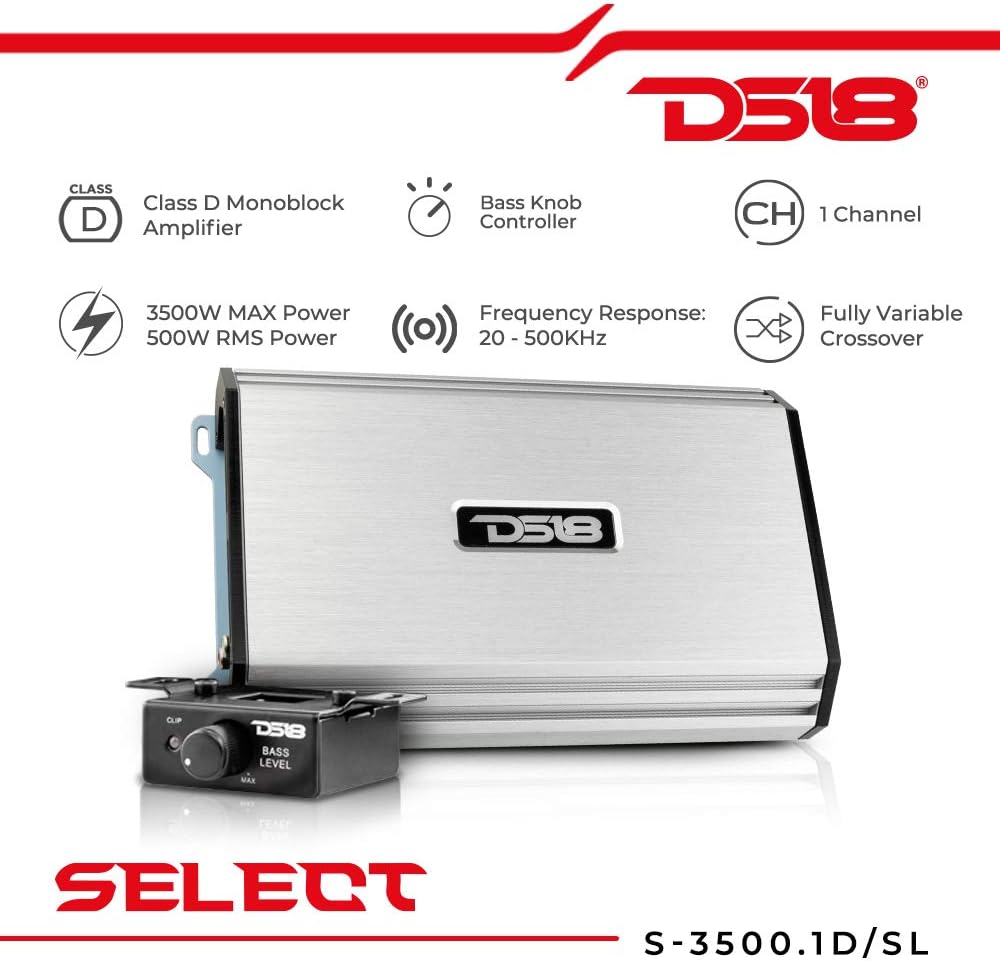
Image 3.1: DS18 S-3500.1D/SL Amplifier and Remote Bass Knob.
4. Features and Controls Overview
The DS18 S-3500.1D/SL amplifier features a range of controls for fine-tuning your audio system.
4.1. Control Panel (Rear View)

Image 4.1: Rear panel with input and control settings.
- ZDALNY: RJ45 port for connecting the wired remote bass knob.
- SPINACZ: Indicator light for signal clipping. Adjust gain to prevent this light from illuminating consistently.
- ZWIĘKSZYĆ: Bass boost control (0dB to 18dB at 45Hz).
- PODDŹWIĘKOWY: Adjustable high-pass filter for subwoofers (10Hz to 80Hz). Filters out ultra-low frequencies that can damage subwoofers.
- LPF (filtr dolnoprzepustowy): Adjustable low-pass filter (55Hz to 250Hz). Allows only frequencies below the set point to pass to the subwoofer.
- FAZA: Phase switch (0° or 180°). Adjust to match the phase of other speakers in the system.
- ZDOBYĆ: Input sensitivity control (MIN to MAX). Matches the amplifier's input to the output of your head unit.
- WEJŚCIE: RCA audio input jacks (Left and Right).
4.2. Power and Speaker Terminals (Front View)

Image 4.2: Front panel with power and speaker connections.
- +12V: Positive power input terminal. Connects to the vehicle's positive battery terminal via an inline fuse.
- REM (zdalny): Remote turn-on input terminal. Connects to the head unit's remote output.
- GND (uziemienie): Ground input terminal. Connects to a clean, bare metal chassis point on the vehicle.
- PWR/PRT: Power (green) and Protection (red) indicator lights. Green indicates normal operation, red indicates a fault.
- BEZPIECZNIK: Fuse holders for ampochrona lifiera.
- WYJŚCIE GŁOŚNIKOWE: Speaker output terminals. Connects to your subwoofer(s).
5. Instalacja
Prawidłowa instalacja ma kluczowe znaczenie dla wydajności i trwałości Twojego urządzenia. amplifier. If you are not confident in your ability to perform the installation, seek professional assistance.
5.1. Miejsce montażu
Wybierz miejsce montażu, które:
- Provides adequate airflow around the ampfiltr, aby zapobiec przegrzaniu.
- Is secure and protected from moisture, dust, and direct sunlight.
- Allows for short cable runs to the battery and speakers.
- Does not interfere with vehicle operation or safety features.
Common mounting locations include under a seat, in the trunk, or on a custom ampstojak na filtry.
5.2. Połączenia okablowania
Ensure all connections are tight and secure to prevent power loss or intermittent operation.
5.2.1. Power Wiring
- Masa (GND): Connect a heavy-gauge wire (e.g., 4 AWG or larger) from the amplifier's GND terminal to a clean, bare metal point on the vehicle's chassis. Ensure the connection point is free of paint, rust, or dirt. The ground wire should be as short as possible, ideally less than 3 feet (1 meter).
- Moc +12 V: Connect a heavy-gauge wire (e.g., 4 AWG or larger) from the amplifier's +12V terminal directly to the vehicle's positive battery terminal. Install an inline fuse holder within 18 inches (45 cm) of the battery, using a fuse rated appropriately for the amplifier (patrz specyfikacje).
- Zdalne włączanie (REM): Podłącz przewód o mniejszym przekroju (np. 18 AWG) od ampPodłącz złącze REM urządzenia do wyjścia zdalnego włączania jednostki głównej. Ten przewód sygnalizuje amplifier do włączania i wyłączania za pomocą jednostki głównej.
5.2.2. Audio Input (RCA)
Connect RCA cables from the pre-out jacks of your head unit to the INPUT RCA jacks on the amplifier. Use high-quality shielded RCA cables to minimize noise.
5.2.3. Wyjście głośnikowe
Connect your subwoofer(s) to the SPEAKER OUTPUT terminals. Ensure correct polarity (+ to + and - to -). The S-3500.1D/SL is a monoblock amplifier, designed for a single subwoofer or multiple subwoofers wired to a compatible impedance (typically 1 Ohm stable).
5.2.4. Zdalne pokrętło basowe
Connect the remote bass knob to the REMOTE port on the amplifier using the provided cable. This allows for convenient adjustment of bass level from the driver's seat.
6. Instrukcja obsługi
After completing the installation, follow these steps for initial setup and operation:
- Initial Gain Setting: Włącz regulator GAIN na amplifier to its minimum (MIN) position.
- Head Unit Volume: Turn your head unit volume up to about 75% of its maximum level.
- Dostosuj wzmocnienie: Powoli zwiększaj wzmocnienie regulatora GAIN amplifier until you hear slight distortion or the CLIP indicator light flickers. Then, back off the gain slightly until the sound is clear and the CLIP light remains off during normal listening.
- Crossover Settings (LPF & SUBSONIC):
- Set the LPF (Low Pass Filter) to a frequency appropriate for your subwoofer and main speakers, typically between 80Hz and 120Hz. This ensures the subwoofer only plays low frequencies.
- Set the SUBSONIC filter to protect your subwoofer from playing frequencies below its resonant frequency, usually around 20Hz to 30Hz.
- Wzmocnienie basów: Use the BOOST control sparingly. Excessive bass boost can lead to distortion and potential damage to your subwoofer. Adjust to taste, ensuring sound remains clear.
- Faza: Experiment with the PHASE switch (0° or 180°) to find the setting that provides the most impactful and coherent bass response with your other speakers.
7. Konserwacja
The DS18 S-3500.1D/SL ampLifier wymaga minimalnej konserwacji. Aby zapewnić jego długowieczność, postępuj zgodnie z poniższymi wskazówkami:
- Zachowaj ampUtrzymuj filtr w czystości, bez kurzu i zanieczyszczeń. Do czyszczenia używaj miękkiej, suchej ściereczki.
- Ensure that the cooling fins are not obstructed to allow for proper heat dissipation.
- Okresowo sprawdzaj wszystkie połączenia przewodów pod kątem szczelności i korozji.
- Do czyszczenia nie używaj ostrych środków chemicznych ani rozpuszczalników.
8. Rozwiązywanie Problemów
Jeśli masz problemy ze swoim amplifier, zapoznaj się z poniższym przewodnikiem rozwiązywania problemów:
| Problem | Możliwa przyczyna | Rozwiązanie |
|---|---|---|
| Brak zasilania (dioda PWR wyłączona) | Przepalony bezpiecznik, słabe połączenie zasilania/uziemienia, brak sygnału zdalnego. | Sprawdzać amplifier fuses and inline battery fuse. Verify +12V, GND, and REM connections. Ensure head unit is on and sending remote signal. |
| Protection Mode (PRT light on) | Overheating, speaker short circuit, low impedance load, DC offset. | Check for proper ventilation. Verify speaker wiring for shorts. Ensure speaker impedance is within amplifier's rated range (1 Ohm minimum). Disconnect speakers and test. |
| Brak dźwięku | No audio input, incorrect gain setting, speaker wiring issue. | Check RCA cable connections from head unit. Adjust gain. Verify speaker connections and ensure they are not shorted or open. |
| Zniekształcony dźwięk | Zbyt wysokie wzmocnienie, niewłaściwe ustawienia zwrotnicy, uszkodzony głośnik. | Reduce gain. Adjust LPF and SUBSONIC settings. Check speaker for damage. |
| Amplifier przegrzewa się | Insufficient ventilation, low impedance load, gain too high. | Zapewnić amplifier has clear airflow. Verify speaker impedance. Reduce gain. |
9. Specyfikacje
The following table details the technical specifications of the DS18 S-3500.1D/SL ampLiyfikator:
| Funkcja | Specyfikacja |
|---|---|
| Model | S-3500.1D/SL |
| Liczba kanałów | 1 (monoblok) |
| RMS Power @ 1 Ohm (14.4V) | 1200 W |
| RMS Power @ 2 Ohm (14.4V) | 800 W |
| RMS Power @ 4 Ohm (14.4V) | 500 W |
| Odpowiedź częstotliwościowa | 20Hz - 500KHz |
| Czułość wejściowa | 0.2 V - 6 V |
| Stosunek sygnału do szumu | >90dB |
| Filtr dolnoprzepustowy (LPF) | 55Hz - 250Hz |
| Filtr poddźwiękowy | 10Hz - 80Hz |
| Bass Boost | 0 dB - 18 dB przy 45 Hz |
| Przesunięcie fazowe | 0° / 180° |
| Tomtage | 12 V (prąd stały) |
| Wymiary (dł. x szer. x wys.) | 12 x 10 x 4 cala |
| Waga przedmiotu | 4.75 funta |
| Tworzywo | Metal |
| UPC | 810005183260 |
10. Gwarancja i wsparcie
DS18 products are designed for durability and performance. For specific warranty terms and conditions, please refer to the warranty card included with your product or visit the official DS18 webZachowaj paragon jako dowód zakupu na wypadek ewentualnych roszczeń gwarancyjnych.
For technical support, troubleshooting assistance beyond this manual, or warranty inquiries, please contact DS18 customer service through their official webmiejscu lub autoryzowanych dealerach.
11. Oficjalne filmy o produktach
No official product videos from the seller were provided in the product data for this model. Please refer to the DS18 official webwitrynę lub autoryzowane kanały dla wszelkich dostępnych zasobów wideo.


