Wstęp
Thank you for choosing the EMKE LED Bathroom Vanity Mirror. This manual provides essential information for the safe installation, operation, and maintenance of your new mirror. Please read these instructions thoroughly before installation and keep them for future reference.
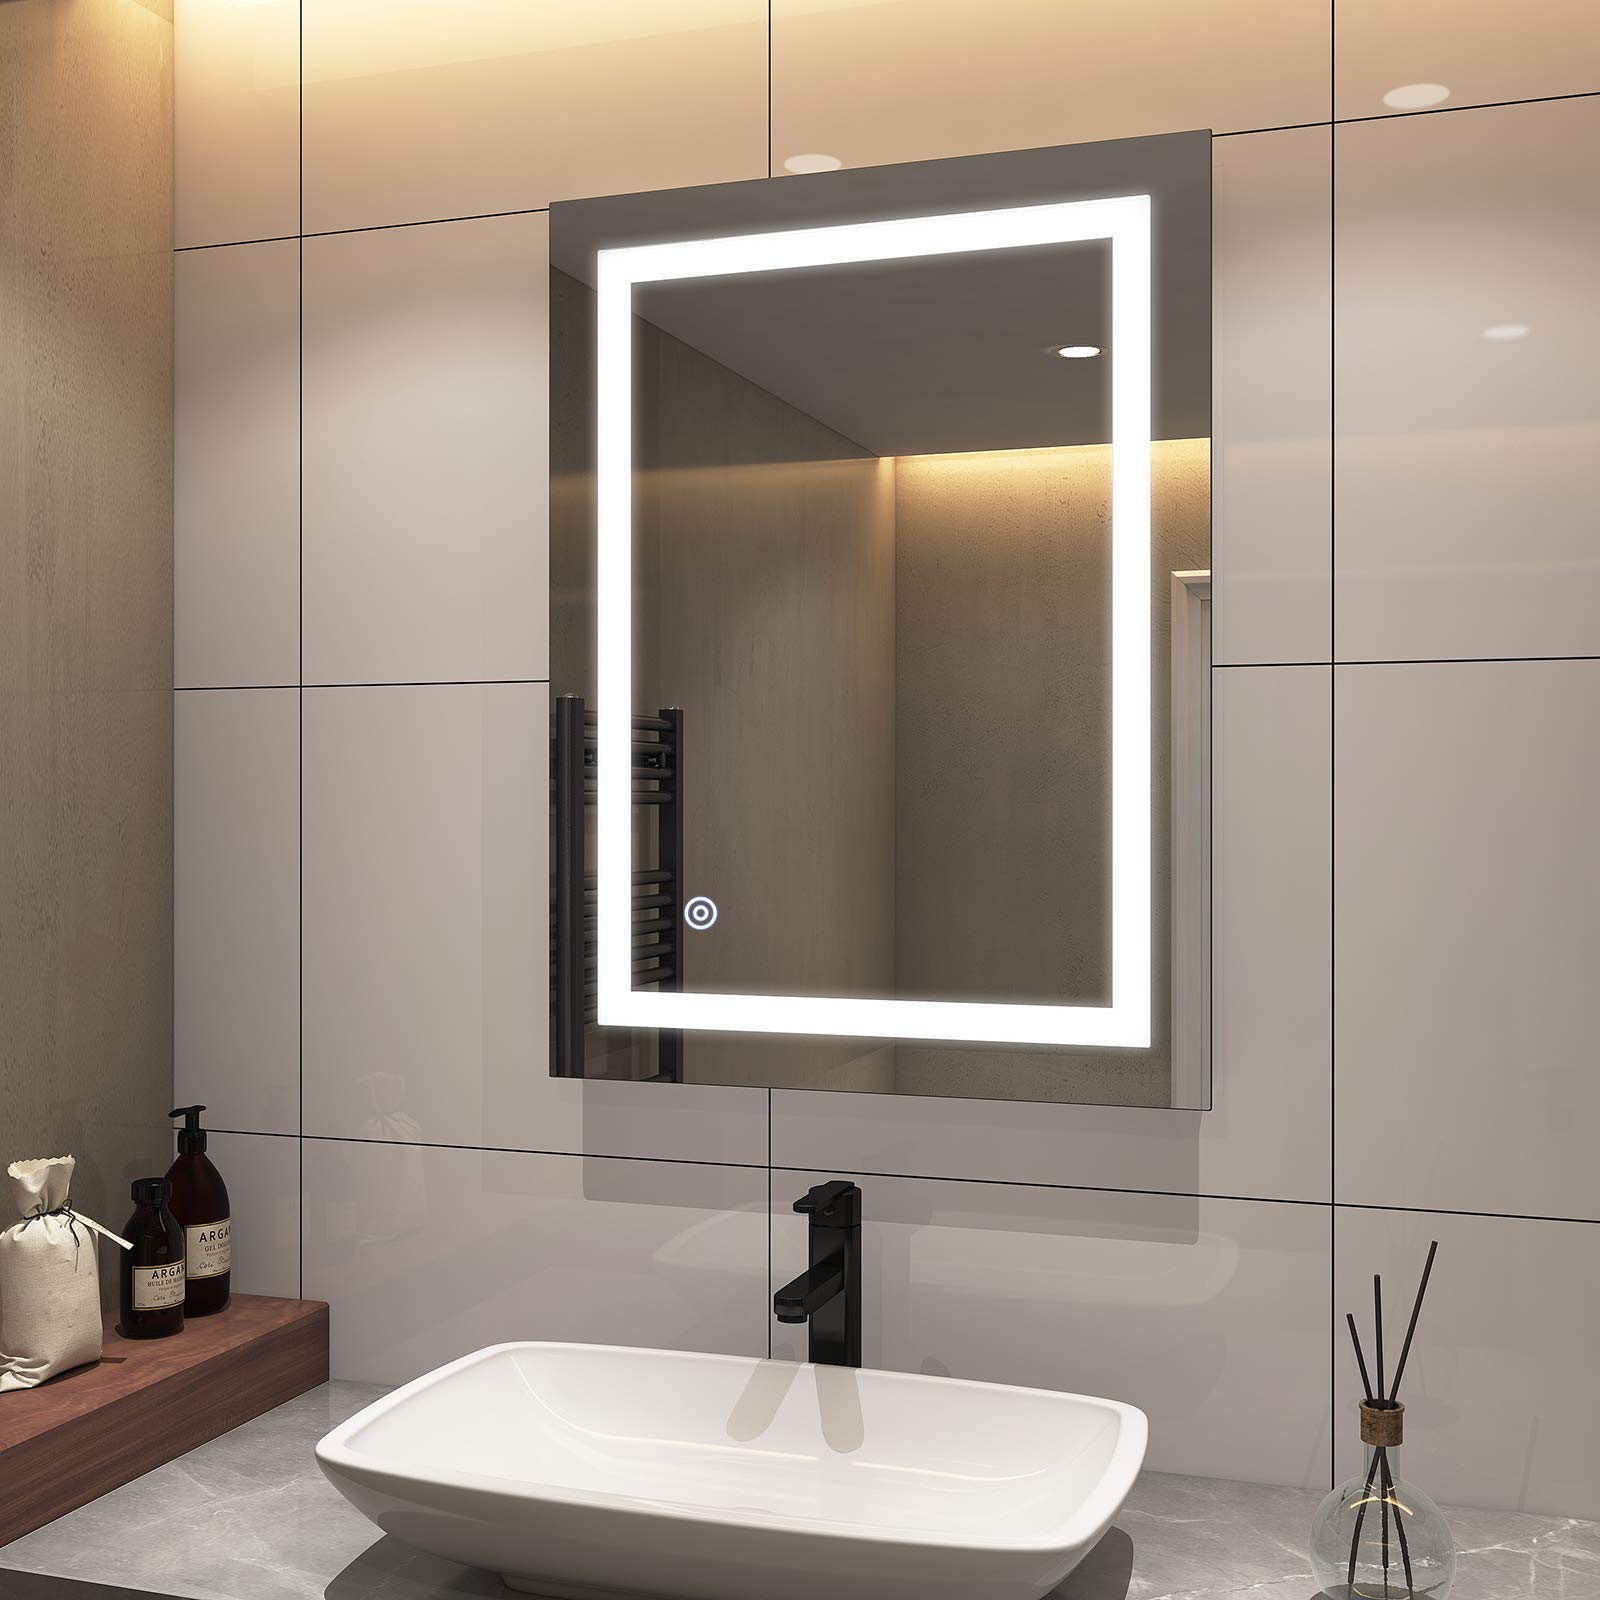
Image: EMKE LED Bathroom Vanity Mirror, showcasinjego projekt i oświetlenie.
Informacje dotyczące bezpieczeństwa
OSTRZEŻENIE: To reduce the risk of burns, fire, electric shock, or injury to persons, install this mirror according to these instructions. Always disconnect power at the circuit breaker before installation or servicing. This product is intended for indoor use only.
- Upewnij się, że wszystkie połączenia elektryczne są zgodne z lokalnymi przepisami i rozporządzeniami.
- Do not modify the mirror or its electrical components.
- Przechowuj materiały opakowaniowe w miejscu niedostępnym dla dzieci.
- Obchodź się z lustrem ostrożnie, aby zapobiec jego stłuczeniu.

Image: A yellow warning triangle with an exclamation mark, symbolizing general caution.
Cechy produktu
- Możliwość przyciemniania oświetlenia LED: Dostosuj jasność w zakresie od 10% do 100%.
- Regulowana temperatura barwowa: Select between 3000K (Warm Light), 4500K (Natural Light), and 6000K (White Light).
- Wysoki współczynnik oddawania barw (CRI 90+): Provides accurate color reflection.
- Stopień wodoodporności IP44: Suitable for humid bathroom environments.
- Funkcja pamięci: Zachowuje ostatnie ustawienie jasności.
- Copper-free and Mercury-free Silver Mirror: Ensures clear reflections and environmental safety.
- Elastyczna instalacja: Można montować poziomo lub pionowo.

Image: A visual comparison demonstrating the enhanced color accuracy of a mirror with CRI > 90 compared to one with CRI < 90.

Image: Details highlighting the durable silicone protective cover for the LED light belt and the IP44 waterproof rating of the power supply, ensuring safety in humid conditions.
Video: An official product video demonstrating various features and applications of the EMKE LED Bathroom Vanity Mirror.
Konfiguracja i instalacja
This mirror can be installed either horizontally or vertically. Professional installation is recommended for electrical wiring.
Etapy montażu:
- Przygotuj ścianę: Mark the desired position for the mirror. Ensure the wall can support the mirror's weight (approximately 20.3 lbs).
- Wiercenie otworów: Drill holes at the marked positions for the mounting screws. Insert wall anchors if necessary.
- Bezpieczna płyta montażowa: Przymocuj płytę montażową do ściany za pomocą dostarczonych śrub.
- Podłączenie elektryczne: Connect the mirror's electrical wires to your household wiring. Ensure power is off at the circuit breaker before making connections. Consult a qualified electrician if you are unsure.
- Zawieś lustro: Carefully hang the mirror onto the mounting plate, ensuring it is securely seated.

Image: A visual guide illustrating both horizontal and vertical mounting options, along with a four-step diagram for securing the mirror to the wall.
Instrukcja obsługi
Działanie przełącznika dotykowego:
- Włączanie/wyłączanie: Double-tap the touch switch to turn the light on or off.
- Dostosuj temperaturę barwową: Short press the touch switch to cycle through color temperatures: 6000K (White Light), 4500K (Natural Light), and 3000K (Warm Light).
- Dostosuj jasność: Long press the touch switch to adjust the brightness continuously from 10% to 100%. Release when the desired brightness is reached.
Wall Switch Recommendation:
For convenience, it is recommended to connect the mirror to a wall switch to control the light and defogger (if applicable) ON/OFF. The mirror's internal memory function will retain your last brightness setting when powered off via a wall switch.

Image: Instructions on how to use the touch switch for adjusting color temperature (short press) and brightness (long press).

Image: Illustration recommending the use of a wall switch for controlling the mirror light and defogger, and highlighting the mirror's memory function for brightness settings.
Konserwacja
To maintain the mirror's appearance and functionality, follow these cleaning guidelines:
- Zawsze odłączaj zasilanie przed czyszczeniem.
- Użyj miękkiego, damp ściereczkę zwilżoną łagodnym środkiem do czyszczenia szkła.
- Avoid abrasive cleaners, solvents, or harsh chemicals that may damage the mirror surface or electrical components.
- Natychmiast wytrzyj do sucha czystą, niepozostawiającą włókien ściereczką, aby zapobiec powstawaniu plam wodnych.
Rozwiązywanie problemów
| Problem | Możliwa przyczyna | Rozwiązanie |
|---|---|---|
| Oświetlenie lustra nie włącza się. | Brak zasilania, luźne okablowanie, uszkodzony przełącznik dotykowy. | Check circuit breaker. Ensure all wiring connections are secure. Contact customer support if the touch switch is unresponsive. |
| Światło migocze lub jest słabe. | Niska objętośćtage; faulty LED driver. | Sprawdź napięcie zasilaniatage. Contact customer support for LED driver replacement. |
| Touch switch is unresponsive. | Problem z zasilaniem; awaria czujnika. | Ensure power is connected. Try cycling power at the circuit breaker. If issue persists, contact customer support. |
Specyfikacje
| Funkcja | Szczegół |
|---|---|
| Numer modelu | B08GP9WCT3 |
| Wymiary | 24"L x 32"W (or 32"L x 24"W) |
| Grubość | 1.38 cala (35 mm) |
| Temperatura barwowa | 3000K-6500K (regulowana) |
| Jasność | 10%-100% (ściemnialne) |
| CRI | 90+ |
| Stopień wodoodporności | IP44 |
| Tworzywo | Copper-free, silver-backed mirror |
| Waga przedmiotu | 20.3 funta |
| Typ montażu | Wall Mount (Horizontal/Vertical) |

Image: Detailed dimensions of the mirror, including length, width, and thickness.
Gwarancja i wsparcie
EMKE products are manufactured to high-quality standards. For warranty information or technical support, please refer to the warranty card included with your purchase or contact EMKE customer service directly. Please have your model number (B08GP9WCT3) and purchase date available when contacting support.
Aby uzyskać dalszą pomoc, odwiedź stronę Sklep EMKE na Amazon.


