Produkt ponadview
The Moen Weymouth M-CORE 3-Series 1-Handle Shower Trim Kit (Model UTS33102BG) is designed to provide a superior showering experience with simplified installation and versatile design options. This trim kit requires the M-CORE Mixing Valve U140 (sold separately) for complete installation. It features pressure-balancing capabilities to maintain consistent water temperature and volume control for adjusting water flow.
Główne cechy obejmują:
- Brushed Gold Finish: A blend of classic gold tones and modern brushed texture for a sophisticated look.
- Pressure-Balancing Capability: M-CORE valves with 3-Series trim control temperature fluctuations due to water pressure changes.
- Regulacja głośności: Adjust water flow for enhanced functionality.
- Wszechstronny projekt: M-CORE's adaptability allows for functionality and style changes without removing or altering the valve.
- Usprawniona instalacja: Integrated mounting bracket secures the valve directly to a brace, simplifying the process.
- Integrated Test Cap: Allows for precise temperature limit stop adjustment and easy flushing/testing without cartridge removal.
Instrukcja instalacji
This section provides a step-by-step guide for installing your Moen Weymouth M-CORE 3-Series 1-Handle Shower Trim Kit. Please review all instructions and gather necessary tools before beginning. Notatka: This is an advanced project. Moen recommends installation by a professional plumber.
1. Przygotowanie
Before starting any plumbing project, ensure the home's main water supply is shut off. If you are unsure where the main shutoff is located, contact your local water company for assistance. Once the water supply is off, turn on a faucet at the lowest point in the home to drain the water lines.
For remodel projects, locate the plumbing access panel. If an access panel is not present, an opening will need to be created on the wall behind the valve.
Polecane narzędzia: Phillips screwdriver, adjustable pliers, needle nose pliers, adjustable wrench, Allen wrench, tube cutter, thread seal tape, plumber's putty, caulk, tape measure, thermometer, torch, and safety glasses.
Additional Materials (may be needed): 1/2" copper couplings, 1/2" copper slip couplings, 1/2" copper tubing, lead-free solder kit.
Ważny: Soldering may be necessary. Ensure you are skilled in using a soldering torch before you begin.
2. Installing the M-CORE Tub/Shower Valve
The M-CORE valve is designed for threaded and soldered connections, making it adaptable to various plumbing types (CC/IPS, Cold PEX, Crimp PEX, CPVC 4-Port). This guide demonstrates a copper-to-copper installation.
You will connect the new tub/shower valve to four existing tubes: the shower riser outlet, hot water inlet, cold water inlet, and the tub drop outlet. The plaster ground (4 inches in diameter) is pre-attached and used to position the valve in your finished tub wall.
For proper placement, the center of the tub/shower valve should be positioned 32 inches from the floor of the tub. Measure the distance between the top of the tub drop outlet's threads on the valve and the existing tub drop outlet. Cut the appropriate length of 1/2" copper tubing. Insert the new copper tubing into the tub drop outlet on the valve. Repeat this process for the hot and cold water inlets and the shower riser outlet. Use 1/2" copper slip couplings for added flexibility when connecting the remaining tubes.
Once all connections are in place, each joint will need to be soldered. After soldering, screw the valve to the cross member from the front of the wall for added support using the integrated mounting bracket.
Wideo: Installing M-CORE by Moen. This video provides a visual guide for the valve installation process, including preparation, connecting tubing, and securing the valve.
3. Flushing the System & Checking for Leaks
M-CORE valves come pre-installed with a flush plug. To begin, turn on the main water supply. Let the water run from the tub outlet for 15 seconds to remove any debris. Next, check for any leaks at all connections. If no leaks are present, turn the water off.
4. Installing the M-CORE 3-Series Cartridge
First, remove the plug nut and pull out the flush plug by hand. Align the tab on the check adapter with the hole inside the valve body. Using the provided installation sleeve, install the adapter and pressure balancing puck assembly. Once complete, align the two posts on the back of the cartridge assembly with the pressure balancing assembly. Then, thread on the cartridge nut (included with the trim kit) by hand, and snug it with a wrench.
5. Installing the 3-Series Trim: Shower Device & Tub Spout
Begin by wrapping thread seal tape clockwise around both ends of the shower arm. Determine which end of the shower arm will thread into the wall and slide the flange onto that end. Thread the shower arm through the wall opening and push the flange flush to the wall. To complete, screw on the showerhead and tighten it with an adjustable wrench.
For the tub spout, ensure the pipe extends a minimum of 2 inches and a maximum of 2.5 inches from the wall. Slide the inverted tub spout onto the pipe. Lightly tighten the screw with a 5/32 inch hex wrench. Rotate the tub spout into the upright position, then fully tighten the spout with the 5/32 inch hex wrench.
6. Setting Adjustable Temperature Limit Stop
The Moen M-CORE valve includes an adjustable temperature limit stop to meet applicable temperature code requirements. To test the temperature, hold the lever handle in the 6 o'clock position. Lift and turn the handle clockwise until it stops. Turn on the water supply. If the desired water temperature has been met, no further adjustment is needed. If the water temperature exceeds 120°F, you must reset the temperature limit stop.
To reset, turn the handle to lower the water temperature to 120°F, then remove the handle. Remove the temperature limit stop ring located on the outer rim of the cartridge stem. Turn the limit stop ring counter-clockwise until the tab on the ring lines up with the corresponding tab on the cartridge. Reinsert the limit stop at the desired hot position. Place the handle back on, close the handle, and rotate it to the 6 o'clock position. You can now remove the handle.
7. Installing 3-Series Trim
To complete the installation, you will install the valve trim. Begin by installing the decorative sleeve. Align the mounting plate and snap ring in the proper position. Once the snap ring is centered on the sleeve, secure it to the valve using the two included screws. Snap on the escutcheon plate. Then, place the handle on the cartridge stem and secure it with the set screw.
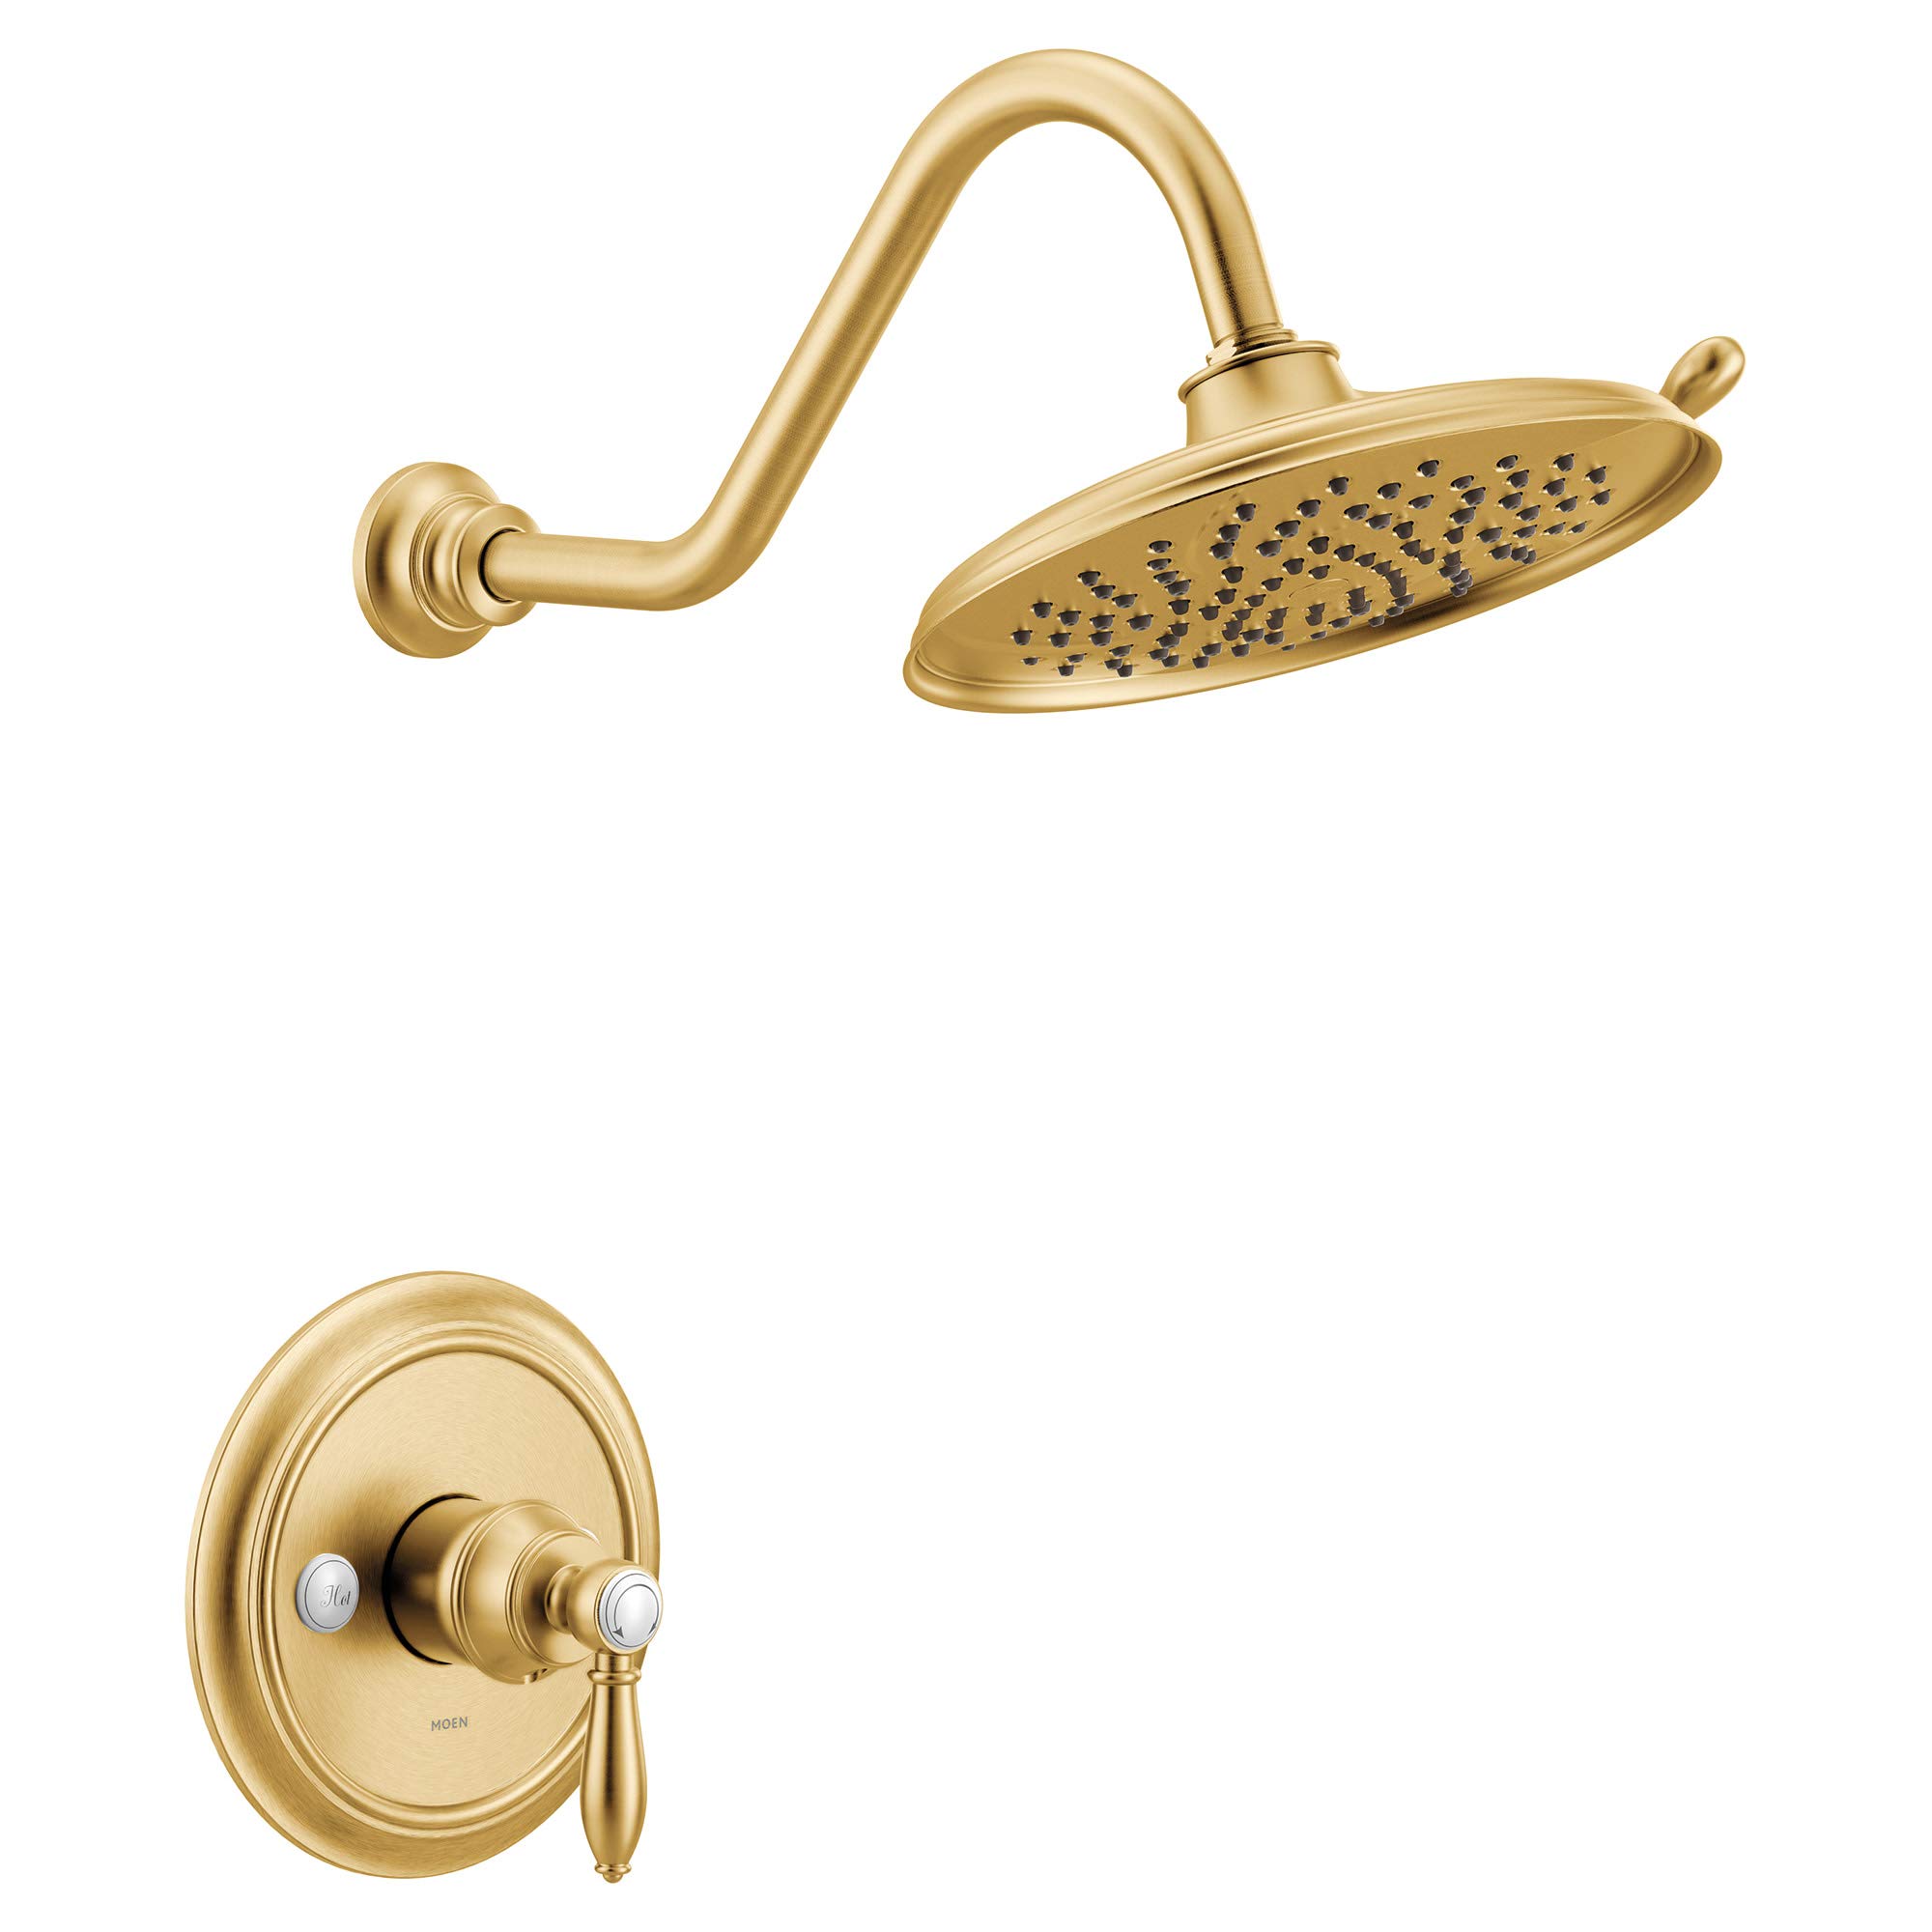
Obraz: The Moen Weymouth M-CORE 3-Series 1-Handle Shower Trim Kit in Brushed Gold, fully installed.
Instrukcja obsługi
Your Moen M-CORE 3-Series Shower Trim Kit is designed for ease of use and precise control.
- Kontrola temperatury: The single handle allows for easy adjustment of water temperature. The M-CORE valve's pressure-balancing feature helps maintain your selected temperature, even with household water pressure changes.
- Regulacja głośności: The handle also provides volume control, allowing you to adjust the flow of water to your preference.
- Odgałęzienie (jeśli dotyczy): If your system includes a diverter, rotate it to switch water flow between the showerhead and tub spout.
Konserwacja
To maintain the beauty and performance of your Moen shower trim kit, follow these guidelines:
- Czyszczenie: Wyczyść miękką,amp cloth and mild soap. Avoid abrasive cleaners, harsh chemicals, or scrub brushes, as these can damage the finish.
- Regularne kontrole: Periodically check for any signs of leaks or drips. Address any issues promptly to prevent further damage.
- Pielęgnacja wkładu: The M-CORE cartridge is designed for durability. If you experience issues with water flow or temperature control, refer to the troubleshooting section or contact customer support.
Rozwiązywanie problemów
If you encounter any issues with your Moen Weymouth M-CORE 3-Series Shower Trim Kit, please refer to the following common troubleshooting tips:
- Brak przepływu wody lub niskie ciśnienie: Ensure the main water supply is fully open. Check for any blockages in the showerhead or tub spout.
- Niestabilna temperatura wody: Verify that the temperature limit stop is correctly set (refer to Section 6). Ensure both hot and cold water supplies are active.
- Wycieki lub krople: Check all connections for tightness. If leaks persist, the cartridge may need inspection or replacement.
For persistent problems or issues not covered here, please contact Moen Consumer Services.
Specyfikacje
| Marka | Moen |
| Numer modelu | UTS33102BG |
| Kolor | Szczotkowane złoto |
| Tworzywo | Metal (Rączka mosiężna) |
| Rodzaj wykończenia | Złoto |
| Liczba uchwytów | 1 |
| Waga przedmiotu | 8.17 funta |
| Wymiary produktu | 19 x 9.13 x 7.25 cala |
| Typ montażu | Montaż ścienny |
| Zawarte komponenty | 1212 mixing valve cartridge, Temperature Limit Stop, Trim Kit |
| UPC | 026508321744 |
Gwarancja i wsparcie
Your Moen Weymouth M-CORE 3-Series 1-Handle Shower Trim Kit is backed by Moen’s Ograniczona dożywotnia gwarancjaNiniejsza gwarancja obejmuje wady materiałowe i wykonawcze u pierwotnego nabywcy będącego konsumentem.
For further information, detailed instructions, or assistance with installation and troubleshooting, please refer to the printed instruction sheets included with your product or contact Moen Consumer Services:
1-800-KUP-MOEN
Remember, existing conditions, design, and construction of a project site may require different removal/installation techniques and attention. Product selection and determining the appropriate removal/installation method are the responsibility of the building owner, and his/her plumber or other construction professional.


