Wstęp
The Hyperkin Armor3 NuWave Controller is designed to provide accurate and fluid motion control for your Nintendo Wii U and Wii consoles. Featuring built-in Nu+ technology, this controller enhances your gaming experience by offering a wider range of motion in compatible titles. This manual provides essential information on setting up, operating, maintaining, and troubleshooting your NuWave Controller.
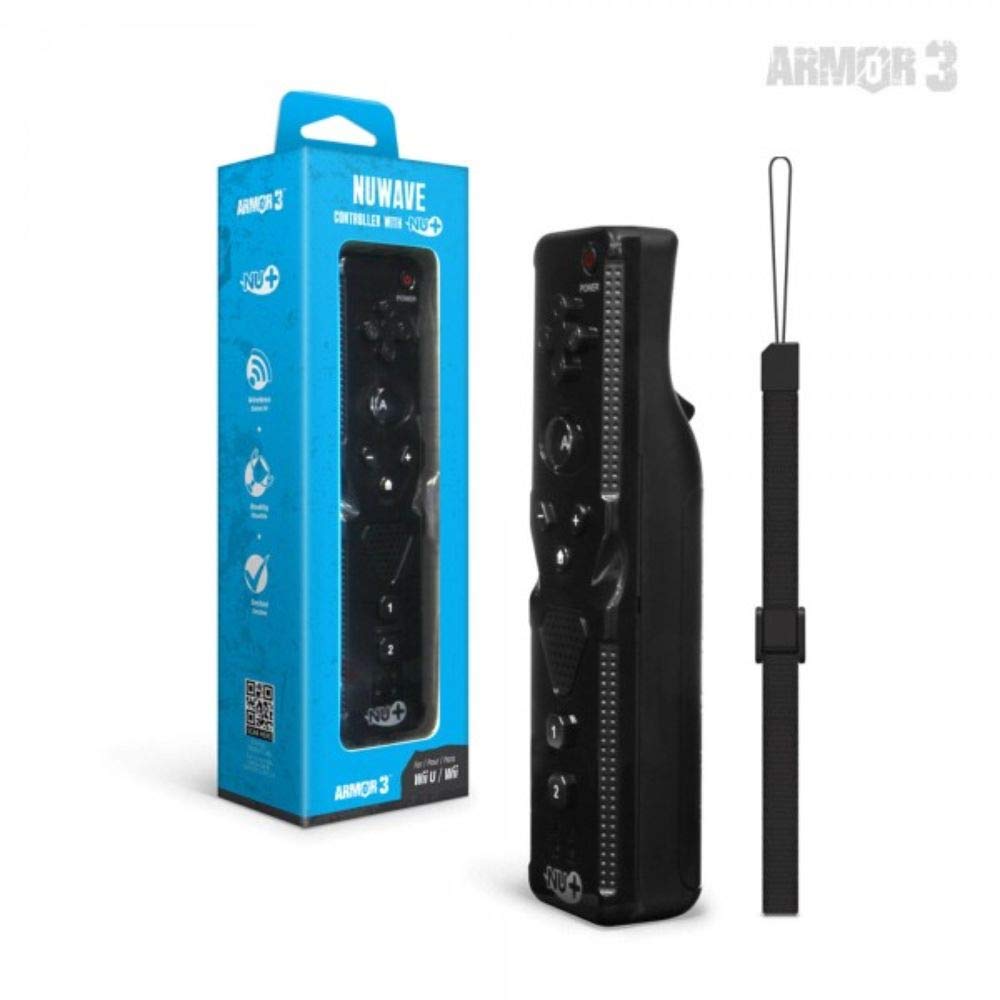
Rysunek 1: Hyperkin Armor3 NuWave Controller and its packaging. The controller is black with a wrist strap, and the packaging highlights its Nu+ technology and compatibility with Wii U and Wii.
Produkt ponadview
The Armor3 NuWave Controller is a motion-sensing controller compatible with both Wii U and Wii systems. It integrates advanced Nu+ technology for enhanced motion detection and precision in supported games.
Główne cechy:
- Zgodność: Fully compatible with Nintendo Wii U and Nintendo Wii consoles.
- Nu+ Technology: Built-in technology for a wider range of motion and improved accuracy in compatible titles.
- Ergonomiczna konstrukcja: Designed for comfortable grip and extended gameplay sessions.
- Źródło zasilania: Wymaga baterii AA 2 (brak w zestawie).
Organizować coś
1. Instalacja baterii
- Znajdź komorę baterii z tyłu kontrolera.
- Przesuń pokrywę baterii w dół, aby ją otworzyć.
- Włóż dwie (2) baterie AA, zwracając uwagę na prawidłową biegunowość (+/-), zgodnie ze wskazaniami wewnątrz komory.
- Załóż pokrywę baterii, przesuwając ją do góry, aż zatrzaśnie się na swoim miejscu.
2. Connecting to Your Console
To connect the NuWave Controller to your Wii U or Wii console, follow these steps:
- Sprawdź, czy konsola jest włączona.
- On your Wii U or Wii console, press the SYNC button (usually located near the SD card slot or battery compartment).
- On the NuWave Controller, open the battery cover and locate the small red SYNC button inside the battery compartment.
- Press and release the SYNC button on the controller.
- The player indicator lights on the bottom of the controller will flash. Once a single light remains lit, the controller is successfully connected.
- If connection fails, repeat steps 2-5. Ensure the controller is within range of the console.
Instrukcja obsługi
Podstawowe sterowanie:
- Klawisz kierunkowy (D-Pad): Used for menu navigation and character movement.
- Przycisk: Primary action button, often used for selection or interaction.
- B Button (Trigger): Located on the underside, typically used for grabbing or firing.
- Przyciski 1 i 2: Auxiliary action buttons, functions vary by game.
- Przycisk Home: Returns to the console's Home Menu.
- Plus (+) & Minus (-) Buttons: Often used for zooming, adjusting settings, or specific in-game actions.
- Przycisk zasilania: Włącza/wyłącza kontroler.
Motion Sensing with Nu+ Technology:
The built-in Nu+ technology provides enhanced motion tracking. For games that support it, you will experience more precise and responsive movements. Hold the controller firmly and ensure clear line of sight to the sensor bar for optimal performance.
- Kalibrowanie: Some games may require initial calibration. Follow on-screen prompts.
- Pasek na nadgarstek: Always use the included wrist strap to prevent accidental drops during active gameplay.
Konserwacja
Czyszczenie:
- Przetrzyj kontroler miękką, suchą ściereczką.
- W przypadku uporczywych zabrudzeń, delikatnieampWytrzyj szmatkę wodą. Nie używaj silnych środków chemicznych ani ściernych środków czyszczących.
- Upewnij się, że do otworów kontrolera nie dostanie się żadna ciecz.
Składowanie:
- Przechowuj kontroler w chłodnym, suchym miejscu, z dala od bezpośredniego światła słonecznego i ekstremalnych temperatur.
- Jeśli urządzenie będzie przechowywane przez dłuższy czas, należy wyjąć baterie, aby zapobiec wyciekowi.
Pielęgnacja baterii:
- Zawsze używaj nowych, wysokiej jakości baterii AA.
- Nie mieszaj starych i nowych baterii ani różnych typów baterii.
- Zużytych baterii należy pozbywać się w sposób odpowiedzialny, zgodnie z lokalnymi przepisami.
Rozwiązywanie problemów
| Problem | Możliwa przyczyna | Rozwiązanie |
|---|---|---|
| Kontroler nie włącza się. | Baterie rozładowane lub nieprawidłowo włożone. | Wymień baterie na nowe baterie AA, zwracając uwagę na prawidłową biegunowość. |
| Controller does not sync with console. | Incorrect syncing procedure; out of range; console interference. | Ensure console is on. Repeat syncing steps (press SYNC on console, then on controller). Move closer to console. Check for other wireless device interference. |
| Przyciski nie reagują lub działają z opóźnieniem. | Low battery; connection issue; physical obstruction. | Replace batteries. Re-sync the controller. Ensure buttons are not stuck. |
| Motion control is inaccurate. | Sensor bar obstruction; improper calibration; environmental factors. | Ensure clear line of sight to the sensor bar. Re-calibrate in-game if prompted. Avoid strong light sources directly facing the sensor bar. |
Specyfikacje
- Model: M07399-bk
- Marka: Hiperkin
- Zgodność: Nintendo Wii U, Nintendo Wii
- Źródło zasilania: 2 baterie AA (brak w zestawie)
- Wymiary: 2.8 x 1.8 x 8 cale (w przybliżeniu)
- Waga: 3.88 uncji (w przybliżeniu, bez baterii)
- Technologia: Built-in Nu+ motion technology
- Kolor: Czarny
Gwarancja i wsparcie
For specific warranty information and terms, please refer to the documentation included with your purchase or visit the official Hyperkin website. Hyperkin provides customer support for their products.
Wsparcie online: Visit the official Hyperkin webwitryna z często zadawanymi pytaniami, przewodnikami rozwiązywania problemów i informacjami kontaktowymi. www.hyperkin.com
Kontakt: Refer to the Hyperkin website for the most current customer service contact methods (phone, email, etc.).


