1. Wprowadzenie
This manual provides detailed instructions for the installation, operation, and maintenance of the ENERLITES 51300L-W Low Voltage Slide Dimmer Decorator Switch. This device is designed to control 0-10V dimmable LED lights, LED drivers, LED fixtures, and fluorescent ballasts. It features an on/off rocker switch and a linear dimming slider for precise light level adjustment.

Obraz 1.1: Przód view of the ENERLITES 51300L-W Low Voltage Slide Dimmer Decorator Switch.
The 51300L-W dimmer is suitable for both single-pole and 3-way applications, offering flexibility in various lighting setups. Its low-voltage design ensures compatibility with modern energy-efficient lighting systems.
2. Informacje dotyczące bezpieczeństwa
OSTRZEŻENIE: To avoid fire, shock, or death, turn off power at the circuit breaker or fuse box and test that power is off before wiring. Installation should be performed by a qualified electrician in accordance with all local and national electrical codes.
- Do not use with standard (120V) incandescent or halogen lighting. This dimmer is for 0-10V low voltagtylko systemy e.
- Sprawdź, czy wszystkie połączenia przewodów są solidne.
- Do not exceed the maximum electrical ratings of the device.
- Tylko do użytku wewnątrz pomieszczeń.
3. Zawartość opakowania
- ENERLITES 51300L-W Niska objętośćtage Slide Dimmer Decorator Switch
- Śruby montażowe
- Instrukcja instalacji (niniejsza instrukcja)
4. Specyfikacje
| Funkcja | Specyfikacja |
|---|---|
| Numer modelu | 51300L-W |
| Tryb działania | Off, Paddle, Slide Dimmer |
| Obecna ocena | 3 Amps |
| Objętość operacyjnatage | 120-277 V AC |
| Wyjście ściemniania | 0-10V prądu stałego, 30mA |
| Typ obwodu | Jednobiegunowy lub trójdrożny |
| Kompatybilne urządzenia | Niska objętośćtage LED lights, LED drivers, LED fixtures, fluorescent ballasts |
| Certyfikaty | Posiada certyfikat UL |
| Wymiary (dł. x szer. x wys.) | 5.1 x 5.8 x 11.4 cale (w przybliżeniu) |
| Waga przedmiotu | 3.52 uncji |
| Kolor | Biały |
5. Instalacja
5.1 Schemat okablowania
Before beginning installation, ensure power is turned off at the circuit breaker. The 51300L-W dimmer requires specific wiring for 0-10V systems. Refer to the diagram below for proper connections.

Image 5.1: Wiring connections for the 0-10V Dimmer Switch. This diagram illustrates the typical wiring for a 0-10V dimmer, including line, load, neutral, and 0-10V control wires.
5.2 Kroki instalacji
- Wyłącz zasilanie: Znajdź wyłącznik sterujący oprawą oświetleniową i wyłącz go. Sprawdź, czy zasilanie jest wyłączone za pomocą przełącznika woltowego.tagtester.
- Usuń istniejący przełącznik: Ostrożnie zdejmij płytkę ścienną i odkręć istniejący przełącznik od puszki ściennej. Odłącz przewody.
- Podłącz ściemniacz: Connect the wires from the wall box to the dimmer according to the wiring diagram (Image 5.1). Ensure all connections are tight and secure. The 0-10V dimmer controls the driver or ballast of your lighting fixture.
- Montaż ściemniacza: Gently push the wired dimmer into the wall box and secure it with the provided screws.
- Zainstaluj płytę ścienną: Attach the decorator wall plate (not included) over the dimmer.
- Przywróć zasilanie: Włącz ponownie zasilanie za pomocą wyłącznika obwodu.
5.3 3-Way Application
The 51300L-W dimmer supports 3-way applications, allowing control of a single light fixture from two different locations. Consult a qualified electrician for proper 3-way wiring configurations.
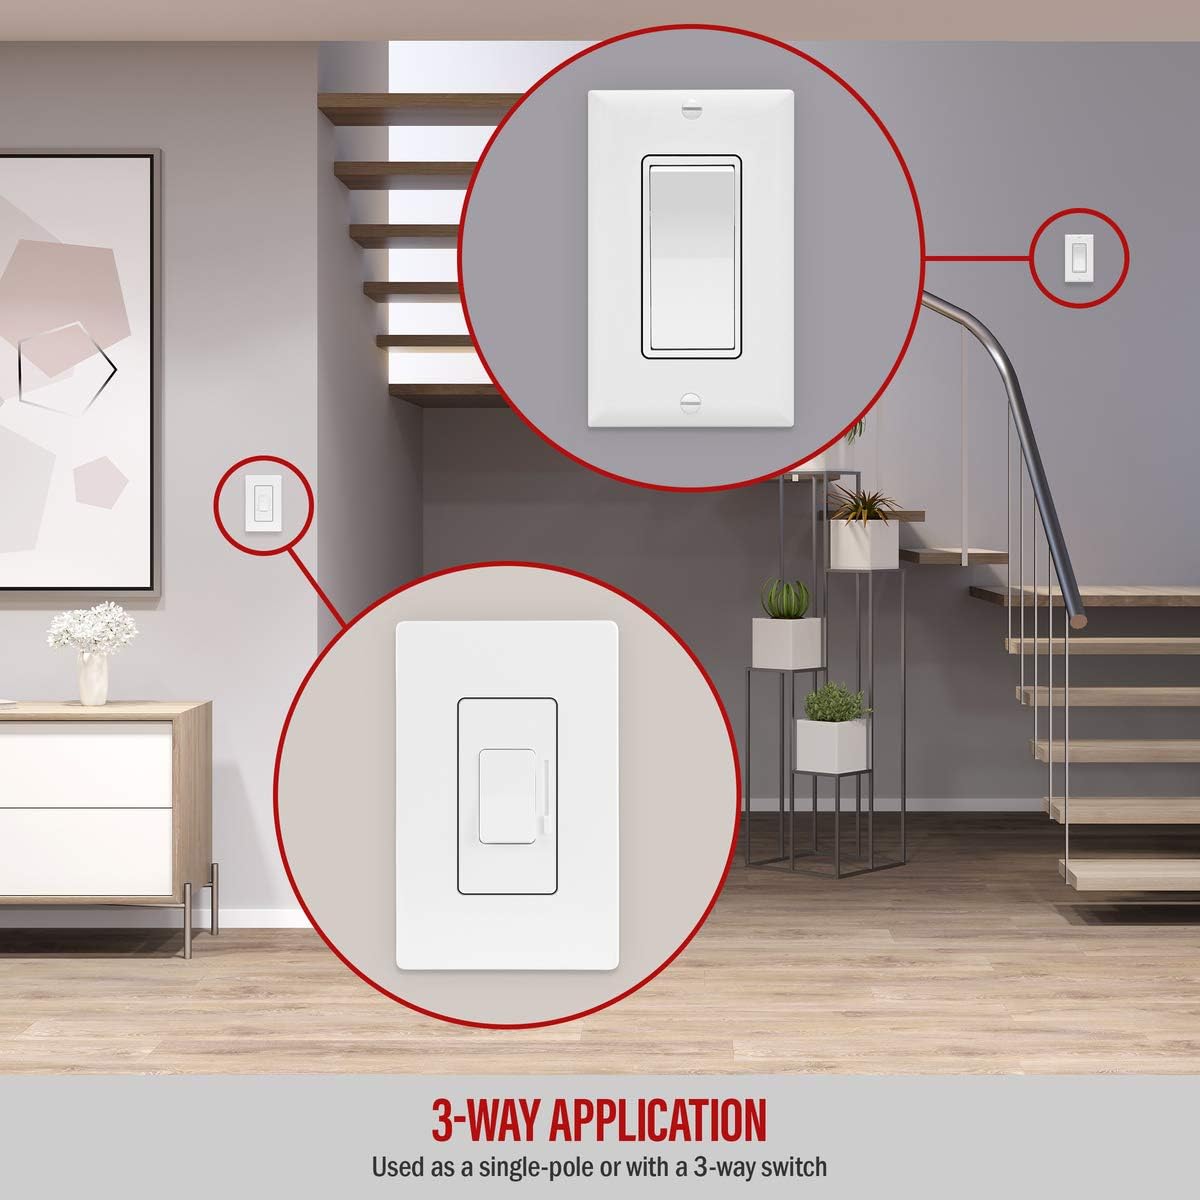
Obraz 5.2: Example of a 3-way application with the ENERLITES dimmer, showing control from two locations.
6. Działanie
6.1 Sterowanie włączaniem/wyłączaniem
The large rocker switch on the dimmer controls the on/off function of the lights. Press the top of the rocker to turn lights on, and the bottom to turn lights off. The dimmer will remember the last set dimming level when turned off and on.
6.2 Sterowanie ściemnianiem
Use the vertical slide bar next to the rocker switch to adjust the brightness level. Slide the control up for brighter light and down for dimmer light. This linear dimming slider provides smooth adjustment.
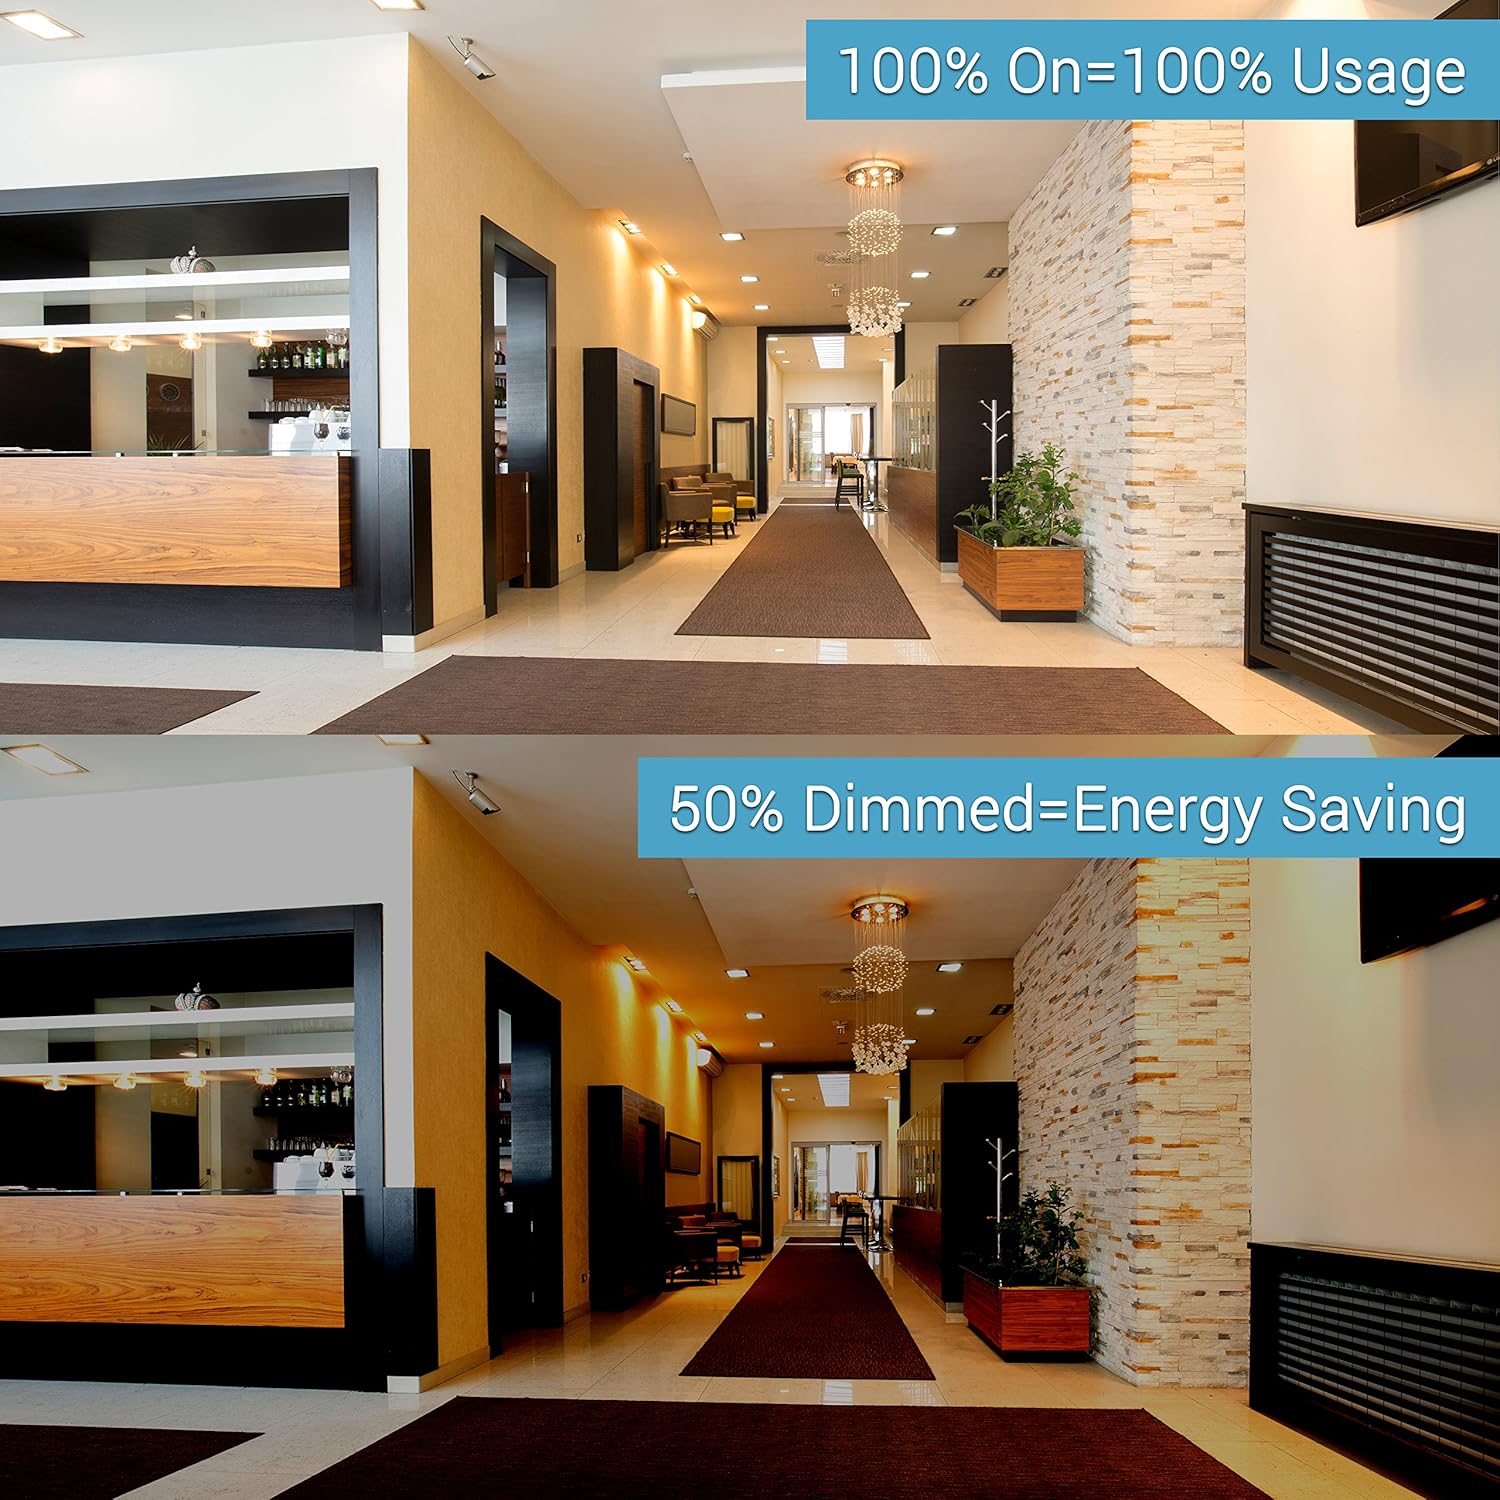
Image 6.1: Visual comparison of lights at 100% brightness versus 50% dimmed, demonstrating the dimmer's effect.
6.3 Dimming Range Adjustment (Trim-Pot)
The dimmer features an adjustment wheel (trim-pot) located on the left side. This allows you to fine-tune the dimming range to optimize performance with your specific LED light bulbs or fixtures. Adjusting the trim-pot can help eliminate flickering at low dimming levels and maximize the overall dimming range.

Obraz 6.2: Zbliżenie view of the dimmer, highlighting the trim-pot adjustment wheel for fine-tuning the dimming range.
To adjust: Use a small screwdriver to turn the trim-pot wheel. Turn it clockwise to increase the minimum brightness level or counter-clockwise to decrease it, until desired performance is achieved without flickering.
7. Konserwacja
The ENERLITES 51300L-W dimmer requires minimal maintenance. To clean the device, gently wipe the surface with a soft, damp Ściereczką. Nie używaj środków czyszczących ani rozpuszczalników o działaniu ściernym, ponieważ mogą one uszkodzić wykończenie lub elementy wewnętrzne. Przed czyszczeniem upewnij się, że urządzenie jest odłączone od zasilania.
8. Rozwiązywanie Problemów
- Lights are flickering at low dimming levels: Adjust the trim-pot wheel on the side of the dimmer (refer to Section 6.3) to set a higher minimum brightness level.
- Lights do not dim or turn on/off:
- Verify that power is supplied to the dimmer at the circuit breaker.
- Check all wiring connections for tightness and correctness according to the wiring diagram (Image 5.1).
- Ensure the connected light fixtures or ballasts are 0-10V dimmable.
- Dimmer jest ciepły: It is normal for dimmers to feel warm during operation. If the dimmer becomes excessively hot or emits a burning smell, immediately turn off power at the circuit breaker and contact a qualified electrician.
9. Gwarancja i wsparcie
9.1 Informacje o gwarancji
The ENERLITES 51300L-W Low Voltage Slide Dimmer Decorator Switch comes with a 1-letnia gwarancja from the date of purchase. This warranty covers defects in materials and workmanship under normal use. It does not cover damage caused by improper installation, misuse, abuse, or unauthorized modifications.
9.2 Obsługa klienta
For technical assistance, troubleshooting beyond this manual, or warranty claims, please contact ENERLITES customer support. Refer to the product packaging or the official ENERLITES webAktualne dane kontaktowe znajdują się na stronie.


