1. Wprowadzenie
This manual provides comprehensive instructions for the assembly, operation, and maintenance of your Glorious Sound Desk Pro Professional Studio Workstation. Please read this manual thoroughly before assembly and use to ensure proper function and longevity of your product. Keep this manual for future reference.
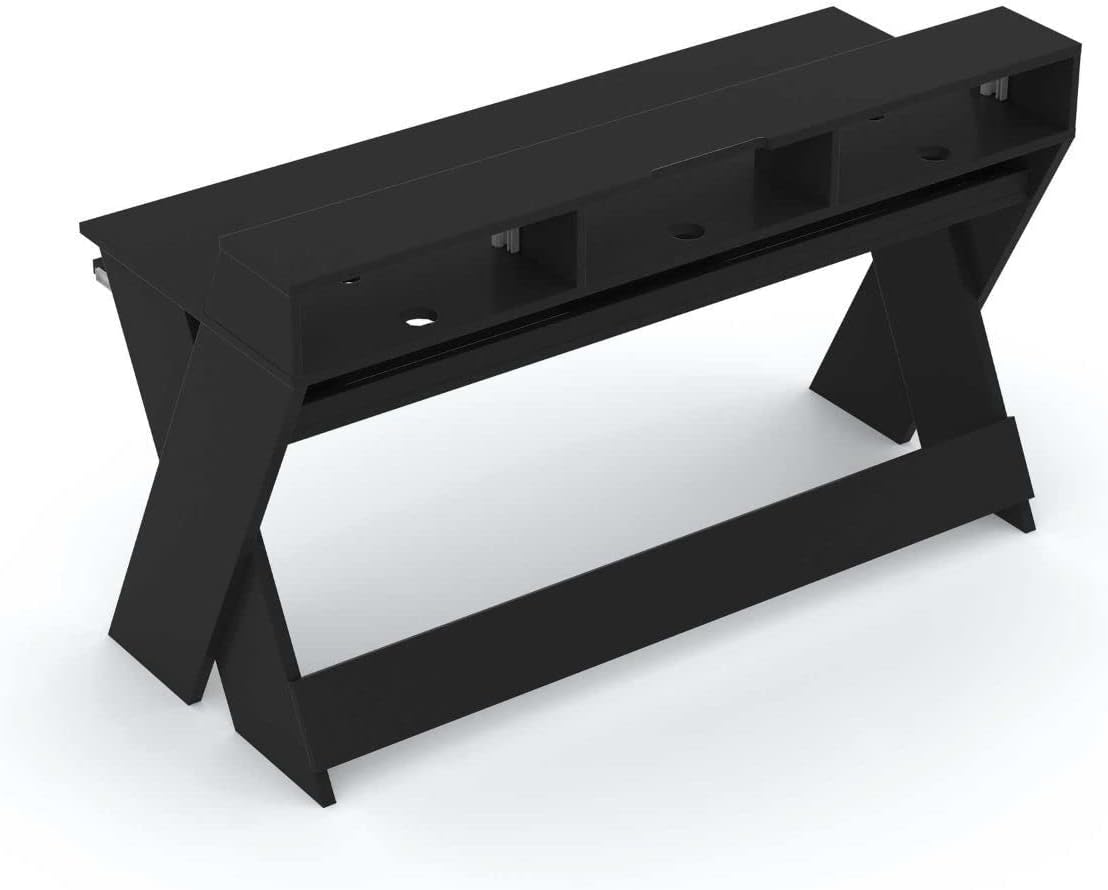
The Glorious Sound Desk Pro is designed as a professional studio workstation, optimized for various creative applications. It provides ample space for a computer, screen, studio monitors, audio interface, 19-inch rack-mount equipment, MIDI controllers, synthesizers, and a master keyboard. Its design allows for multi-level production setups, featuring a pull-out drawer for keyboards and integrated cable management solutions.

Figure 1.1: Glorious Sound Desk Pro Professional Studio Workstation.
2. Informacje dotyczące bezpieczeństwa
Ważne instrukcje bezpieczeństwa:
- Always ensure the desk is properly anchored to the wall when mounted flush to prevent tipping.
- Do not exceed the maximum weight limit of 23.383 kilograms (51.55 pounds) for the desk surface to maintain stability.
- Use only the provided assembly tools and hardware.
- Ensure all connections are secure before placing equipment on the desk.
- Trzymaj dzieci i zwierzęta z daleka podczas montażu.
3. Zawartość opakowania
Przed rozpoczęciem montażu sprawdź, czy wszystkie elementy są obecne i nieuszkodzone. Jeśli brakuje którejkolwiek części lub jest ona uszkodzona, skontaktuj się z obsługą klienta.
- Glorious Sound Desk Pro components (various wood panels and supports)
- Assembly hardware (screws, dowels, brackets)
- Assembly tools (as specified by manufacturer)
- Instrukcja obsługi
Rysunek 3.1: Example of Glorious Sound Desk Pro components before assembly.
4. Instrukcja montażu
Assembly requires approximately 1 person. All necessary assembly tools are included. Follow these steps carefully:
- Rozpakuj komponenty: Ostrożnie wyjmij wszystkie części z opakowania i rozłóż je na czystej, miękkiej powierzchni, aby zapobiec zarysowaniom. Zidentyfikuj każdy element, korzystając z dołączonej listy części.
- Zamontuj panele boczne: Attach the cross-braces to the X-shaped side panels using the designated screws. Ensure all connections are tight.
- Install Main Desk Surface: Secure the main desk surface to the assembled side panels. Pay attention to the orientation for proper alignment of cable cutouts and rack slots.
- Attach Upper Shelf: Mount the upper shelf, which includes the 19-inch rack slots, to the main desk surface.
- Assemble Keyboard Tray:
- Attach the drawer glides to the keyboard tray and the underside of the main desk surface.
- The keyboard tray is adjustable in 4 height positions. Select the desired height before fully securing the glides. Refer to Figure 4.1 for height options.
- Kontrole końcowe: Ensure all screws are tightened and the desk is stable.

Figure 4.1: Keyboard tray height adjustment options (measurements in mm).

Figure 4.2: Overall dimensions of the Glorious Sound Desk Pro (measurements in mm).
5. Funkcje i zastosowanie
The Sound Desk Pro is designed for optimal studio workflow. Here's how to utilize its key features:
5.1 Workspace Organization
The desk provides a large working surface with increased width and depth, allowing for simultaneous production on three levels. This accommodates a laptop/computer, screen, studio monitors, audio interface, MIDI controllers, and synthesizers.

Figure 5.1: Glorious Sound Desk Pro with a typical studio setup.
5.2 19-inch Rack Slots
Two 3U rack slots are integrated into the upper shelf, suitable for mounting 19-inch devices such as compressors, equalizers, or effects units.

Figure 5.2: Integrated 19-inch rack slots with equipment.
5.3 Tacka na klawiaturę
The pull-out drawer is designed to accommodate keyboards up to 88 keys. It can be adjusted to four different height positions during assembly to suit your specific keyboard and ergonomic needs.
5.4 Zarządzanie kablami
The desk features multiple ducts for cable routing on the top, interior, and bottom. An interior cable duct is suitable for organizing power supplies using multiple sockets and is accessible from both the front and rear. A cable recess at screen height allows the desk to be placed flush against a wall.

Figure 5.3: Cable routing for studio monitors.

Figure 5.4: Internal cable management for power strips.
6. Specyfikacje
| Funkcja | Szczegół |
|---|---|
| Marka | Wspaniały |
| Numer modelu | AMS-SOUND-DESK-PRO-BLK |
| Kolor | Czarny |
| Materiał bazowy | Drewno |
| Najlepszy rodzaj materiału | Drewno |
| Rodzaj wykończenia | Lacquered or Varnished |
| Waga przedmiotu | 23.38 kilogramów (51.55 funty) |
| Maksymalna wysokość | 157.48 centymetrów (62 cala) |
| Długość przekątnej powierzchni roboczej | 59 cali |
| Wymagany montaż | Tak |
| Zalecana liczba osób do montażu | 1 |
| Zawiera wszystkie narzędzia montażowe | Tak |
| Number of Keyboard Tray Height Positions | 4 |
7. Konserwacja
To ensure the longevity and appearance of your Glorious Sound Desk Pro, follow these maintenance guidelines:
- Czyszczenie: Przetrzyj powierzchnie miękką, damp ściereczką. Unikaj środków czyszczących o działaniu ściernym i silnych środków chemicznych, ponieważ mogą one uszkodzić wykończenie.
- Zasypka: Regularly dust the desk to prevent buildup, especially in cable management areas and rack slots.
- Sprawdzenie sprzętu: Okresowo sprawdzaj wszystkie śruby i połączenia, aby upewnić się, że są dobrze dokręcone. W razie potrzeby dokręć je ponownie.
- Rozkład masy: Distribute equipment weight evenly across the desk surface and shelves to prevent stress on any single point.
- Unikaj wilgoci: Protect the desk from excessive moisture and direct sunlight to prevent warping or fading.
8. Rozwiązywanie Problemów
This section addresses common issues you might encounter with your Sound Desk Pro.
| Problem | Możliwa przyczyna | Rozwiązanie |
|---|---|---|
| Biurko wydaje się chwiejne i niestabilne. | Luźne śruby lub nierówna podłoga. | Ensure all assembly screws are tightened. Check if the floor is level; use shims if necessary. Verify proper wall anchoring if applicable. |
| Półka na klawiaturę nie przesuwa się płynnie. | Drawer glides are misaligned or dirty. | Check alignment of glides and ensure they are free of debris. Apply a small amount of silicone lubricant if needed. |
| Equipment does not fit in 19-inch rack slots. | Incorrect rack unit size or mounting method. | Ensure equipment is standard 19-inch rack-mountable and does not exceed 3U height per slot. Use appropriate rack screws. |
9. Gwarancja i wsparcie
The Glorious Sound Desk Pro comes with a 1-year limited manufacturer's warranty. This warranty covers defects in materials and workmanship under normal use. It does not cover damage resulting from misuse, accidents, unauthorized modifications, or normal wear and tear.
For warranty claims, technical support, or to order replacement parts, please contact Glorious customer service through their official website or your point of purchase. Please have your model number (AMS-SOUND-DESK-PRO-BLK) and proof of purchase ready.


