1. Wprowadzenie
The MARATHON 100 Hour Direct Entry Digital Tabletop Timer is designed to assist with precise time management for various tasks. Featuring a large, easy-to-read LCD display and a direct entry keypad, this timer offers both countdown and count-up functionalities, a clock mode, and memory presets for repetitive events. Its robust design includes a magnetic back and an integrated kickstand for versatile placement.
2. Koniec produktuview
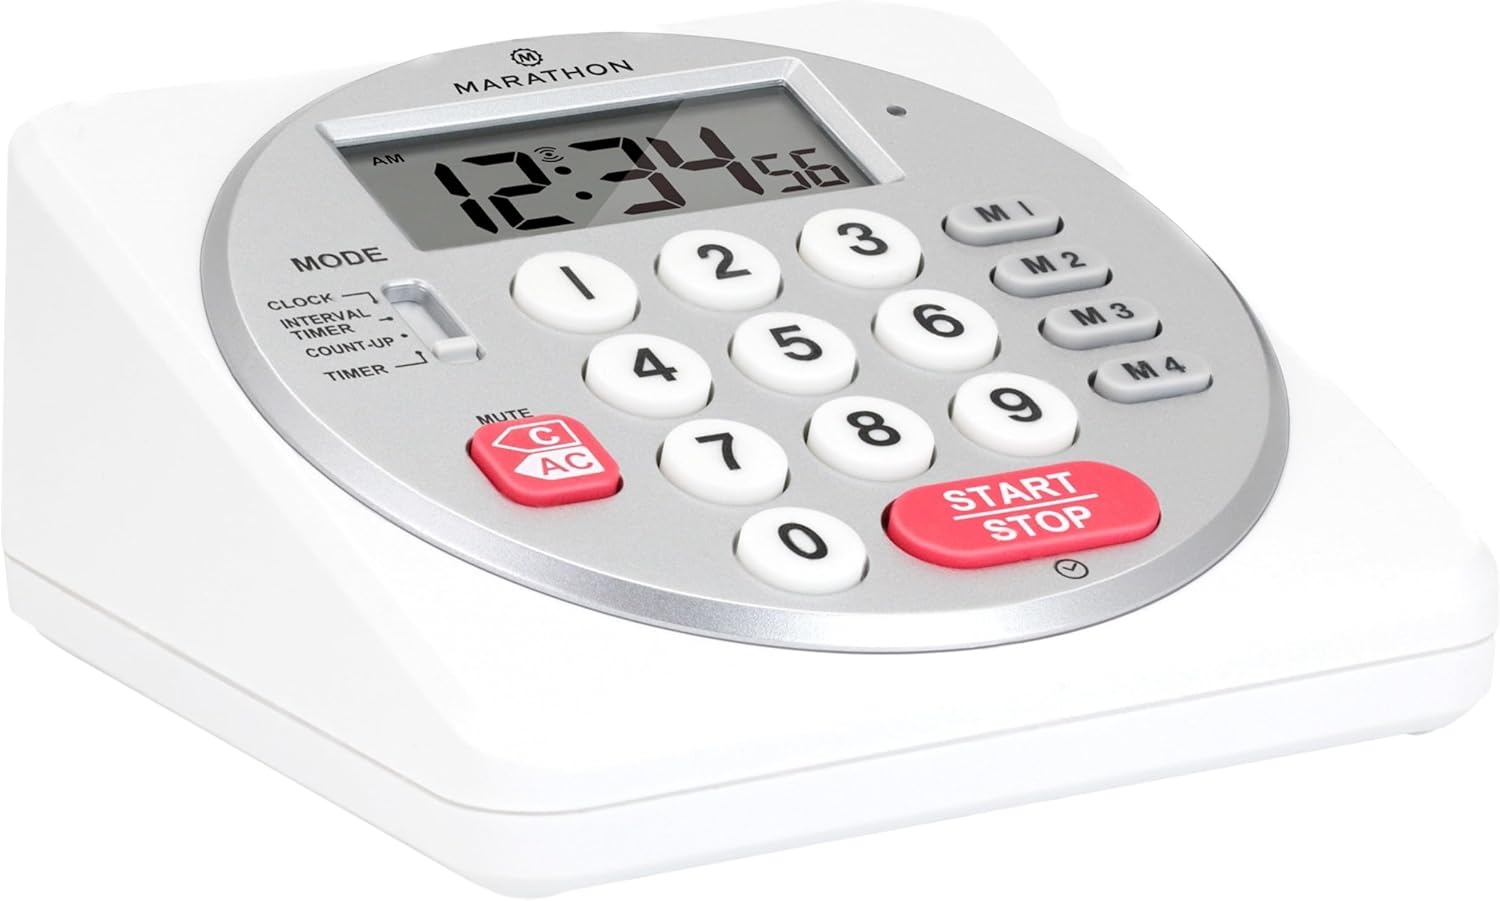
Rycina 1: Przód view of the Marathon Digital Timer.
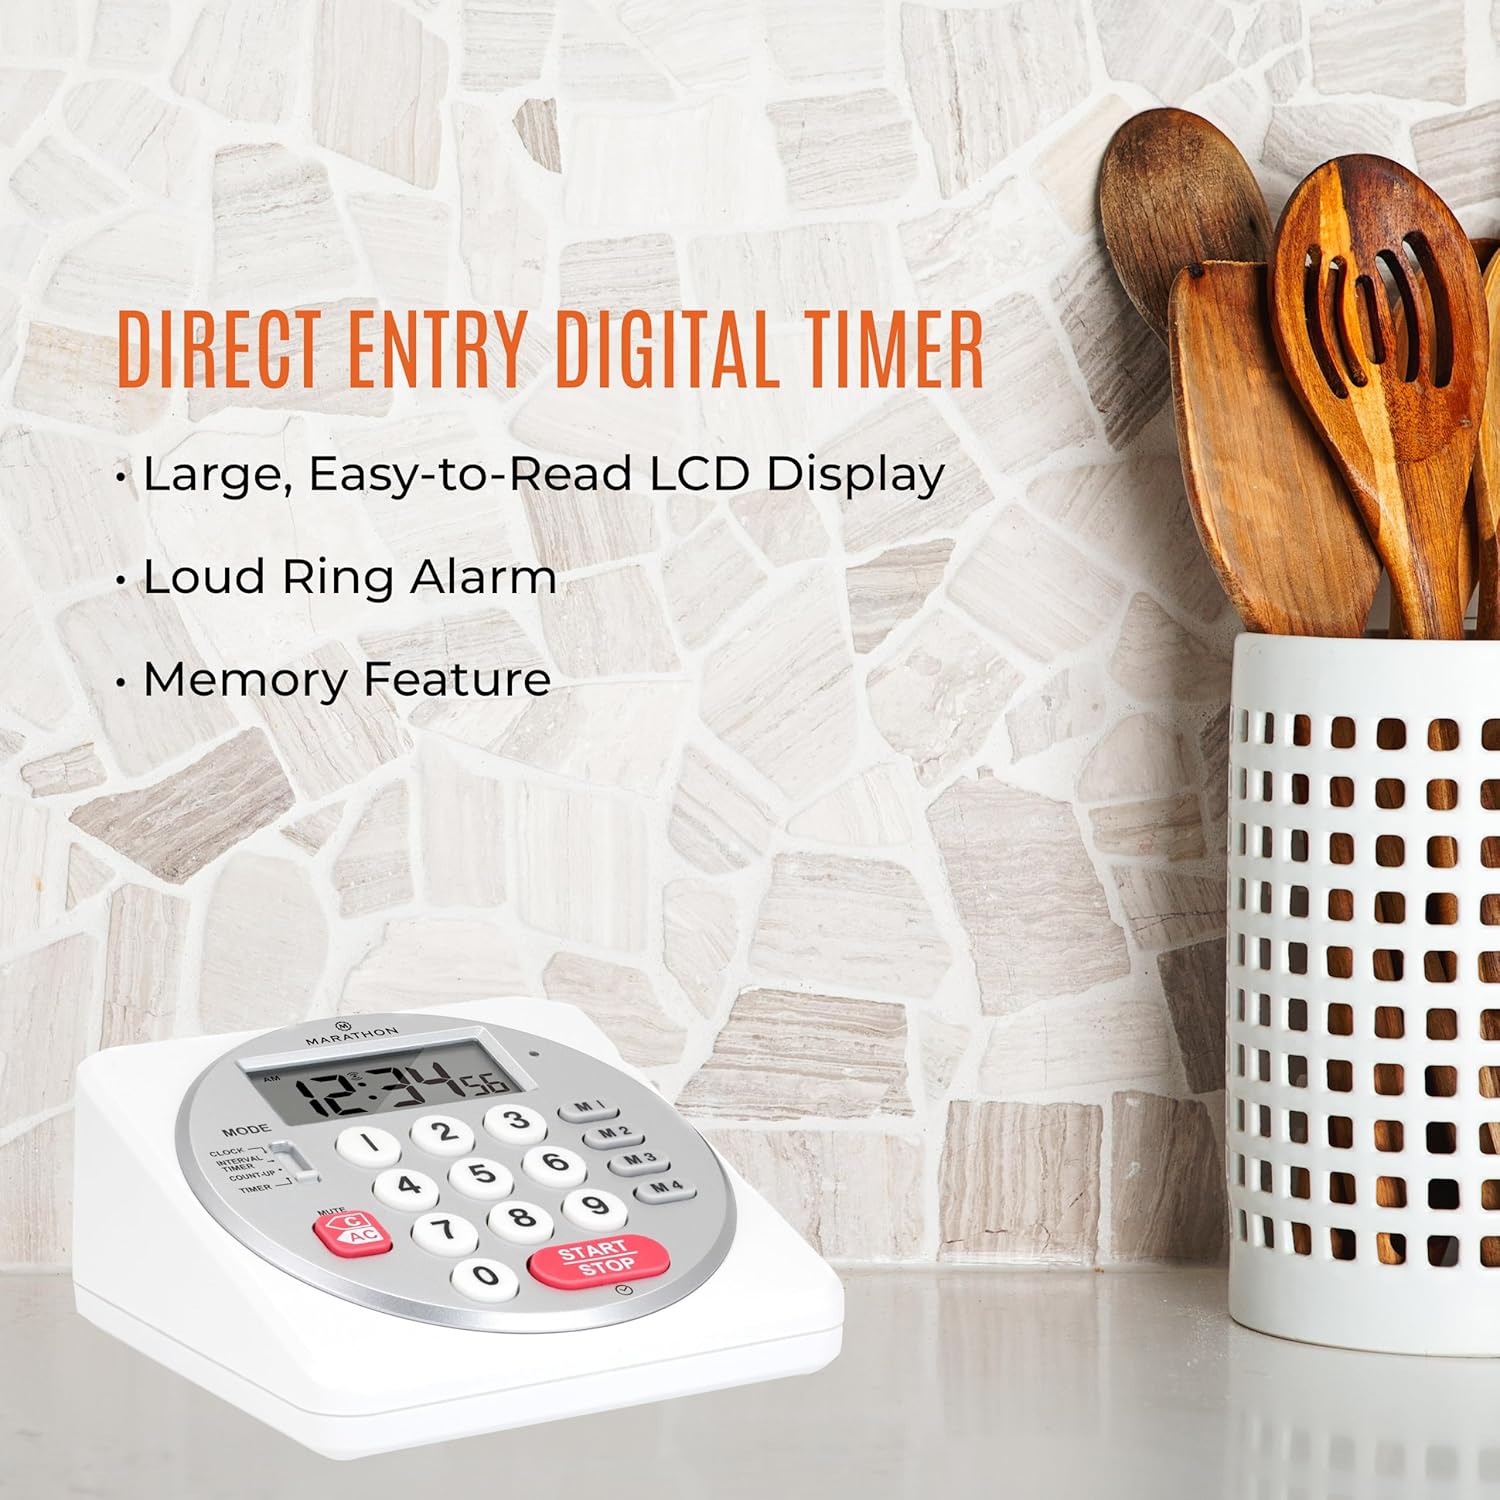
Figure 2: Timer on a kitchen counter, highlighting large display and loud alarm.

Figure 3: Timer showcasing dual function, included batteries, and versatile memory.
Główne cechy:
- Direct Entry Keypad: For quick and precise time setting.
- Duży wyświetlacz LCD: Easy-to-read numbers for clear visibility.
- Dual Function Alarm: Supports both countdown and count-up timing up to 99 hours, 59 minutes, and 59 seconds.
- Loud Ring Alarm: Audible across a room.
- Wskaźnik LED: Flashing light for silent alarm or hearing impairment assistance.
- Clock Feature: Displays time in 12-hour or 24-hour format when not in timer mode.
- Built-in Memory Function: Stores up to four consecutive times for interval timing and four memory presets for repetitive events.
- Wszechstronne rozmieszczenie: Integrated kickstand for tabletop use and magnetic back for attachment to metal surfaces.
- Baterie w zestawie: W zestawie 2 baterie AA.
3. Konfiguracja
3.1. Instalacja baterii
- Locate the battery compartment cover on the back of the timer.
- Otwórz pokrywę.
- Insert two (2) AA batteries, ensuring correct polarity (+/-) as indicated inside the compartment. The timer comes with batteries included.
- Dokładnie załóż pokrywę komory baterii.

Rysunek 4: Tył view with battery compartment and kickstand.
4. Instrukcja obsługi
4.1. Wybór trybu
Użyj TRYB switch located on the side of the timer to select between different functions:
- ZEGAR: Wyświetla aktualny czas.
- INTERVAL TIMER: For setting multiple consecutive timers.
- COUNT-UP: Functions as a stopwatch.
- REGULATOR CZASOWY: For setting a single countdown timer.

Figure 5: MODE switch for function selection.
4.2. Ustawianie zegara
- Przesuń TRYB przełączyć na ZEGAR.
- Naciśnij i przytrzymaj USTAWIĆ Naciskaj przycisk, aż cyfry czasu zaczną migać.
- Use the number keypad (0-9) to enter the desired time (HH:MM).
- Naciskać USTAWIĆ ponownie, aby potwierdzić i wyjść z trybu ustawiania zegara.
- Aby przełączać się między formatem 12-godzinnym i 24-godzinnym, naciśnij przycisk 12/24 godziny button (if available, or refer to specific model instructions).
4.3. Setting a Countdown Timer (TIMER Mode)
- Przesuń TRYB przełączyć na REGULATOR CZASOWY.
- Use the number keypad (0-9) to directly enter the desired countdown time (HH:MM:SS). The timer supports up to 99 hours, 59 minutes, 59 seconds.
- Naciśnij START/STOP przycisk, aby rozpocząć odliczanie.
- Aby wstrzymać timer, naciśnij START/STOP ponownie. Naciśnij jeszcze raz, aby wznowić.
- When the countdown reaches zero, the alarm will sound, and the LED indicator will flash. The timer will then automatically begin counting up to show elapsed time since the alarm.
- To stop the alarm and clear the display, press the JASNE przycisk.
4.4. Using the Count-Up Timer (COUNT-UP Mode)
- Przesuń TRYB przełączyć na ZLICZANIE.
- Ensure the display shows 00:00:00. If not, press JASNE.
- Naciśnij START/STOP button to begin counting up.
- Aby wstrzymać odliczanie, naciśnij START/STOP ponownie. Naciśnij jeszcze raz, aby wznowić.
- To reset the count-up timer to zero, press JASNE.
4.5. Using Memory Functions (M1-M4 Presets)
The timer features four memory buttons (M1, M2, M3, M4) for storing and recalling frequently used times or for interval timing.
- In REGULATOR CZASOWY mode, enter the desired time using the number keypad.
- Press and hold one of the memory buttons (M1-M4) until the display confirms the time has been saved.
- To recall a saved time, simply press the corresponding memory button (M1-M4). The saved time will appear on the display, ready to start.
- For interval timing, set the first interval, save it to M1. Then set the second interval, save it to M2, and so on. You can then cycle through these presets as needed.
4.6. Regulacja głośności alarmu
The timer features a volume switch, typically located on the side or back, allowing you to select between different alarm levels (e.g., High, Low, Mute) or a flashing LED indicator for silent operation.
5. Konserwacja
- Wyczyść timer miękką, damp ściereczką. Nie używaj środków czyszczących o właściwościach ściernych ani nie zanurzaj urządzenia w wodzie.
- Avoid exposing the timer to extreme temperatures or direct sunlight for prolonged periods.
- If the display becomes dim or the alarm weakens, replace the batteries promptly.
6. Rozwiązywanie Problemów
| Problem | Możliwa przyczyna | Rozwiązanie |
|---|---|---|
| Timer not turning on. | Baterie są rozładowane lub nieprawidłowo zainstalowane. | Sprawdź biegunowość baterii lub wymień je na nowe baterie AA. |
| Wyświetlacz jest przyciemniony. | Niski poziom naładowania baterii. | Wymień baterie. |
| Alarm nie włącza się. | Alarm volume is set to mute or low. | Check the alarm volume switch and adjust as needed. |
| Timer nie reaguje na naciśnięcie przycisków. | Unit may be in a locked state (if applicable) or requires a reset. | Remove and reinsert batteries to perform a hard reset. Check for any lock switches. |
7. Specyfikacje
- Model: TI030018WH
- Marka: MARATHON
- Tworzywo: Plastikowy
- Wymiary: 4.45 x 2.64 x 4.45 cala
- Waga przedmiotu: 7.1 uncji
- Źródło zasilania: 2 baterie AA (w zestawie)
- Max Timer Duration: 99 godzin, 59 minut, 59 sekund
- Cechy: Direct Entry, Dual Function (Count-up/Count-down), Clock, Memory Presets, LED Indicator, Magnetic Back, Kickstand
- Kod UPC: 063442000342

Rysunek 6: Wymiary produktu.
8. Gwarancja i wsparcie
Aby uzyskać informacje dotyczące gwarancji lub pomocy technicznej, zapoznaj się z oficjalną instrukcją producenta webOdwiedź stronę internetową lub skontaktuj się z działem obsługi klienta. Zachowaj paragon jako dowód zakupu.


