1. Wprowadzenie
This manual provides essential information for the safe and effective operation, assembly, and maintenance of your Vive 3 Wheel Mobility Scooter. Designed for adults, this electric-powered device offers stable assistance for navigating smooth indoor and light outdoor surfaces, ensuring comfort and independence.
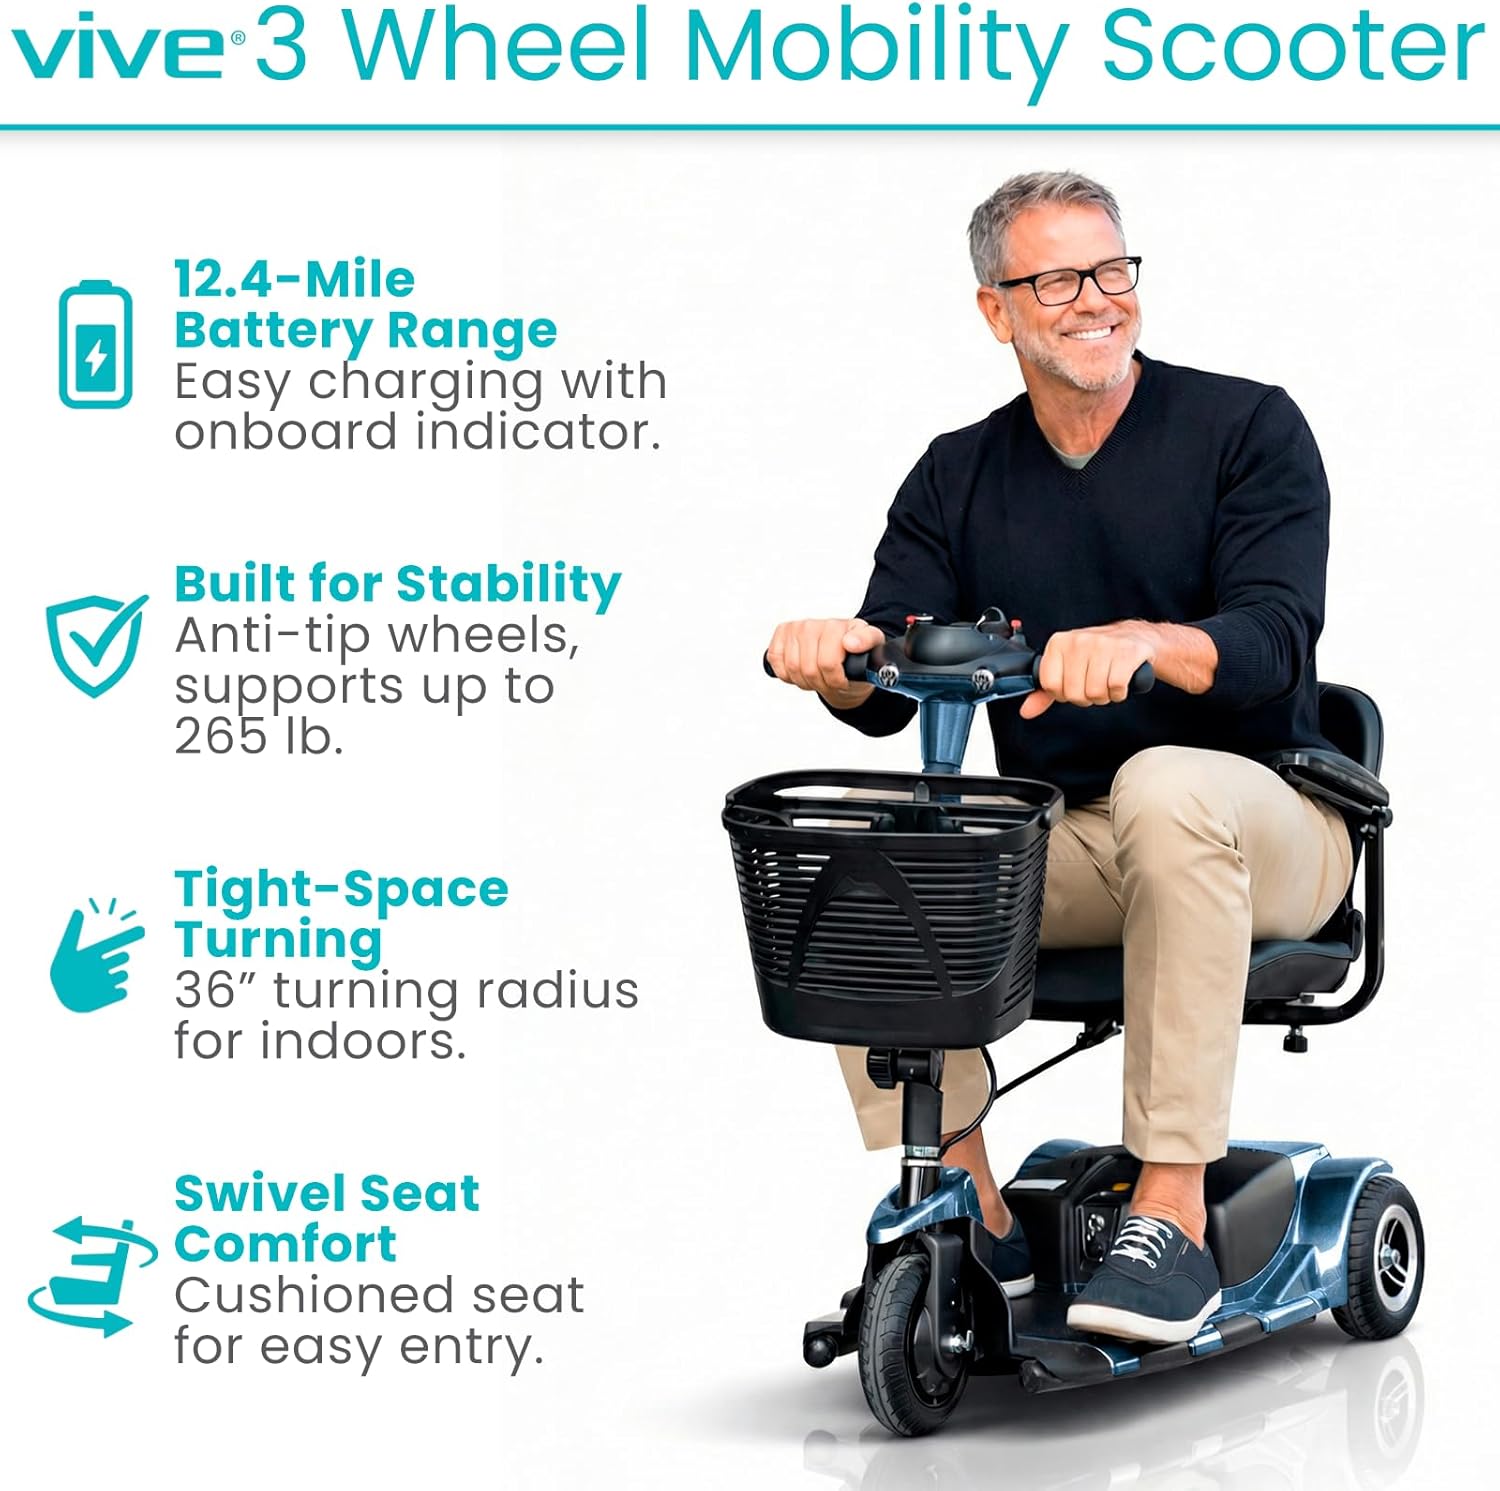
Image: A man riding the Vive 3 Wheel Mobility Scooter, showcasing its compact design and ease of use.
2. Informacje dotyczące bezpieczeństwa
Always prioritize safety when operating the mobility scooter. Adhere to the following guidelines:
- Nośność: The scooter is designed to safely support up to 265 pounds. Do not exceed this limit.
- Teren: Suitable for smooth indoor surfaces and light outdoor terrains such as concrete, pavement, and short grass. Avoid rugged terrain, very steep inclines, or uneven surfaces to prevent instability.
- Opony: Equipped with flat-free, non-marking 8-inch tires for worry-free rides.
- Stabilność: Features anti-tip wheels for enhanced stability.
- Hamowanie: The scooter is equipped with an automatic braking system. Ensure the drive lever is released to engage the brakes.
- Manewrowanie: Exercise caution when navigating tight spaces or around obstacles.

Obraz: Szczegółowy view of the scooter's flat-free tires, suitable for different smooth terrains.
3. Zawartość opakowania
Sprawdź, czy po rozpakowaniu znajdują się wszystkie elementy:
- Vive 3 Wheel Mobility Scooter (main unit)
- Comfortably padded seat with flip-up armrests
- Front-mounted storage basket
- Rozszerzona bateria
- Quick-connect battery charger
- Klucz zapłonu
4. Montaż i konfiguracja
The Vive 3 Wheel Mobility Scooter is designed for quick and easy assembly and disassembly. It can be separated into four lightweight pieces for convenient transport and storage.
- Rozpakuj komponenty: Ostrożnie wyjmij wszystkie części z opakowania.
- Attach Rear Section: Connect the rear drive section to the main chassis.
- Zainstaluj baterię: Securely place the extended battery into its compartment.
- Dołącz siedzisko: Mount the padded seat onto the seat post, ensuring it locks into place.
- Install Tiller: Raise and secure the folding tiller into the upright position.
- Attach Basket: Hook the front storage basket onto the tiller.

Image: The scooter disassembled into its main components, demonstrating its portability for vehicle transport.
For a visual guide on assembly, please refer to the "About the Vive 3 Wheel Mobility Scooter" video below.
Wideo: Ponadview of the Vive 3 Wheel Mobility Scooter, including assembly and key features.
5. Instrukcja obsługi
5.1 Tiller Console Controls
The tiller console provides all necessary controls for operating your scooter:

Obraz: Szczegółowy view of the scooter's control panel, showing the power switch, battery indicator, speed dial, horn, and headlight controls.
- Przełącznik kluczykowy: Insert the key and turn to the 'ON' position to power on the scooter.
- Wskaźnik poziomu baterii: Located at the top of the console, this color-coded display shows the current battery charge.
- Wybieranie o zmiennej prędkości: Adjust the maximum speed of the scooter. Turn left for slower speeds, right for faster speeds (up to 3.7 mph).
- Dźwignia napędowa: Press the right side of the lever to move forward. Press the left side to engage reverse. Releasing the lever will activate the automatic brake.
- Przełącznik reflektorów: Activates the scooter's headlight.
- Przycisk klaksonu: Naciśnij, aby zatrąbić.
For a detailed demonstration of the control panel, watch the video below:
Video: A demonstration of the Vive 3 Wheel Mobility Scooter's control panel functions.
5.2 Siedzenia i komfort
The scooter features a comfortably padded 16.9-inch wide seat and backrest. The seat can be adjusted for height and swivels to facilitate easier entry and exit. Padded armrests can be adjusted and flipped upward for added convenience.

Image: A user demonstrating the adjustable and flip-up armrests, highlighting the comfortable padded seat.
5.3 Manewrowość
The 3-wheel design provides a tight 36-inch turning radius, allowing for easy navigation through doorways, hallways, and other narrow indoor and outdoor spaces.

Image: A woman demonstrating the scooter's maneuverability by navigating around cones, showcasing its tight turning radius.
6. Ładowanie akumulatora
The scooter is equipped with an extended battery providing a driving range of up to 12.4 miles per charge. The battery is removable, allowing for convenient off-board charging.
- Upewnij się, że hulajnoga jest wyłączona.
- Znajdź komorę baterii i wyjmij baterię.
- Connect the quick-connect charger to the battery and a standard power outlet.
- Allow the battery to charge fully. The battery indicator lights on the charger will indicate charging status.
- Once fully charged, disconnect the charger and re-install the battery into the scooter.

Image: The quick-connect charger and the scooter's battery, illustrating the charging process.
7. Disassembly for Transport
For easy transport and storage, the scooter quickly disassembles into four manageable pieces. The heaviest piece weighs approximately 29 pounds, making it suitable for lifting into standard vehicle trunks.
- Remove the front storage basket.
- Fold down the tiller.
- Zdejmij siedzisko.
- Separate the main chassis from the rear drive section.
Reverse these steps for reassembly.
8. Konserwacja
Regularna konserwacja zapewnia optymalną wydajność i długowieczność Twojego skutera:
- Czyszczenie: Regularnie przecieraj skuter wodąamp płótno. Unikaj stosowania ostrych środków chemicznych lub ściernych środków czyszczących.
- Pielęgnacja baterii: Keep the battery charged, especially during periods of non-use, to prolong its lifespan.
- Kontrola opon: Periodically check tires for wear and tear. Although flat-free, excessive wear can affect performance.
- Znajomości: Upewnij się, że wszystkie połączenia elektryczne są pewne i wolne od korozji.
- Składowanie: Przechowuj hulajnogę w suchym i chłodnym miejscu, gdy jej nie używasz.
9. Rozwiązywanie Problemów
If your scooter experiences an issue, the battery indicator lights on the tiller console may blink in a specific sequence to indicate an error code. Refer to your user manual (physical copy) for a comprehensive list of error codes and their corresponding troubleshooting steps.
Typowe problemy:
- Hulajnoga się nie włącza: Check if the key is fully inserted and turned to the 'ON' position. Ensure the battery is charged and properly connected. Verify the manual/drive mode lever is in the correct position (drive mode).
- Zmniejszona prędkość lub zasięg: This may indicate a low battery charge. Charge the battery fully.
- Brak reakcji elementów sterujących: Ensure all connections are secure and the scooter is powered on.
10. Specyfikacje
| Funkcja | Specyfikacja |
|---|---|
| Wymiary produktu | 38" gł. x 19.5" szer. x 33" wys. |
| Waga przedmiotu | 84 funtów |
| Nośność | Do 265 funtów |
| Maksymalna prędkość | 3.7 mil na godzinę |
| Driving Range | Do 12.4 mil na jednym ładowaniu |
| Promień skrętu | 36 cali |
| Rozmiar opony | 8 inches (flat-free, non-marking) |
| Heaviest Piece (Disassembled) | 29 funtów |
| Typ baterii | Niestandardowa bateria (w zestawie) |
| Producent | Vive Health |

Image: The scooter's durable aluminum frame, designed for everyday reliability.
11. Gwarancja i wsparcie
The Vive 3 Wheel Mobility Scooter comes with a 5-letnia gwarancja, reflecting our commitment to quality and customer satisfaction. For any questions, technical assistance, or warranty claims, please contact Vive Health Direct customer support.

Image: Highlighting the Vive Health 5-Year Guarantee, ensuring product reliability and customer confidence.


