1. Wprowadzenie
The Hioki CM3286 Clamp On Power Tester is a versatile instrument designed for precise measurement of electrical parameters. It is capable of measuring voltage, current, power, power factor, phase angle, reactive power, and frequency. Additionally, it can detect phase sequence on live lines within single-phase or three-phase circuits at any desired point. This manual provides essential information for the safe and effective operation, maintenance, and troubleshooting of your CM3286 device.
2. Informacje dotyczące bezpieczeństwa
OSTRZEŻENIE: Przed użyciem produktu należy przeczytać wszystkie ostrzeżenia i instrukcje dotyczące bezpieczeństwa. Nieprzestrzeganie ostrzeżeń i instrukcji może spowodować porażenie prądem, pożar lub poważne obrażenia.
- Zawsze należy przestrzegać lokalnych i krajowych przepisów bezpieczeństwa.
- Nie używaj urządzenia, jeśli wygląda na uszkodzone lub działa nieprawidłowo.
- Upewnij się, że urządzenie jest przeznaczone do określonej objętościtage and current levels you intend to measure.
- Wear appropriate personal protective equipment (PPE), such as insulated gloves and eye protection.
- Avoid touching live conductors with bare hands or non-insulated tools.
- Nie należy używać urządzenia w wilgotnym otoczeniu ani w atmosferze zagrożonej wybuchem.
- Keep fingers behind the tactile barrier on the instrument during measurements.
- Disconnect the device from the circuit before opening the battery compartment.
3. Zawartość opakowania
Sprawdź, czy po otwarciu opakowania znajdują się wszystkie wymienione poniżej elementy i czy nie są uszkodzone:
- Hioki CM3286 Clamp On Power Tester Unit
- Przewody pomiarowe (czerwony i czarny)
- Etui transportowe
- Baterie AAA (x2)
- Instrukcja obsługi (ten dokument)
4. Cechy i komponenty produktu

Figure 4.1: Hioki CM3286 Clamp On Power Tester (Overall View)
This image displays the complete Hioki CM3286 Clamp On Power Tester, showcasing its ergonomic design, the large clamp jaw for current measurement, and the clear digital display. The function dial and various control buttons are visible on the front panel.
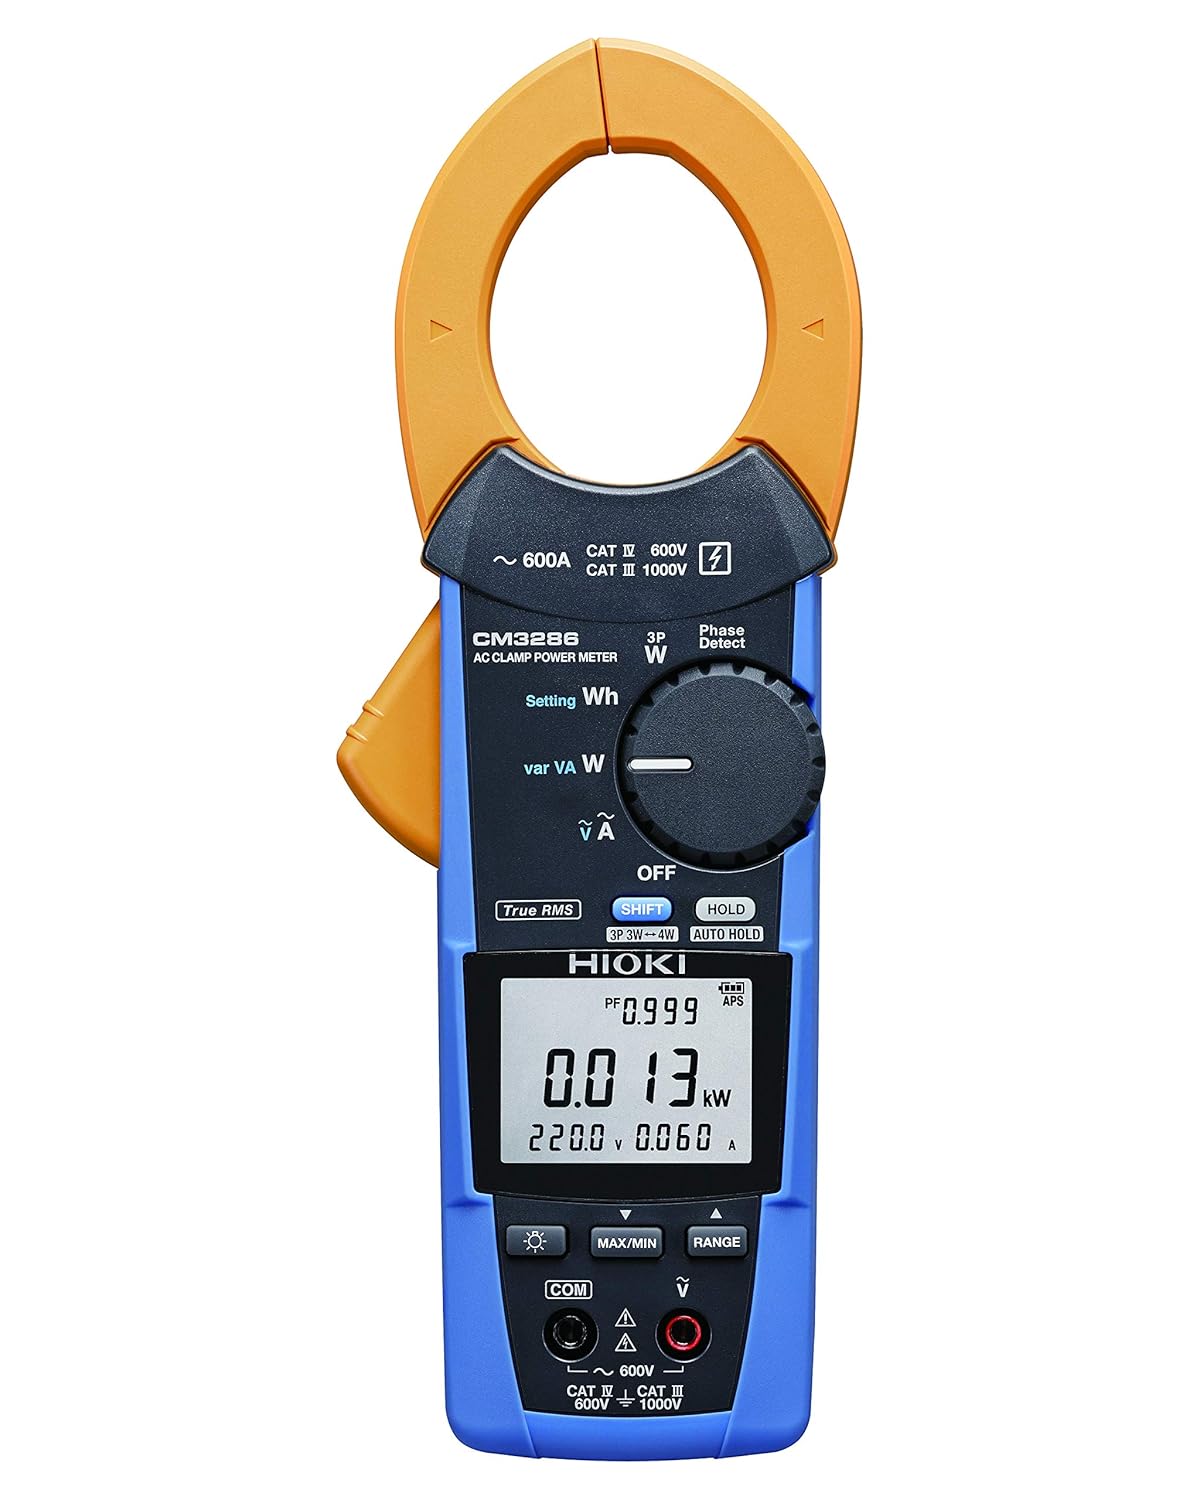
Figure 4.2: Hioki CM3286 Clamp On Power Tester (Front Panel Detail)
This image provides a closer look at the front panel of the Hioki CM3286, highlighting the digital display, the rotary function dial with various measurement settings (e.g., W, Wh, V, A), and the control buttons such as SHIFT, HOLD, MAX/MIN, and RANGE. The input terminals for voltage measurement are also visible at the bottom.
Kluczowe komponenty:
- Clamp Szczęka: Stosowany do bezkontaktowego pomiaru prądu przemiennego.
- Pokrętło funkcji: Selects the desired measurement mode (e.g., Voltage, Current, Power, Frequency).
- Wyświetlacz LCD: Pokazuje odczyty pomiarów, jednostki i wskaźniki.
- Terminale wejściowe: Do podłączania przewodów pomiarowych do pomiaru objętościtage and other measurements.
- Przytrzymaj przycisk: Zamraża aktualny odczyt wyświetlacza.
- Przycisk MAX/MIN: Rejestruje maksymalne i minimalne odczyty.
- Przycisk ZAKRES: Ręczny wybór zakresu pomiarowego.
- Przycisk SHIFT: Accesses secondary functions marked in blue on the dial.
5. Konfiguracja
5.1. Instalacja baterii
- Sprawdź, czy urządzenie jest wyłączone.
- Znajdź pokrywę komory baterii znajdującą się z tyłu urządzenia.
- W razie potrzeby otwórz pokrywę za pomocą śrubokręta.
- Włóż dwie (2) baterie AAA, zwracając uwagę na prawidłową biegunowość (+/-), zgodnie ze wskazaniami wewnątrz komory.
- Załóż pokrywę komory baterii i zabezpiecz ją.
5.2. Pierwsze włączenie zasilania
After battery installation, turn the function dial from "OFF" to any measurement setting to power on the device. The display should illuminate, indicating readiness for use.
6. Instrukcja obsługi
6.1. Włączanie/wyłączanie zasilania
- To power on, rotate the function dial from the "OFF" position to the desired measurement function.
- To power off, rotate the function dial back to the "OFF" position.
6.2. Pomiar prądu przemiennego (Clamp)
- Rotate the function dial to the "A" (Current) setting.
- Otwórz klamp szczękę naciskając dźwignię.
- Enclose only one conductor (live or neutral) within the clamp szczęka. Upewnij się, że szczęka jest całkowicie zamknięta.
- Odczytaj aktualną wartość na wyświetlaczu LCD.
6.3. Tomtage Pomiar (V)
- Rotate the function dial to the "V" (Voltage) ustawienie.
- Connect the red test lead to the "V" input terminal and the black test lead to the "COM" input terminal.
- Podłącz przewody pomiarowe równolegle do obwodu lub elementu, który chcesz zmierzyć.
- Przeczytaj tomtage wartość na wyświetlaczu LCD.
6.4. Power Measurement (W, Wh, var, VA)
The CM3286 can measure various power parameters. Select the appropriate setting on the function dial (W for active power, Wh for energy, var for reactive power, VA for apparent power). Connect test leads for voltage i klamp the jaw around the current conductor as per the specific measurement method outlined in the full manual (not provided here, but implied by the device's capabilities).
6.5. Pomiar częstotliwości (Hz)
Select the "Hz" setting on the function dial. Connect test leads across the circuit where frequency is to be measured, similar to voltagpomiar.
6.6. Detekcja kolejności faz
The device features a "Phase Detect" function. Refer to the detailed instructions in the complete manual for proper connection and interpretation of phase sequence on single-phase or three-phase circuits.
6.7. Using Buttons (HOLD, MAX/MIN, RANGE, SHIFT)
- TRZYMAĆ: Naciśnij, aby zamrozić aktualny odczyt na wyświetlaczu. Naciśnij ponownie, aby zwolnić.
- MAKS./MIN.: Press to enter Max/Min recording mode. The display will show the maximum or minimum value recorded since activation. Press again to cycle through Max, Min, and current readings.
- ZASIĘG: Press to switch between auto-ranging and manual ranging. In manual ranging, press repeatedly to cycle through available ranges.
- ZMIANA: Press to access secondary functions indicated in blue text next to the primary function on the dial.
7. Konserwacja
7.1. Czyszczenie
Przetrzyj urządzenie miękką, damp Ściereczką. Nie używaj środków czyszczących o działaniu ściernym ani rozpuszczalników. Upewnij się, że urządzenie jest całkowicie suche przed przechowywaniem lub kolejnym użyciem.
7.2. Wymiana baterii
When the low battery indicator appears on the display, replace the batteries promptly to ensure accurate measurements. Follow the battery installation steps outlined in Section 5.1.
7.3. Przechowywanie
Store the device in its carrying case in a cool, dry place, away from direct sunlight and extreme temperatures. If storing for extended periods, remove the batteries to prevent leakage.
8. Rozwiązywanie Problemów
| Problem | Możliwa przyczyna | Rozwiązanie |
|---|---|---|
| Urządzenie nie włącza się. | Rozładowane lub nieprawidłowo zainstalowane baterie. | Sprawdź biegunowość baterii; wymień baterie. |
| Brak odczytu na wyświetlaczu. | Incorrect function selected; open circuit; test leads not connected properly. | Select correct function; ensure circuit is complete; check test lead connections. |
| Wyświetla się komunikat „OL” lub „OVER”. | Measurement exceeds selected range or device maximum. | Select a higher range (if manual ranging) or ensure measurement is within device limits. |
| Niedokładne odczyty. | Low battery; environmental interference; damaged test leads. | Replace batteries; move away from strong electromagnetic fields; inspect and replace test leads if damaged. |
9. Specyfikacje
| Parametr | Wartość |
|---|---|
| Numer modelu | CM3286 |
| Marka | Hioki |
| Wymiary opakowania | 9.92 x 2.76 x 2.05 cala |
| Waga przedmiotu | 0.45 kilograma (15.87 uncji) |
| Baterie | 2 baterie AAA (w zestawie) |
| Źródło zasilania | Corded Electric (Note: This refers to the type of power it measures, not its own power source. The device is battery-powered.) |
| Producent | Hioki |
| Data pierwszej dostępności | 20 sierpnia 2020 r. |
10. Gwarancja i wsparcie
For detailed warranty information, please refer to the warranty card included with your product or visit the official Hioki website. Hioki provides comprehensive customer support for its products.
If you encounter any issues not covered in this manual or require technical assistance, please contact Hioki customer support through their official channels. Ensure you have your product model number (CM3286) and purchase details ready when contacting support.
Uwaga: Warunki gwarancji mogą się różnić w zależności od regionu.


