Wstęp
This manual provides essential information for the proper installation, operation, and maintenance of your MTX Audio Dual 12" Vented Subwoofer Enclosure (Model TNE212DV). Please read thoroughly before use to ensure optimal performance and longevity of your product.

Figure 1: MTX Audio Dual 12" Vented Subwoofer Enclosure
Główne cechy
- Vented Design: Purpose-driven vented enclosure meticulously tuned for powerful and impactful bass, ensuring harder-hitting lows.
- Wysoka moc wyjściowa: Robust output of 2,000 watts maximum power and 1,000 watts RMS power for an immersive audio experience with optimal clarity and depth.
- Dual 12-inch Subwoofers: Two powerful 12-inch subwoofers designed to elevate auditory experience with deep bass.
- Trwała konstrukcja: Features polypropylene dust caps for durability, lightweight design, and minimized power consumption.
- Elegancka estetyka: Incorporates the MTX audio logo on the dust cap and elegant embroidery of the Terminator logo on rich black carpeting.
Konfiguracja i instalacja
Proper setup is crucial for achieving the best performance from your subwoofer enclosure. Follow these guidelines for installation.
1. Rozpakowanie i kontrola
Ostrożnie wyjmij wszystkie elementy z opakowania. Sprawdź, czy wszystkie elementy są obecne:
- Dual 12" Vented Subwoofer Enclosure
Inspect the enclosure and subwoofers for any signs of damage during shipping. If any damage is found, contact your dealer immediately.
2. Umieszczenie
The MTX Audio TNE212DV is designed for floor standing mounting within your vehicle. Consider the following for optimal placement:
- Ensure the enclosure is securely placed to prevent movement during vehicle operation.
- Allow adequate space around the enclosure for proper air circulation, especially around the vented ports.
- The enclosure dimensions are 13.5"D x 29.5"W x 14"H.

Rysunek 2: Wymiary obudowy
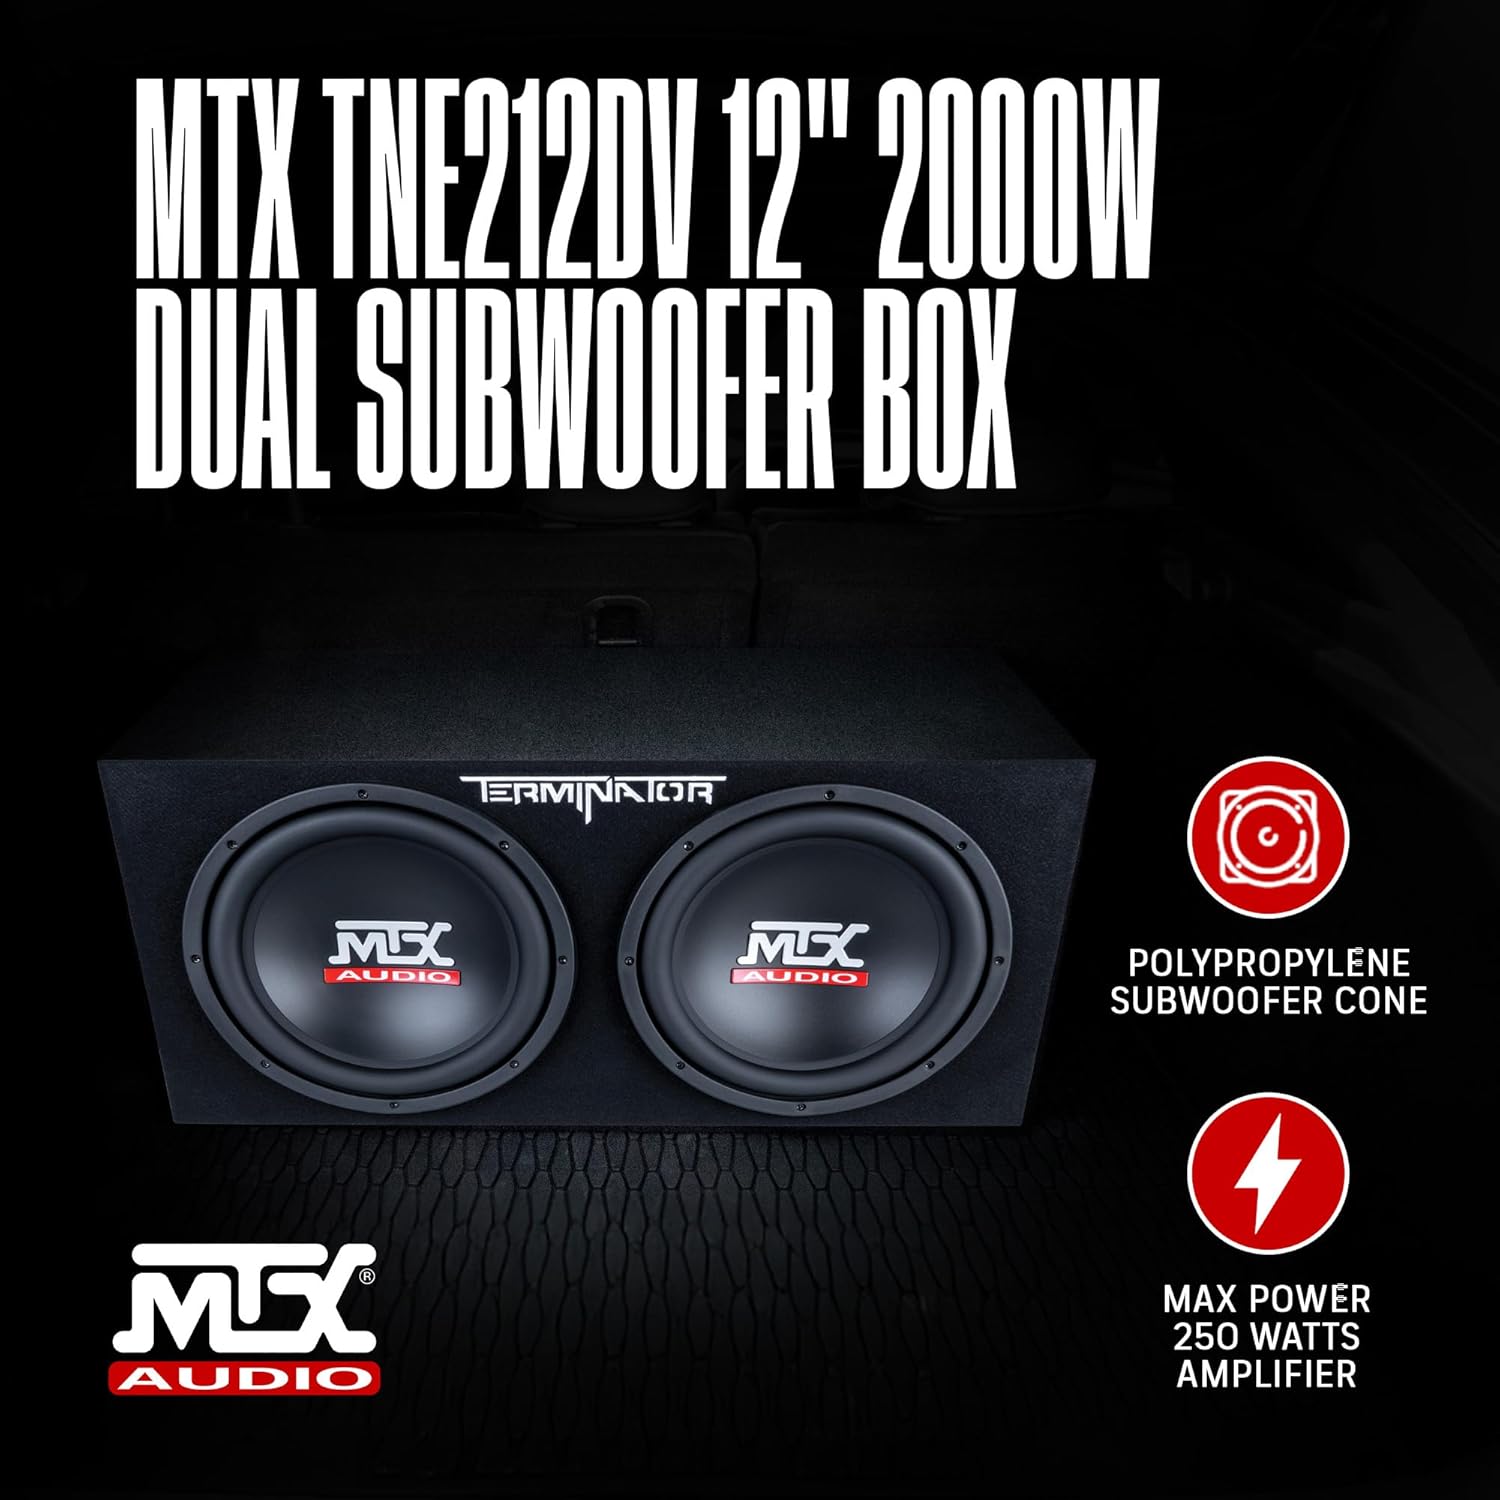
Figure 3: Subwoofer Enclosure in Vehicle Trunk
3. AmpDopasowanie lifier
This dual subwoofer enclosure has an impedance of 2 Ohms and handles 1000 Watts RMS power (2000 Watts Max). It is crucial to match your amplifier's output to these specifications for optimal performance and to prevent damage.
- Wybierz amplifier capable of delivering approximately 1000 Watts RMS at a 2 Ohm load.
- Korzystanie z amplifier with significantly lower or higher RMS output than the subwoofer's rating can lead to poor sound quality or damage.
4. Połączenia okablowania
The enclosure features gold-plated push-style speaker wire terminals for easy connection. Ensure proper polarity (+ to + and - to -) when connecting to your ampliyfikator.
- Use appropriate gauge speaker wire for the power levels and distance to the ampliyfikator.
- Press down on the terminal lever, insert the stripped end of the speaker wire, and release the lever to secure the connection.
- Verify that no stray wire strands are touching, which could cause a short circuit.

Figure 4: Speaker Wire Terminals
5. Amplifier Setup (General Guidance)
Once connected, refer to your amplifier's manual for specific setup instructions. General settings include:
- Gain Control: Dostosuj ampwzmocnienie filtru dopasowane do objętości wyjściowejtage of your head unit. Start low and gradually increase until distortion is heard, then back off slightly.
- Filtr dolnoprzepustowy (LPF): Set the LPF to filter out high frequencies, allowing only bass frequencies to pass to the subwoofer. A common starting point is 80-100 Hz.
- Filtr poddźwiękowy: If available, set the subsonic filter to protect the subwoofer from playing frequencies below its resonant frequency, which can cause damage.
- Wzmocnienie basów: Use sparingly, if at all, to avoid excessive distortion and potential damage.
Filmy konfiguracyjne
Video 1: General Subwoofer Setup and Demo (RV1212P)
Ten film przedstawia ogólny przeglądview of subwoofer setup and demonstration, applicable for understanding basic principles.
Video 2: RV Series Overview
Ponadview of the RV series, offering insights into the product line's features and design.
Video 3: How to Set Up Enclosures (DV12K6)
This video demonstrates the setup process for similar enclosures, providing valuable general installation guidance.
Video 4: MTX Speakers Subwoofer Demonstration
A demonstration of MTX subwoofers, showcasing their performance.
Instrukcja obsługi
As a passive subwoofer enclosure, the MTX Audio TNE212DV does not have direct operating controls. Its performance is managed entirely by the connected amplifier and your head unit.
- Regulacja głośności: Adjust the overall system volume via your head unit.
- Poziom basu: Fine-tune the bass output using the bass level control on your head unit or a remote bass knob connected to your ampliyfikator.
- Okres docierania: Allow a break-in period of approximately 10-20 hours of moderate listening before operating at high volumes. This allows the subwoofer's suspension to loosen up and perform optimally.
Konserwacja
Regular maintenance ensures the longevity and consistent performance of your subwoofer enclosure.
- Czyszczenie: Use a soft, dry cloth or a vacuum cleaner with a brush attachment to clean the carpeted exterior. Avoid using harsh chemicals or abrasive cleaners.
- Kontrola połączenia: Periodically inspect all wiring connections to ensure they are secure and free from corrosion. Loose connections can lead to signal loss or damage.
- Troska o środowisko: Protect the enclosure from extreme temperatures, direct sunlight, and moisture.
Rozwiązywanie problemów
Jeśli masz problemy z obudową subwoofera, zapoznaj się z poniższymi typowymi procedurami rozwiązywania problemów:
| Problem | Możliwa przyczyna | Rozwiązanie |
|---|---|---|
| Brak dźwięku | Luźne lub nieprawidłowe połączenia przewodów Amplifier nie jest włączony Head unit not sending signal | Check all speaker wire connections at the enclosure and ampliyfikator. Zweryfikować ampzasilanie i zdalne włączanie Lifiera. Ensure head unit is sending an audio signal. |
| Zniekształcony dźwięk | Ampwzmocnienie lifier ustawione zbyt wysoko Błędny amplifier settings (LPF, bass boost) Uszkodzony subwoofer | Zmniejszyć ampwzmocnienie lifiera, aż zniekształcenia znikną. Adjust LPF and bass boost settings according to ampinstrukcja lifier. Inspect subwoofer cones for physical damage. |
| Słaby bas | Ampwzmocnienie lifier ustawione zbyt nisko Nieprawidłowe ustawienie LPF Problemy fazowe | Zwiększyć ampprzyrost lifiera stopniowo. Adjust LPF to a suitable frequency (e.g., 80-100 Hz). Sprawdzać amplifier's phase switch (0° or 180°). |
Specyfikacje
| Funkcja | Specyfikacja |
|---|---|
| Marka | MTX |
| Nazwa modelu | TERMINATOR |
| Numer modelu przedmiotu | TNE212DV |
| Typ głośnika | Subwoofer |
| Średnica subwoofera | 12 cale (x2) |
| Maksymalna moc wyjściowa głośnika | 2000 watów |
| Moc skuteczna | 1000 watów |
| Impedancja | 2 omy |
| Wymiary produktu | 13.5" gł. x 29.5" szer. x 14" wys. |
| Waga przedmiotu | 53 funtów |
| Tworzywo | Plastic, Nylon/Polyester |
| Typ montażu | Stały podłogowe |
| Technologia łączności | Przewodowy |
| Funkcja specjalna | Dźwięk wysokiej rozdzielczości |
| UPC | 715442550135 |
Informacje o gwarancji
This MTX Audio product comes with a Limited Warranty. For detailed information regarding warranty coverage, terms, and conditions, please refer to the official warranty documentation provided with your product or visit the MTX Audio webstrona.
Obsługa klienta
For any questions, technical assistance, or support regarding your MTX Audio Dual 12" Vented Subwoofer Enclosure, please contact MTX Audio customer service. Refer to the official MTX Audio webAktualne dane kontaktowe można znaleźć na stronie internetowej lub opakowaniu produktu.


