1. Wprowadzenie
This user manual provides comprehensive instructions for the installation, operation, and maintenance of your Audio System CO-600.5 High-Performance 5-Channel Class A/B Amplifier. To ensure optimal performance and safety, please read this manual thoroughly before using the product and retain it for future reference.
2. Informacje dotyczące bezpieczeństwa
General Product Safety according to EU Regulation 2023/2028:
- Observe the manufacturer's instructions and operating instructions for switching off the power supply to the vehicle and in the retrofit products.
- The supply line to the retrofit product must not be longer than 30cm from the operating battery.
- Fasten retrofit devices and accessories properly.
- It is recommended that the retrofit devices/accessories be installed by a specialist workshop. Otherwise, product or vehicle damage and fire can occur.
Always disconnect the vehicle's battery before performing any installation or maintenance work to prevent electrical shock or damage.
3. Koniec produktuview
The Audio System CO-600.5 is a high-performance 5-channel Class A/B amplifier designed for car audio systems. It features switchable High-Pass (HP) and Low-Pass (LP) filters, a full active mode, and includes a wired RTC remote control for convenient adjustments. The amplifier supports an input sensitivity range of 0.2V to 6V and includes a high-level RCA input with automatic turn-on capability.
Główne cechy:
- 5-Channel Class A/B Ampżywsze
- Switchable High-Pass (HP) and Low-Pass (LP) Filters
- Full Active Mode
- Wired RTC Remote Control Included
- Input Sensitivity: 0.2V - 6V
- High-Level RCA Input with Auto-On
- Power Output: 4 x 60W RMS (4 Ohm) / 4 x 85W RMS (2 Ohm) and 1 x 250W RMS (4 Ohm mono) / 1 x 350W RMS (2 Ohm mono)
Produkt Views

Rysunek 3.1: Góra view of the CO-600.5 amplifier, highlighting its sleek design and branding.

Rycina 3.2: Przód view z amplifier, displaying the cooling fins.
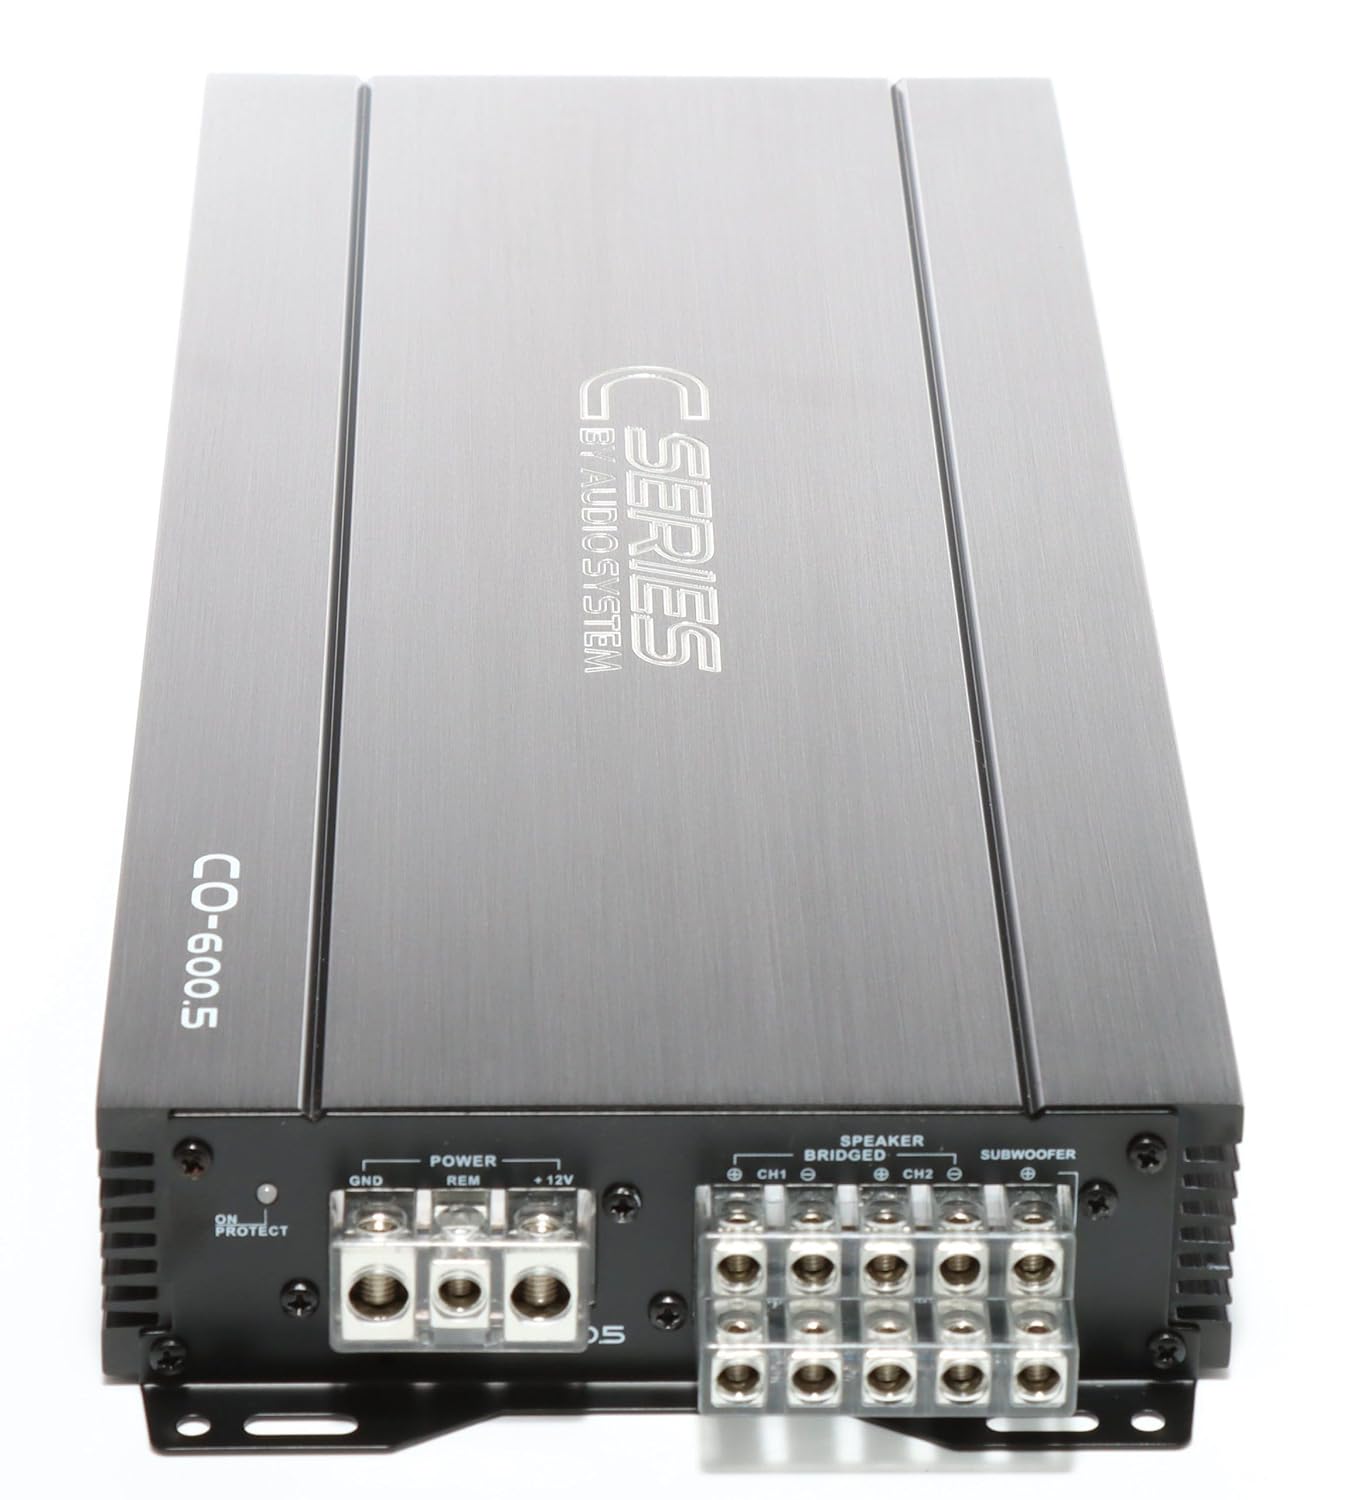
Rysunek 3.3: Tył view z amplifier, detailing the power input (GND, REM, +12V) and speaker output terminals.

Figure 3.4: Input and control panel, featuring RCA inputs, gain level adjustments, and crossover frequency controls.
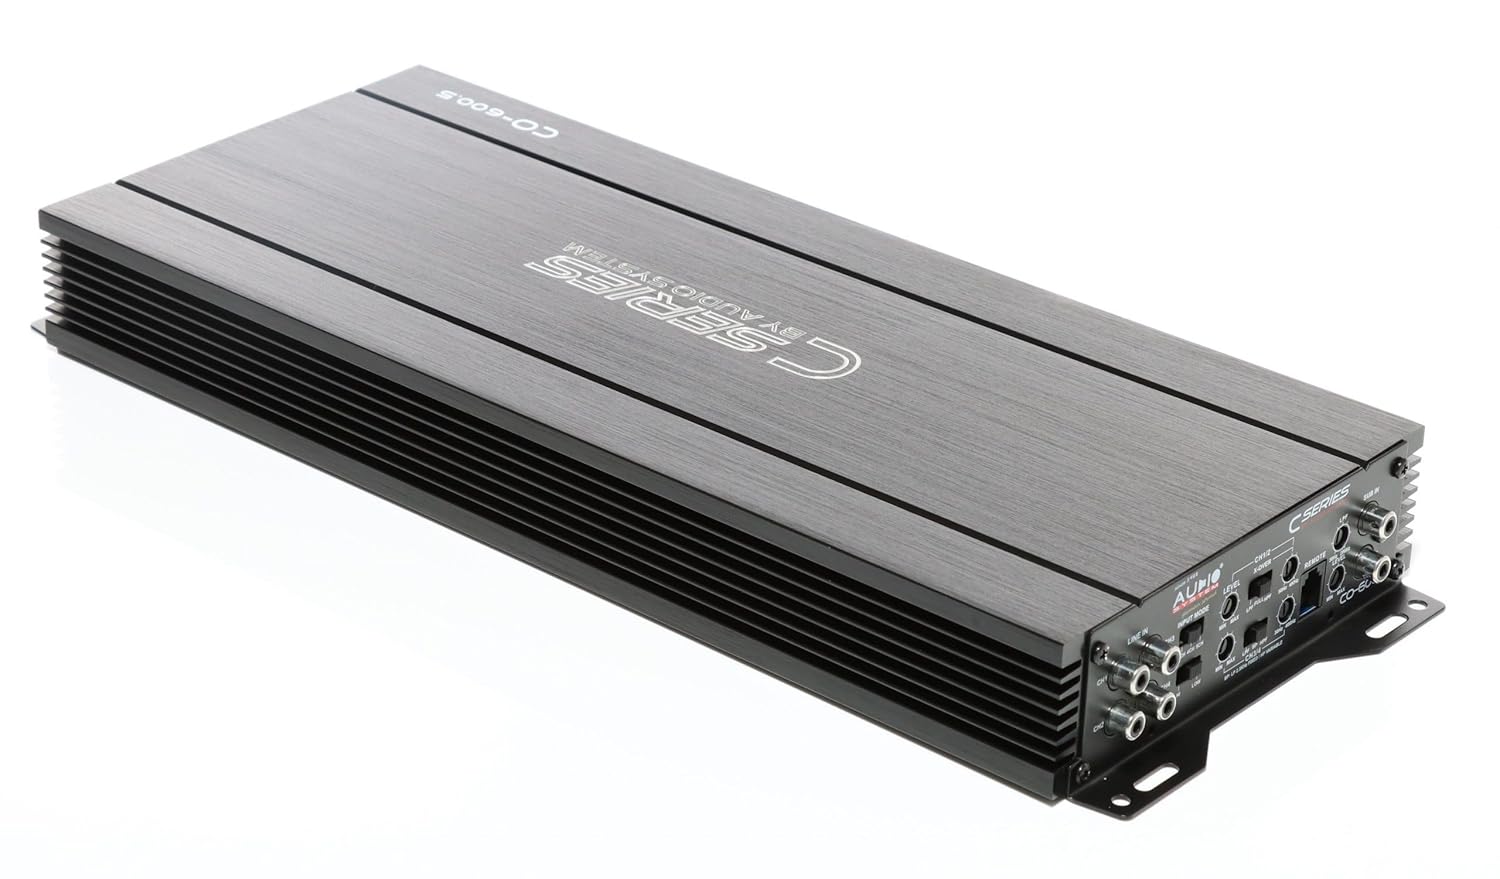
Rysunek 3.5: Kątowy view providing a comprehensive look at both connection sides of the ampliyfikator.
4. Konfiguracja i instalacja
Prawidłowa instalacja ma kluczowe znaczenie dla wydajności i trwałości Twojego urządzenia. amplifier. Zdecydowanie zaleca się, aby instalację wykonał wykwalifikowany specjalista.
4.1 Miejsce montażu
- Wybierz miejsce suche i dobrze wentylowane, z dala od bezpośredniego światła słonecznego i źródeł ciepła.
- Zapewnij odpowiedni przepływ powietrza wokół amplifier w celu zapewnienia właściwego chłodzenia.
- Zamontuj amplifier securely to a solid surface using appropriate hardware to prevent movement during vehicle operation.
4.2 połączeń przewodów
Przed dokonaniem jakichkolwiek podłączeń należy odłączyć ujemny zacisk akumulatora pojazdu.
- Moc (BATT+): Connect a fused power cable directly from the vehicle's positive battery terminal to the +12V terminal on the amplifier. Ensure the fuse is located within 30cm of the battery.
- Masa (GND): Connect a ground cable of the same gauge as the power cable to a clean, unpainted metal surface on the vehicle chassis. The connection point must be free of rust and paint.
- Zdalny (REM): Podłącz przewód zdalnego włączania z wyjścia zdalnego jednostki głównej do zacisku REM na amplifier. This will turn the ampwłączanie i wyłączanie projektora za pomocą jednostki głównej.
- Wejścia RCA: Podłącz wyjścia RCA jednostki głównej do amplifier's RCA inputs (CH1/2, CH3/4, SUB IN).
- Wyjścia głośnikowe: Connect your speakers to the corresponding speaker output terminals (CH1, CH2, CH3, CH4, SUBWOOFER). Observe correct polarity (+ to + and - to -).
5. Instrukcja obsługi
Kiedy amplifier is correctly installed and wired, you can proceed with initial setup and operation.
5.1 Pierwsze włączenie zasilania
- Podłącz ponownie ujemny zacisk akumulatora pojazdu.
- Włącz jednostkę główną. amplifier should power on automatically via the remote wire. The power indicator LED on the ampKontrolka powinna się zaświecić.
5.2 Regulacja poziomu wzmocnienia
Regulacja wzmocnienia (LEVEL) dopasowuje się do amplifier's input sensitivity to the output of your head unit. This is not a volume control.
- Ustaw amplifier's gain control to minimum (fully counter-clockwise).
- Ustaw głośność jednostki głównej na około 75–80% maksymalnej głośności.
- Powoli zwiększaj ampZwiększaj wzmocnienie lifiera, aż usłyszysz lekkie zniekształcenie, a następnie lekko je zmniejsz, aż dźwięk stanie się czysty.
5.3 Ustawienia zwrotnicy (X-OVER)
The CO-600.5 features switchable HP (High-Pass) and LP (Low-Pass) filters for precise sound tuning.
- HPF (filtr górnoprzepustowy): Allows frequencies above the set point to pass through. Use for full-range speakers to prevent low frequencies that can cause distortion.
- LPF (filtr dolnoprzepustowy): Allows frequencies below the set point to pass through. Use for subwoofers to prevent high frequencies.
- Adjust the crossover frequencies (e.g., 50Hz-250Hz for HPF, 30Hz-250Hz for LPF) according to your speaker specifications and listening preferences.
5.4 RTC Remote Control
The included wired RTC remote control allows for convenient adjustment of the subwoofer level from the driver's seat.
6. Konserwacja
The Audio System CO-600.5 amplifier wymaga minimalnej konserwacji.
- Zachowaj ampUtrzymuj filtr w czystości i bez kurzu. Do czyszczenia używaj miękkiej, suchej ściereczki.
- Upewnij się, że wszystkie połączenia są stabilne. Regularnie sprawdzaj okablowanie pod kątem oznak zużycia lub korozji.
- Nie należy używać silnych środków chemicznych ani ściernych środków czyszczących. ampliyfikator.
7. Rozwiązywanie Problemów
Jeśli masz problemy z urządzeniem amplifier, zapoznaj się z poniższymi typowymi problemami i rozwiązaniami:
| Problem | Możliwa przyczyna | Rozwiązanie |
|---|---|---|
| Brak zasilania / Amplifier nie włącza się |
|
|
| Brak wyjścia dźwięku |
|
|
| Zniekształcony dźwięk |
|
|
If the problem persists after attempting these solutions, please contact Audio System customer support or a qualified car audio technician.
8. Specyfikacje
| Funkcja | Szczegół |
|---|---|
| Numer modelu | 02002CO6005 |
| Kanały | 5 (4 full-range + 1 mono/subwoofer) |
| Moc wyjściowa (RMS) |
|
| Czułość wejściowa | 0.2 V - 6 V |
| Filtry | Switchable High-Pass (HP) and Low-Pass (LP) |
| Wymiary (produkt) | Około 420 x 47 x 171 mm |
| Wymiary opakowania | Wymiary 59.99 x 19.99 x 15.01 cm |
| Waga paczki | 1 kilogram |
| Tomtage (Praca) | 6 Volts (Note: Typically car audio operates at 12V. Please refer to product labeling for exact operating voltagmi.) |
| Maksymalna objętość dostawtage | 6 wolty |
| Typ montażu | Montaż powierzchniowy |
9. Gwarancja i wsparcie
For warranty information, please refer to the documentation provided with your purchase or contact your authorized Audio System dealer. Warranty terms and conditions may vary by region and retailer.
For technical support, service, or inquiries regarding spare parts, please contact Audio System customer service directly or visit their official website. Contact information is typically available on the product packaging or the manufacturer's webstrona.
Producent: System audio
Adres producenta: JRS Labs - The Art of Sound, Heinrich-Heine-Straße 13A, 63329 Rödermark


