1. Koniec produktuview
The Waveshare 4.2-inch E-Ink Display Module (B) is a low-power, high-resolution display solution designed for various embedded applications. It features a 400x300 pixel resolution and supports a three-color display (red, black, and white). The module includes an embedded controller and communicates via an SPI interface, making it compatible with popular development boards such as Raspberry Pi, Arduino, and Nucleo.
Key characteristics of this E-Ink display include:
- Bardzo niskie zużycie energii: Power is primarily required only during display refresh cycles.
- Szeroki viewkąt: Provides clear visibility from various perspectives.
- Bistable display: Retains the displayed content indefinitely without continuous power supply, eliminating the need for a backlight.
- na pokładzie objętośćtage translator: Zapewnia kompatybilność z mikrokontrolerami 3.3 V i 5 V.
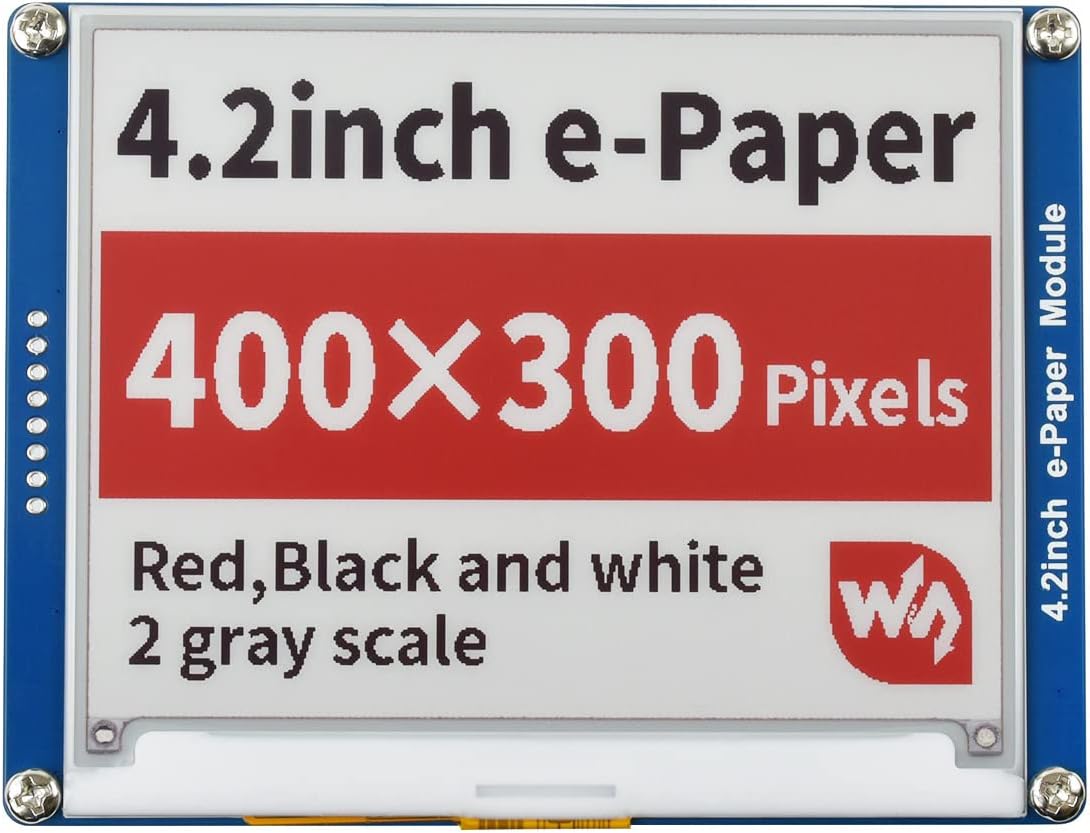
Figure 1: The Waveshare 4.2-inch E-Ink Display Module (B) displaying its specifications and capabilities in red, black, and white.
2. Zawartość opakowania
Sprawdź, czy w przesyłce znajdują się wszystkie elementy wymienione poniżej:
- 1x 4.2inch e-Paper Module (B)
- 1x kabel PH2.0 20 cm 8 pinów
- Development Resources (accessible via online Wiki)

Figure 2: The 4.2-inch E-Ink Display Module (B) alongside the included 8-pin PH2.0 connection cable.
3. Instrukcje konfiguracji
This section outlines the general steps for connecting and preparing your E-Ink display module. For detailed, platform-specific instructions and code examples, refer to the official Waveshare Wiki.
3.1 Połączenie sprzętowe
- Identyfikacja pinów: The module uses an SPI interface. Identify the corresponding SPI pins (MOSI, MISO, SCK, CS, DC, RST, BUSY) on your microcontroller (e.g., Raspberry Pi, Arduino).
- Podłącz zasilanie: Connect the VCC pin of the E-Ink module to a 3.3V or 5V power supply on your microcontroller. Connect the GND pin to the ground. The onboard voltage translator ensures compatibility with both voltagpoziomy.
- Connect SPI Interface: Use the provided PH2.0 8-pin cable to connect the E-Ink module to your microcontroller's SPI pins. Ensure correct pin mapping as per your microcontroller's documentation and the Waveshare Wiki.

Rysunek 3: Zbliżenie view of the 8-pin PH2.0 cable, typically used for connecting the display module to a microcontroller.
3.2 Konfiguracja oprogramowania
The Waveshare Wiki provides comprehensive development resources, including example code for Raspberry Pi, Jetson Nano, Arduino, and STM32. These examples demonstrate how to initialize the display and render content.
- Download Libraries: Obtain the necessary E-Ink display libraries from the Waveshare Wiki.
- Załaduj przykładamples: Load the provided example code onto your microcontroller.
- Konfiguruj: Adjust the example code as needed for your specific application and pin configuration.
4. Operating the Display Module
Once connected and programmed, the E-Ink display operates by receiving data through the SPI interface to update its content. The display supports red, black, and white colors.
4.1 Display Refresh Cycle
E-Ink displays have a distinct refresh cycle. For the 4.2-inch module, a full refresh typically takes approximately 15 seconds. During this time, the display may flash or show intermediate patterns as the pigments are rearranged to form the new image. After the refresh, the image remains stable without consuming power.
4.2 Content Display
You can display various types of content, including text, graphics, and images. The provided software examples illustrate how to prepare and send image data to the display buffer for rendering.

Figure 4: The 4.2-inch E-Ink Display Module (B) displaying a graphic of a sleeping panda, demonstrating its image rendering capability.
5. Konserwacja
The E-Ink display module requires minimal maintenance due to its robust design and low power consumption characteristics.
- Czyszczenie: Use a soft, dry, anti-static cloth to gently clean the display surface. Avoid using liquid cleaners or abrasive materials.
- Warunki środowiskowe: Operate and store the module within its specified temperature and humidity ranges to ensure optimal performance and longevity. Avoid exposure to direct sunlight for prolonged periods, as this can affect the display's lifespan.
- Obsługa fizyczna: Handle the module by its edges. Avoid applying pressure directly to the display area, as this can cause damage.
- Zarządzanie energią: Since the display retains its image without power, you can disconnect power after a refresh if the content does not need to change, further conserving energy.
6. Rozwiązywanie Problemów
If you encounter issues with your E-Ink display module, consider the following troubleshooting steps:
- Brak wyświetlacza/pusty ekran:
- Verify all power and SPI connections are secure and correctly wired.
- Ensure your microcontroller is powered on and the code is running.
- Sprawdź napięcie zasilaniatage (3.3V or 5V) to the module.
- Incorrect/Garbled Display:
- Confirm that the SPI communication protocol and pin assignments in your code match your hardware connections.
- Ensure the display resolution (400x300) is correctly configured in your software.
- Check for any timing issues or incorrect data formatting in your display refresh routine.
- Niska częstotliwość odświeżania:
- The 15-second full refresh time is inherent to this E-Ink technology. This is normal operation.
- Display Artifacts/Ghosting:
- Ensure a full refresh cycle is completed when changing content significantly.
- Some minor ghosting can occur with partial updates; a full refresh typically clears this.
For more advanced troubleshooting and specific error codes, consult the Waveshare Wiki or community forums.
7. Specyfikacje
| Funkcja | Specyfikacja |
|---|---|
| Objętość operacyjnatage | 3.3V ~ 5V |
| Interfejs | SPI 3-żyłowy, SPI 4-żyłowy |
| Wymiar konturu | 103.0mm × 78.5mm |
| Rozmiar wyświetlacza | 84.8mm × 63.6mm |
| Plamka | Wymiary: 0.212 × 0.212 mm |
| Rezolucja | 400 x 300 pikseli |
| Kolor wyświetlacza | Czerwony, czarny, biały |
| Poziom szarości | 2 |
| Pełny czas odświeżania | Około 15 sekund |
| Odśwież moc | 26.4 mW (typowo) |
| Moc czuwania | <0.017mW |
| Viewing kąt | >170° |
| Waga przedmiotu | 0.352 uncji |
| Wymiary opakowania | 4.25 x 4.21 x 1.3 cala |

Figure 5: Dimensional drawing of the 4.2-inch E-Ink Display Module (B), with measurements in millimeters.
8. Wsparcie i zasoby
For the most up-to-date documentation, development resources, and community support, please visit the official Waveshare Wiki:
www.waveshare.com/wiki/4.2inch_e-Paper_Module_(B)
The Wiki includes:
- Detailed hardware connection diagrams.
- Example code for various microcontrollers (Raspberry Pi, Arduino, Jetson Nano, STM32).
- Datasheets and technical information.
- FAQs and troubleshooting guides.
9. Informacje o gwarancji
Specific warranty details for this product are not provided in the available information. Please refer to the Waveshare official webodwiedź witrynę lub skontaktuj się z działem obsługi klienta, aby poznać warunki gwarancji.


