1. Wprowadzenie
Thank you for choosing the FERM 600W Electric Professional Blower, Model EBM1004P. This compact and powerful tool is designed for efficient blowing and vacuuming tasks, making it ideal for cleaning workspaces, clearing leaves from balconies, or maintaining your vehicle. Please read this manual carefully before operating the device to ensure safe and effective use. Keep this manual for future reference.
2. Instrukcje bezpieczeństwa
Aby zminimalizować ryzyko pożaru, porażenia prądem i obrażeń ciała, należy zawsze przestrzegać podstawowych zasad bezpieczeństwa podczas korzystania z narzędzi elektrycznych.
- Przeczytaj wszystkie instrukcje: Zapoznaj się z elementami sterującymi i prawidłowym użytkowaniem narzędzia.
- Stosuj ochronę oczu: Zawsze zakładaj okulary ochronne, aby chronić oczy przed odłamkami.
- Noś ochronę słuchu: Długotrwałe stosowanie może wymagać ochrony słuchu.
- Ubierz się odpowiednio: Do not wear loose clothing or jewelry that could get caught in moving parts. Keep hair away from air inlets.
- Utrzymaj mocny chwyt: Podczas pracy dmuchawę należy zawsze trzymać mocno obiema rękami.
- Utrzymuj miejsce pracy w czystości: Ensure the area is free of obstacles and bystanders, especially children and pets.
- Unikaj wilgotnych warunków: Do not operate the blower in rain or damp lokalizacje.
- Odłączaj, gdy nie używasz: Disconnect the power cord from the outlet before making adjustments, changing accessories, or storing the tool.
- Sprawdź, czy nie ma uszkodzeń: Before each use, check the power cord, plug, and the tool itself for any signs of damage. Do not use if damaged.
- Użyj prawidłowego źródła zasilania: Upewnij się, że objętośćtage rating on the tool matches your power supply.
3. Koniec produktuview
The FERM 600W Electric Professional Blower is designed for versatility, offering both blowing and vacuuming functions. Below are key components and their descriptions.
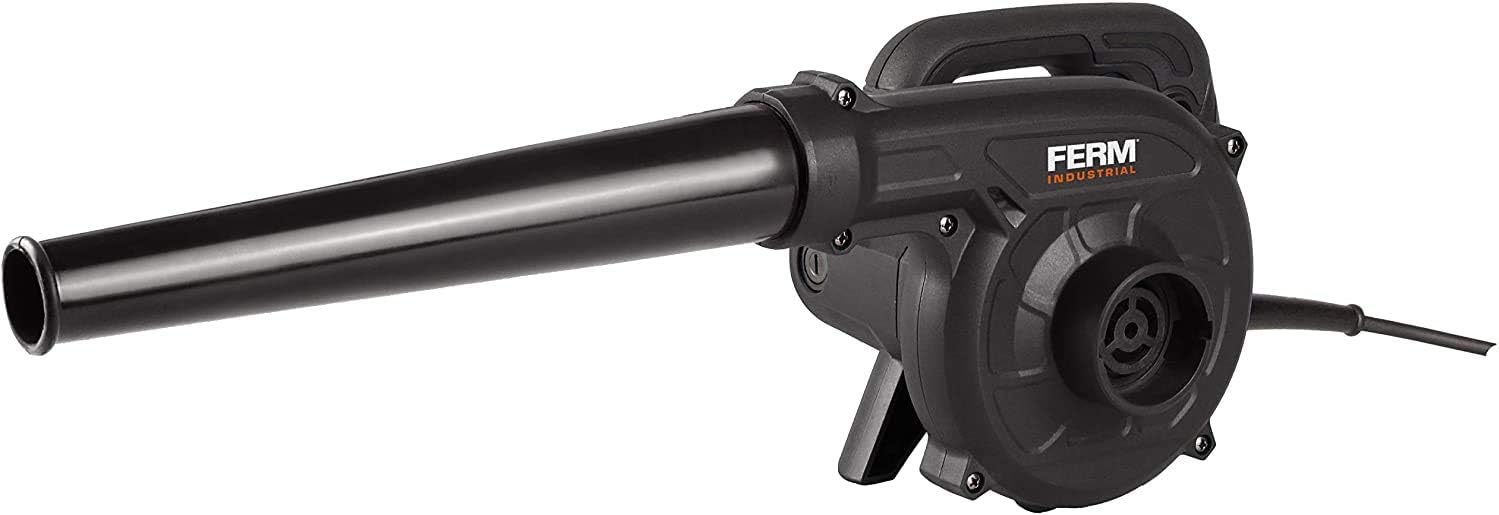
Rysunek 1: FERM 600W Electric Professional Blower with blowing nozzle attached. This image shows the primary configuration for blowing debris.

Rysunek 2: FERM 600W Electric Professional Blower configured for vacuuming, with dust collection bag and intake nozzle. This setup allows for collecting light debris.

Rysunek 3: Z bliska view of the variable speed control dial located on the handle. This dial allows for precise adjustment of airflow.

Rysunek 4: Z bliska view of the power trigger and lock-on button for continuous operation. The lock-on button reduces user fatigue during extended use.

Rysunek 5: Strona view of the FERM Blower with the long blowing nozzle extended. This configuration is suitable for reaching distant areas or concentrating airflow.

Rysunek 6: Kątowy view of the FERM Blower with a shorter blowing nozzle attached. This provides a more compact setup for closer work.
4. Konfiguracja
Before operating the blower, ensure it is correctly assembled for your intended use.
4.1 Attaching the Blowing Nozzle
- Upewnij się, że dmuchawa jest odłączona od źródła zasilania.
- Align the blowing nozzle with the air outlet on the front of the blower housing.
- Push the nozzle firmly onto the outlet until it clicks into place or is securely seated.
4.2 Attaching the Dust Bag (for Vacuum Function)
- Upewnij się, że dmuchawa jest odłączona od źródła zasilania.
- Remove the blowing nozzle if it is attached.
- Attach the dust collection bag to the air intake port (usually on the side or bottom, opposite the blowing outlet).
- Attach the intake nozzle (if provided) to the blowing outlet. The blower will now draw air through the intake nozzle into the dust bag.
5. Instrukcja obsługi
Follow these steps for safe and effective operation of your FERM blower.
5.1 Połączenie zasilania
- Upewnij się, że wyłącznik zasilania jest w pozycji „WYŁ”.
- Podłącz przewód zasilający do odpowiedniego gniazdka elektrycznego 240 V.
5.2 Uruchamianie i zatrzymywanie
- To start the blower, press the power trigger.
- For continuous operation, press the lock-on button while the trigger is depressed. Release the trigger, and the blower will continue to run.
- To stop the blower from continuous operation, press the power trigger again and then release it. To stop from momentary operation, simply release the trigger.
5.3 Regulacja prędkości przepływu powietrza
The blower features a variable speed control dial (refer to Figure 3). Rotate the dial to increase or decrease the airflow speed according to your task requirements.
5.4 Using as a Blower
Direct the nozzle towards the area you wish to clear. Use a sweeping motion to move debris. Start with a lower speed for delicate areas and increase as needed.
5.5 Using as a Vacuum
With the dust bag and intake nozzle attached (as per Section 4.2), position the intake nozzle over the debris you wish to collect. The blower will draw the debris into the dust bag. This function is best suited for light, dry materials.
6. Konserwacja
Regularna konserwacja zapewnia długowieczność i optymalną wydajność dmuchawy.
- Czyszczenie: After each use, unplug the blower and wipe the exterior with a damp cloth. Do not use harsh chemicals. Ensure air vents are clear of dust and debris to prevent overheating.
- Worek przeciwkurzowy: Empty the dust bag regularly when using the vacuum function. A full dust bag reduces suction efficiency.
- Składowanie: Store the blower in a dry, secure place, out of reach of children. Avoid storing in direct sunlight or extreme temperatures.
- Pielęgnacja sznurka: Inspect the power cord for cuts or damage before each use. Do not wrap the cord tightly around the tool.
7. Rozwiązywanie Problemów
If you encounter issues with your FERM blower, refer to the following common problems and solutions.
| Problem | Możliwa przyczyna | Rozwiązanie |
|---|---|---|
| Dmuchawa nie uruchamia się | Brak zasilania | Sprawdź, czy wtyczka jest prawidłowo włożona do gniazdka. Przetestuj gniazdko za pomocą innego urządzenia. |
| Uszkodzony przewód zasilający lub wtyczka | Do not use. Have it inspected and repaired by a qualified technician. | |
| Niska moc dmuchania/ssania | Zablokowane wloty/wyloty powietrza | Unplug the blower and clear any obstructions from the air vents or nozzles. |
| Dust bag full (vacuum mode) | Opróżnij worek na kurz. | |
| Nadmierne wibracje lub hałas | Debris inside the fan housing | Unplug the blower. Carefully inspect and remove any foreign objects. If the problem persists, contact customer support. |
8. Specyfikacje
| Marka | FERM |
| Numer modelu | EBM1004P |
| Źródło zasilania | Elektryczny przewodowy |
| Tomtage | 240 wolty |
| Cotage | 600 watów |
| Wymiary produktu | Wymiary 33.5 x 8 x 20.5 cm |
| Waga przedmiotu | 2.3 kilograma |
| Długość przewodu | 3 metrów |
| Tworzywo | Plastikowy |
| Kolor | Czarny |
| Styl | Urządzenie przenośne |
9. Gwarancja i wsparcie
FERM products are manufactured to high-quality standards and are guaranteed against manufacturing defects. For warranty claims, technical support, or spare parts, please contact your retailer or the official FERM customer service. Keep your proof of purchase for warranty validation.


