1. Koniec produktuview
The Teltonika RUT240 is an industrial 4G LTE Wi-Fi router designed for reliable cellular communication in various environments. This manual provides essential information for its proper installation, configuration, and use.
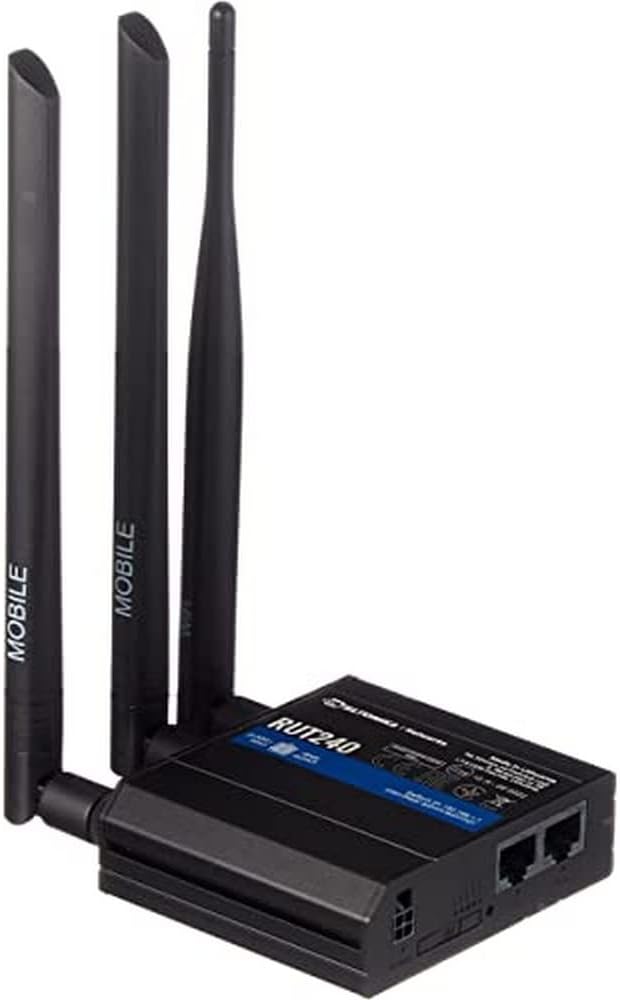
Rysunek 1: Przód view of the Teltonika RUT240 LTE Router with its three attached antennas, illustrating its compact design.
2. Zawartość opakowania
Przed przystąpieniem do instalacji sprawdź, czy w opakowaniu znajdują się wszystkie elementy:
- Router LTE Teltonika RUT240
- Zasilacz
- Kabel Ethernet
- Two LTE Antennas (magnetic mount, SMA male)
- One Wi-Fi Antenna (magnetic mount, RP-SMA male)
- Szybki przewodnik

Rysunek 2: The Teltonika RUT240 router displayed with its standard accessories, including the power adapter and an Ethernet cable.
3. Konfiguracja
3.1 Instalacja sprzętu
- Włóż kartę SIM: Locate the SIM card slot on the side of the router. Insert your activated Mini-SIM card into the slot until it clicks into place. Ensure the SIM card is correctly oriented as indicated on the device.
- Dołącz anteny: Screw the two LTE antennas onto the SMA connectors labeled "MOBILE" and the Wi-Fi antenna onto the RP-SMA connector labeled "WLAN" on the router. Ensure they are securely tightened.
- Podłącz zasilanie: Connect the power adapter to the power socket on the router and then plug the adapter into a power outlet. The router will begin to power on.
- Opcjonalnie: Połączenie Ethernet: For initial configuration or wired network access, connect one end of the Ethernet cable to the LAN port on the router and the other end to your computer's Ethernet port.

Rysunek 3: Strona view of the Teltonika RUT240, highlighting the SIM card slot and the antenna connection points for mobile and Wi-Fi signals.

Rysunek 4: Tył view of the Teltonika RUT240, showing the power input, SIM card slot, and the LAN/WAN Ethernet ports.
3.2 Konfiguracja początkowa
- Dostęp Web Interfejs: Otwórz web browser on your connected computer and navigate to http://192.168.1.1.
- Login: Enter the default username "admin" and the password found on the device label or packaging. You will be prompted to change the password for security.
- Kreator szybkiej konfiguracji: Follow the on-screen Quick Setup Wizard to configure basic settings such as mobile data connection (APN settings), Wi-Fi network name (SSID), and password.
4. Instrukcja obsługi
4.1 Wskaźniki LED
The RUT240 features several LED indicators to provide status information:
- Dioda LED zasilania: Wskazuje stan zasilania. Świeci na zielono po włączeniu zasilania.
- Mobile Signal Strength LEDs: Multiple LEDs indicate the strength of the cellular signal. More illuminated LEDs mean stronger signal.
- Network Type LEDs: Indicate the active cellular network type (e.g., 2G, 3G, 4G/LTE).
- Dioda Wi-Fi: Indicates Wi-Fi module status.
- LAN/WAN LEDs: Indicate activity on the respective Ethernet ports.
4.2 Łączenie z Wi-Fi
- On your device (smartphone, laptop), search for available Wi-Fi networks.
- Select the network name (SSID) configured during the initial setup.
- Po wyświetleniu monitu wprowadź hasło Wi-Fi (klucz WPA2).
- Once connected, your device should have internet access via the RUT240.
4.3 Konfiguracja zaawansowana
routera web interface (RutOS) offers extensive configuration options for advanced users, including VPN, firewall rules, SMS utilities, and more. Refer to the official Teltonika documentation for detailed guides on advanced features.
5. Konserwacja
- Aktualizacje oprogramowania układowego: Regularly check for and install firmware updates from the official Teltonika website to ensure optimal performance, security, and access to new features. This can typically be done via the router's web interfejs.
- Czyszczenie: Keep the router clean and free from dust. Use a soft, dry cloth. Do not use liquid cleaners.
- Warunki środowiskowe: Ensure the router is operated within its specified temperature and humidity ranges to prevent damage. Avoid direct sunlight and excessive heat.
- Bezpieczne hasła: Periodically change your router's login password and Wi-Fi password to maintain network security.
6. Rozwiązywanie Problemów
| Problem | Możliwa przyczyna | Rozwiązanie |
|---|---|---|
| Brak dostępu do Internetu |
|
|
| Nie można uzyskać dostępu Web Interfejs |
|
|
| Wi-Fi Not Visible or Connectable |
|
|
6.1 Przywracanie ustawień fabrycznych
Jeśli napotkasz uporczywe problemy, przywrócenie ustawień fabrycznych może je rozwiązać. Aby przywrócić ustawienia fabryczne:
- Upewnij się, że router jest włączony.
- Locate the reset button (often recessed) on the router.
- Za pomocą cienkiego przedmiotu (np. spinacza biurowego) naciśnij i przytrzymaj przycisk resetowania przez około 10 sekund.
- Release the button when the LEDs indicate a reset (e.g., all LEDs flash). The router will reboot with factory default settings.
7. Specyfikacje
| Funkcja | Szczegół |
|---|---|
| Nazwa modelu | Teltonika RUT240 |
| Numer modelu przedmiotu | RUT24006B000 |
| Wymiary produktu | 2.91 x 3.27 x 0.98 cala |
| Waga przedmiotu | 4 miligram |
| System operacyjny | RutOS |
| Technologia łączności | LAN, Wi-Fi |
| Standard komunikacji bezprzewodowej | 802.11n |
| Klasa pasma częstotliwości | Czterozakresowy |
| Funkcja specjalna | WPS |
| Kompatybilne urządzenia | Komputer osobisty |
| Zalecane zastosowania | Monitorowanie |
| Producent | JSC Teltonika |
8. Gwarancja i wsparcie
For detailed warranty information, please refer to the official Teltonika website or the warranty card included with your product. Technical support is available through Teltonika's official support channels, including their website and dedicated support portal.
Zasoby internetowe:
- Teltonika RUT240 Wiki (for comprehensive documentation and guides)
- Wsparcie Teltonika Networks


