Wstęp
This manual provides comprehensive instructions for the safe and efficient installation, operation, and maintenance of your Energizer LED Floodlight with PIR Sensor. Please read this manual thoroughly before installation and retain it for future reference.
Informacje dotyczące bezpieczeństwa
Always follow basic safety precautions when installing or using this product to reduce the risk of fire, electric shock, or personal injury.
- Przed instalacją lub konserwacją należy upewnić się, że zasilanie jest odłączone.
- Jeśli nie masz pewności, instalację powinien wykonać wykwalifikowany elektryk.
- Nie próbuj samodzielnie modyfikować ani naprawiać urządzenia.
- Trzymać z dala od materiałów łatwopalnych.
- This product is designed for outdoor use (IP44 rated).
Produkt ponadview
The Energizer LED Floodlight with PIR Sensor (Model S10934) is a high-performance outdoor lighting solution designed for security and convenience. It features a robust cast aluminum body and a polycarbonate prismatic diffuser.
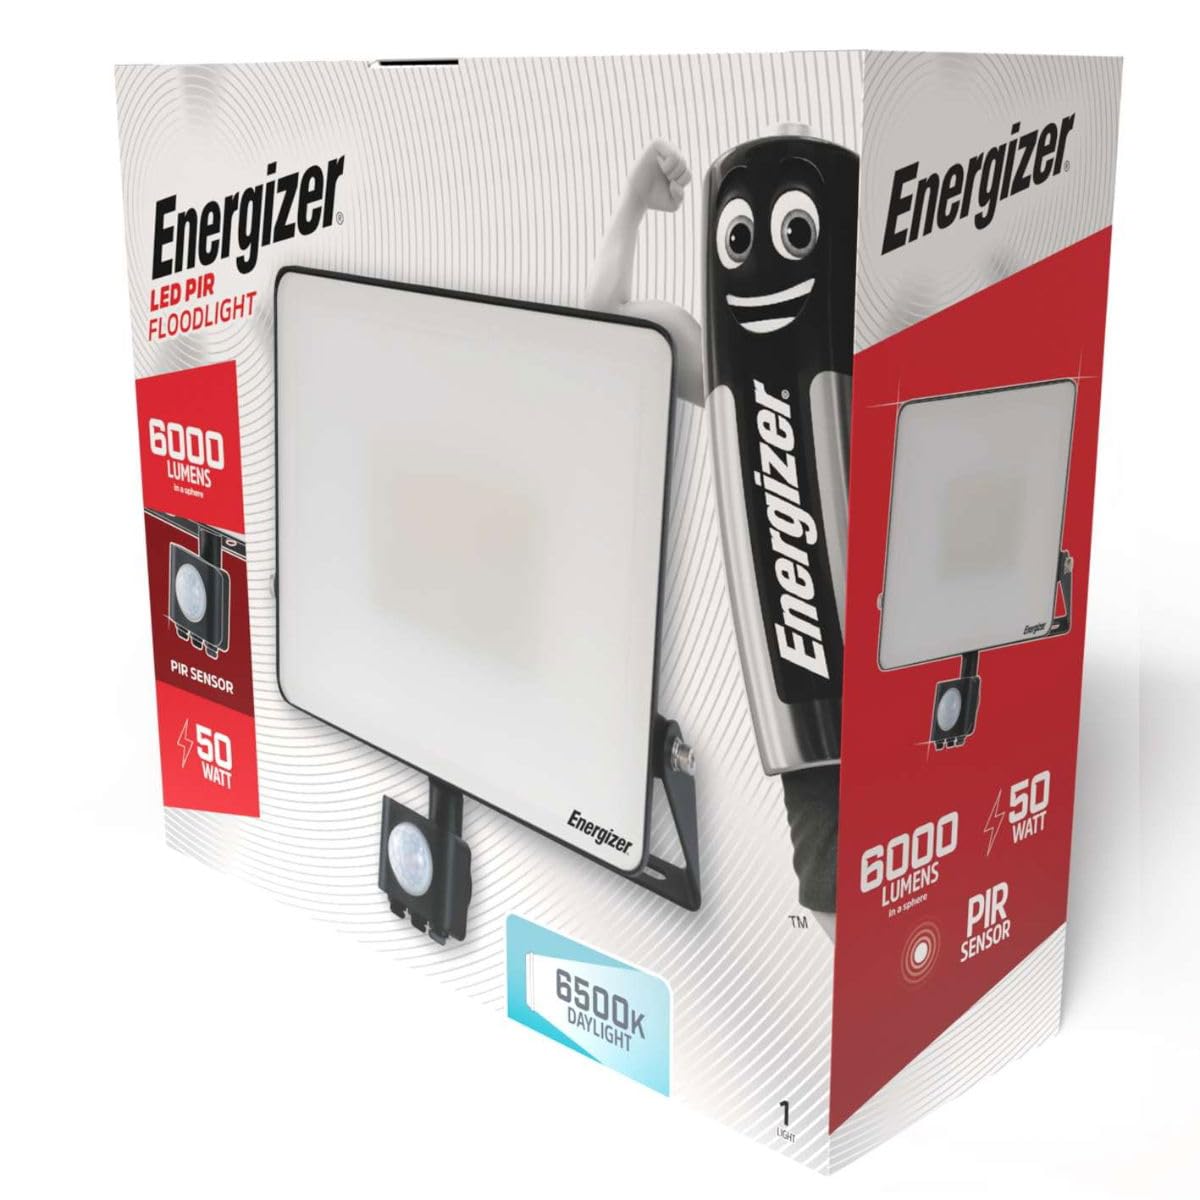
Image: Energizer LED Floodlight with PIR Sensor, showing its compact design and mounting bracket.
Główne cechy:
- Jasność: 4500 lumens (90 lumens per watt).
- Temperatura barwowa: 6500 Kelvin (Daylight).
- Instant Start Technology: Provides immediate full brightness.
- Dioda LED o długiej żywotności: Designed for approximately 25 years of use (based on 25,000 hours, 2.7 hours/day).
- Ocenione na zewnątrz: IP44 rating for protection against solid objects and splashing water.
- Czujnik PIR: Motion detection range up to 8 meters with a 120-degree angle.
- Trwała konstrukcja: Cast aluminum body with a polycarbonate prismatic diffuser.
Konfiguracja i instalacja
The Energizer LED Floodlight is designed for quick and straightforward installation. Assembly is required.
Wymagane narzędzia:
- Wiertarka
- Śrubokręt
- Ołówek
- Szczypce boczne
- Okulary i rękawice ochronne
Kroki instalacji:
- Odłącz zasilanie: Przed rozpoczęciem pracy należy upewnić się, że główne zasilanie w miejscu instalacji jest wyłączone za pomocą wyłącznika automatycznego.
- Uchwyt montażowy: The floodlight includes a 20-degree angled mounting bracket. Position the bracket on the desired wall surface and mark the drilling points.
- Wiercenie otworów: Wywierć otwory w zaznaczonych miejscach i włóż odpowiednie kołki rozporowe (jeśli to konieczne).
- Bezpieczny uchwyt: Fix the mounting bracket securely to the wall using screws.
- Okablowanie: Connect the 50cm lead cable from the floodlight to your main electrical supply. Ensure all connections are secure and properly insulated. This is a wired electric product.
- Zamontuj reflektor: Attach the floodlight unit to the secured mounting bracket. Use the included adjustment tool to set the desired angle of the floodlight.
- PIR Sensor Adjustment: Adjust the PIR sensor's angle and sensitivity settings as needed. Refer to the 'Operating Instructions' section for details.
- Przywróć zasilanie: Po zakończeniu instalacji i sprawdzeniu wszystkich połączeń można przywrócić zasilanie obwodu.
Instrukcja obsługi
The Energizer LED Floodlight operates primarily through its integrated PIR (Passive Infrared) motion sensor.
PIR Sensor Operation:
- The PIR sensor detects movement within its 120-degree detection zone and up to 8 meters range.
- When motion is detected, the floodlight will illuminate for a preset duration.
- The sensor typically includes adjustable settings for:
- Czas: How long the light stays on after motion detection.
- Czujnik luksów/światła dziennego: Determines the ambient light level at which the sensor becomes active (e.g., only activates at night).
- Wrażliwość: Dostosowuje zasięg wykrywania czujnika PIR.
- Refer to the physical adjustment dials on the sensor unit for specific settings.
Konserwacja
Regularna konserwacja zapewnia optymalną wydajność i długą żywotność reflektora.
- Czyszczenie: Periodically clean the floodlight's surface and the PIR sensor lens with a soft, damp ściereczka. Nie należy używać środków czyszczących o właściwościach ściernych ani rozpuszczalników.
- Kontrola: Regularly check for any signs of damage to the casing, cable, or mounting bracket. Ensure all connections remain secure.
- Odłączenie zasilania: Przed przystąpieniem do czyszczenia lub kontroli należy zawsze odłączyć zasilanie.
Rozwiązywanie problemów
If you encounter issues with your Energizer LED Floodlight, refer to the following common problems and solutions:
| Problem | Możliwa przyczyna | Rozwiązanie |
|---|---|---|
| Światło się nie włącza. | No power supply; faulty wiring; sensor settings incorrect. | Check power connection and circuit breaker. Verify wiring. Adjust LUX/Daylight sensor setting to ensure it's active in current light conditions. |
| Światło pozostaje włączone w sposób ciągły. | PIR sensor sensitivity too high; constant motion in detection zone; sensor faulty. | Reduce PIR sensor sensitivity. Ensure no constant heat sources or movement are within the detection zone. |
| Światło błyska lub migocze. | Unstable power supply; loose wiring connection; product fault. | Check power supply stability. Inspect and secure all wiring connections. If problem persists, contact support. |
| Czujnik PIR nie wykrywa ruchu. | Sensor blocked; sensitivity too low; incorrect angle. | Ensure sensor lens is clean and unobstructed. Increase sensor sensitivity. Adjust sensor angle for optimal coverage. |
Specyfikacje
| Marka | Energizer |
| Numer modelu | S10934 |
| Wymiary produktu | Wymiary 100 x 100 x 100 cm |
| Waga przedmiotu | 100 gramów |
| Źródło zasilania | Przewodowy elektryczny |
| Cotage | 50 W |
| Strumień świetlny | 4500 lumenów |
| Temperatura barwowa | 6500 Kelwinów (światło dzienne) |
| Tworzywo | Plastic (Housing: Cast Aluminum) |
| Rodzaj wykończenia | Błyszczący |
| Do użytku wewnątrz/na zewnątrz | Plenerowy |
| Stopień ochrony IP | IP44 |
| Zasięg czujnika PIR | Do 8 metrów |
| Kąt czujnika PIR | 120 stopnia |
| Wymagany montaż | Tak |
| Wymagane baterie | NIE |
Gwarancja i wsparcie
For warranty information or technical support, please refer to the product packaging or contact Energizer customer service directly. Keep your proof of purchase for any warranty claims.


