1. Wprowadzenie
Dziękujemy za zakupasing the Carson RedSight Pro Red LED Flashlight, Model SL-33. This compact and versatile flashlight is designed for situations where preserving night vision is crucial. Its red LED illumination is ideal for astronomy, photographic darkrooms, theater use, and other low-light environments. The glow-in-the-dark grip and integrated carabiner enhance its utility and portability.
2. Informacje dotyczące bezpieczeństwa
- Nie patrz bezpośrednio w światło LED.
- Przechowywać w miejscu niedostępnym dla dzieci.
- Nie mieszaj starych i nowych baterii ani różnych typów baterii.
- Zutylizuj baterie zgodnie z lokalnymi przepisami.
- Unikaj wystawiania latarki na działanie ekstremalnych temperatur i wilgoci.
3. Zawartość opakowania
Your Carson RedSight Pro package should contain:
- 1x Carson RedSight Pro Red LED Flashlight (Model SL-33)
- 1x Integrated Carabiner
Notatka: 3x AAA batteries are required and are not included with this product.
4. Schemat części
Familiarize yourself with the components of your RedSight Pro flashlight:
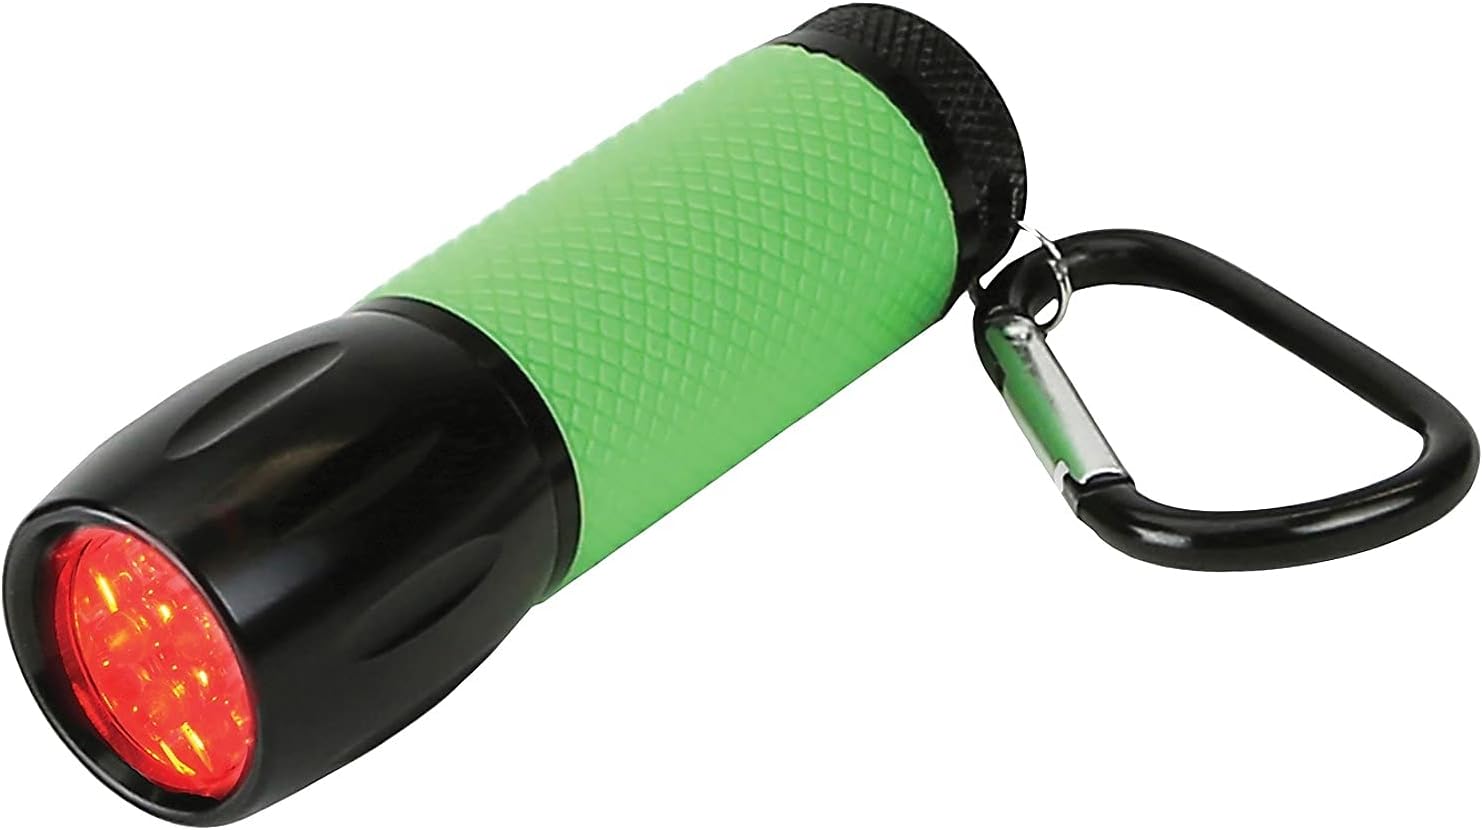
Rycina 1: Przód view of the RedSight Pro flashlight, highlighting the red LED array and the textured green rubber grip.

Rysunek 2: Widok z góry na dół view of the flashlight, illustrating the green power button at the rear and the attached carabiner for portability.
- Red LED Array: Provides red light illumination.
- Glow-in-the-Dark Rubber Grip: Textured green grip for secure handling and easy location in darkness.
- Przycisk zasilania: Located at the rear, controls power and brightness settings.
- Karabinek: Attached to the rear for convenient clipping to bags or belts.
- Komora baterii: Located under the power button, accessed by unscrewing the rear cap.
5. Konfiguracja
5.1 Instalacja baterii
The RedSight Pro requires 3x AAA batteries (not included).
- Unscrew the rear cap of the flashlight by turning it counter-clockwise.
- Insert three (3) AAA batteries into the battery compartment, ensuring the correct polarity (+/-) as indicated inside the compartment.
- Screw the rear cap back on clockwise until it is securely tightened. Do not overtighten.
6. Instrukcja obsługi
6.1 Power On/Off and Brightness Settings
The RedSight Pro features two brightness settings.

Figure 3: The RedSight Pro flashlight in use, demonstrating the red light output.
- To turn on (High Brightness): Press the green power button located at the rear of the flashlight once.
- To switch to Low Brightness: While the flashlight is on, press the power button again.
- Aby wyłączyć: Press the power button a third time.
6.2 Using the Carabiner
The integrated carabiner allows for convenient attachment and transport.
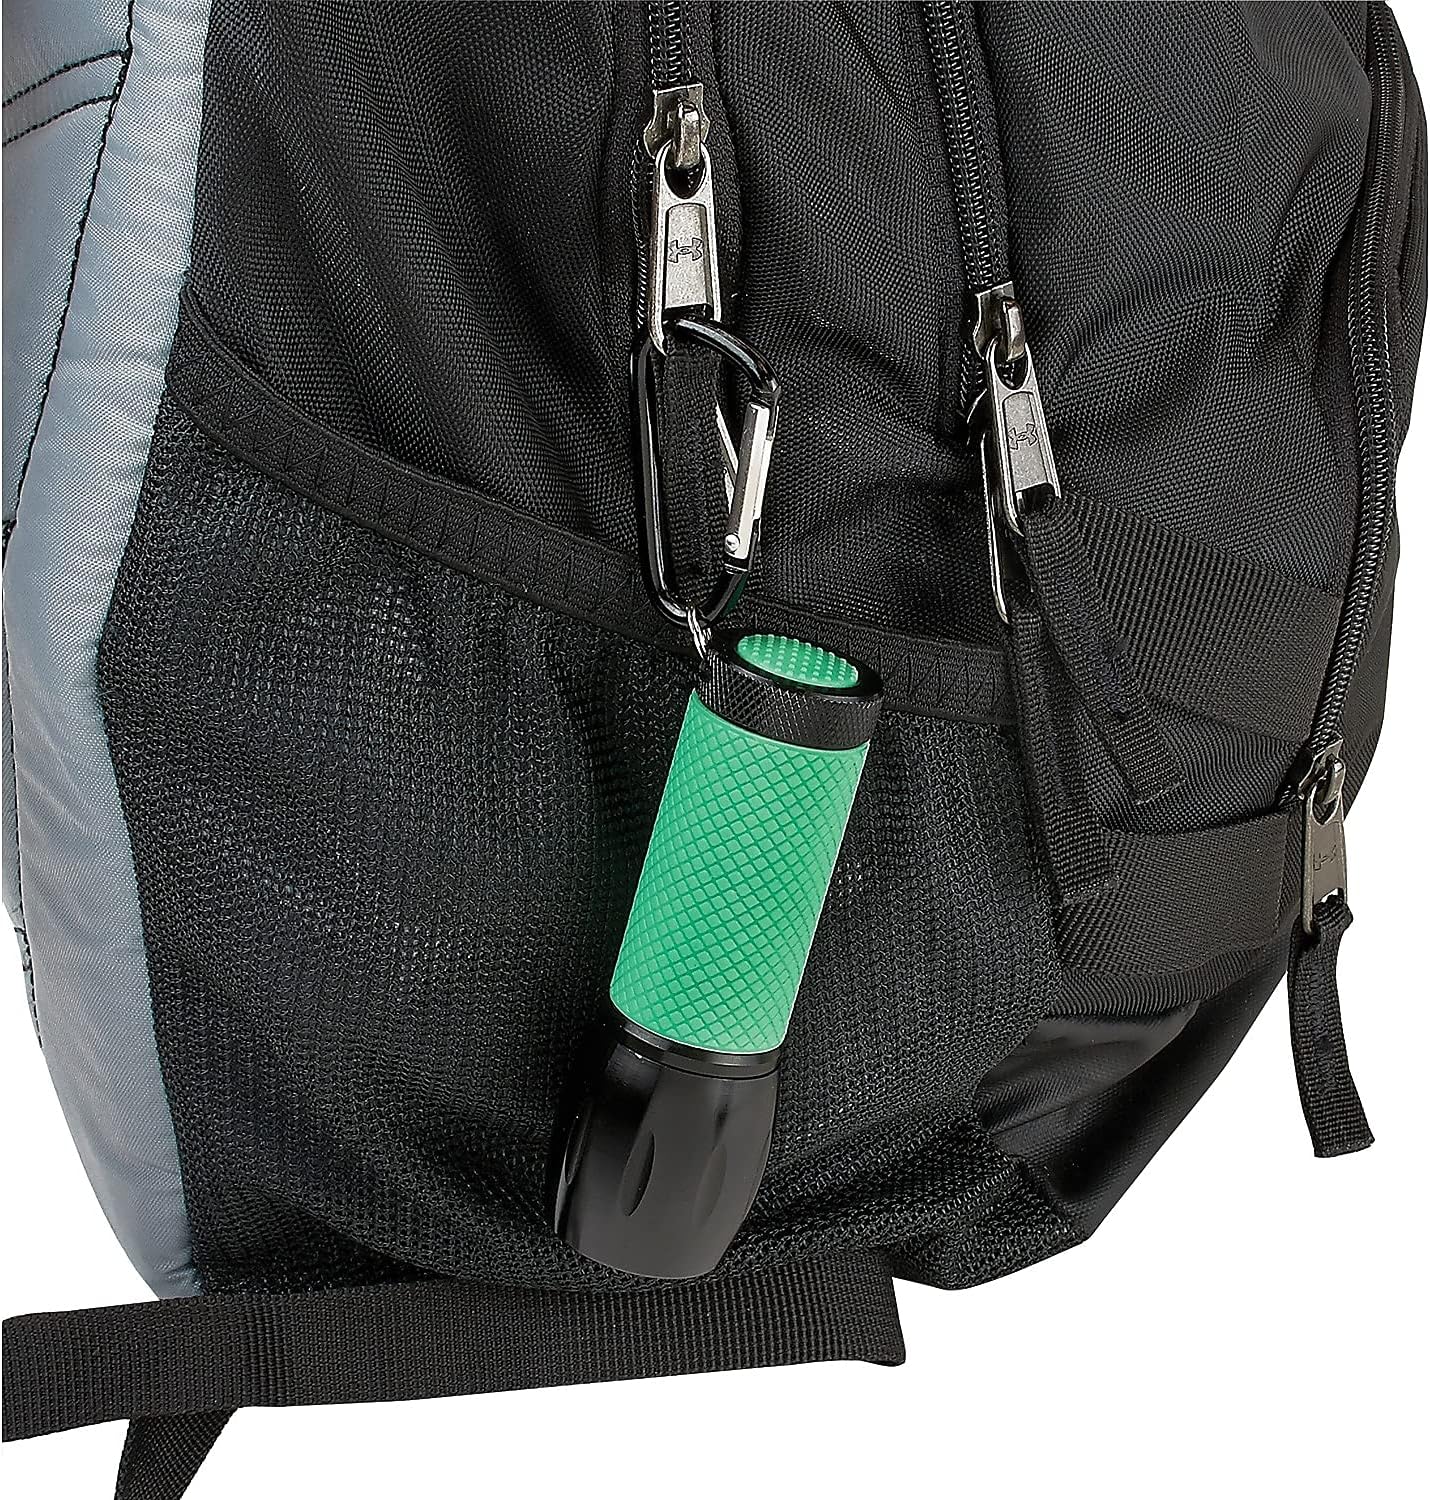
Figure 4: The RedSight Pro flashlight attached to a backpack, showcasing the utility of the carabiner.
- Open the carabiner gate by pressing the spring-loaded mechanism.
- Attach the flashlight to a belt loop, backpack strap, or other suitable anchor point.
- Ensure the gate closes securely to prevent accidental detachment.
6.3 Funkcja świecenia w ciemności
The green rubber grip of the RedSight Pro is designed to glow in the dark, making it easy to locate in low-light conditions.
- For optimal glow, expose the flashlight's grip to a light source (natural or artificial) for a few minutes before entering a dark environment.
- The glow intensity and duration will vary based on exposure time and ambient darkness.
7. Konserwacja
7.1 Czyszczenie
- Wipe the flashlight with a soft, dry cloth.
- Do not use abrasive cleaners or solvents, as these may damage the finish or rubber grip.
7.2 Wymiana baterii
Replace batteries when the light output diminishes or the flashlight fails to turn on. Refer to Section 5.1 for battery installation instructions.
7.3 Przechowywanie
- If storing the flashlight for an extended period (more than 30 days), remove the batteries to prevent leakage and potential damage.
- Przechowywać w chłodnym i suchym miejscu, z dala od bezpośredniego światła słonecznego.
8. Rozwiązywanie Problemów
| Problem | Możliwa przyczyna | Rozwiązanie |
|---|---|---|
| Latarka się nie włącza. | Rozładowane lub nieprawidłowo zainstalowane baterie. | Sprawdź biegunowość baterii. Wymień je na nowe baterie AAA. |
| Światło jest słabe. | Niski poziom naładowania baterii. | Wymień baterie na nowe AAA. |
| Grip does not glow in the dark. | Niewystarczająca ekspozycja na światło. | Expose the grip to a bright light source for several minutes. |
9. Specyfikacje
- Model: SL-33
- Źródło światła: 9 czerwone diody LED
- Ustawienia jasności: 2
- Źródło zasilania: 3x baterie AAA (brak w zestawie)
- Wymiary (dł. x szer. x wys.): Approximately 3.75 in x 1 in x 1 in (9.53 cm x 2.54 cm x 2.54 cm)
- Waga: Około 2.4 uncje (68.04 g)
- Tworzywo: Rubber (grip), Metal/Plastic housing
- Cechy szczególne: Glow-in-the-dark rubber grip, Integrated carabiner
10. Gwarancja i wsparcie
For warranty information, technical support, or further inquiries, please visit the official Carson website or contact their customer service department. Details are typically available on the manufacturer's packaging or webstrona.
Webstrona: www.carson.com


