1. Wprowadzenie
This manual provides detailed instructions for the installation, operation, maintenance, and troubleshooting of the Hikvision DS-9632NI-I8 32-Channel 4K Network Video Recorder (NVR). Please read this manual thoroughly before using the product to ensure proper and safe operation. Keep this manual for future reference.
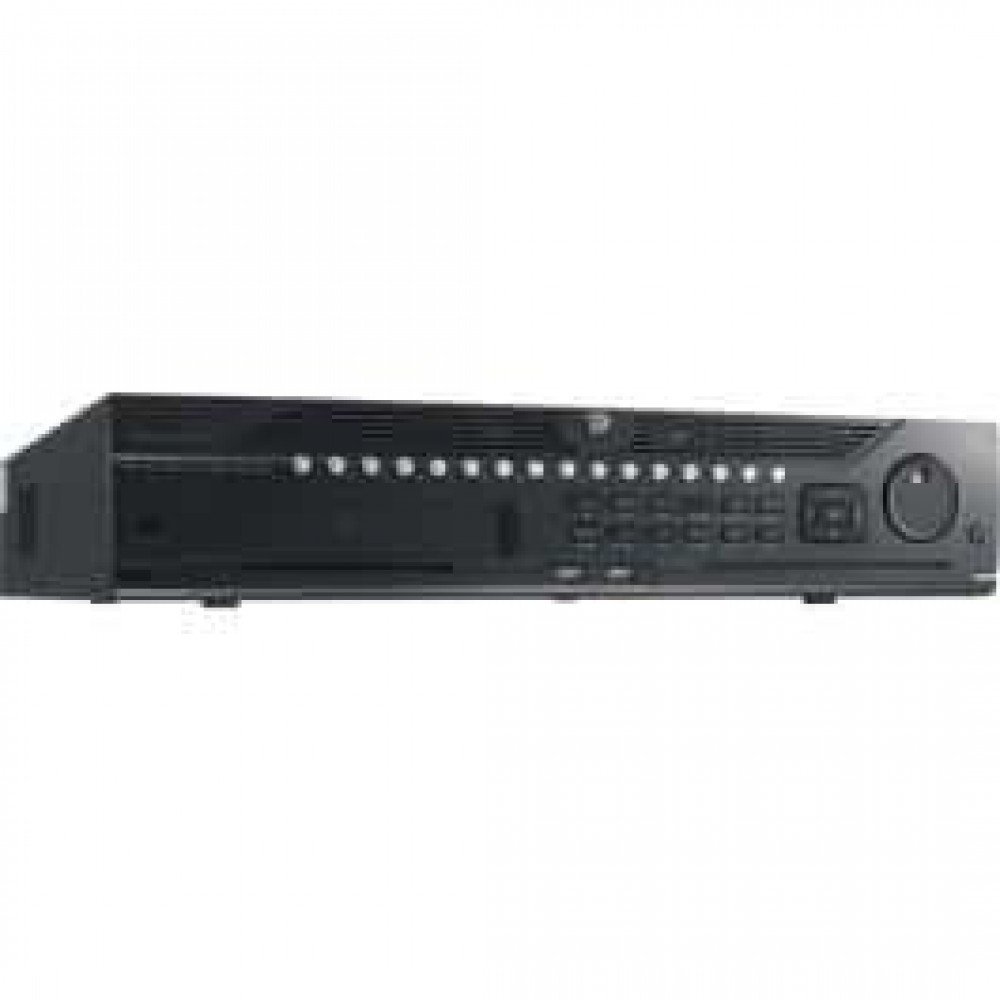
Rycina 1: Przód view of the Hikvision DS-9632NI-I8 NVR, showing its robust chassis and various interface ports.
2. Informacje dotyczące bezpieczeństwa
Always follow basic safety precautions to reduce the risk of fire, electric shock, and injury to persons. This includes, but is not limited to:
- Należy używać wyłącznie zasilacza wskazanego przez producenta.
- Aby zapobiec przegrzaniu, należy zapewnić odpowiednią wentylację.
- Nie wystawiaj rejestratora NVR na działanie wody i wilgoci.
- Avoid placing the NVR near heat sources or in direct sunlight.
- Wszelkie prace serwisowe należy powierzać wykwalifikowanemu personelowi.
3. Zawartość opakowania
Verify that all items are present and in good condition. If any item is missing or damaged, contact your dealer immediately.
- Hikvision DS-9632NI-I8 NVR Unit
- Zasilacz/kabel
- Mysz USB
- Śruby do montażu dysku twardego
- Szybki przewodnik
- CD-ROM (containing software and full manual)
4. Konfiguracja
4.1 Instalacja sprzętu
- Prepare Hard Disk Drives (HDDs): The DS-9632NI-I8 supports up to 8 SATA HDDs. Install HDDs into the NVR chassis using the provided screws. Ensure each HDD is securely mounted.
- Podłącz urządzenia peryferyjne:
- Podłącz monitor do portu wyjściowego HDMI lub VGA.
- Connect the included USB mouse to a USB port.
- Podłącz NVR do sieci za pomocą kabla Ethernet.
- Włączanie: Connect the power adapter to the NVR and then to a power outlet. Press the power button on the front panel.
4.2 Konfiguracja początkowa
Upon first boot, the NVR will guide you through an initial setup wizard.
- Ustaw hasło administratora: Utwórz silne hasło dla użytkownika „admin”.
- Ustawienia sieciowe: Configure network parameters (DHCP or Static IP). Ensure the NVR is accessible on your local network.
- Data i godzina: Ustaw prawidłową datę, godzinę i strefę czasową.
- Inicjalizacja dysku twardego: The NVR will prompt you to initialize the installed HDDs. This process will format the drives for recording.
- Add IP Cameras: Use the wizard to search for and add compatible Hikvision IP cameras to the NVR.
5. Instrukcja obsługi
5.1 Na żywo View
Po zalogowaniu NVR wyświetli obraz na żywo view interface, showing feeds from connected cameras. You can switch between different camera views and layouts.
- Pojedyncza kamera View: Double-click a camera window to view na pełnym ekranie.
- Layout Selection: Use the layout icons at the bottom of the screen to choose different grid arrangements (e.g., 4-channel, 9-channel).
5.2 Zarządzanie nagraniami
Rejestrator NVR obsługuje nagrywanie ciągłe, zaplanowane i wyzwalane zdarzeniami.
- Configure Recording Schedule: Przejdź do Configuration > Storage > Schedule Settings to define recording times for each camera.
- Nagrywanie ręczne: Click the record icon on the live view interfejs umożliwiający rozpoczęcie/zatrzymanie nagrywania ręcznego.
5.3 Odtwarzanie
Aby ponownieview nagrano footage:
- Idź do Odtwarzanie nagranego dźwięku menu.
- Wybierz żądaną kamerę(y) i zakres daty/godziny.
- Użyj osi czasu, aby poruszać się po nagraniach.
- Playback controls (play, pause, fast forward, rewind) are available.
5.4 Dostęp zdalny
Dostęp do NVR można uzyskać zdalnie za pomocą web browser or Hik-Connect mobile app.
- Web Przeglądarka: Wprowadź adres IP NVR do web przeglądarka.
- Hik-Connect: Download the Hik-Connect app, register an account, and add your NVR by scanning its QR code or entering its serial number.
6. Konserwacja
6.1 aktualizacji oprogramowania sprzętowego
Regularly check for and install firmware updates to ensure optimal performance and security. Firmware can be downloaded from the official Hikvision webstrona.
- Przejdź do Configuration > System > Maintenance > Upgrade.
- Follow the on-screen instructions to perform the upgrade. Do not power off the NVR during the update process.
6.2 Zarządzanie dyskiem twardym
Monitor the health of your HDDs and manage storage space.
- Status dysku twardego: Check HDD status in Configuration > Storage > HDD Management.
- Tryb nadpisywania: Configure the NVR to overwrite old recordings when storage is full (default behavior).
6.3 Czyszczenie
Keep the NVR clean to prevent dust buildup, which can affect performance and lifespan.
- Power off and unplug the NVR before cleaning.
- Do czyszczenia powierzchni zewnętrznych należy używać miękkiej i suchej ściereczki.
- Usuń kurz z otworów wentylacyjnych za pomocą sprężonego powietrza.
7. Rozwiązywanie Problemów
| Problem | Możliwa przyczyna | Rozwiązanie |
|---|---|---|
| Brak wyjścia wideo na monitorze. | Luźne połączenie kablowe, nieprawidłowe źródło sygnału wejściowego na monitorze, niewłączony rejestrator NVR. | Check HDMI/VGA cable connections. Ensure monitor is set to correct input. Verify NVR power. |
| Nie można uzyskać zdalnego dostępu do NVR. | Network configuration issues, firewall blocking, incorrect port forwarding. | Verify NVR network settings. Check router firewall and port forwarding rules. Ensure Hik-Connect is properly configured. |
| Kamery nie nagrywają. | HDD not initialized, recording schedule not set, HDD full. | Initialize HDDs. Configure recording schedule. Check HDD status and capacity. |
| Zapomniałem hasła administratora. | Zapomniałem hasła. | Refer to the full manual or Hikvision support for password reset procedures. This often involves a security code or a physical reset button. |
8. Specyfikacje
| Funkcja | Szczegół |
|---|---|
| Model | DS-9632NI-I8 |
| Wejście wideo | 32-Channel IP Video Input |
| Wyjście wideo | HDMI (up to 4K), VGA |
| Format dekodowania | H.265 + / H.265 / H.264 + / H.264 |
| Wejście/wyjście audio | 1-ch, RCA (2.0 Vp-p, 1 kΩ) / 2-ch, RCA (Linear, 1 kΩ) |
| SATA | 8 SATA interfaces for 8 HDDs |
| Pojemność | Up to 10 TB for each HDD (example, actual capacity may vary) |
| Interfejs sieciowy | 2 RJ-45 10M/100M/1000M self-adaptive Ethernet interfaces |
| Interfejs USB | Front panel: 2 × USB 2.0; Rear panel: 1 × USB 3.0 |
| Wymiary (szer. × gł. × wys.) | 23 x 22 x 8 cale (w przybliżeniu) |
| Zasilacz | 100 do 240 VAC, 50 do 60 Hz |
9. Gwarancja i wsparcie
9.1 Ograniczona gwarancja
Hikvision products are covered by a limited warranty. The specific terms and duration of the warranty may vary by region and product type. Please refer to the official Hikvision webSzczegółowe informacje dotyczące gwarancji można znaleźć na stronie internetowej lub w dokumentacji zakupu.
- Zachowaj dowód zakupu na potrzeby roszczeń gwarancyjnych.
- Unauthorized repairs or modifications may void the warranty.
9.2 Wsparcie techniczne
For technical assistance, product inquiries, or service requests, please contact Hikvision support through the following channels:
- Urzędnik Webstrona: Odwiedzać www.hikvision.com aby uzyskać dostęp do zasobów pomocy technicznej, odpowiedzi na często zadawane pytania i informacji kontaktowych.
- Obsługa klienta: Refer to the contact details provided on the Hikvision webwitryna dla Twojego regionu.
- Autoryzowani dealerzy: Your authorized Hikvision dealer can also provide support and service.


