Wstęp
This manual provides instructions for the installation, operation, and maintenance of your Honeywell CT410B1017/E1 Electric Heat Thermostat. This non-programmable thermostat is designed for 4-wire (double pole) electric heat applications, such as baseboard or line volt heaters. It features a simple mechanical dial control for straightforward temperature adjustment.
Ważne informacje dotyczące bezpieczeństwa
OSTRZEŻENIE: Niebezpieczeństwo porażenia prądem.
- Przed przystąpieniem do instalacji lub serwisowania termostatu należy zawsze wyłączyć zasilanie na głównym panelu serwisowym.
- This thermostat operates on 120-240 Volts. Improper installation can lead to electrical shock or fire.
- Installation should be performed by a qualified electrician or trained service technician.
- Upewnij się, że wszystkie połączenia przewodów są solidne i zgodne z lokalnymi przepisami elektrycznymi.
- Do not use this thermostat for applications other than those specified.
This product is UL and CSA listed for safety.
Zawartość opakowania
Sprawdź, czy w przesyłce znajdują się następujące elementy:
- Honeywell CT410B1017/E1 Electric Heat Thermostat
- Mounting Screws (typically included, though not explicitly listed in product data)
- Instrukcja instalacji (ten dokument)
Instrukcje instalacji
1. Przygotuj się do instalacji
- Wyłącz zasilanie to the heating system at the main service panel (circuit breaker or fuse box) before beginning installation.
- Remove the old thermostat (if applicable). Note the wiring connections.
- Unpack the new Honeywell CT410B1017/E1 thermostat.
2. Montaż termostatu
The thermostat should be mounted on an inside wall, approximately 5 feet (1.5 meters) above the floor, away from drafts, direct sunlight, and heat-producing appliances.
- Separate the thermostat cover from the base.
- Position the thermostat base against the wall where it will be mounted.
- Mark the locations for the mounting screws.
- W razie potrzeby wywierć otwory pilotażowe.
- Secure the thermostat base to the wall using the provided mounting screws. Do not overtighten.
3. Podłączenie termostatu
This thermostat is designed for 4-wire (double pole) electric heat applications (120-240V). Refer to the diagram below for typical wiring. If you are unsure about wiring, consult a qualified electrician.
- Connect the two incoming line wires (L1 and L2) to the terminals marked "LINE".
- Connect the two load wires (to the heater) to the terminals marked "LOAD".
- Sprawdź, czy wszystkie połączenia są dobrze dokręcone i bezpieczne.
- Wsuń nadmiar przewodu z powrotem do otworu w ścianie.
Note: The thermostat has a "Positive Off" feature, meaning it completely disconnects power to the heater when set to the OFF position.
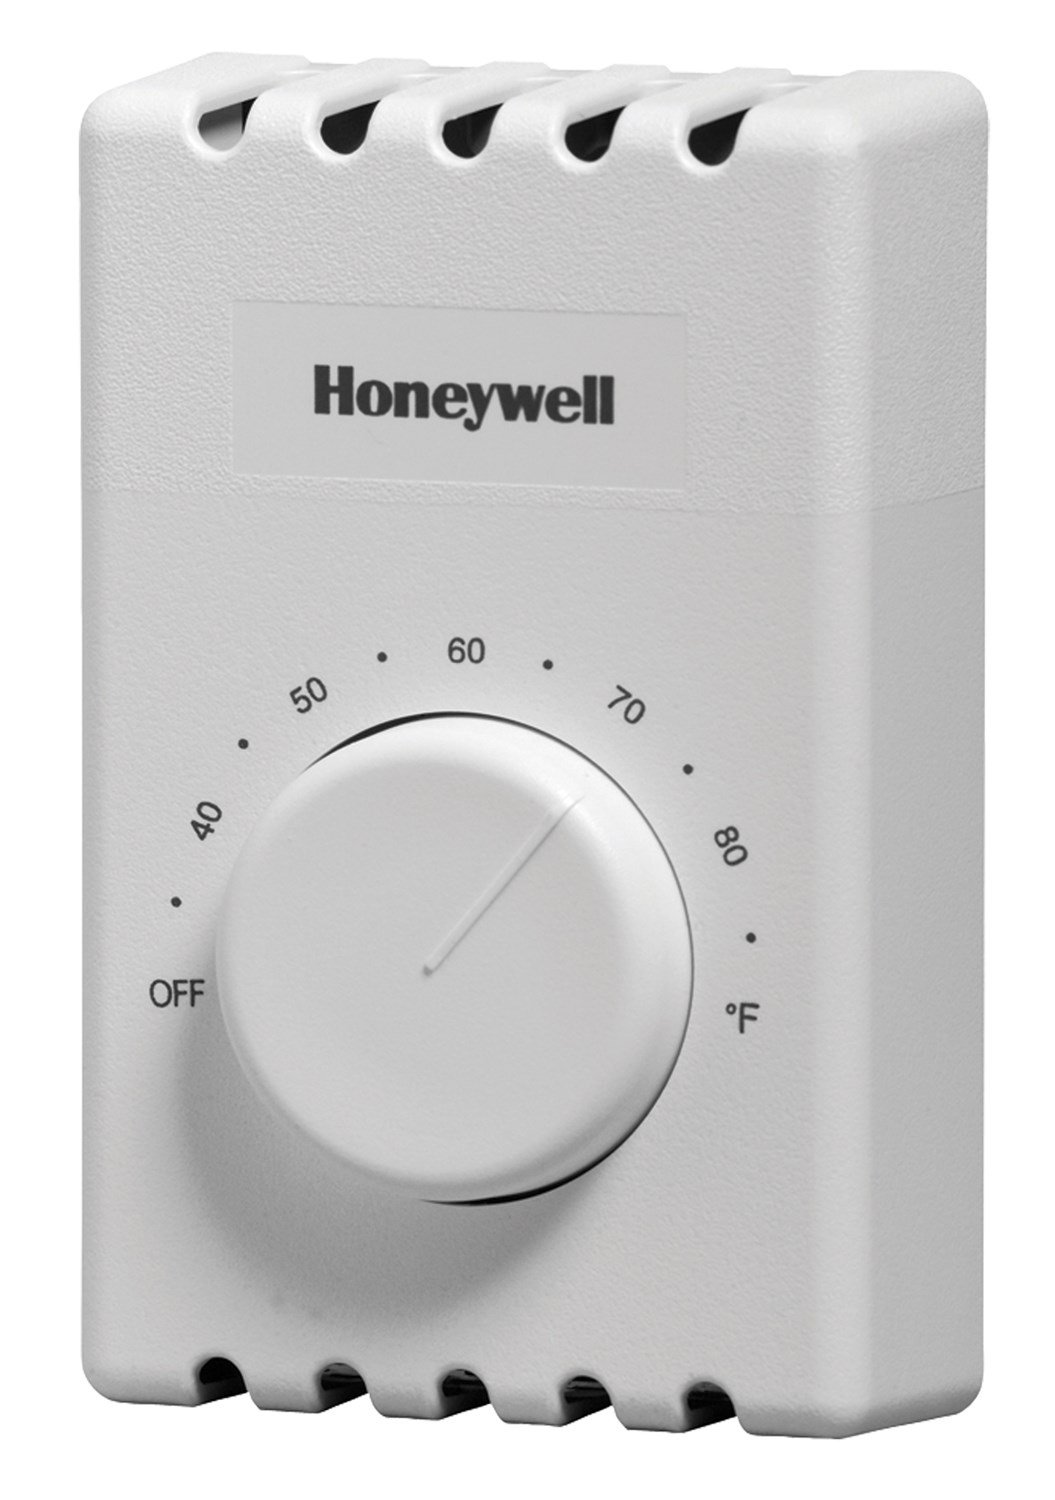
Figure 1: Honeywell CT410B1017/E1 Electric Heat Thermostat. Na tym zdjęciu widać przód view of the thermostat with its mechanical dial, temperature markings (40-80°F), and the "OFF" position. The dimensions are indicated as 4.5 inches height, 2.75 inches width, and 1.5 inches depth. The Honeywell logo is visible at the top.
4. Zakończ instalację
- Once wiring is complete and secure, carefully attach the thermostat cover to the base.
- Turn on power to the heating system at the main service panel.
- Test the thermostat operation.
Instrukcja obsługi
The Honeywell CT410B1017/E1 thermostat is a simple, non-programmable mechanical control.
Regulacja temperatury
- To increase the temperature, rotate the dial clockwise.
- To decrease the temperature, rotate the dial counter-clockwise.
- The thermostat will maintain the set temperature by turning the electric heater on and off as needed.
Wyłączanie grzejnika
- To turn off the heating system, rotate the dial completely counter-clockwise until it clicks into the "OFF" position. This will completely disconnect power to the heater.
Konserwacja
Termostat Honeywell wymaga minimalnej konserwacji.
- Czyszczenie: Przetrzyj zewnętrzną część termostatu miękką szmatką.amp ściereczka. Nie należy używać środków czyszczących o właściwościach ściernych ani rozpuszczalników.
- Nie wymaga baterii: This thermostat is line-powered and does not require batteries.
- Brak smarowania: The mechanical components are factory-lubricated and do not require additional lubrication.
Rozwiązywanie problemów
| Problem | Możliwa przyczyna | Rozwiązanie |
|---|---|---|
| Grzejnik nie włącza się. |
|
|
| Ogrzewanie nie wyłącza się. |
|
|
| Niedokładny odczyt temperatury. |
|
|
Jeśli wykonanie czynności rozwiązywania problemów nie pomoże, skontaktuj się z wykwalifikowanym specjalistą serwisowym.
Specyfikacje
- Model: CT410B1017/E1
- Aplikacja: 4-wire (double pole) electric heat (baseboard or line volt)
- Tomtage: 120-240 V AC
- Typ sterowania: Mechanical dial, non-programmable
- Typ kontroli temperatury: Podręcznik
- Technologia łączności: Przewodowy
- Wymiary (wys. x szer. x gł.): 4.5" x 2.75" x 1.5" (11.4 cm x 7 cm x 3.8 cm)
- Kolor: Biały
- Cechy szczególne: Dual Diaphragm Technology, Versatile Wire Connection, Positive Off
- Certyfikaty: Na liście UL i CSA
- Waga przedmiotu: Około 11.3 uncji (320 gramów)
Gwarancja i wsparcie
Honeywell products are manufactured to the highest standards and are designed for reliable operation. For specific warranty information, please refer to the warranty card included with your product or visit the official Honeywell webstrona.
For technical support, product inquiries, or to locate a service professional, please visit the Honeywell support weblub skontaktuj się z działem obsługi klienta. Dane kontaktowe można zazwyczaj znaleźć na stronie internetowej Honeywell. webwitryny lub opakowania produktu.